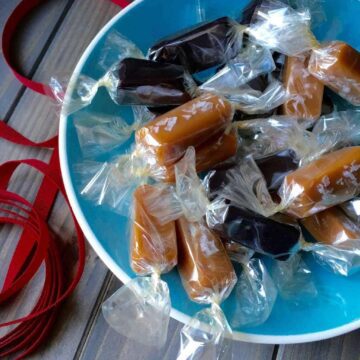
Vanilla Salted Caramels are a classic candy, perfect for gift giving, and sneaking from the cupboard!
Salted caramel started as a food trend. Something fancy chefs devised in restaurant kitchens. It made its way into fine chocolate shops, magazines, cookbooks, regular awesome restaurants and now, well, everywhere! (thank goodness!)
In cooking, salt is a preservative, a yeast inhibitor but also a flavor enhancer. The reason we put salt in baked goods is simply to enhance or bring out the flavors of all the other ingredients. It brings out buttery flavors, the caramels of brown sugar, enhances chocolate's subtle flavors and balances each bite.
These caramels are super easy, thanks to a combo of sweetened condensed milk and corn syrup that speed up the process of homemade caramels by at least half! Use a candy thermometer (order it here) to get just the right consistency.
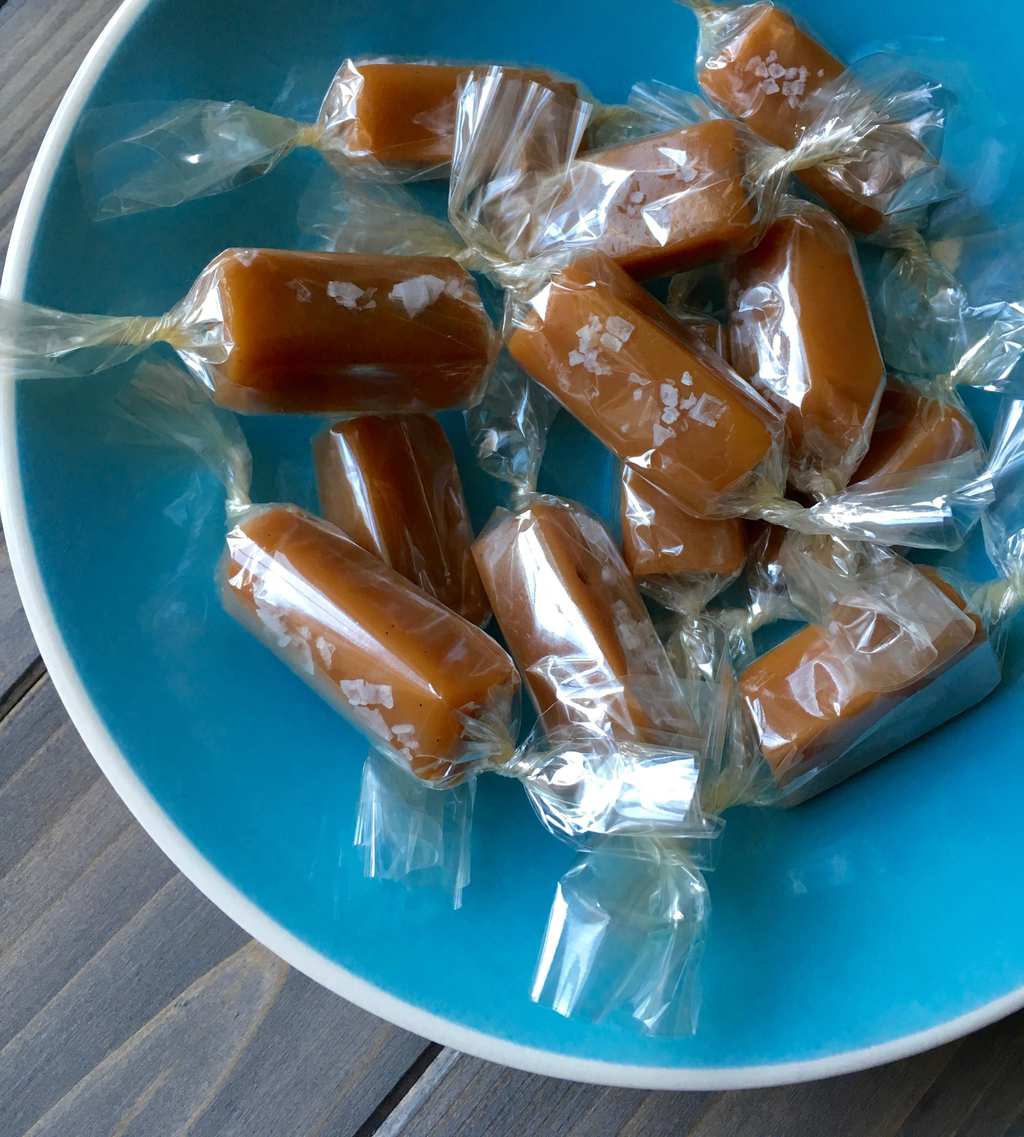
There's a bit of extra salt (sea salt for a lovely flavor) in the caramel itself, but I also sprinkled gorgeous sea salt crystals on top of each piece before wrapping. Find the pretty cellophane candy wrappers here, or at specialty candy stores.
The salt on top gives you a burst of that flavor enhancing power and immediately makes the butter, vanilla and caramelized sugar flavors explode in your mouth!
Watch my video for a glance at how simple they are to make. And check out the Buttery Black Licorice Caramels recipe in the demo for another amazing flavor.
📖 Recipe
Vanilla Bean Salted Caramels
Ingredients
- 1 cup (2 sticks) unsalted butter
- 2 cups granulated sugar
- 1 can sweetened condensed milk
- 1 ½ cups light corn syrup
- ½ teaspoon sea salt
- 1 teaspoon vanilla bean paste
- cellophane wrappers or waxed paper
Instructions
- Line a 9-by-13 inch pan with parchment and spray with cooking spray.
- Using some butter, coat the inside of a 4 qt heavy saucepan. Add the sticks of butter, sugar, sweetened condensed milk, corn syrup and salt. Cook over medium-high heat until butter is melted, stirring constantly. Reduce heat to medium.
- Insert a candy thermometer into the pan and continue stirring constantly until the temperature is 244ºF (for sea level. check local temperature adjustments according to your elevation), or medium firm-ball stage. Remove from heat.
- Stir in vanilla bean paste and pour into prepared pan. Pan will be hot. Transfer to a flat surface and let cool overnight. When caramel sets after a few hours you can wrap the pan in plastic wrap to rest overnight.
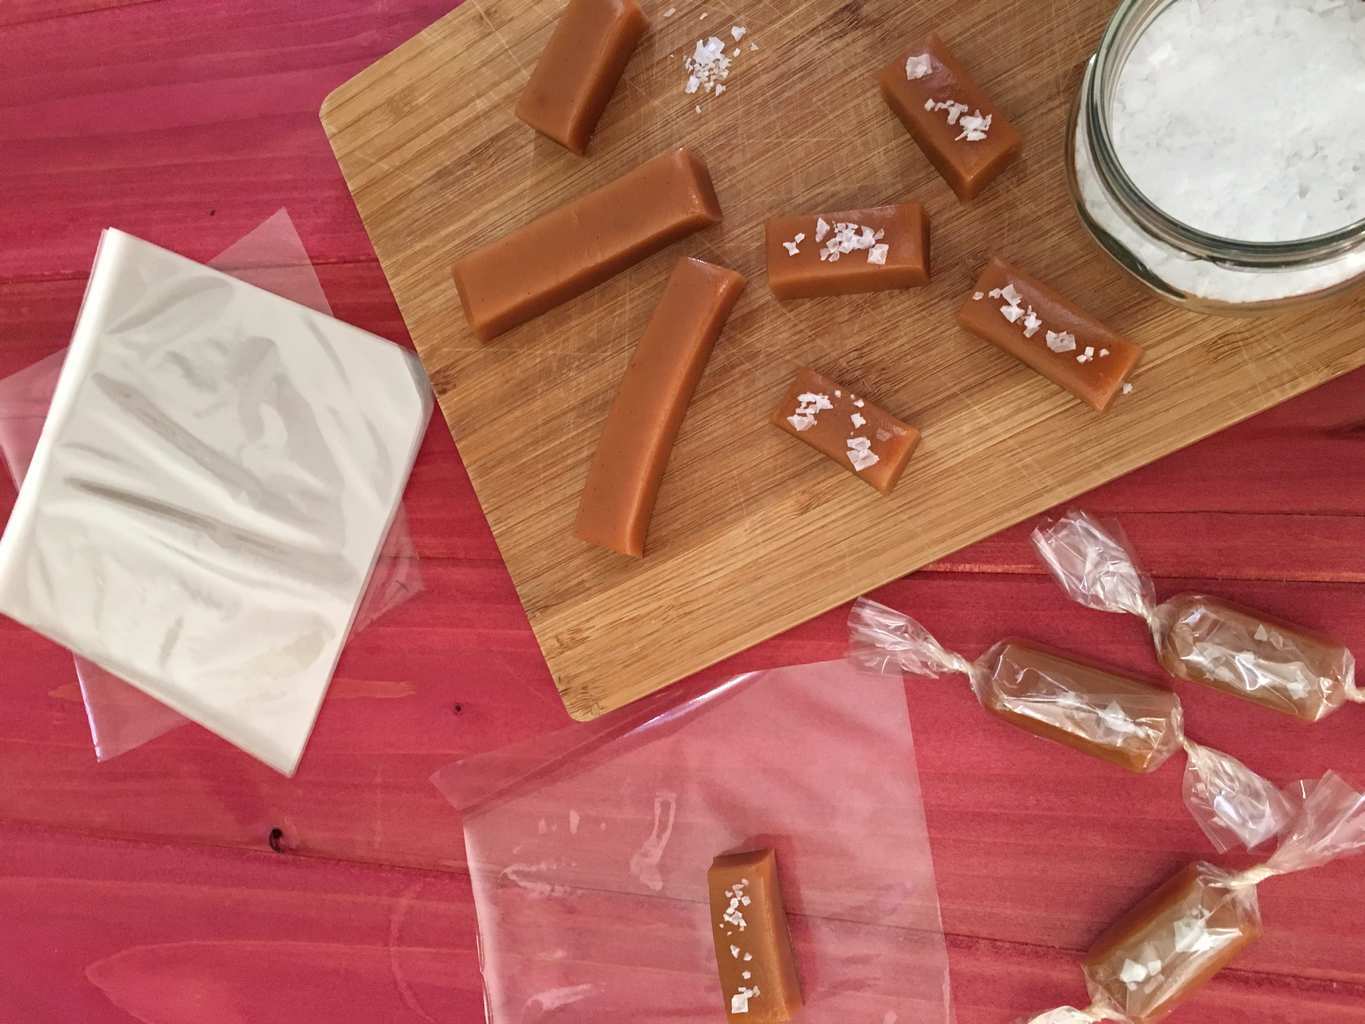
- Transfer caramel to a clean cutting board and remove any parchment. Cut with a sharp knife into desired sizes. I cut mine about ½ inch deep and 1 ¼ inches long. You will get over 100 pieces.
- Sprinkle each piece with flaked sea salt before wrapping well in cellophane or waxed paper. Will keep for up to 2 weeks.
Video
Notes
Nutrition
Newest recipes from Tara Teaspoon!

Tara Teaspoon
I’ve been in food publishing for over 25 years, creating recipes & food-styling for magazines, books, television, food brands, & advertising. With two cookbooks under my belt and thousands of my recipes at your fingertips, I hope you'll be inspired to spend more time in the kitchen!
Recipe by Tara Bench. Photography Tara Bench. Videography and editing Melanie Donahoo


Mary Bench says
For more traditional caramels, I omit the vanilla bean paste and sprinkled salt. Both are lovely!
Melissa Myers says
Just made these. They turned out perfectly! Great recipe!!
Liz M says
Hi, Tara! I LOVE your caramel recipe and have been making them for a few years now. My question is do they have to "rest" overnight before I cut and wrap them? I'm in a hurry this year. . .
> Thanks for any advice!
Tara Teaspoon says
Hi! I’m so happy you like them! The resting simply ensures they are chilled and solid so they hold their shape to cut and wrap.
You can chill them in the fridge and check them after 3 or 4 hours. If they don’t seem manageable leave them another hour or so.
Whenever you find them solid enough to work with you can proceed!
Tara