This homemade tart crust is so simple (and so good).
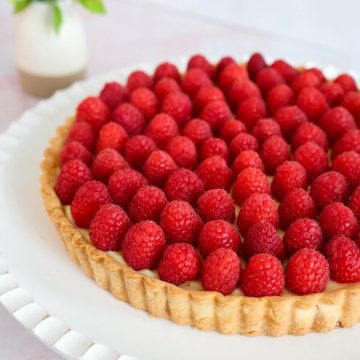
Easy recipes that let you make a million variations are tricks I keep up my sleeve. This tart crust recipe is one of those. It's very simple and is the base for many a variation.
Typically tart crusts are a little richer, and a bit more sturdy than flaky pie crusts. Pie crusts are the delicate flower of the pastry world. Tart crusts can handle a bit more. To this crust I've added an egg yolk, both for structure and richness. Like my pie crust, I like to make this in the food processor; but you can certainly do it by hand with a pastry blender if you don't have a food processor.
Most tart recipes call for "blind baking" the shell. This means you prebake the crust in the tart pan without the filling. The key is to line the crust with foil, then weigh it down with pie weights or dried beans so the tart crust doesn't bubble.
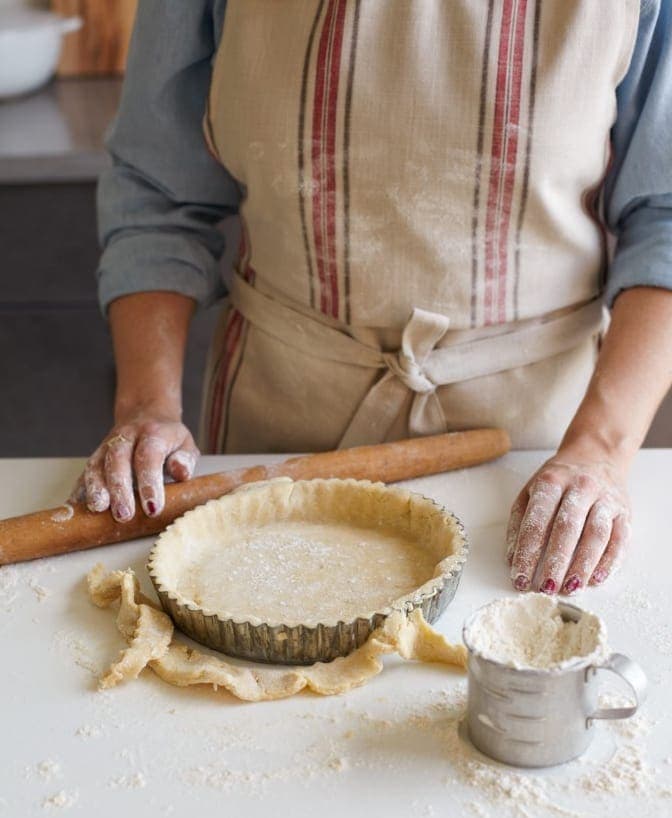
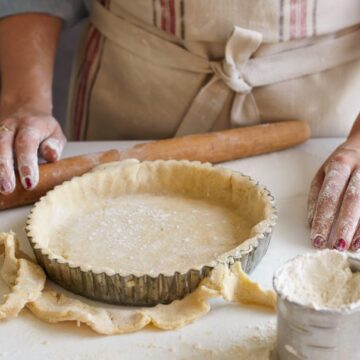
As the recipe details, once the crust is rolled out, place the dough into the tart pan and gently lift it into place. You lift so you don't just stretch it into the corners. Stretching makes pastry dough angry, then in the oven it rebels and shrinks terribly.
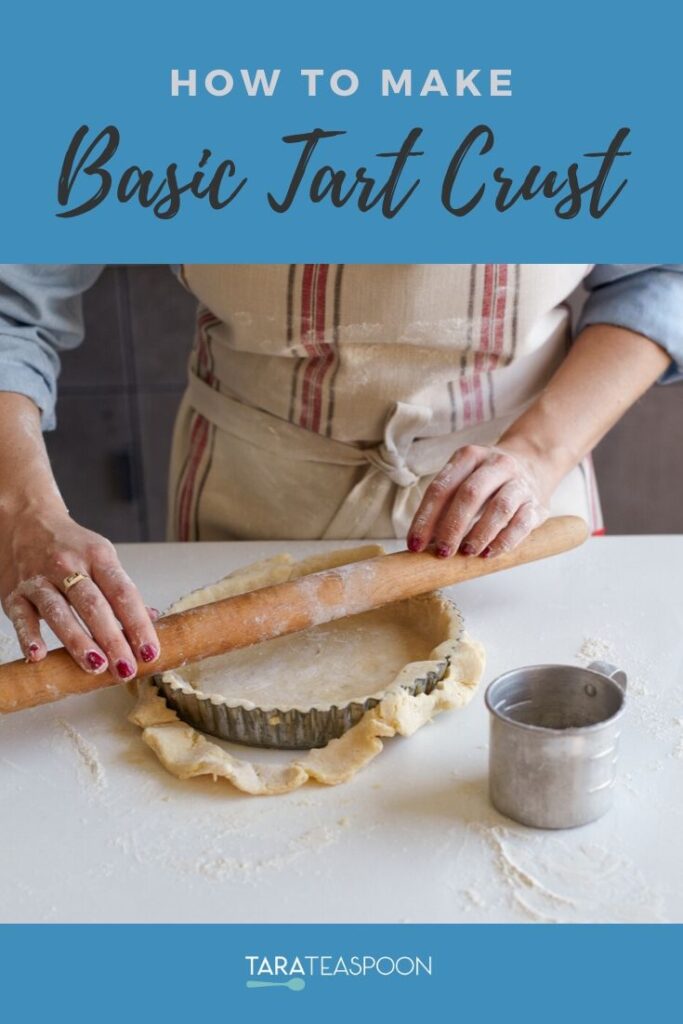
Then, I love this part, use the heel of your hand or a rolling pin to trim the edges flush with the pan, like in the picture above!
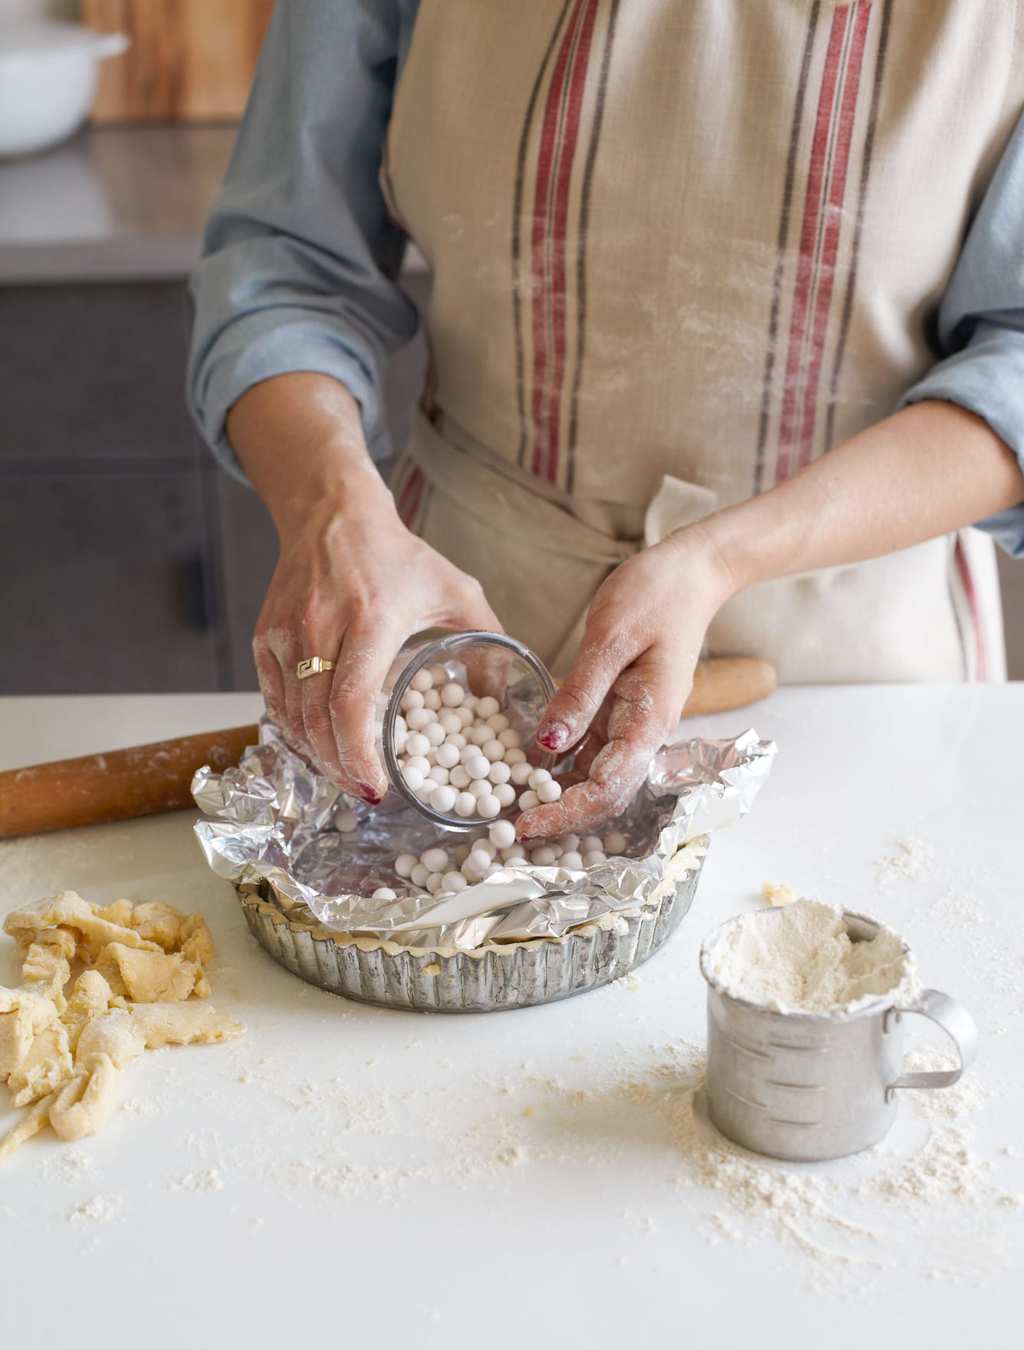
Now you get to blind bake! Make sure the crust is chilled as the recipe says, then line it with foil, pressing the foil into the corners. The dough is cold, so it can handle you pressing that foil gently on top of it.
Fill the foil with pie weights (those little ceramic balls), or with dried beans. By the way, once you bake the beans, you can't use them for another purpose. I have a jar of beans I just use for baking. They last 4 or 5 bakes; then they go in the trash.
Oh! great tip: place tart pans on a flat baking sheet to go in the oven. Tart pans have removable bottoms and it can get tricky to move them in and out of the oven. This way you just have to take the baking sheet in and out!
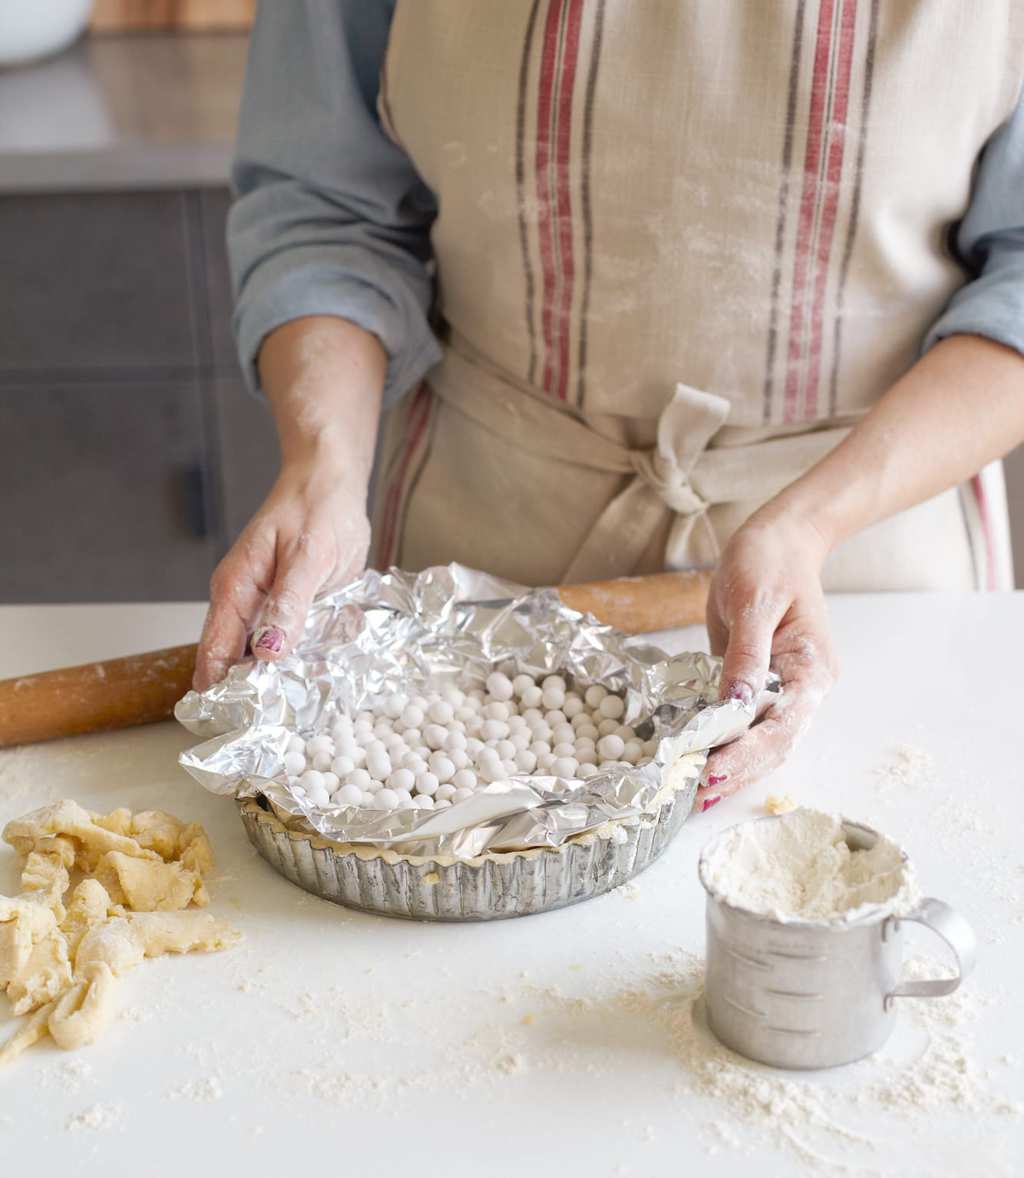
Once the crust has set in the oven about 30 minutes you can carefully remove the pan and take the foil lining and pie weights out. Depending on your recipe you can continue to bake it until it's golden brown, or fill it partially cooked.
Tart Rings
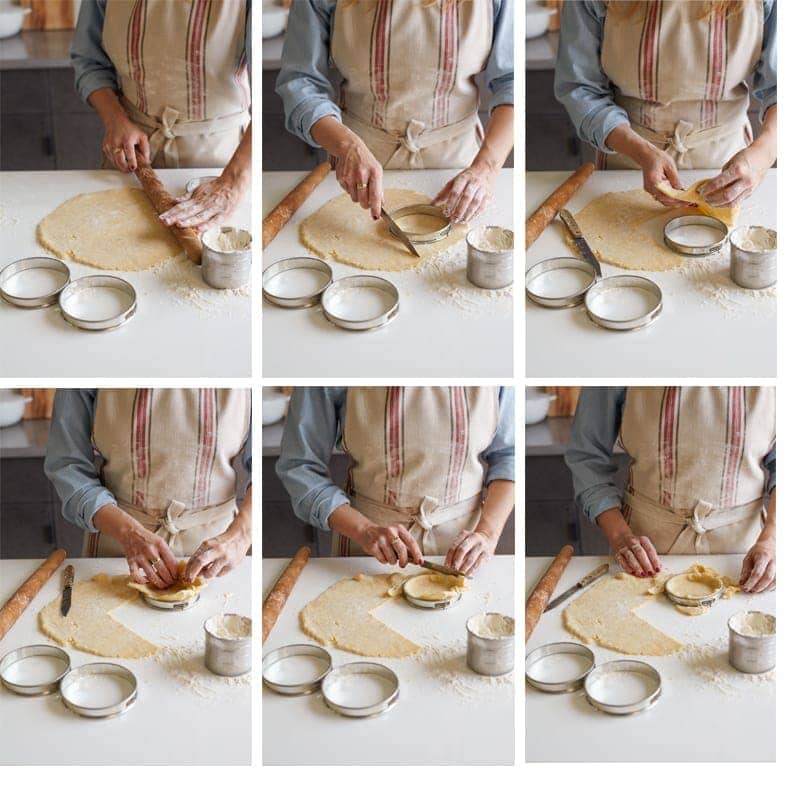
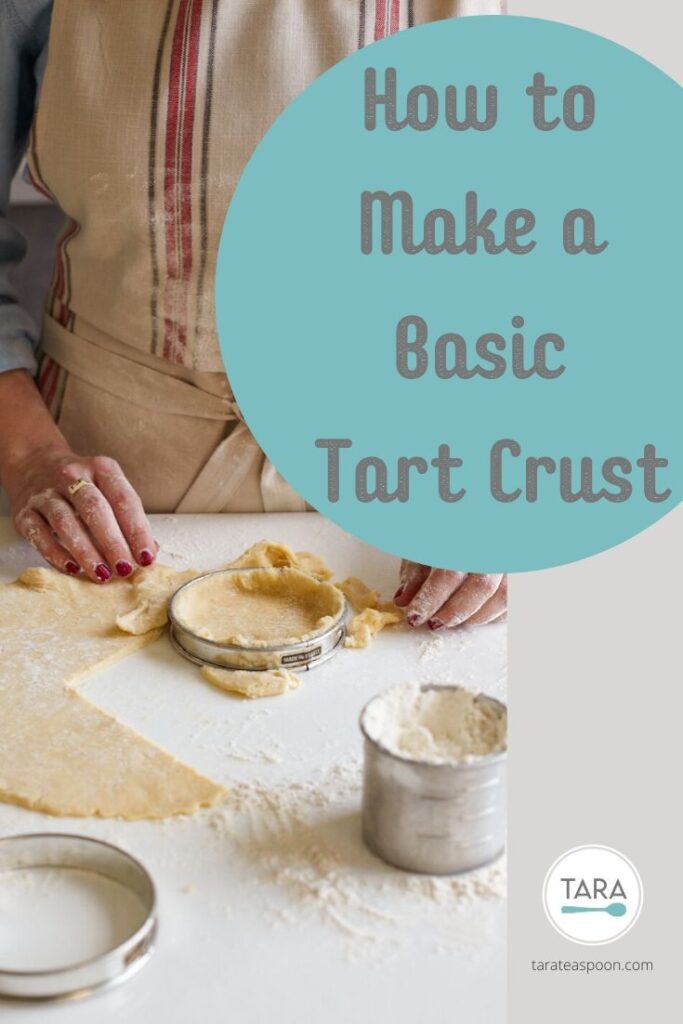
Tart rings are a fun way to make individual tarts. The rings come in all sizes, but I love these 4-inch rings. Take a look at the how-to below for the best way to fill these darling forms. Once the dough is in the ring, simply place it on a parchment-lined baking sheet to cook. There's no need for a removable bottom! (plus you won't be losing those bottoms as I tend to do).
📖 Recipe
Basic Tart Crust
Ingredients
- 2½ cups all-purpose flour
- 1 teaspoon kosher salt
- 2 sticks (1 cup) very cold unsalted butter (cut into pieces)
- 1 egg yolk
Instructions
- In a food processor combine flour and salt. Add butter and pulse until butter is the size of peas. Whisk together the you and ½ cup cold water. Drizzle the liquid into the food processor while pulsing to combine. Pulse until dough holds together when you pinch it, adding liquid as needed.
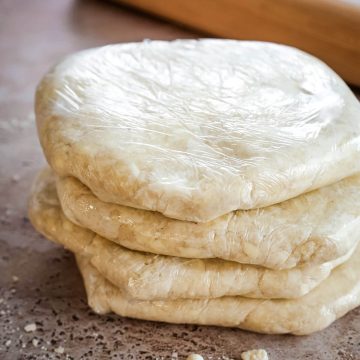
- Turn dough onto a sheet of plastic wrap and form into a ball. Divide in half and wrap each half in plastic wrap, flattening into a disk. Chill until cold or ready to use, about 30 min.
- On floured surface roll dough until it's 3/16 inch thick and large enough to fit in the tart pan. (Pinch edges of dough as you roll to prevent cracks and tears.) Place dough into tart pan; gently lift into place without stretching and press into pan. Use the heel of your hand or a rolling pin to trim the edges flush with the pan. If blind baking, freeze crust about 20 min.
- For blind baking, heat oven to 375°F. Line the chilled crust with aluminum foil into the corners. Fill with pie weights or dried beans and place on a baking sheet. Bake until crust is set and just starting to brown, about 30 min. Remove foil lining and weights and return crust to oven to brown evenly, 5 to 10 min more. Cool completely, then remove from tart pan.
Notes
Nutrition
Recipes for Pies and Tarts
Tara Teaspoon
I’ve been in food publishing for over 25 years, creating recipes & food-styling for magazines, books, television, food brands, & advertising. With two cookbooks under my belt and thousands of my recipes at your fingertips, I hope you'll be inspired to spend more time in the kitchen!
Recipe Tara Bench. Photographer Jennifer Causey. Originally published in LHJ 05/13

Mary Bench says
Love the how-to photos! Thank you!
Brittany Smart says
Love this recipe! Great basic for all your other yummy tarts