
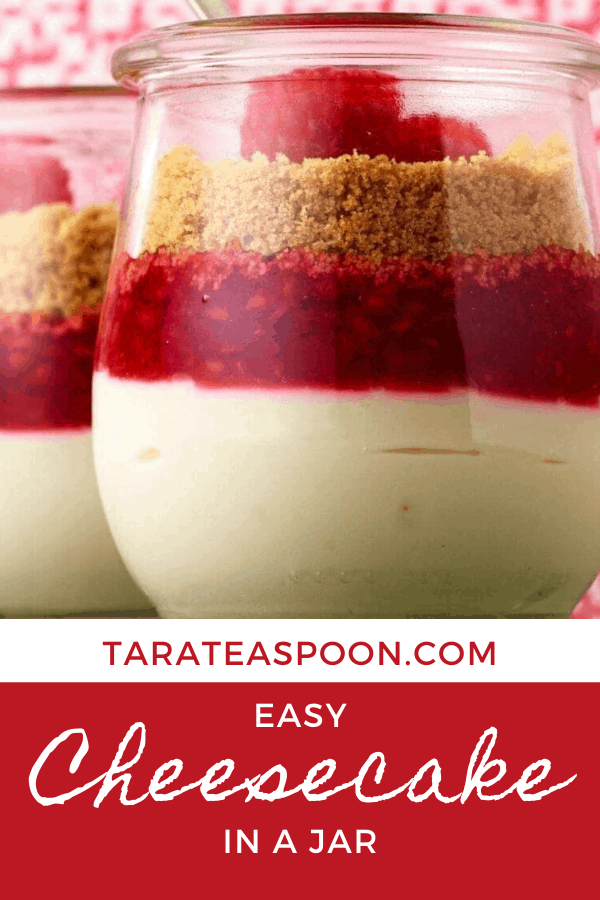
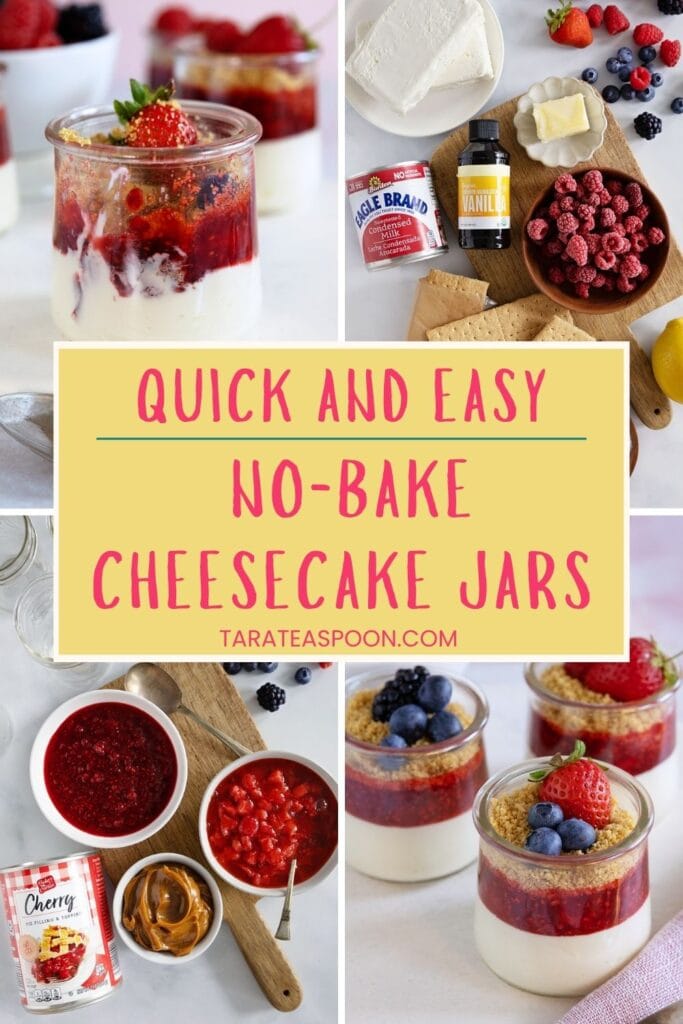
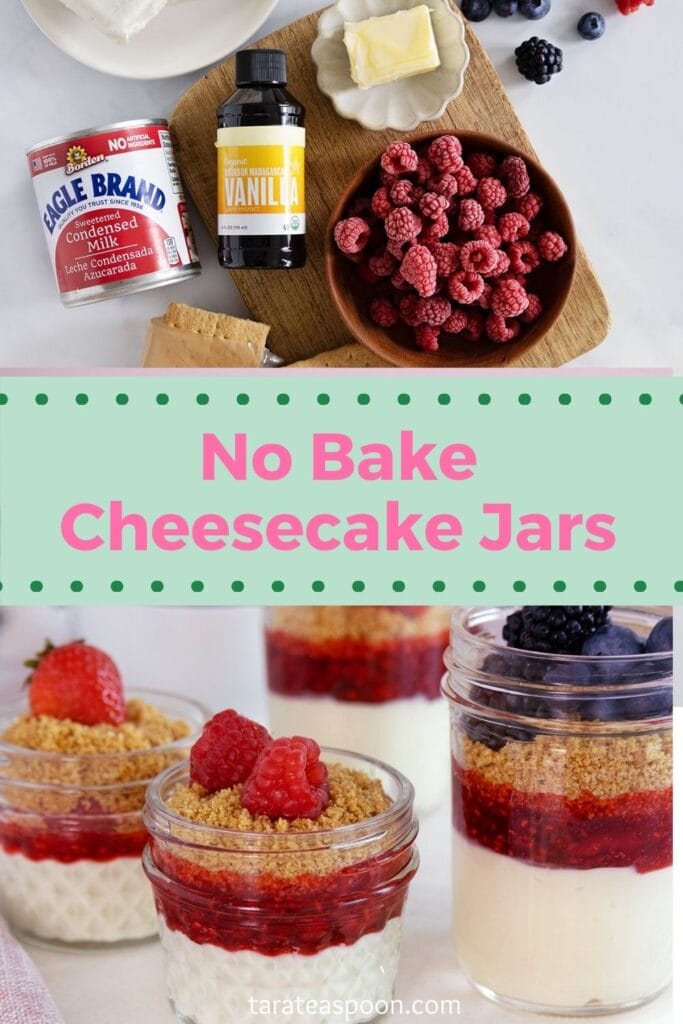
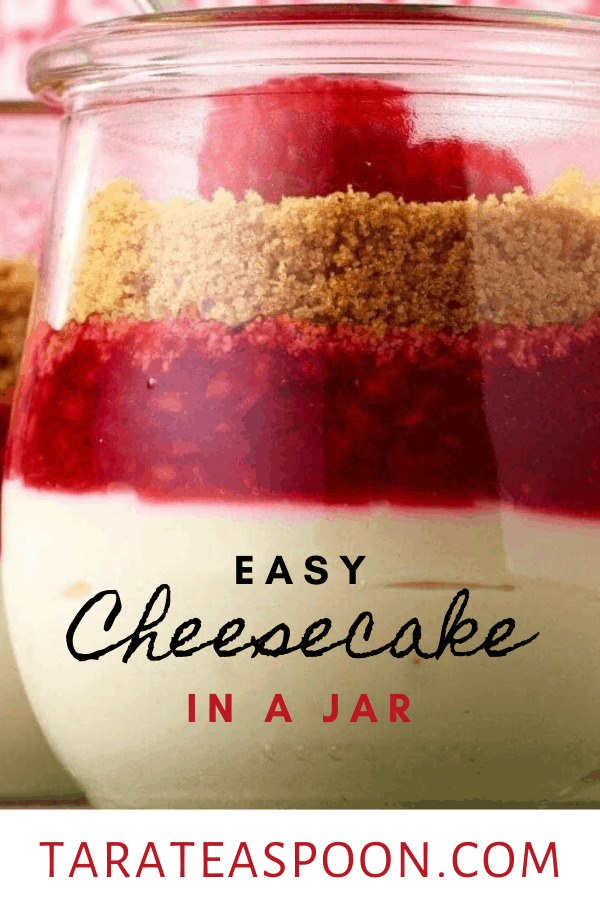
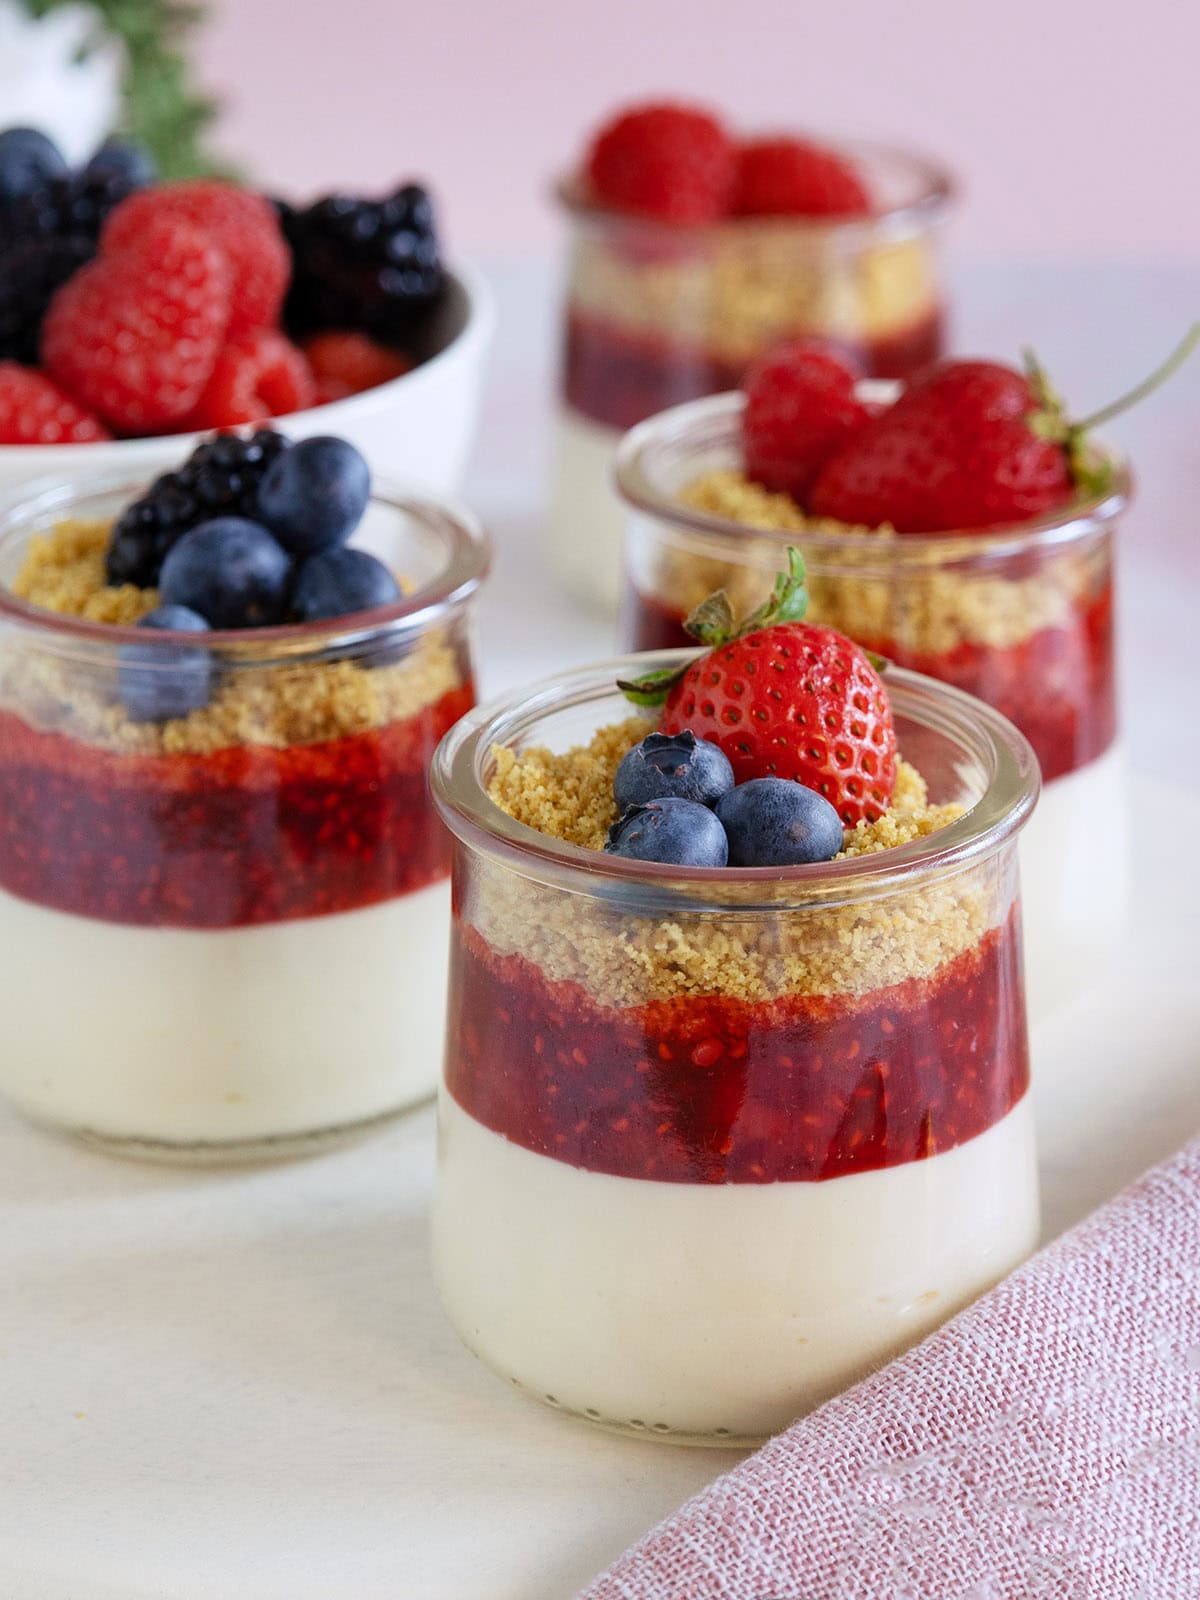
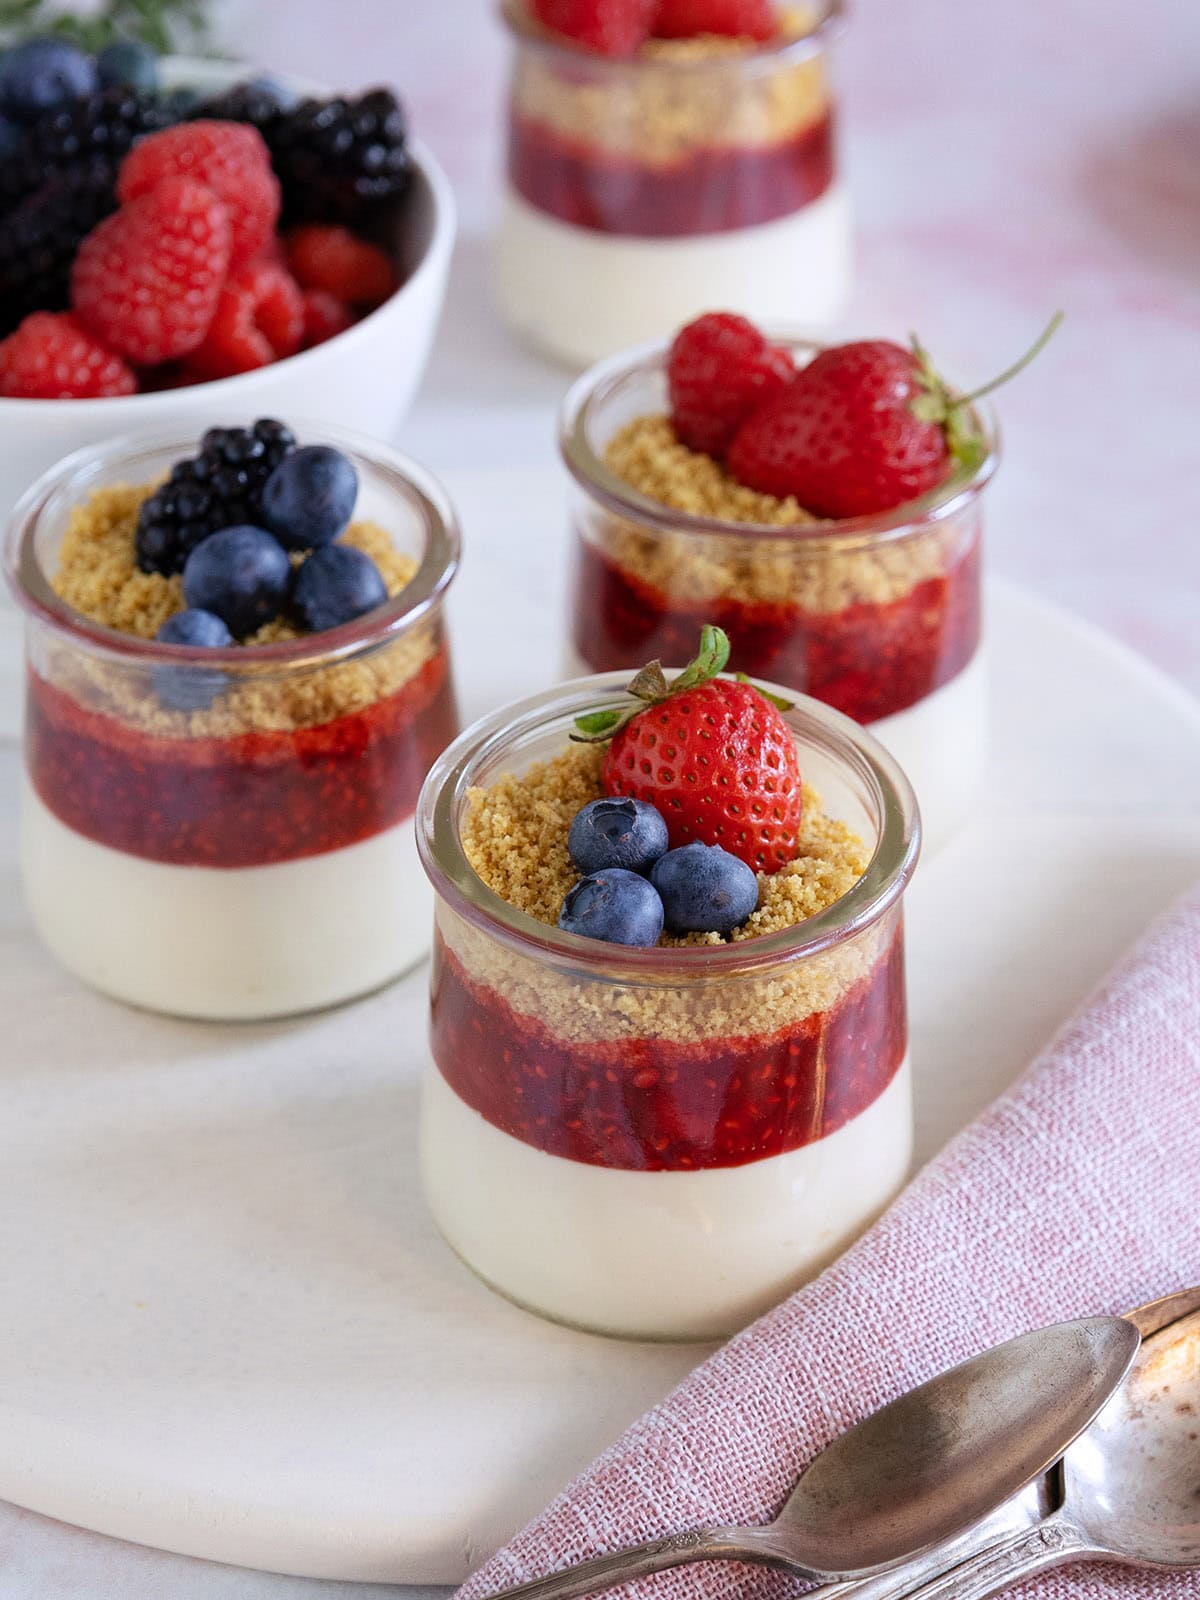
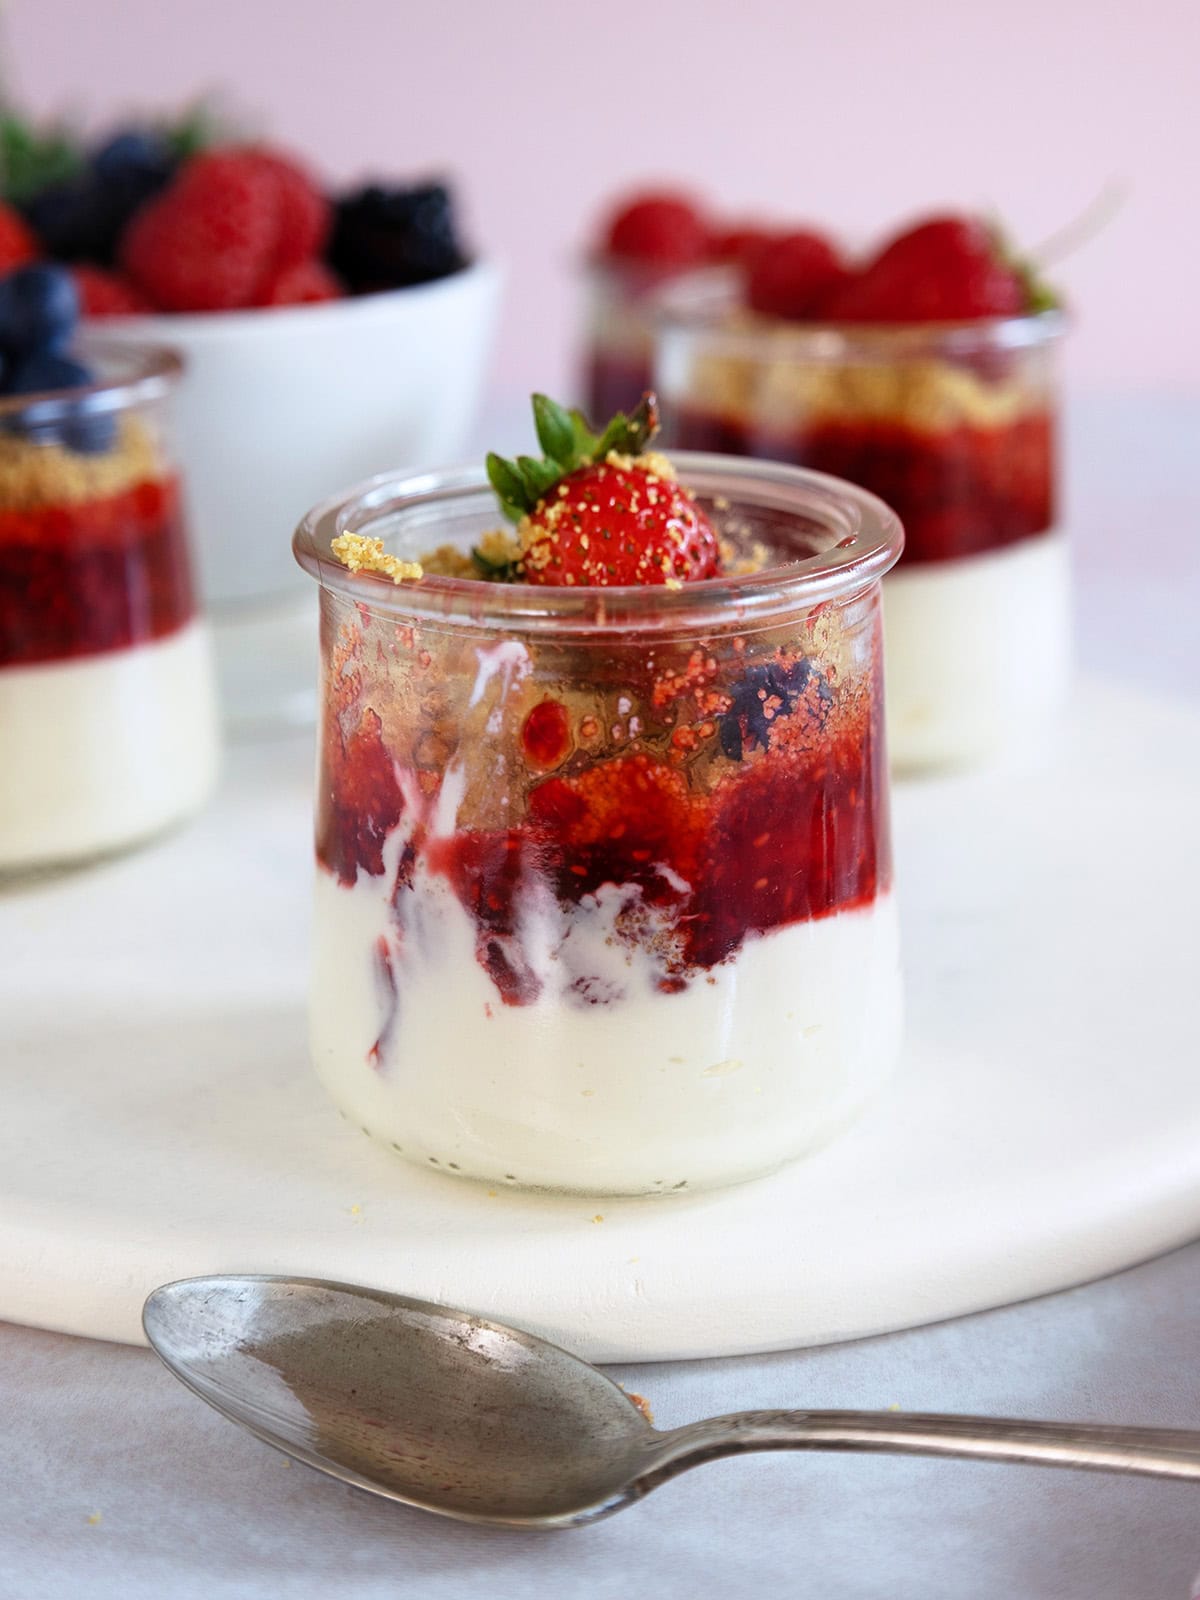
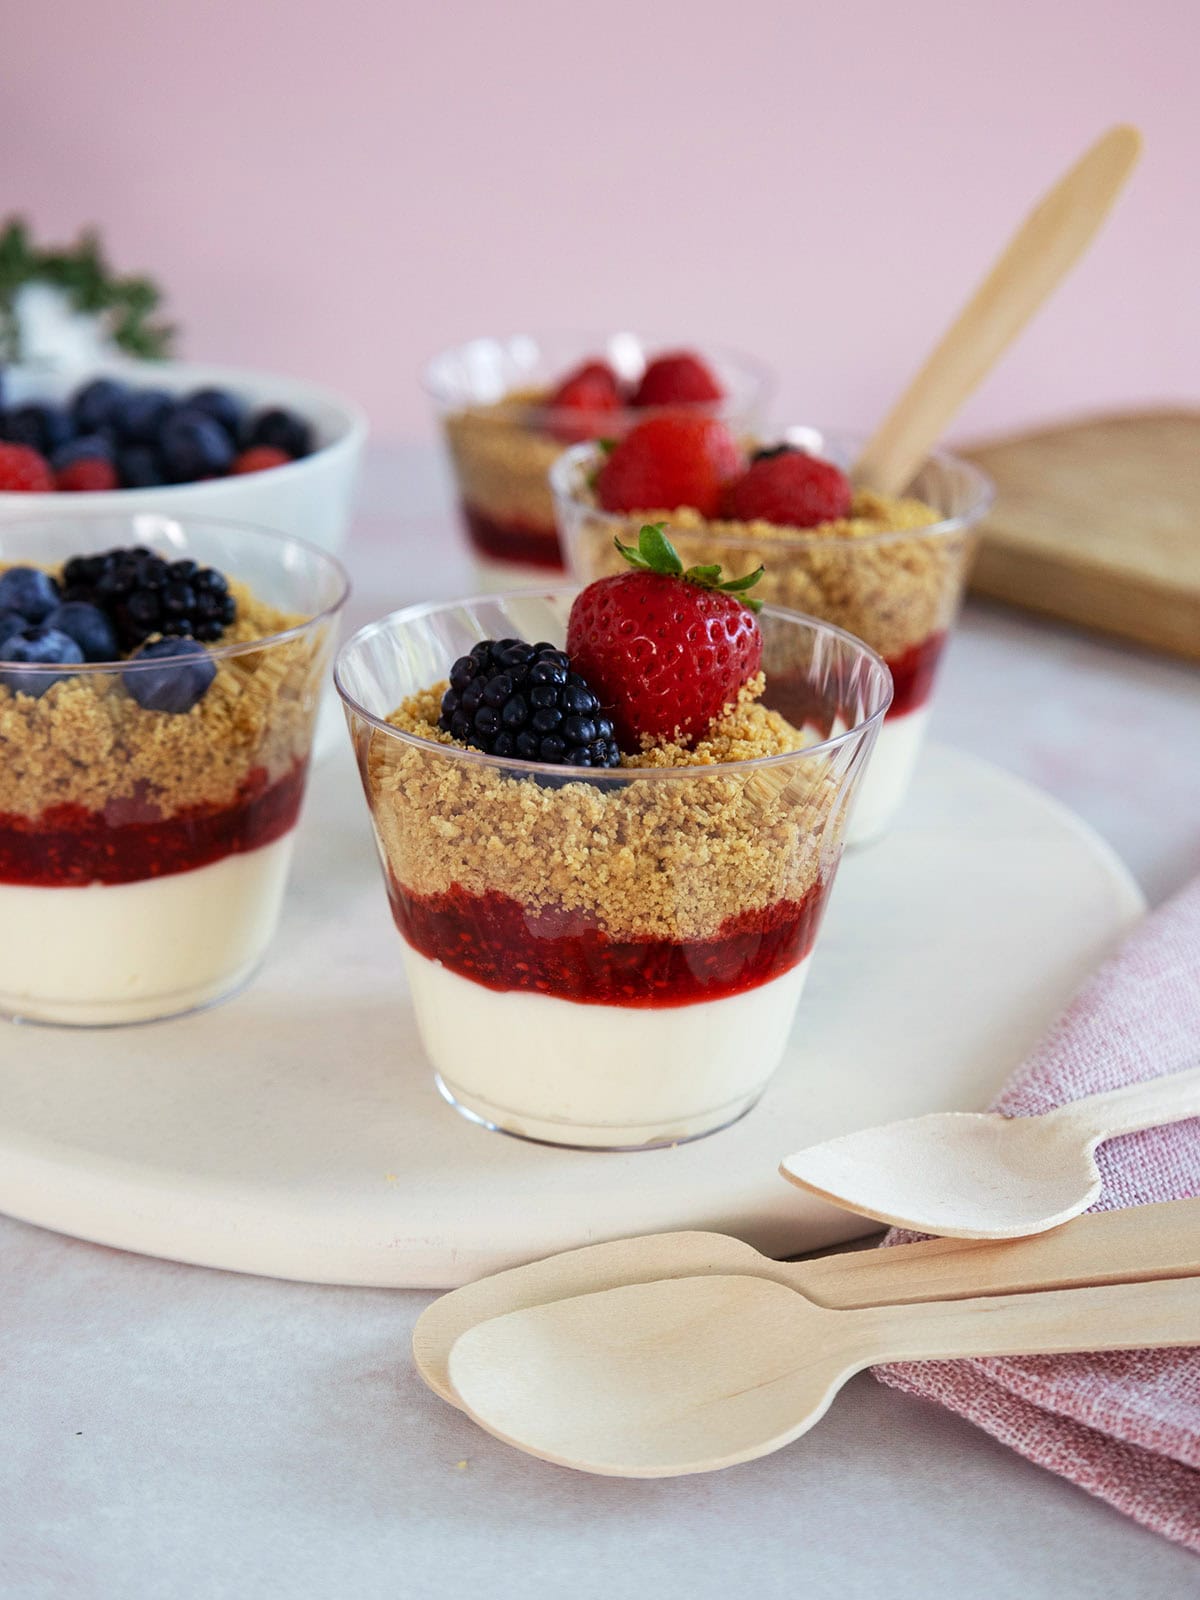
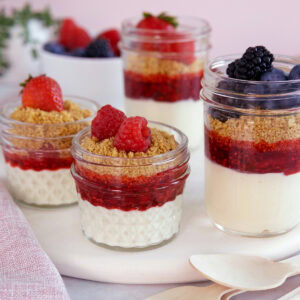
This no-bake Cheesecake in a Jar recipe is the easiest summer dessert you'll make all season. Each jar is layered with cheesecake filling, raspberry sauce, graham cracker crust, and fresh berries. They're easy to customize and perfect for BBQs, parties, and make-ahead entertaining.
What you should know first
This recipe uses sweetened condensed milk instead of eggs or gelatin to set the filling, which means no baking and no water bath required. You'll find tips here for customizing the containers, sauce, and toppings for any occasion.
⏱ Active Time: 30 minutes / Total: 1 hour (includes 20 to 30 minutes chilling). 🍽 Serves: 12. 🧾 Ingredients: 9. 📊 Difficulty: Easy. 🥛 Dietary: Vegetarian.
- Cream cheese must be fully softened before blending. Cold cream cheese will leave lumps in the filling.
- Chill the filling for 20 to 30 minutes before adding the sauce and crust layers for the cleanest results.
- Layer the graham cracker crust on top instead of the bottom. This keeps it crunchy in every bite.
- Make up to 2 days ahead. Add the crust and fresh fruit just before serving.
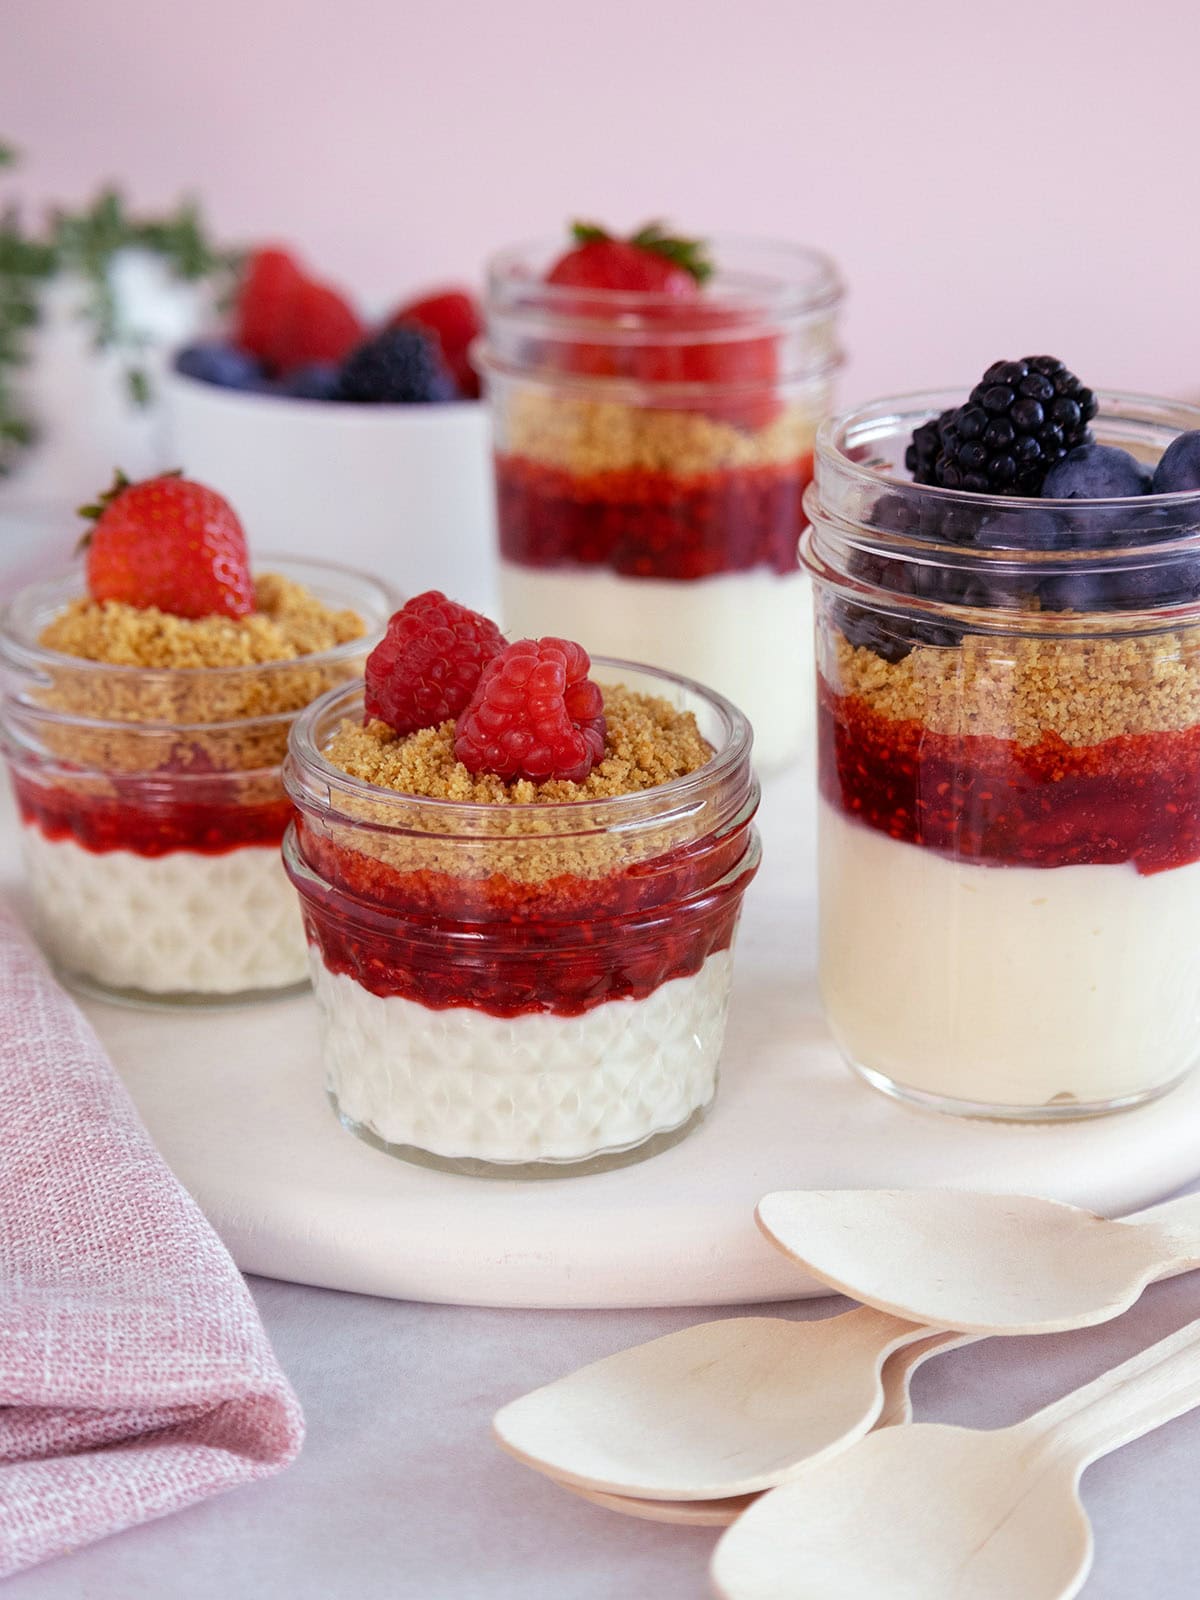
- Works in 8-ounce or 4-ounce containers including jars, ramekins, or disposable cocktail cups.
Generated with AI and experts from the Tara Teaspoon team.
Individual cheesecake-in-a-jar desserts are perfect for any occasion worth celebrating — or any time you've got a crowd to feed! They travel beautifully to BBQs, holiday parties, baby showers, and picnics, and they make everyone feel like they got something special.
I love cheesecake, and no-bake cheesecake is even better! If you're like me these individual cheesecake treats are about to become your new favorite dessert.
No oven, no fuss, just really good cheesecake
My individual no-bake cheesecakes are different than others you've seen. I add plenty of lemon juice to the cream cheese mixture for a filling that's perfectly tangy and sweet.
I also put the crust on top so you get a little crunch of graham cracker in every bite. That swap also prevents the crust from getting soggy and lets you prep ahead (just add the crust and fresh fruit before serving).
No water bath, no baking, and no tricky cooling process. Just a handful of simple ingredients and a few minutes of prep for a homemade no-bake cheesecake that is so much better than anything from the refrigerated section of the grocery store. Even kids can help make them!
These little jars are also fun to customize for special occasions. Make them in pink and red for Valentine's Day, change up the berry toppings for Mother's Day, or dress them in red, white, and blue for the Fourth of July.
A dessert this versatile never gets old and there's still so much to love about these cheesecake jars:
- No-bake and truly simple: No eggs, no sour cream, no whipping cream, and no oven required. A base of cream cheese and sweetened condensed milk sets up perfectly for a rich, creamy cheesecake with minimal effort.
- Better than store-bought: Homemade no-bake cheesecake filling uses a few clean, simple ingredients, while store-bought is loaded with a long list of unnecessary ones.
- Made for entertaining: Individual jars are portable, make-ahead friendly, and endlessly customizable. Design your dessert from top to bottom, from the dessert sauce to the toppings to the container! Make a big batch ahead of time and they are ready to serve whenever your guests arrive.
If you love the idea of dessert in a jar, my Almond Joy in a Jar is another fun treat worth trying.
Jump to:
- What you should know first
- No oven, no fuss, just really good cheesecake
- Ingredients and variations
- How to make cheesecake in a jar
- Tara's tips for perfect no-bake cheesecake
- How to customize your cheesecake jars
- Equipment
- Make-ahead and storage
- FAQ
- More great dessert recipes
- 📖 Full Recipe
- 💬 Comments & Reviews
This is SO delicious!!! It is easy to do and an instant hit.
- Jenseena
Ingredients and variations
You're just a few ingredients away from beautiful individual dessert jars. Here are some helpful tips to help you gather everything you'll need. See recipe card for full list of ingredients and quantities.
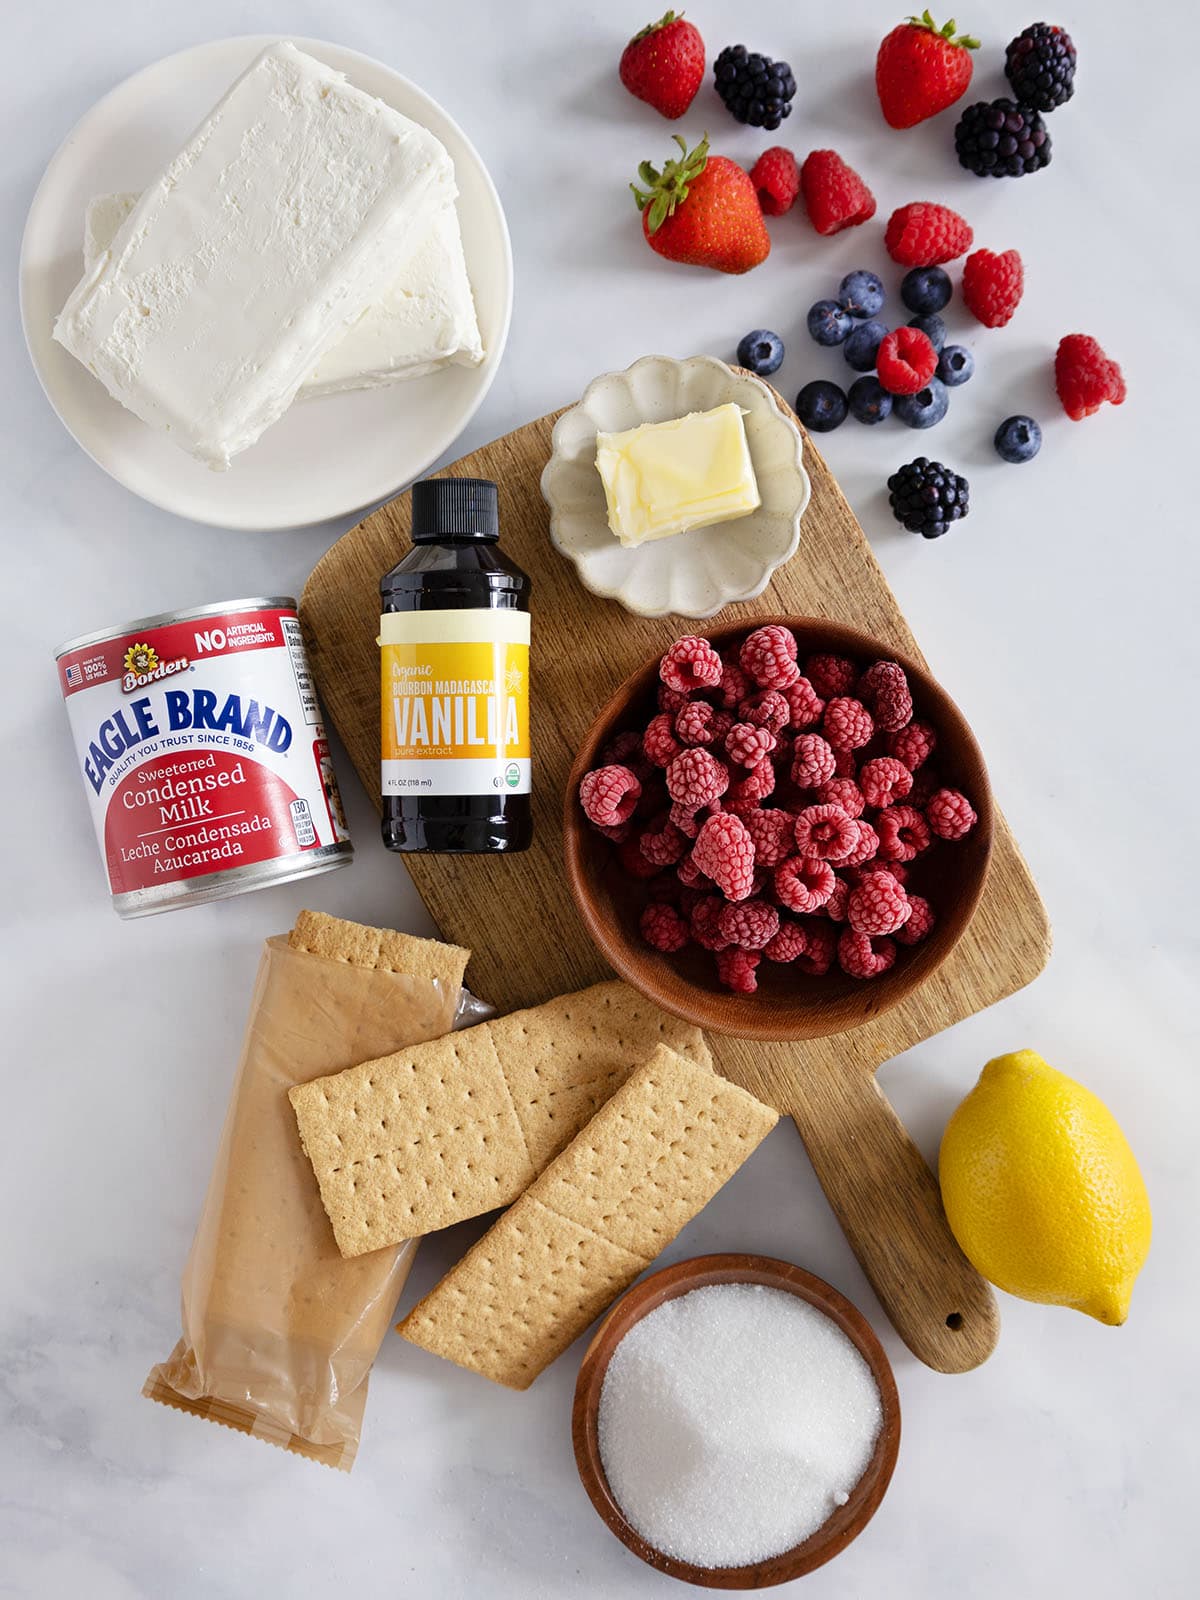
- Whole graham crackers: I crushed my own graham crackers in the food processor. You could use a rolling pin as well, or even get the already-crushed crumbs at the store. Feel free to substitute gluten-free crackers.
- Melted butter
- Cream cheese: Use the 8-ounce, full-fat bricks of cream cheese. Low-fat or whipped tub varieties will not work well for this recipe.
- Sweetened condensed milk: Make sure to get sweetened condensed milk. The sugar in the milk helps the no-bake filling to set.
- Lemon juice
- Vanilla extract
- Raspberries: You can use frozen or fresh raspberries to make the dessert sauce.
- Granulated sugar
- Fresh berries: I used a mix of blueberries, raspberries, blackberries, and strawberries for the topping.
How to make cheesecake in a jar
It doesn't get better than mini cheesecakes in little jars. Let's make these individual desserts together with this helpful step-by-step tutorial. See recipe card for comprehensive directions.
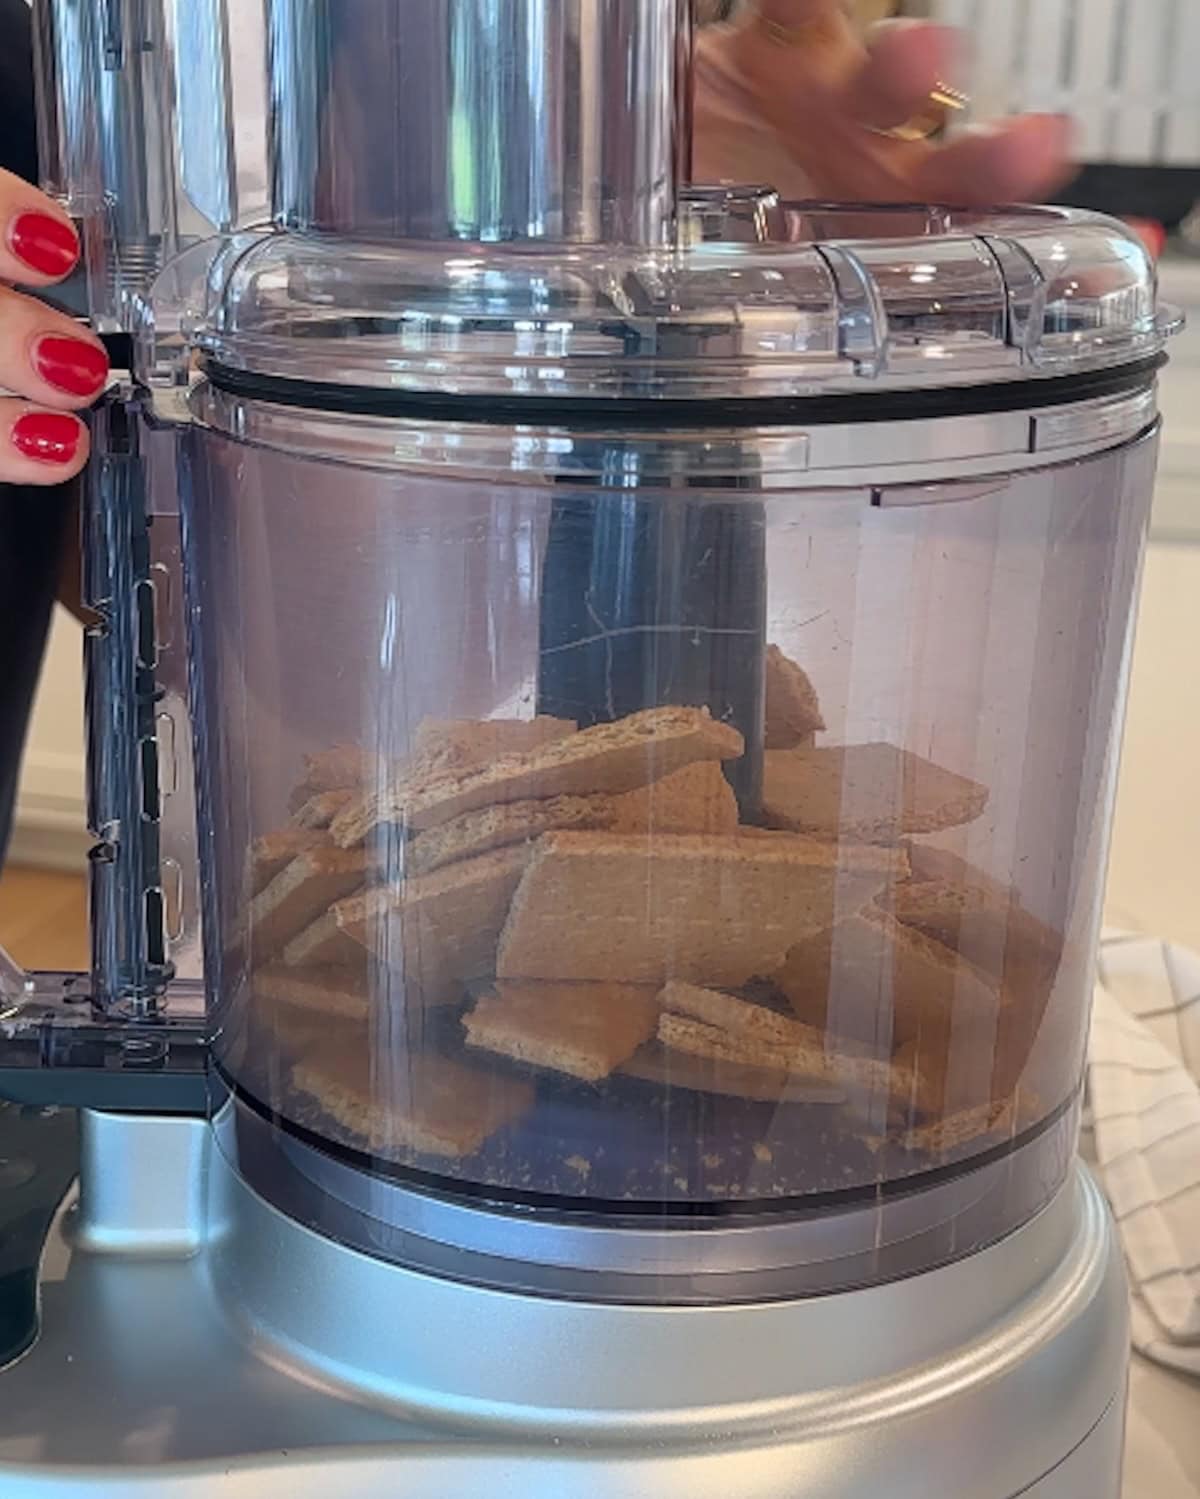
- Step 1: Pulse the graham crackers into fine crumbs in a food processor (or place them in a plastic bag and crush them with a rolling pin).
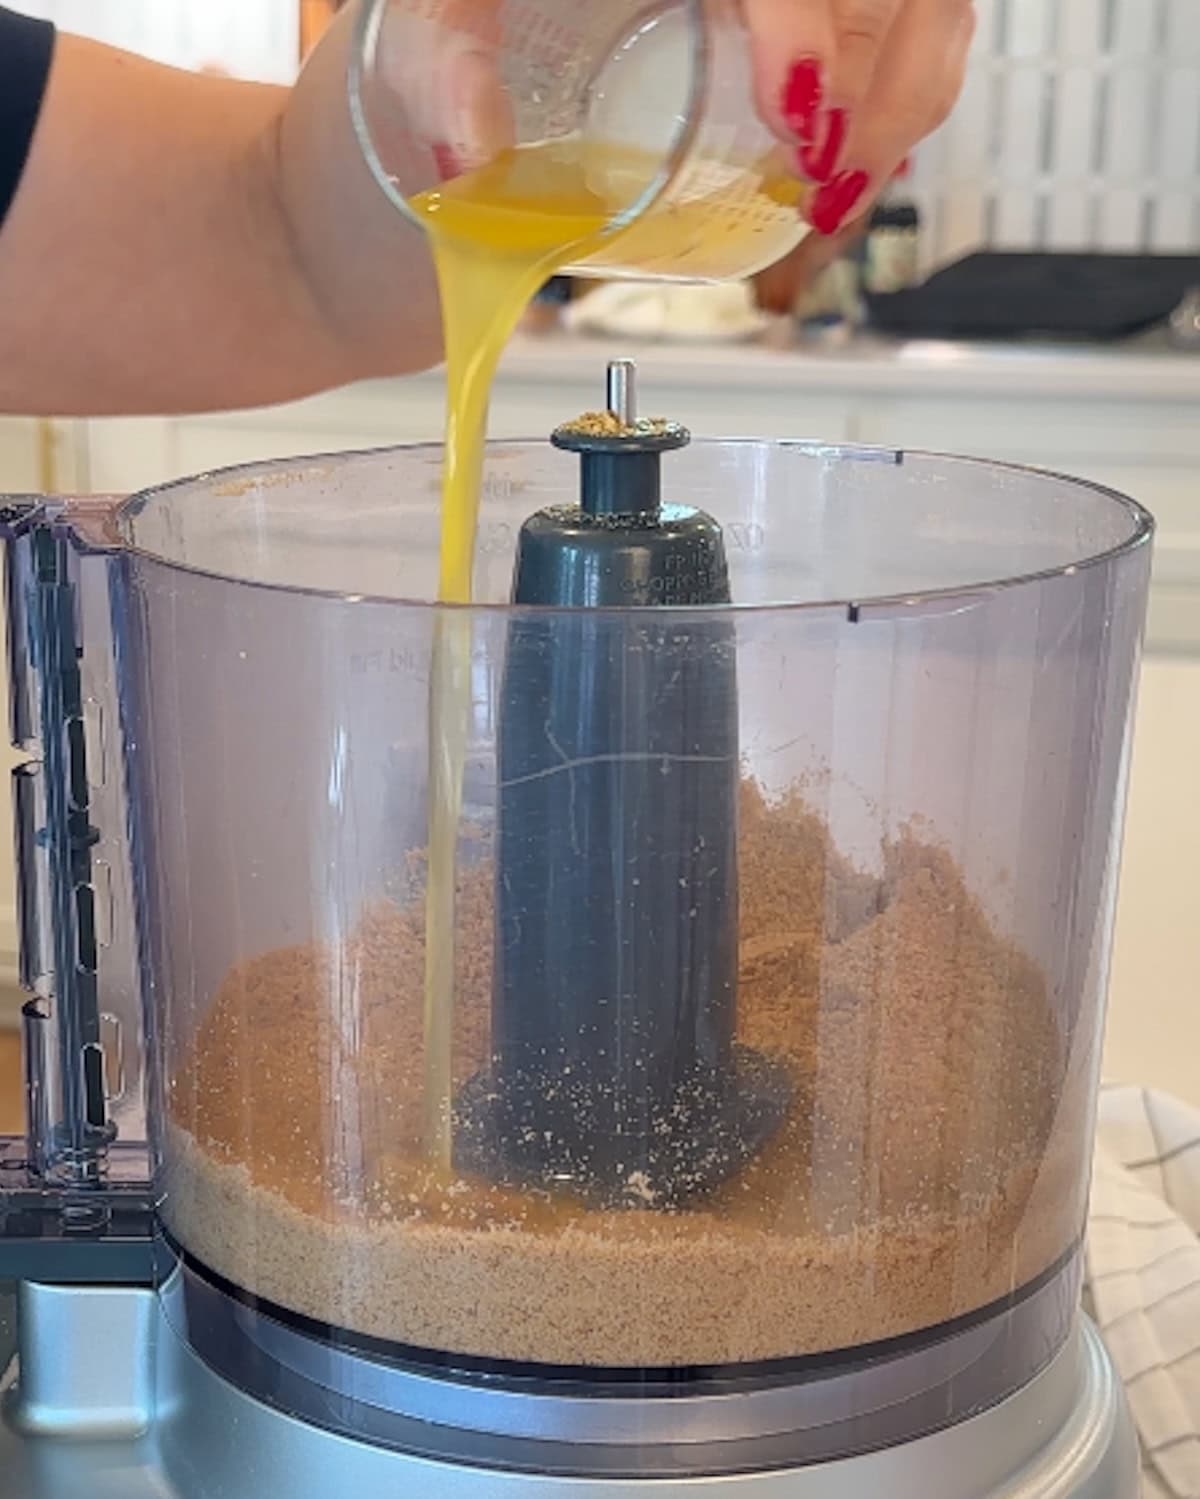
- Step 2: Add the melted butter and pulse to combine. The mixture should have the consistency of wet sand. Set it aside.
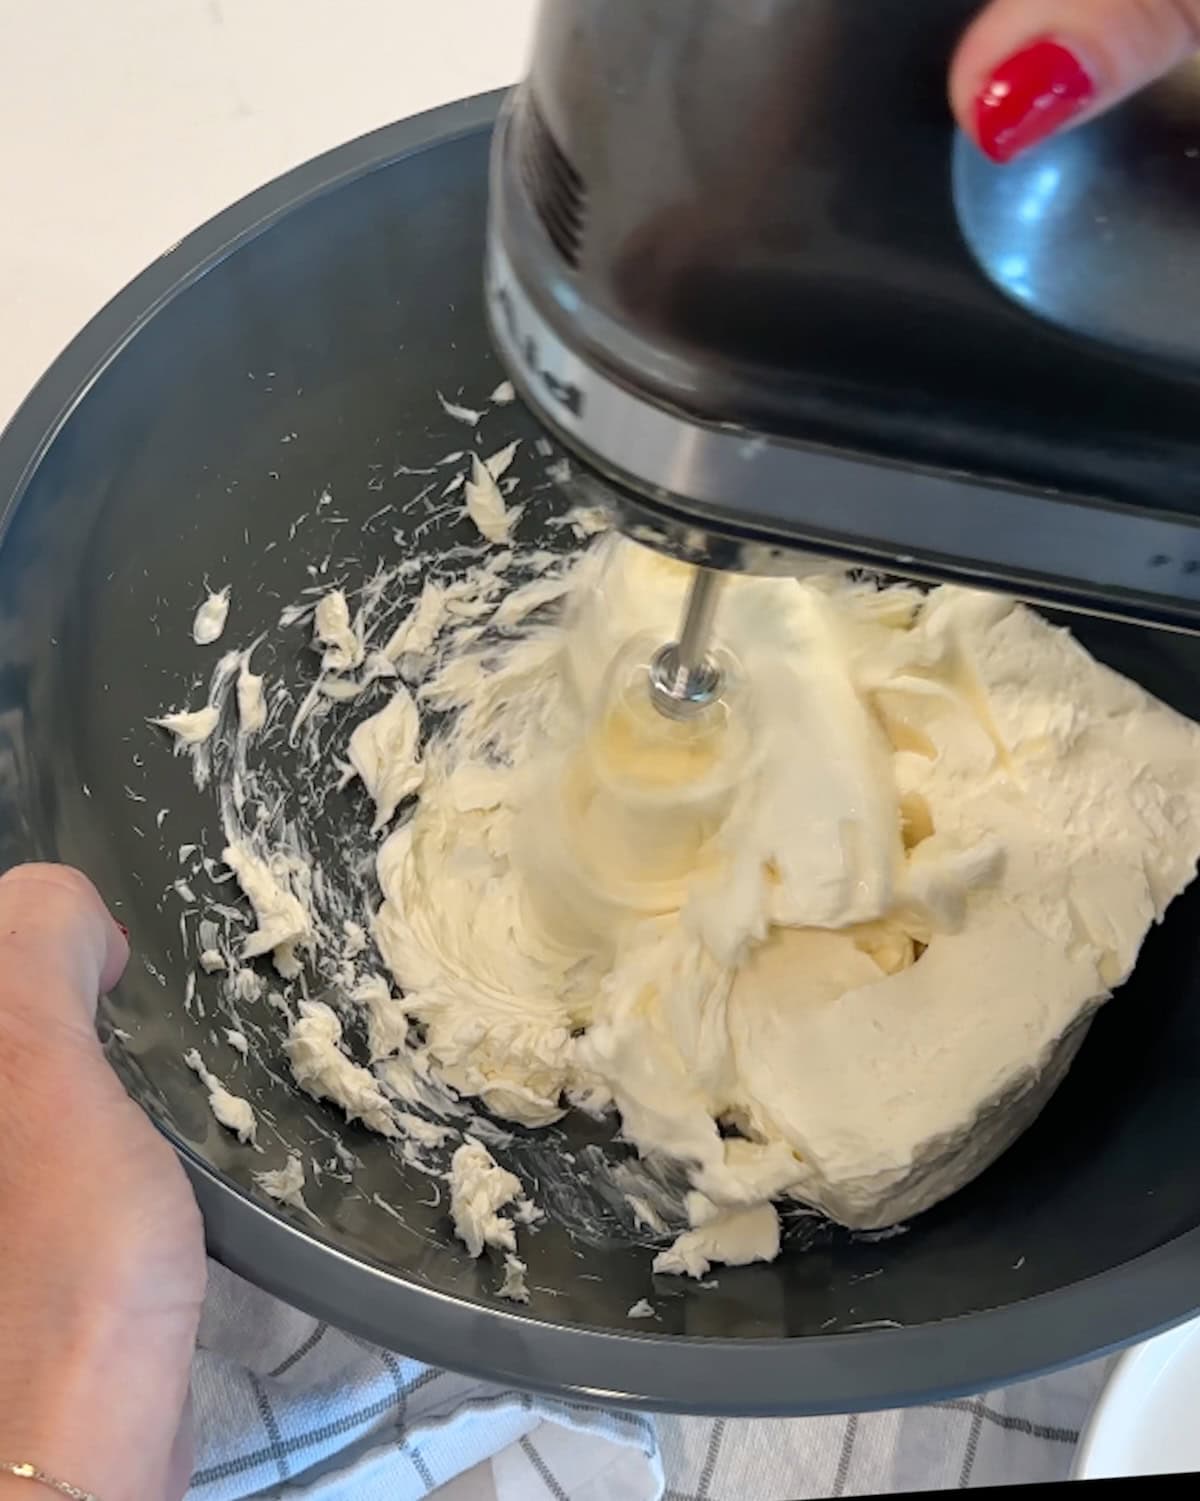
- Step 3: Blend the softened cream cheese until it is totally smooth, about 4 minutes.
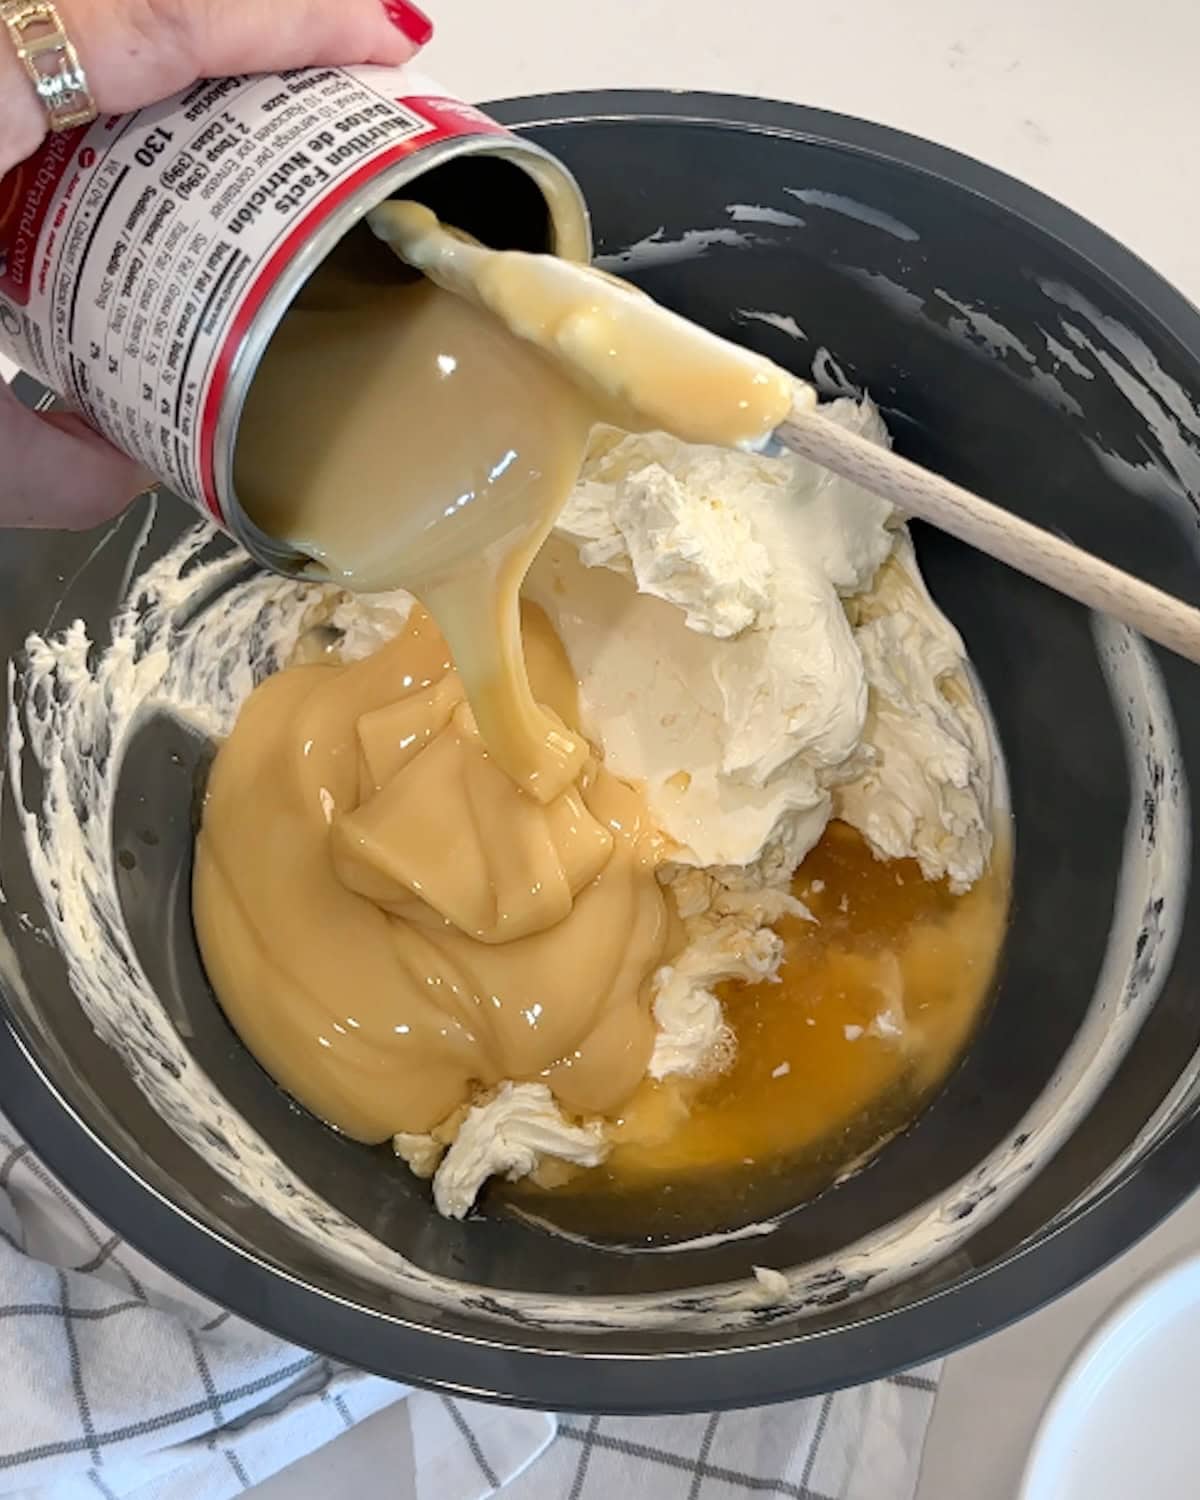
- Step 4: Add the sweetened condensed milk, vanilla, and lemon juice.
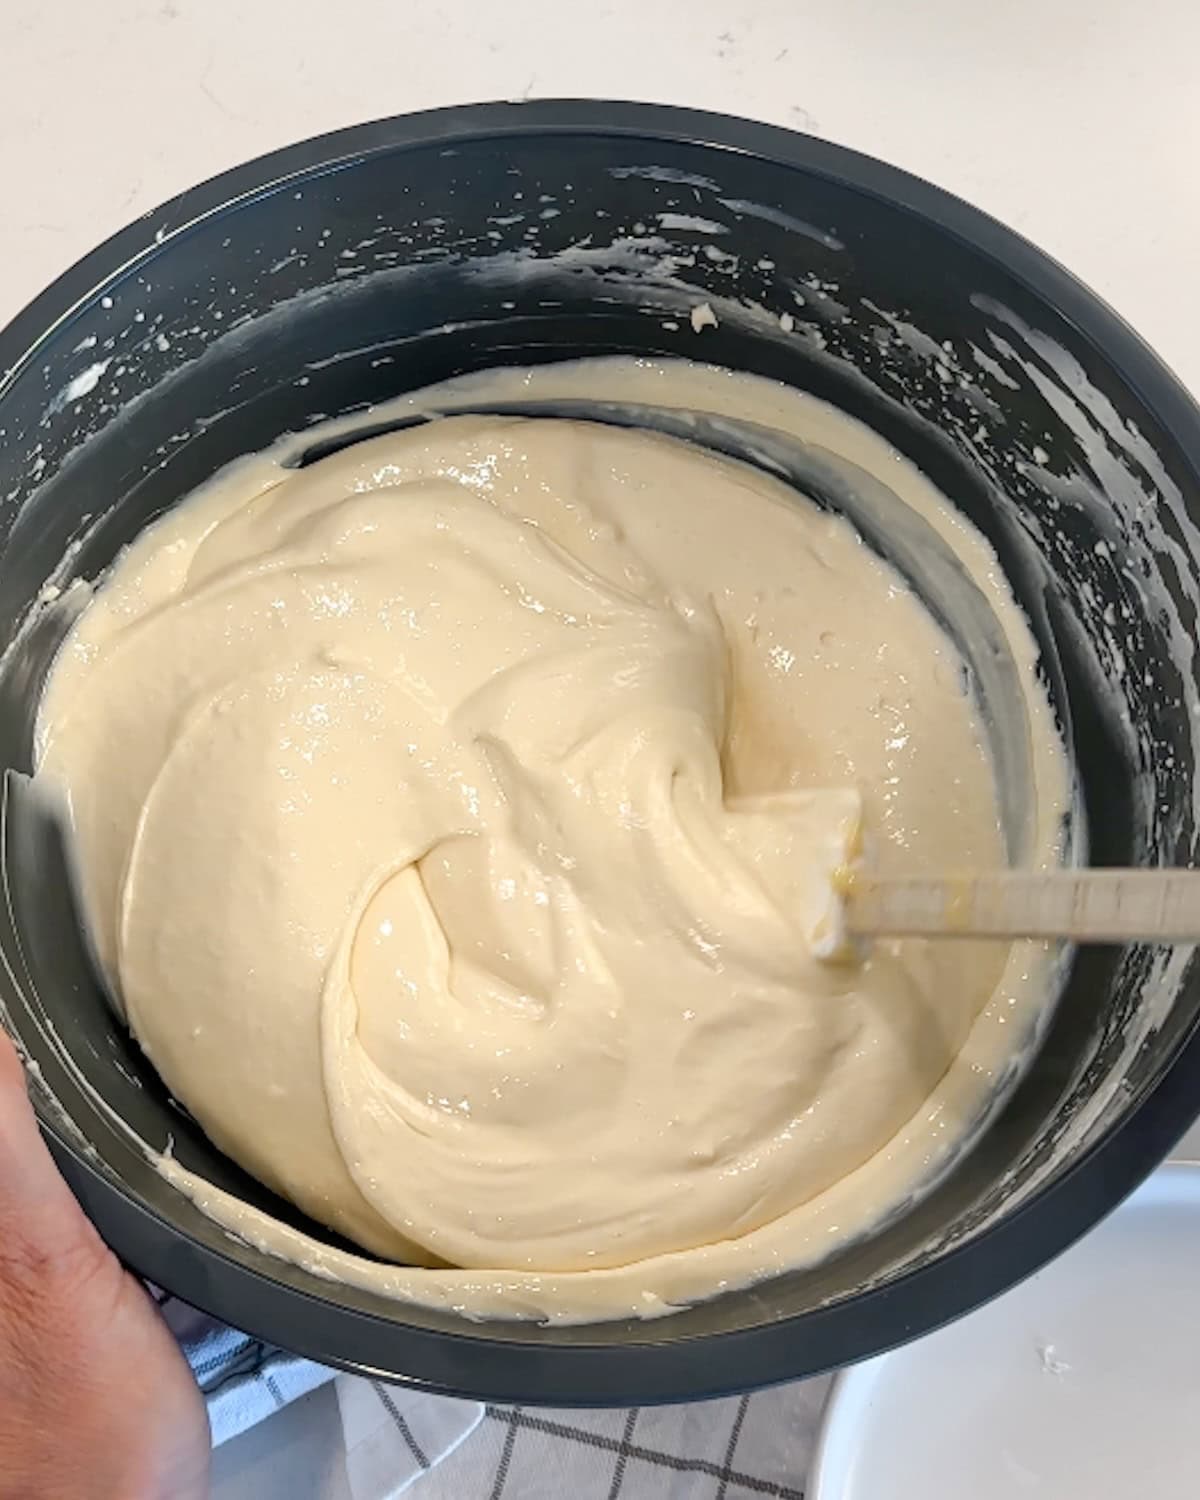
- Step 5: Blend until smooth, scraping down the sides and bottom occasionally.
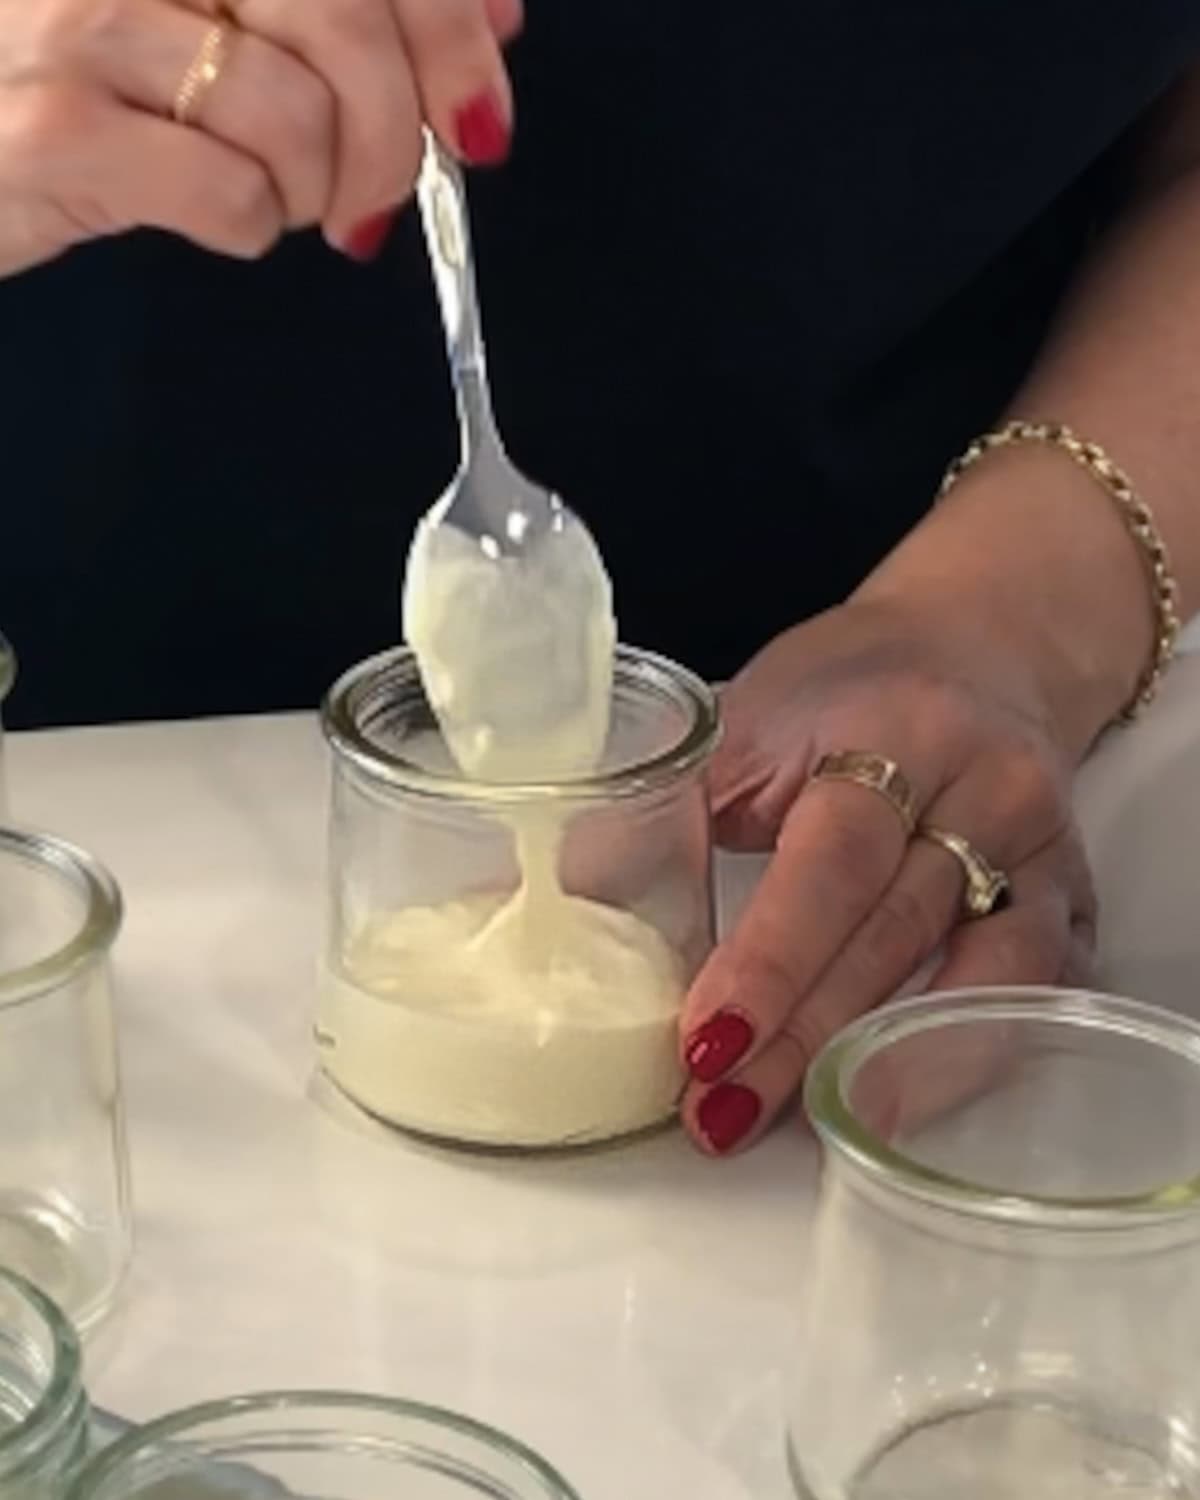
- Step 6: Begin filling your 8-ounce jars with about ⅓ cup cheesecake filling and place them in the fridge to set. See how to adjust the filling for different containers below.
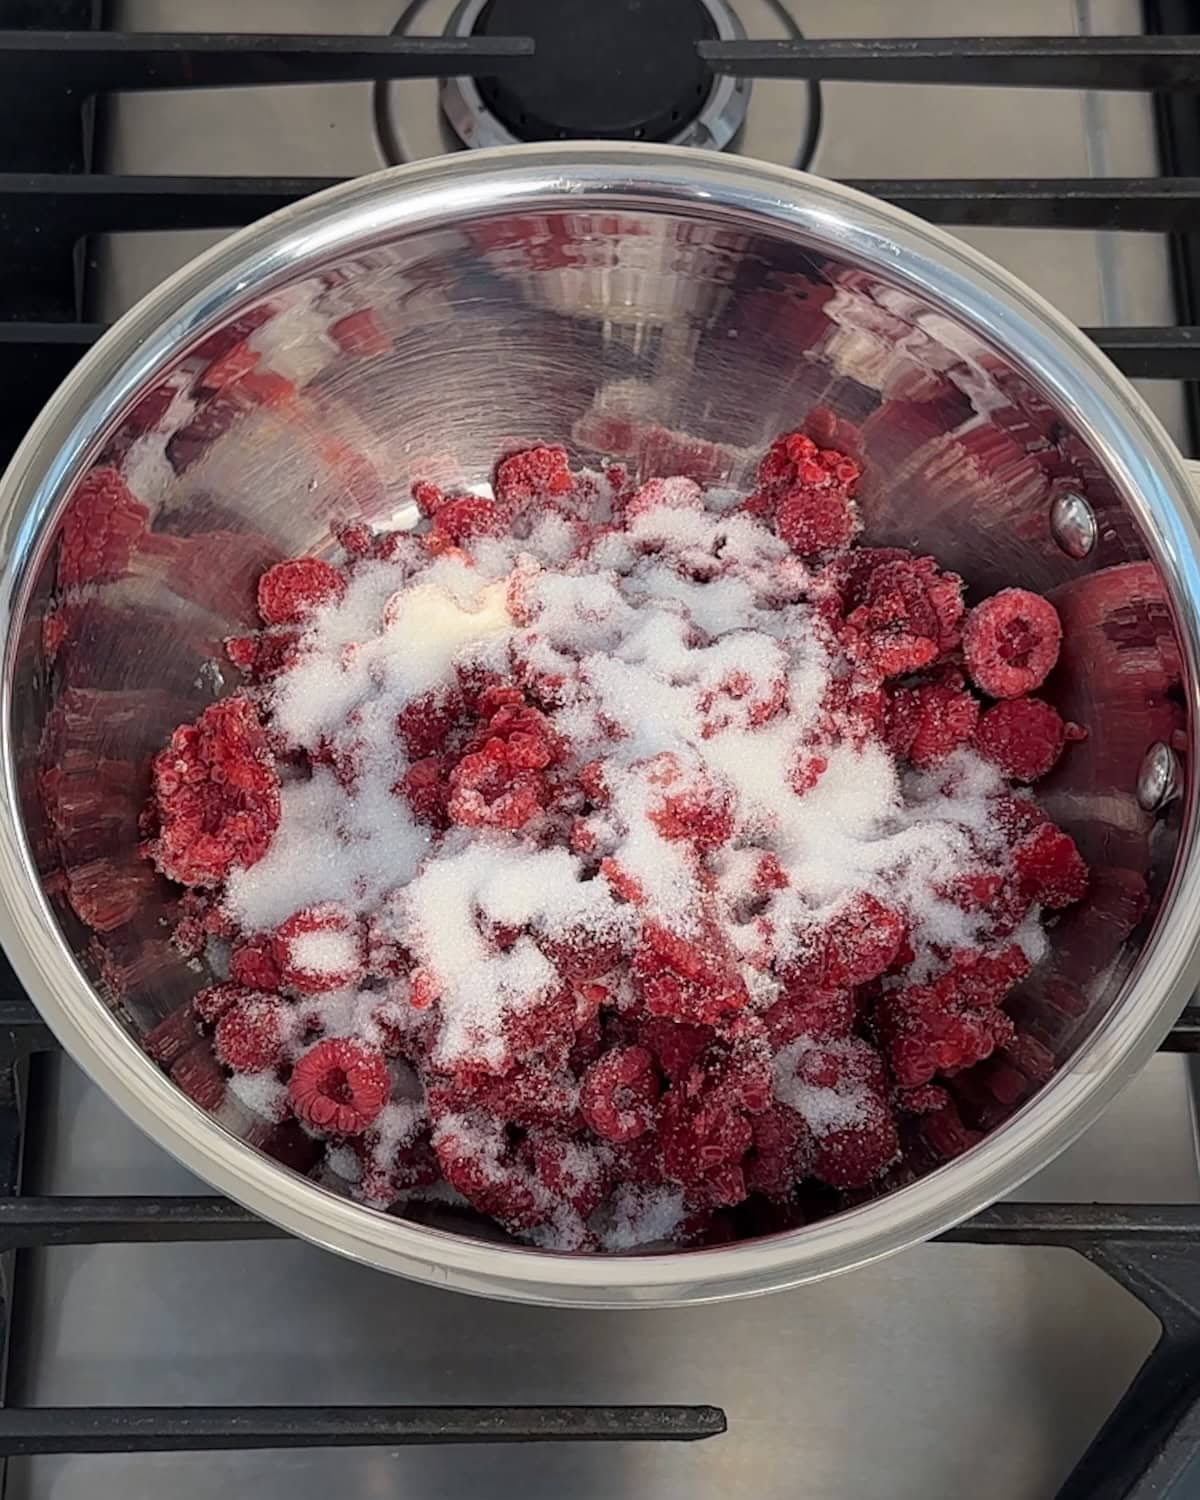
- Step 7: Add the raspberries and sugar to a small saucepan.
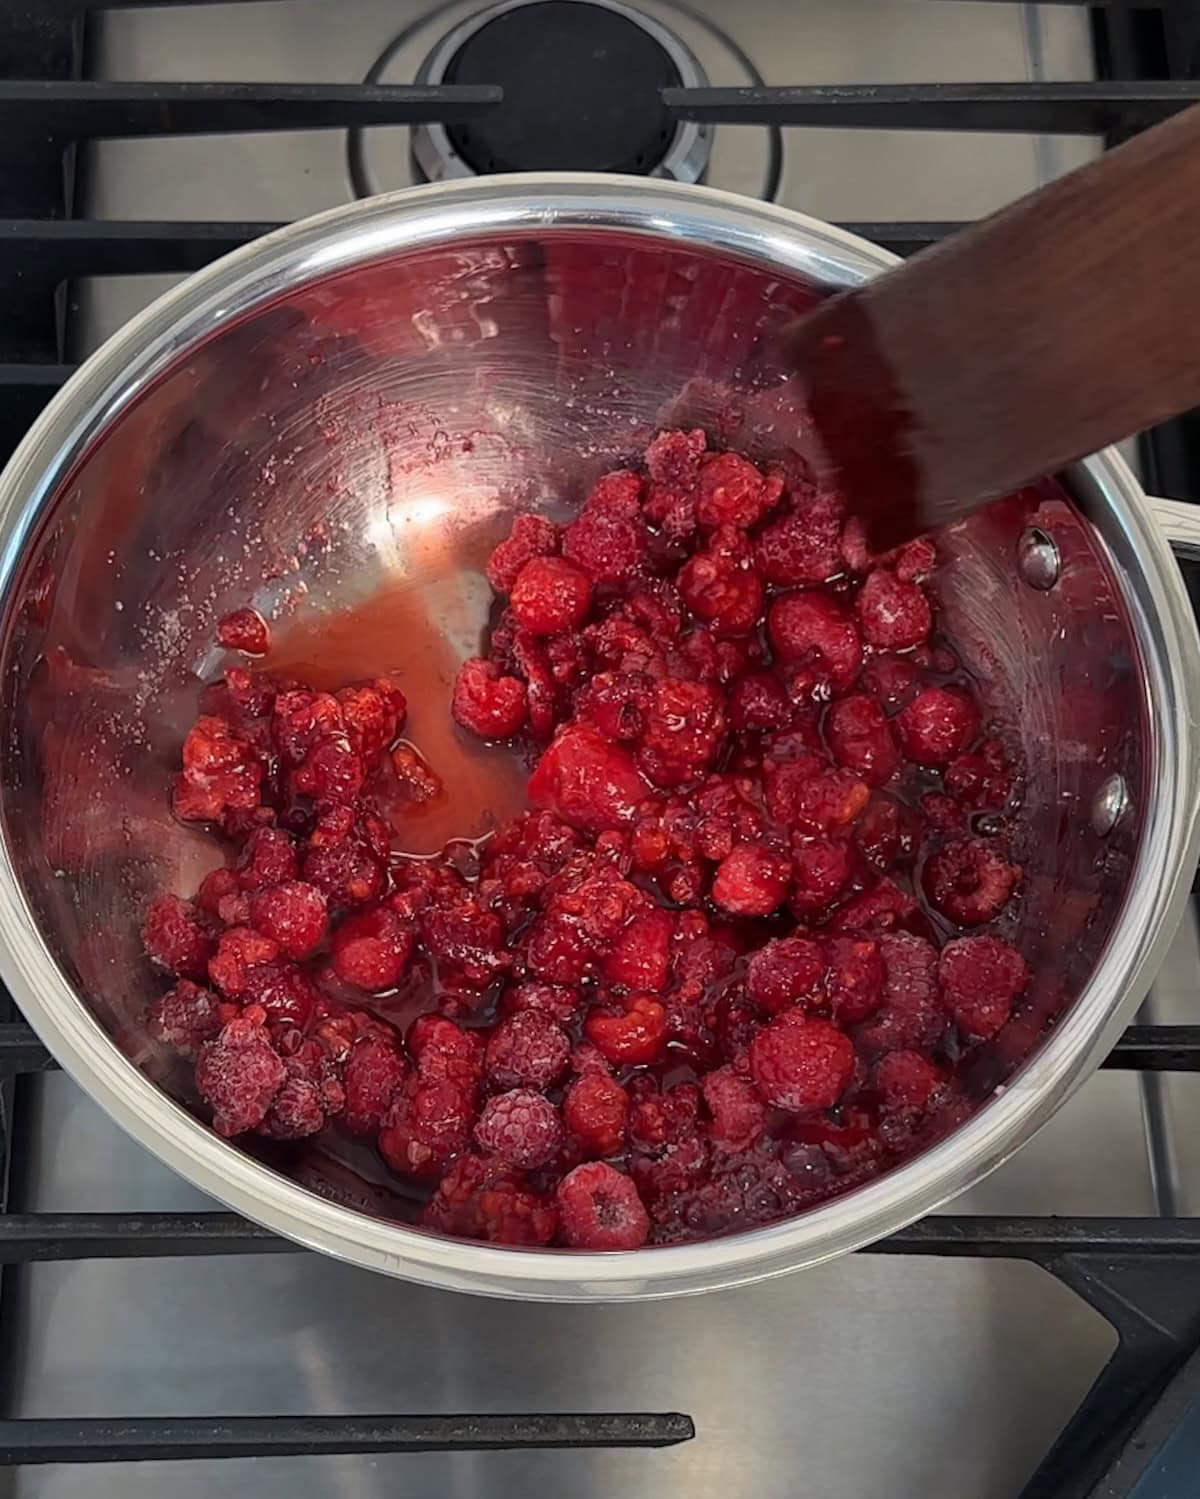
- Step 8: Stir to combine over the heat.
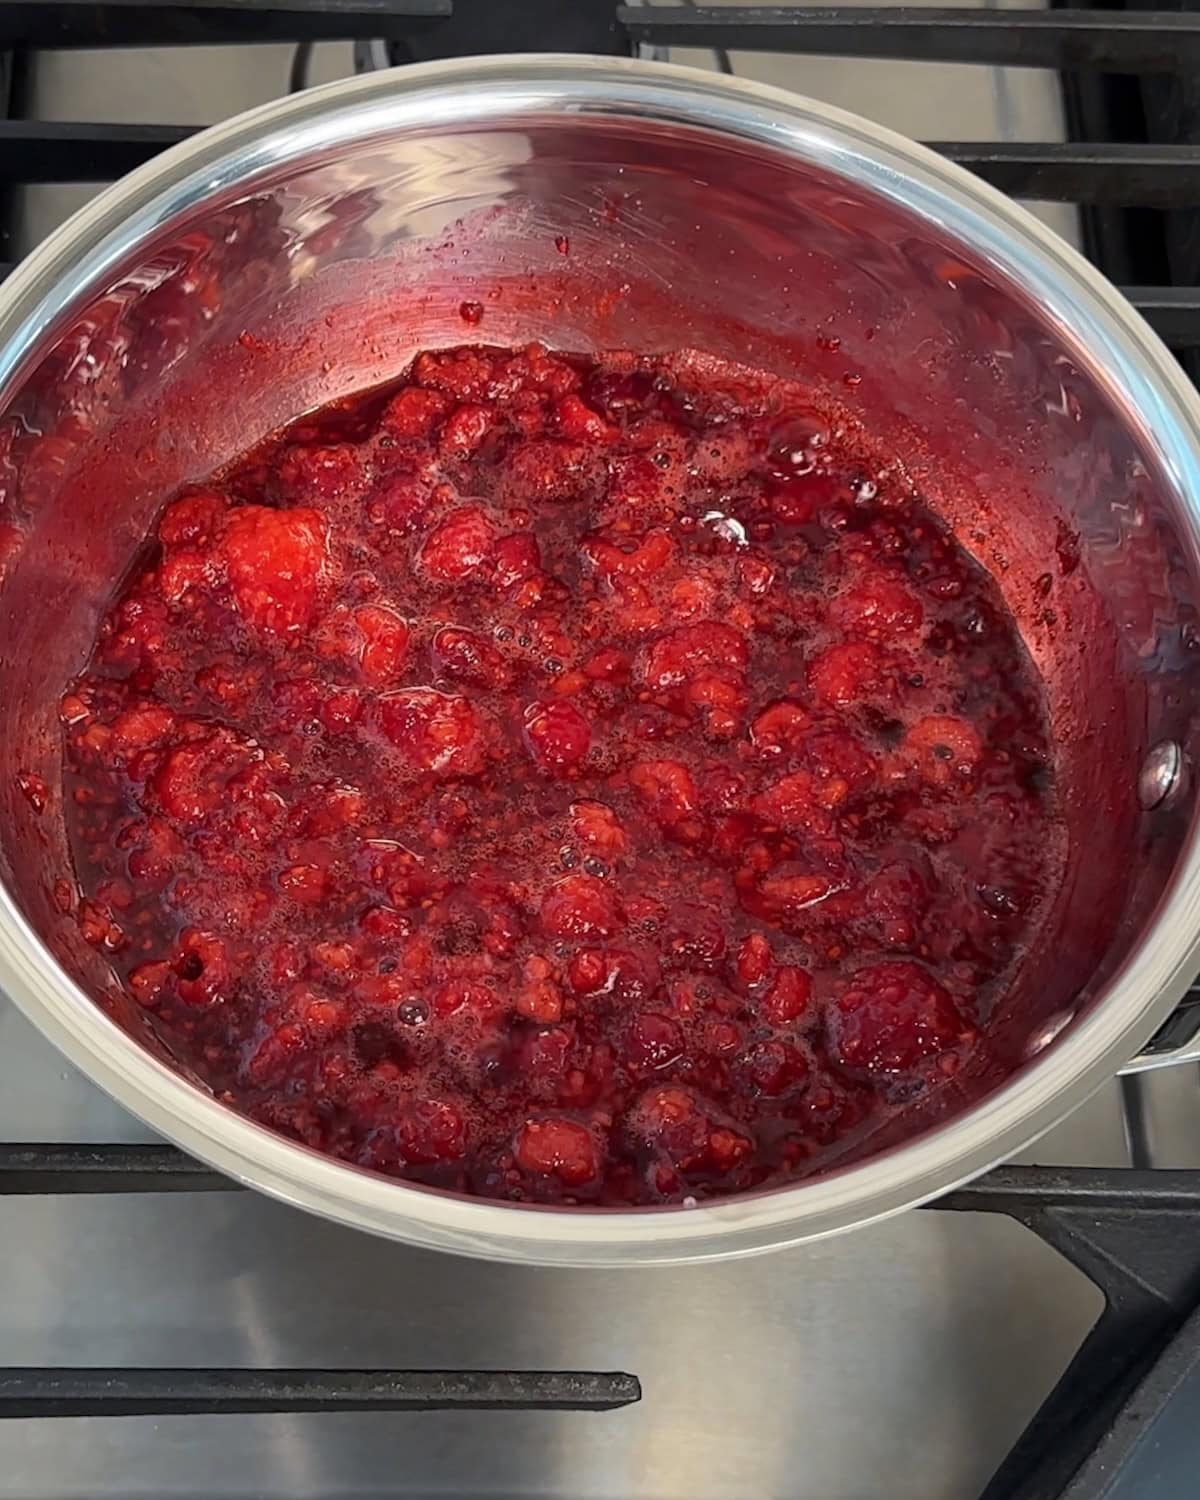
- Step 9: Bring to a simmer and remove from heat to cool. To speed up cooling, place the pan over a bowl of ice water.
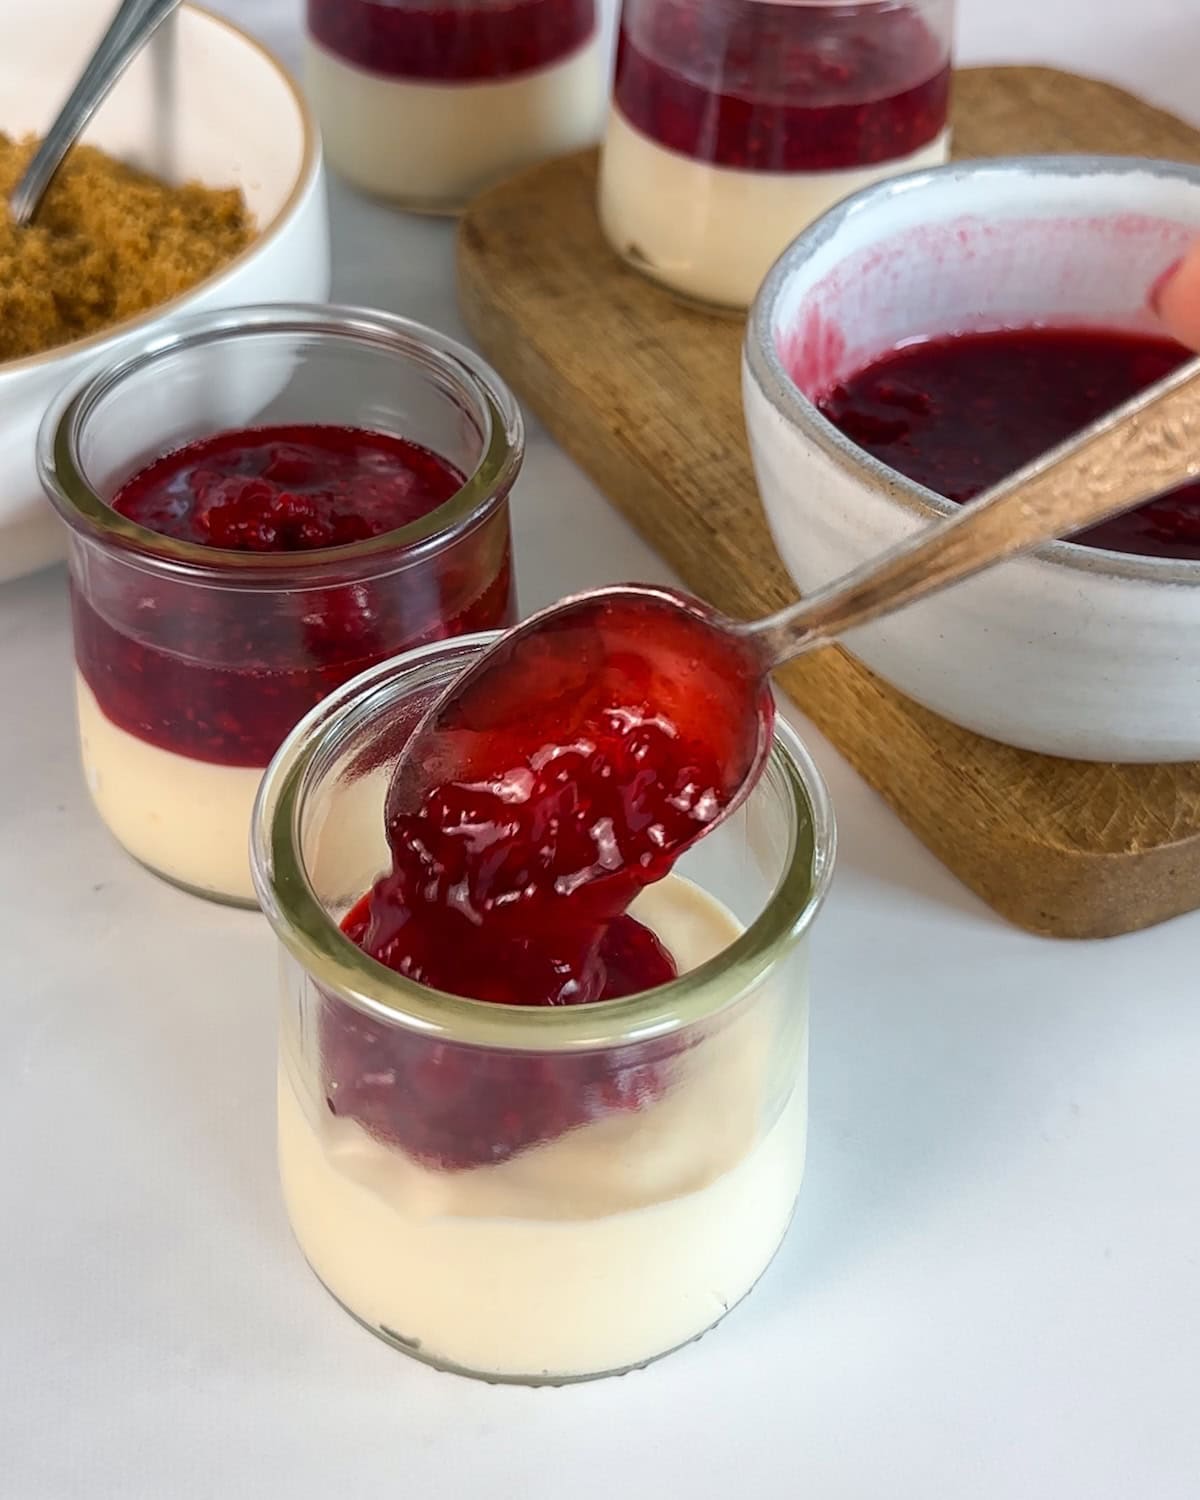
- Step 10: Once the sauce is completely cool, spoon a layer into each of your jars.
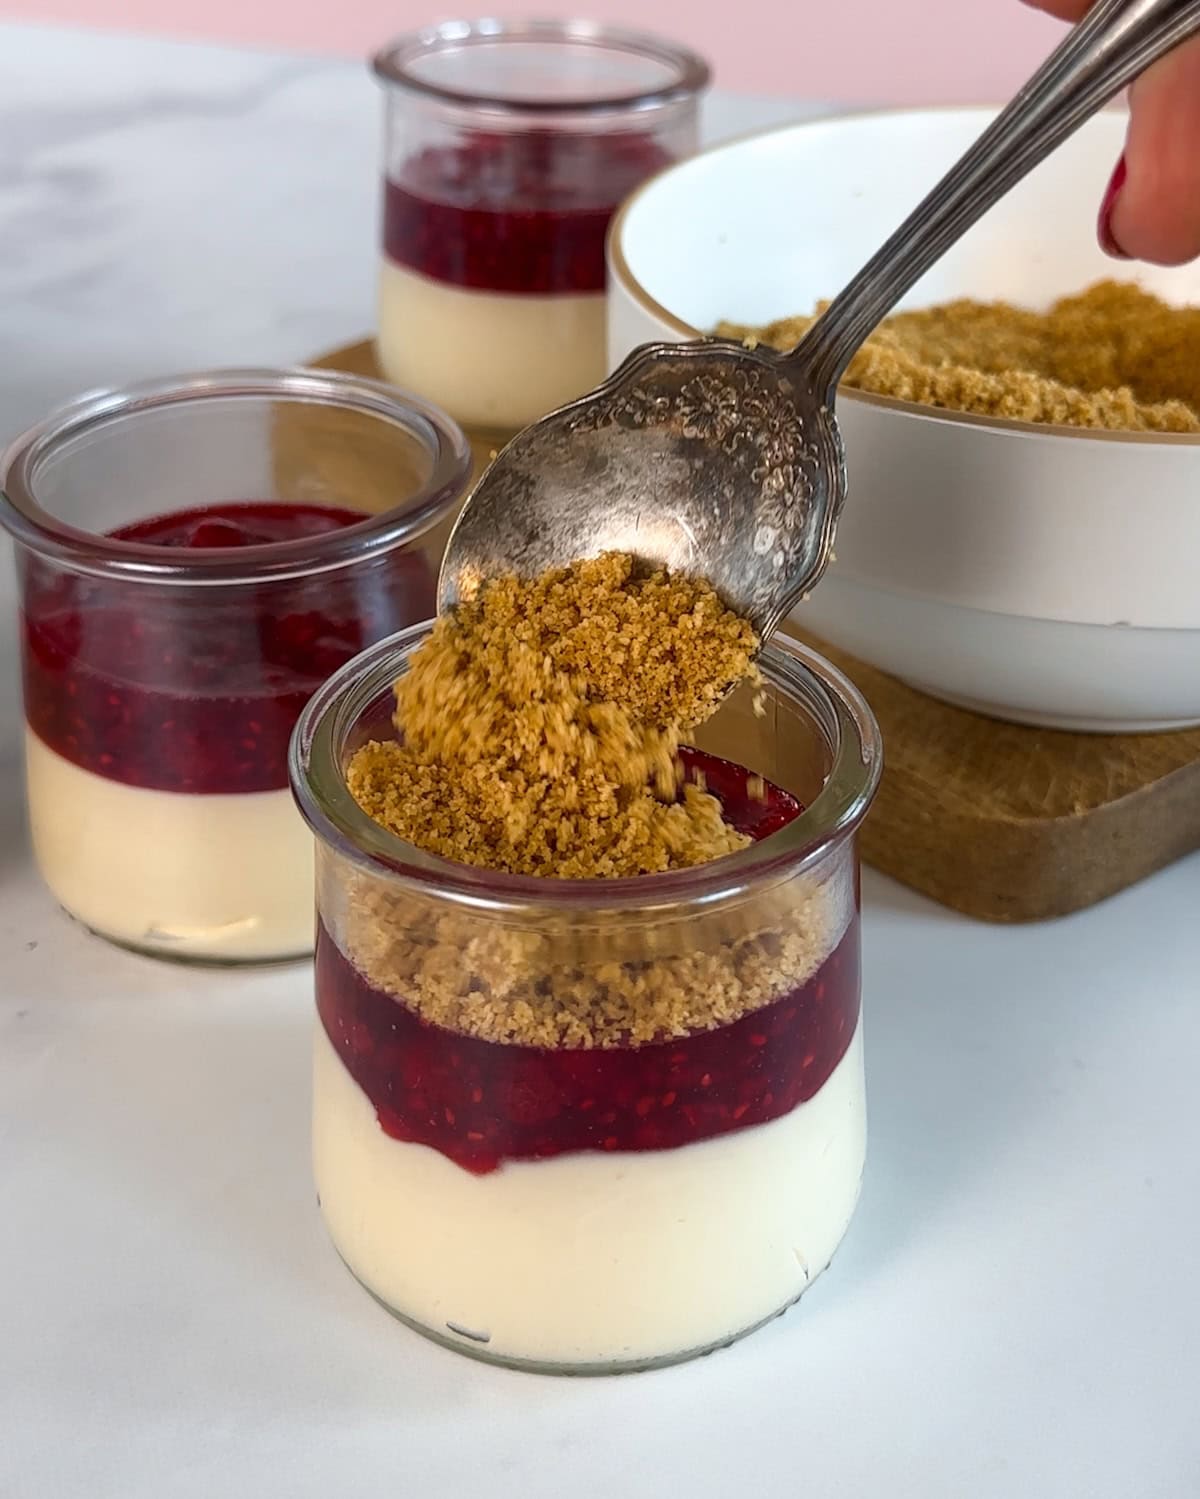
- Step 11: Add a layer of the graham cracker crumbs on top.
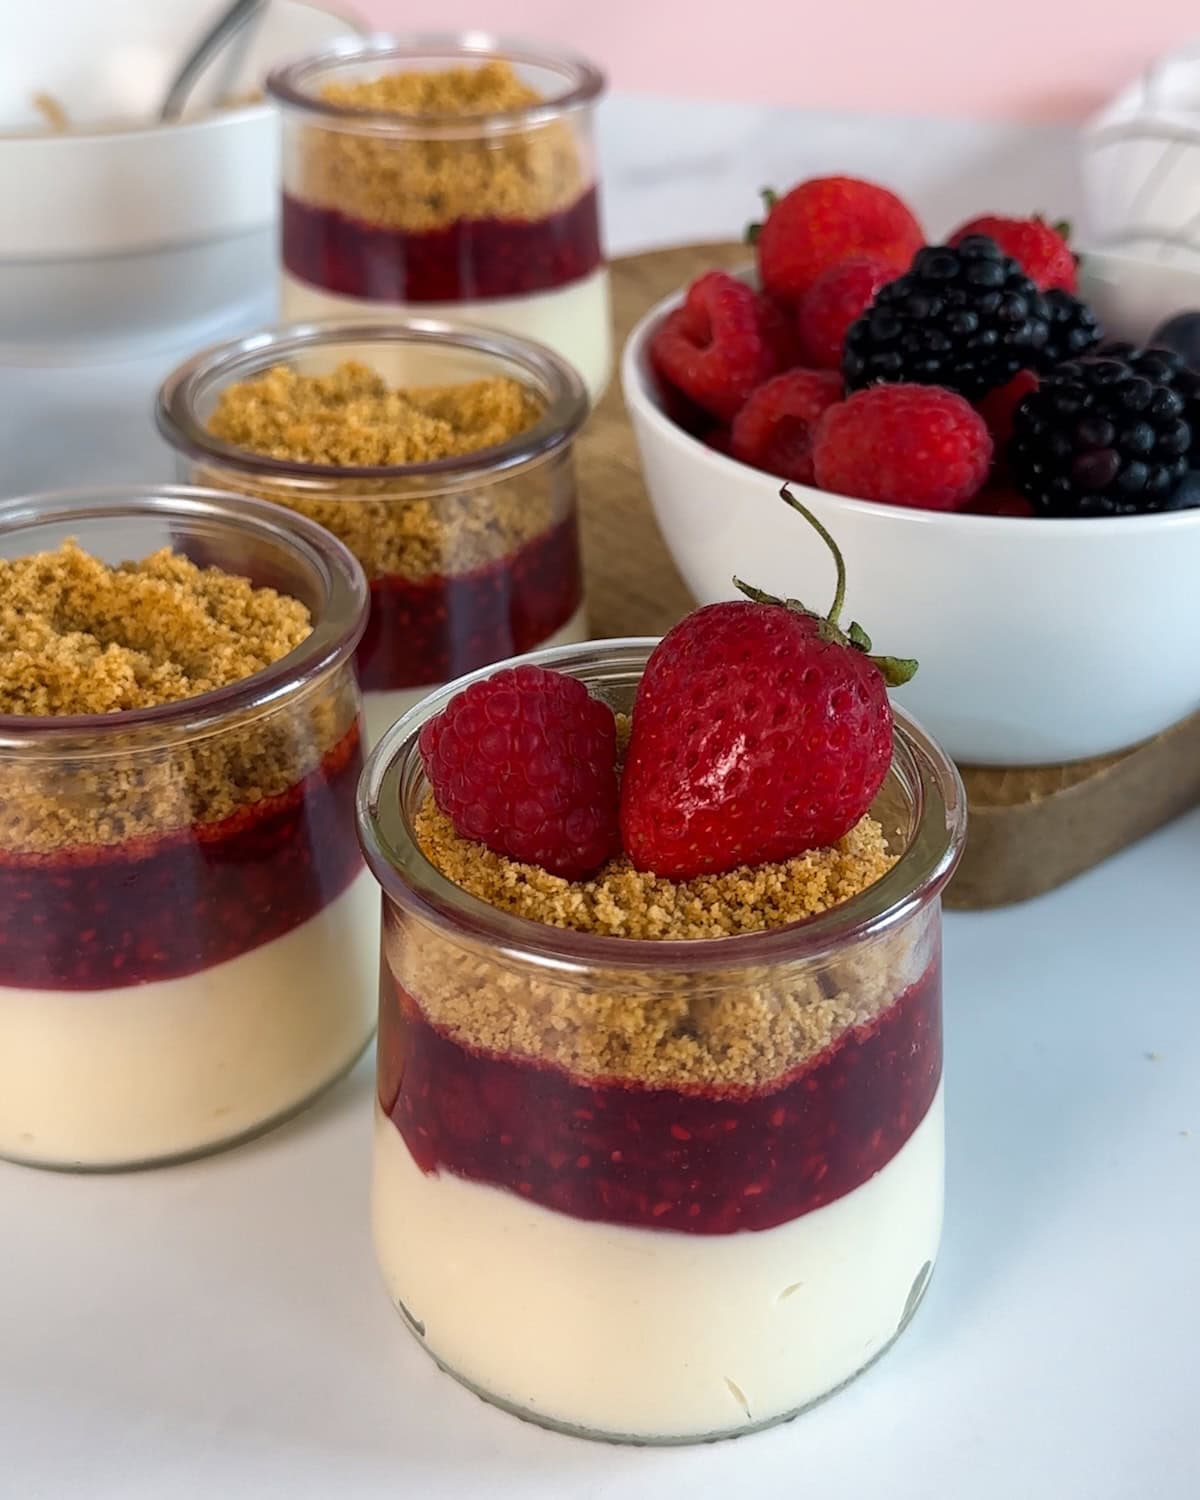
- Step 12: Garnish with fresh fruit. You can serve them immediately or refrigerate.
Tara's tips for perfect no-bake cheesecake
Use room temperature cream cheese: Cold cream cheese doesn't blend smoothly and can leave lumps in your filling. The simplest way to ensure smooth cheesecake filling is to give the cream cheese about 30 minutes at room temperature to soften.
Keep chilled until ready to serve: No-bake cheesecake filling is made without eggs or gelatin, so it relies on staying cold to stay thick. Keep the filled jars in the refrigerator until you are ready to serve them. If you are serving these at an outdoor party or picnic, keep them in a cooler and take them out just before serving.
Make the raspberry sauce ahead of time: The raspberry sauce needs to be completely cool before spooning it into the jars, so making it ahead will save you time in the long run. You can make the sauce up to 3 days in advance and store it in an airtight container in the refrigerator until you're ready to assemble the individual jars. If you're running short on time, substitute the sauce with your favorite jam.
How to tell when the filling has set: The cheesecake filling needs 20 to 30 minutes to set in the fridge before adding the sauce and crust layers. Because it's a no-bake cheesecake, the filling will be parfait-like, soft, and scoopable.
How to customize your cheesecake jars
Switch the containers
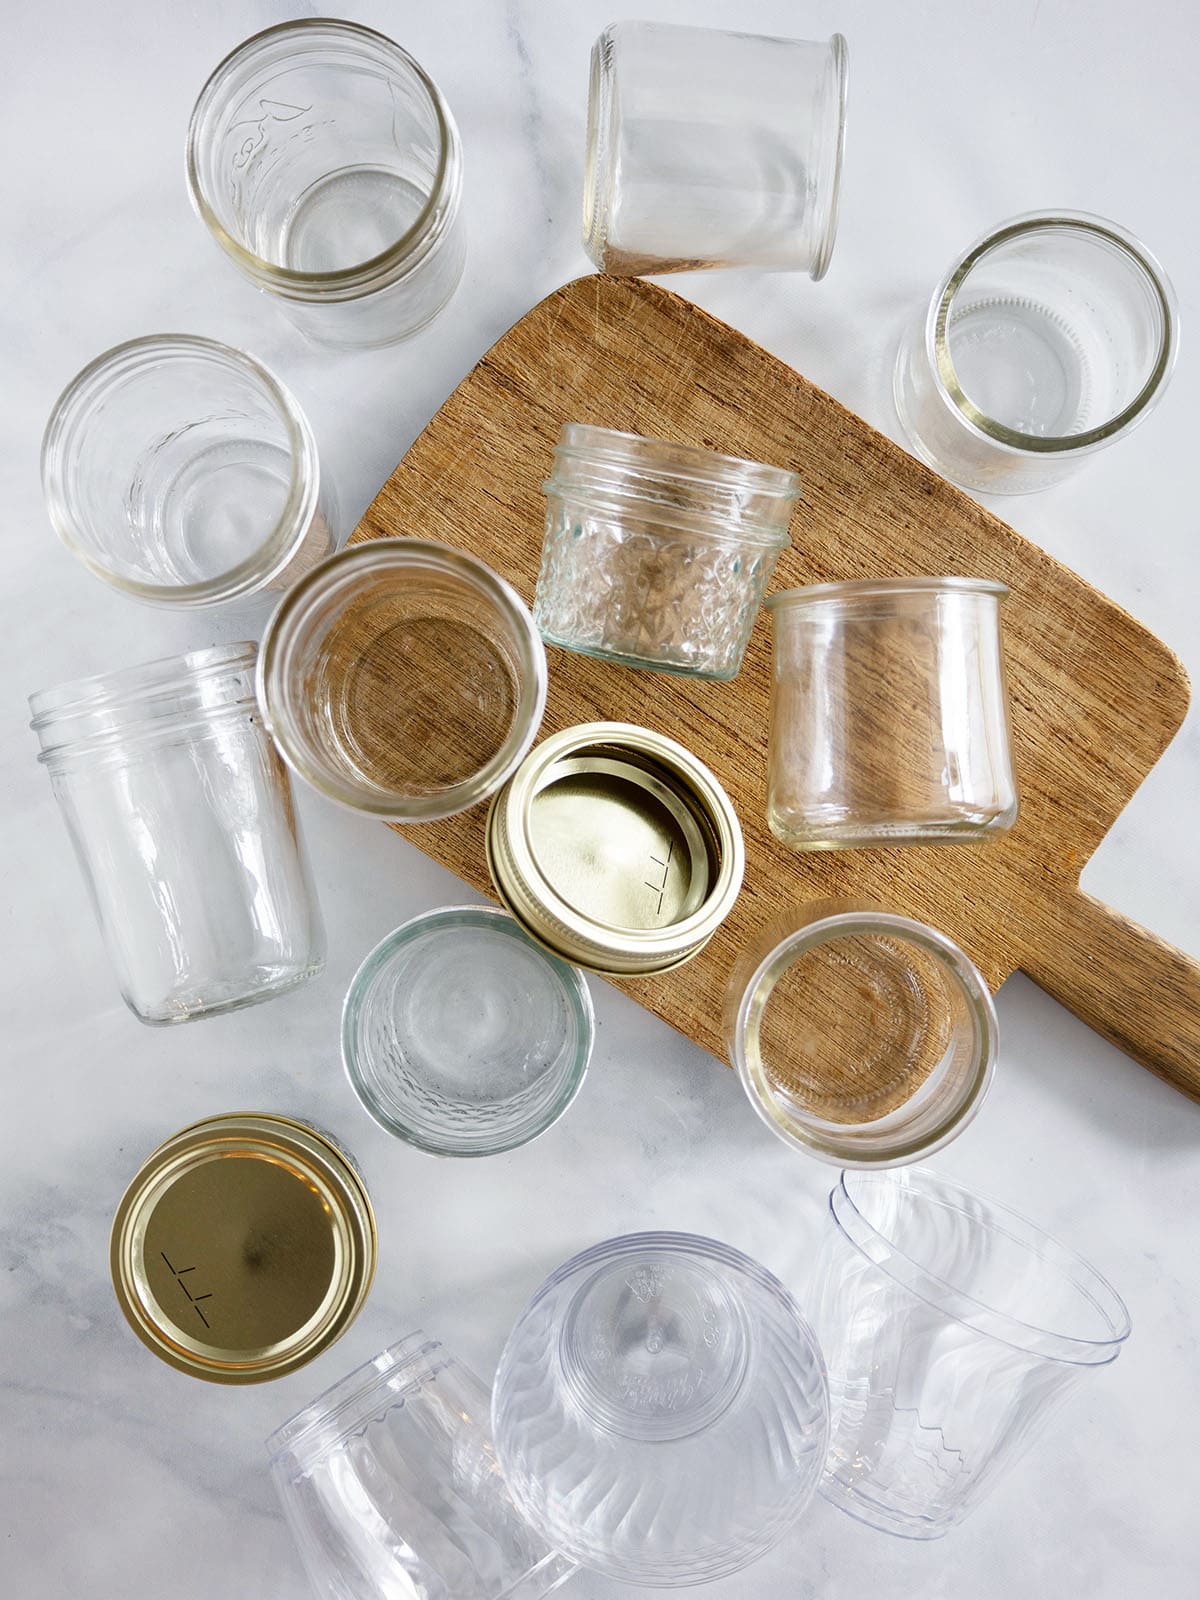
I typically make these in 8-ounce jelly jars, but mini 4-ounce Mason jars, 8-ounce Mason jars, crystal plastic cups (my favorite for buffets!), and ramekins all work beautifully. The recipe makes 4 cups of no-bake cheesecake filling, so adjust the amount in each jar depending on its size:
- 8-ounce or 9-ounce containers: Use about ⅓ cup of cheesecake filling in each for 12 servings.
- 4-ounce containers: Use ¼ cup of cheesecake filling for 16 servings.
Change the sauce
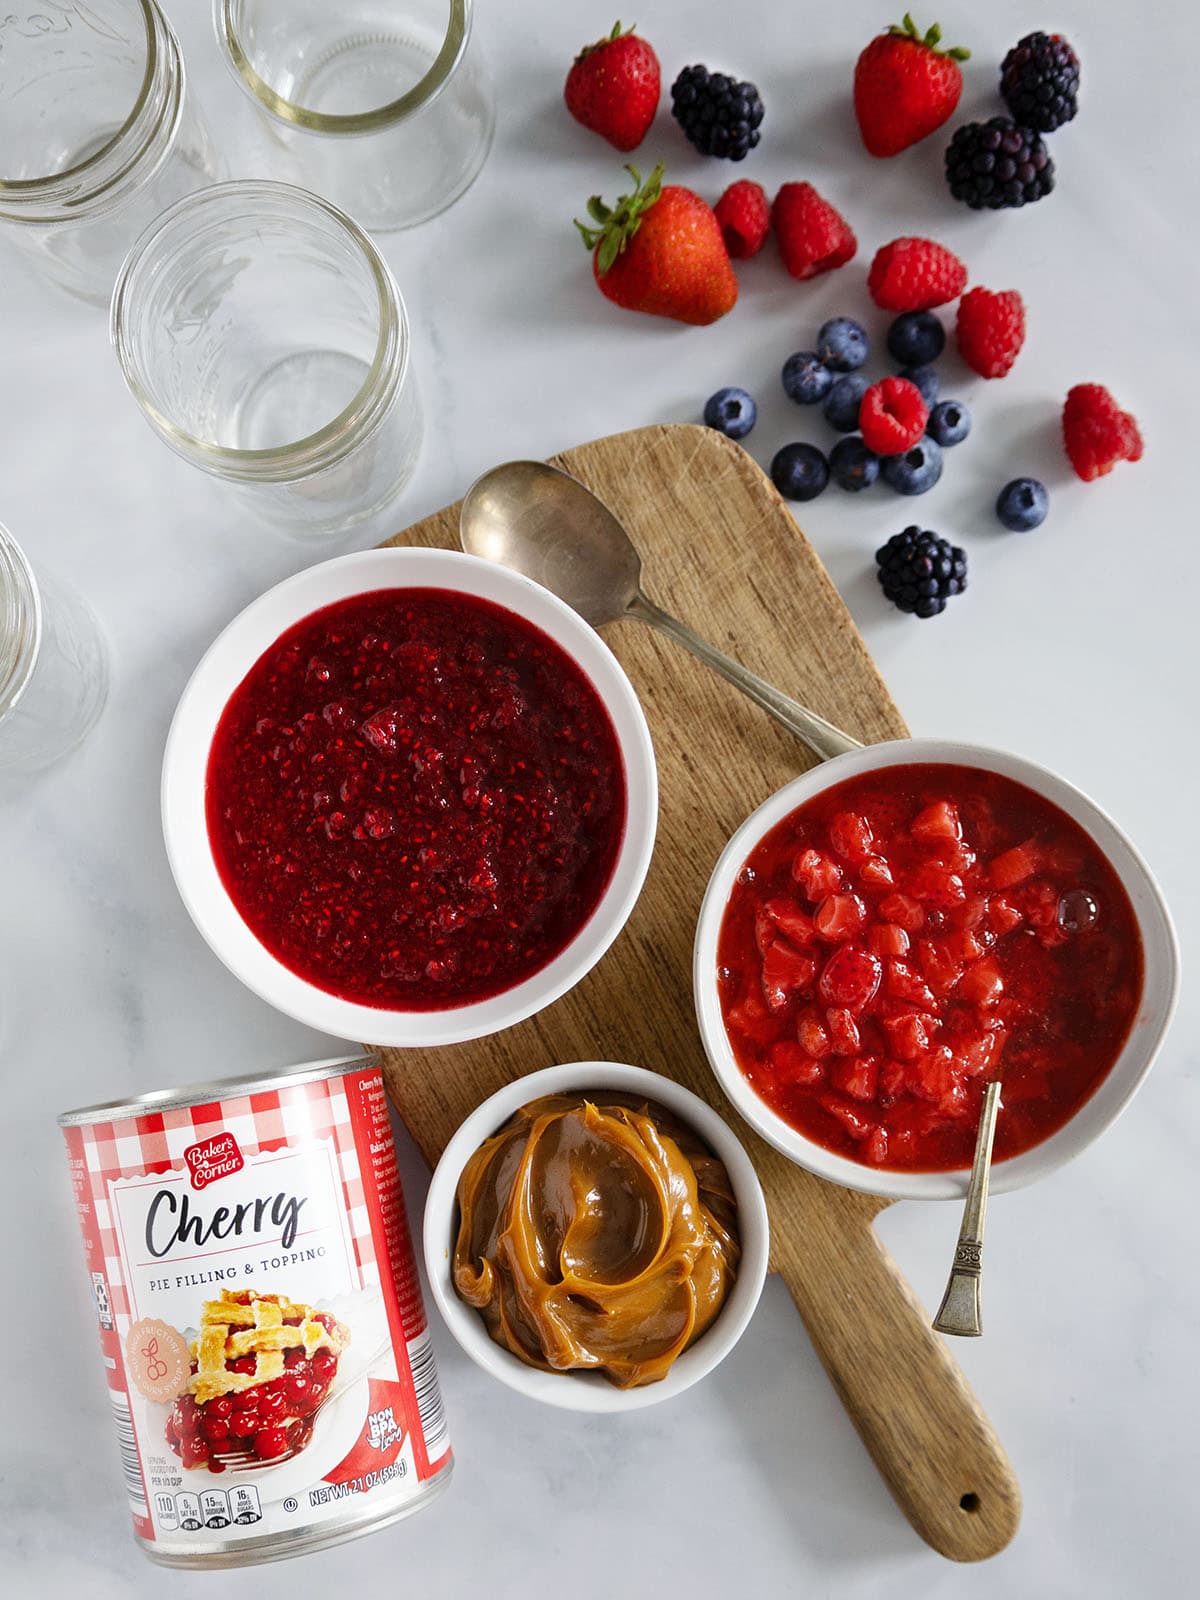
Any dessert sauce works beautifully in place of the homemade raspberry sauce in the recipe. Mix and match flavors and colors to fit the theme of any holiday or special occasion:
- Fruit fillings: Store-bought or homemade pie filling (cherry, peach, apple, and more), jam, or lemon curd.
- Dessert sauces: Dulce de leche, caramel, fudge sauce, Nutella, or Biscoff.
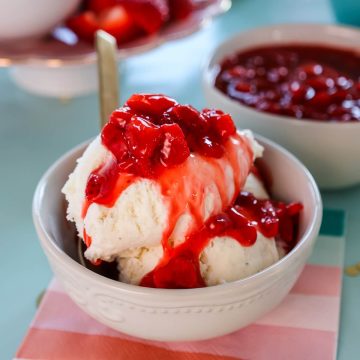
Here are a few recipes to experiment with from Tara Teaspoon for the sauces:
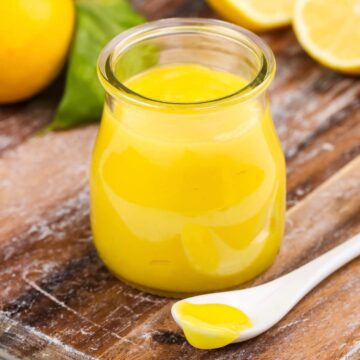
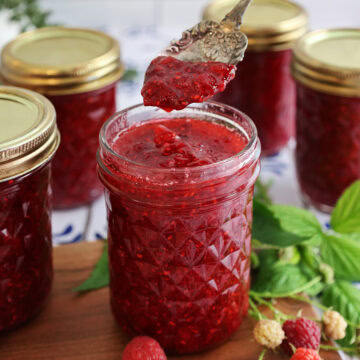
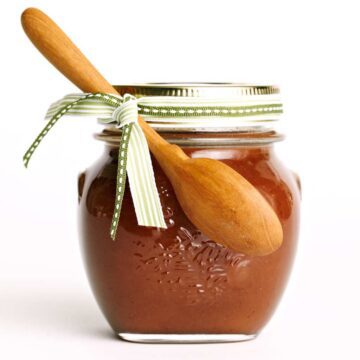
Top it your way
- Fresh fruit: Fresh berries are a classic but citrus wedges or zest, ripe tropical fruit, and sliced stone fruits are all delicious options.
- Crunchy toppings: For extra texture, try cookies, brownie bites, toasted nuts or coconut, baking chips, chocolate curls, sprinkles, candy, or my Caramel Glazed Cake Croutons.
- Whipped cream: Keep it simple with a creamy swirl on top.
Swap the crust
Any cookie or sweet cracker makes a delicious crust crumble. You'll need about 1½ cups of crumbs per batch. Try Oreos, vanilla wafers, Biscoff, shortbread, gingerbread, or chocolate or cinnamon graham crackers.
Equipment
Make-ahead and storage
Make-ahead: These individual cheesecakes are an excellent make-ahead dessert. Partially assemble the jars with the cheesecake and raspberry sauce layers up to 2 days in advance, then store covered in the refrigerator. For the freshest presentation, add the graham cracker crust and fresh fruit toppings no more than 2 hours before serving so the crust stays crunchy and the fruit looks its best. If you prefer to assemble everything closer to serving time, the raspberry sauce and cheesecake filling can be made and stored separately up to 3 days in advance.
Refrigerate: No-bake cheesecake should not sit out at room temperature for more than 2 hours. Because the filling is made with cream cheese and sweetened condensed milk, it needs to stay cold to maintain its texture and food safety. If you are serving these at an outdoor party or picnic, keep them in a cooler with ice and take them out just before serving.
FAQ
Yes, premade no-bake cheesecake filling is available in tubs in the refrigerated section of most grocery stores. While this homemade version comes together in just a few minutes, you can use the store-bought filling in a pinch to save time. Follow the layering instructions in the recipe card to assemble the cheesecakes.
Sweetened condensed milk is a key ingredient in this recipe because its sugar content helps the no-bake filling to set without baking or gelatin. There's no helpful substitute. Avoid using evaporated milk as it is unsweetened and won't allow the filling to set.
A runny filling is almost always caused by one of three things. First, the cream cheese may not have been fully softened before blending. Cold cream cheese does not incorporate smoothly and can affect the texture of the filling. Second, the wrong type of milk might have been used accidentally. For a properly thickened filling, it's important to use sweetened condensed milk. Third, you might have attempted to use a low-fat block or whipped variety of cream cheese. These contain more moisture than full-fat cream cheese and will not set up properly.
More great dessert recipes
If you're craving creamy, fruity desserts, give these blog favorites a try next:
Rate this recipe! ⭐⭐⭐⭐⭐
Scroll to the bottom of the page to rate and comment on this recipe. Leaving comments, questions, and ratings helps other too!
📖 Full Recipe
Cheesecake in a Jar (No-Bake)
Video
Ingredients
- 9 whole graham crackers (to yield 1⅓ to 1½ cups of graham cracker crumbs)
- 3 tablespoons melted butter
- 2 8-ounce packages cream cheese (16 ounces total, softened)
- 1 14-ounce can sweetened condensed milk
- 6 tablespoons lemon juice
- 1 teaspoon vanilla extract
- 1 12-ounce package frozen raspberries (or fresh)
- ⅓ cup granulated sugar
- Fresh berries (for garnish, including blueberries, raspberries, blackberries, and strawberries)
Instructions
Make Cheesecake Filling
- In a food processor blend the graham crackers to fine crumbs. Add the melted butter and blend to combine; set aside.
- In the bowl of a mixer, or with a hand mixer, beat cream cheese until smooth and no lumps remain, about 3 minutes. Add sweetened condensed milk, lemon juice, and vanilla and beat until mixture is smooth, scraping the sides and bottom of the bowl as you mix.
- Spoon filling into 12 jars (8-ounces each) and place on a baking sheet to transfer to the refrigerator. Chill 20 to 30 minutes to solidify the base.
Make Fruit Filling* and Assemble
- In a small saucepan heat raspberries and sugar until just simmering; remove from heat and let cool. Tip: To cool the mixture quickly you can place the pan over a bowl of ice and water (a water bath), and stir to cool.
- Spoon the cooled raspberry mixture* over cheesecake layer. Top with a layer of graham cracker crumbs, and garnish with fresh berries. Serve immediately, or cover and refrigerate up to 6 hours.
Notes
- 8-ounce or 9-ounce containers: use about ⅓ cup cheesecake filling in each for 12 servings.
- 4-ounce containers: use ¼ cup cheesecake filling to make 16 servings.
Nutrition Per Serving
Tara Teaspoon
I’ve been in food publishing for over 25 years, creating recipes & food-styling for magazines, books, television, food brands, & advertising. With two cookbooks under my belt and thousands of my recipes at your fingertips, I hope you'll be inspired to spend more time in the kitchen!
Karyn Erb says
What an easy, make-ahead dessert. Always a crowd-pleaser when I make it!!
Tara Teaspoon Admin says
Thanks for taking the time to rate the recipe! I really appreciate it.
Jill says
I really appreciate all the extra tips this recipe provides. It's really easy to mix and match the containers or change things up with the layers. I love no-bake cheesecake and these were a hit!
Tara Teaspoon Admin says
I'm happy the post was helpful for you. Thanks for leaving a comment.
Chopra says
Can this be made ahead of time? Will this dessert be okay outdoors for the bbq party in summer?
Tara Teaspoon says
Yes! It would be fine kept in the refrigerator up to 1 day ahead of time. I think it would be fine out of the refrigerator for up to an hour but no more than that as it's a chilled dessert.
Tara
Jenseena Cook says
This is SO delicious!!! It is easy to do and an instant hit.
Anna says
Are these good to freeze? How long if so?
Tara says
Hi Anna, I haven't frozen them. As with any no-bake cheesecake mixture, it can certainly be frozen, but you will run the risk of having the cheesecake layer be a bit grainy once it thaws. My suggestion would be to make each component ahead (the crumb crust, filling and berry layer) and keeping them separately in the fridge for up to 3 days before assembling. That will streamline your planning. Hope that helps.
Ruby says
What a fun and unique dessert! I can't wait to make this for my sister who loves cheesecake!
Brittany Smart says
Such a fun way to make cheesecake!
Mary Bench says
What a great do-ahead dessert! Beautiful!