A little spice and a hint of lemon make this Ginger Pineapple Snack Cake a tasty treat for a party or picnic.
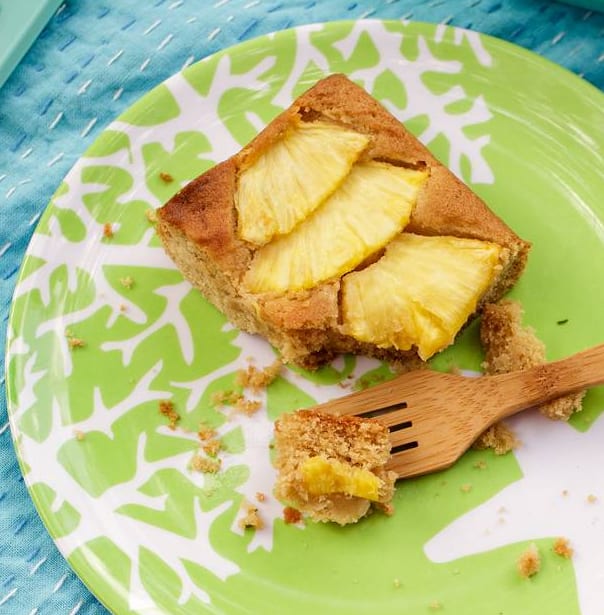
I think a little fruit with your cake makes it slightly healthy, no? Oh the ways I fool myself. I even added the word "snack" to the title to make it feel less indulgent! But my Ginger Pineapple Snack Cake is every bit as delicious as the most decadent of cakes.
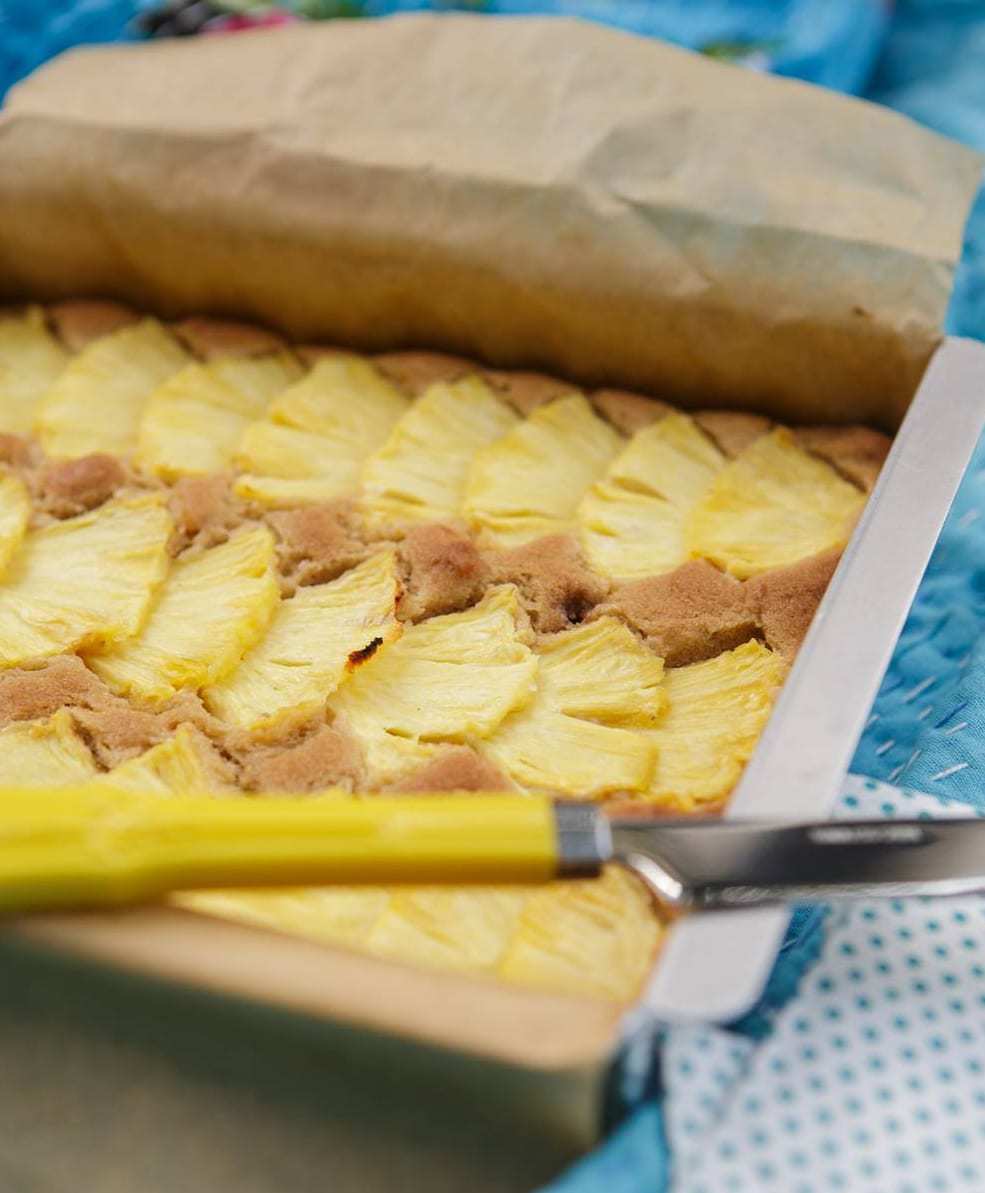
Instead of cutting the pineapple in traditional rings, I opted for little fans. It's easy to slice the pineapple like this after you core it. This shape gives almost every bite of the cake its fair share of fruit.
The recipe method calls for lining the pan with parchment and letting the sides hang over two sides. This allows you to lift the cooled cake out of the pan completely to cut and serve if you desire. I use this trick for all baked goods in square or rectangle pans. It's a helpful alternative to just lining the bottom of the pan.
The method is a simple cream cake technique! Do you know why recipes call for adding eggs one at a time, and beating after each addition? It's a typical method. The reason being is you were instructed to beat the butter and sugars just before adding the eggs. You've incorporated air into the butter and sugar mixture, and if you added the eggs all at once it would deflate the mixture. The weight of the eggs would take all the air out of that cake's sails!
Beating air into the batter acts as part of the leavening for the cake. Beating eggs in one at a time allows the eggs to aerate before the next is added. Boom! Cooking knowledge for the day, check!
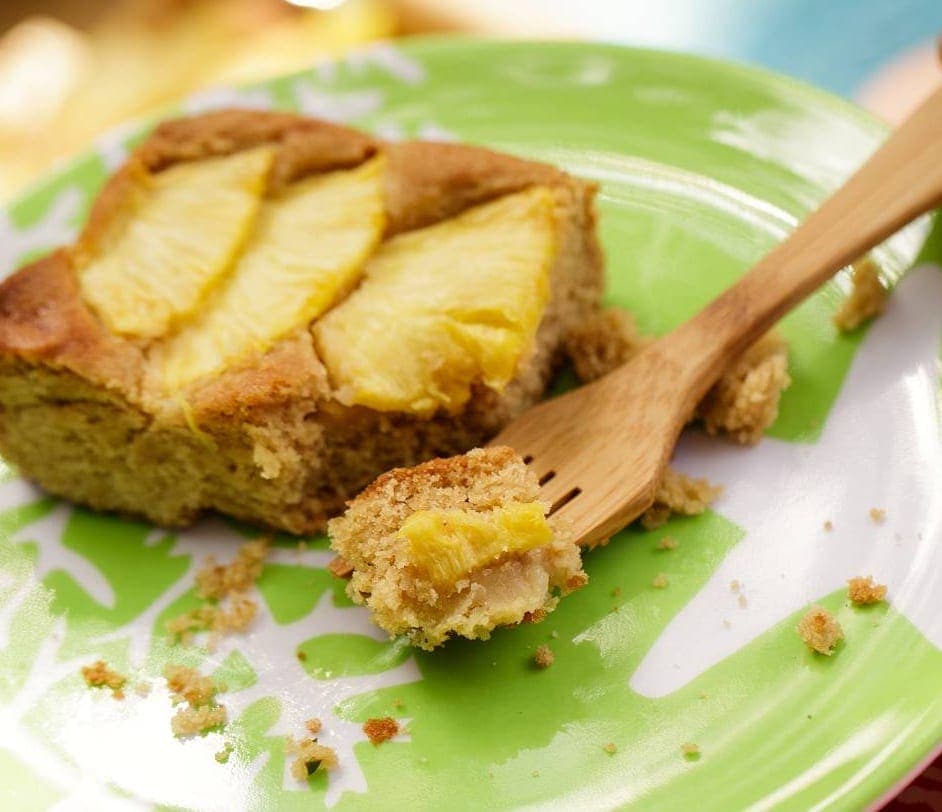
This cake is actually a very portable cake. Great for potlucks, spring parties and summer picnics. Keep it in the pan to travel and you have the perfect dessert...or snack.
More delicious cake recipes
📖 Recipe
Ginger Pineapple Snack Cake
Ingredients
- 1½ cups all-purpose flour
- 2 teaspoon baking powder
- ¼ teaspoon salt
- ½ teaspoon ground ginger
- 5 tablespoon unsalted butter (softened)
- ¾ cup light brown sugar
- 2 large eggs
- ⅓ cup canola oil
- 1 teaspoon lemon zest
- 1 teaspoon vanilla extract
- ⅓ of a pineapple (sliced ¼ inch thick)
Instructions
- Heat oven to 350°F. Line an 8-inch square baking pan with parchment so that opposite edges hang over sides of pan and grease lightly. Whisk together flour, baking powder, salt and ginger; set aside.
- In the bowl of an electric mixer beat the butter and sugar until fluffy, about 2 min. Add the eggs, one at a time, beating after each addition. Add the oil, lemon zest and vanilla and continue to mix until creamy, scraping sides of bowl as needed. Add the dry ingredients and mix until just blended.
- Pour batter into prepared pan and arrange the sliced pineapple on the surface, overlapping slightly and pressing gently into the batter. Bake until done in the center, 45 to 50 min. Cool completely; transport in baking pan.
Notes
Nutrition
Delicious Cake Recipes

Tara Teaspoon
I’ve been in food publishing for over 25 years, creating recipes & food-styling for magazines, books, television, food brands, & advertising. With two cookbooks under my belt and thousands of my recipes at your fingertips, I hope you'll be inspired to spend more time in the kitchen!
Recipe Tara Bench & Hilary Merzbacher. Photographs Carol Von ZumwaltOriginally published . LHJ 6/13







Mary Bench says
How interesting that you would add ginger! I'll bet it is delicious!
Brittany Smart says
The pineapple showing through makes it so pretty!
gina says
Made this AM today - very disappointed - no liquids in your recipe and so the cake was almost impossible to swallow because of the dry crumb
Re made this this PM and added 3/4 cup milk and yoghurt mixed together
Made all the difference in the world - please adjust your recipe for others
Dry Cake from AM today was donated to the local backyard bird community
Tara Teaspoon says
There is oil, eggs and butter in this recipe which all contribute plenty of liquid and moisture! I'm sorry it didn't turn out for you. If a cake or recipe is on the dry side, I often suggest measuring your flour with a lighter hand, making sure it's not tapped or packed into the cups. I'm glad you adjusted the recipe to suit your needs! Thanks for trying it.