
Learn how to roll out pie dough to make perfect pasties! If you're ready to master the most intimidating part of pie-making, I'll show you how! Rolling pie crust is a skill anyone can learn.
I've spent over 26 years in test kitchens, from Martha Stewart Living, to my own cookbooks honing my pie skills, and I promise, you can be great at rolling pie crust; I'll show you how.
In this article you'll learn:
- Expert techniques for rolling out pie dough like a professional baker.
- Why choosing the right rolling pin is the secret to a perfectly even crust.
- The best way to transfer your dough to the pan without stretching or tearing it.
- Tips for rolling out pie crust that stays flaky and holds its shape in the oven.
Generated with AI and experts from the Tara Teaspoon team.
If you've ever felt like your dough has a mind of its own, you aren't alone. Knowing how to roll out a pie crust is often the hurdle between a home cook and an expert.
How to Roll Out a Pie Crust for a Perfect Bake
The key to rolling out pie dough is to stay calm and keep things cold! Whether you are making my Flaky Butter and Shortening Pie Crust or using a store-bought version, these techniques will give you a beautiful, bakery-quality finish every time.
- Use the right rolling pin: Wooden rolling pins hold a little flour so you don't need to over-flour your dough. You have more control over the pressure than when using a marble rolling pin. Choose your own style, a rod style or one with handles.
- Roll from the center of the dough out: This helps keep the thickness even, helps with shaping the dough into a circle, and prevents excess stretching of the dough.
- Transfer properly: Fold dough in half to transfer to the pie pan. Rolling it over the rolling pin will stretch it.
- Keep it chill: Work quickly, in a cool area of the kitchen so the dough stays as cold as possible. Warm dough melts the butter or fat and can make the crust tough.
Jump to:
- In this article you'll learn:
- How to Roll Out a Pie Crust for a Perfect Bake
- Why the rolling pin matters
- The Best Dough For Rolling Pie
- Step-by-Step: How to Roll Out Pie Dough
- Moving Pie Dough To the Pan
- Finishing touches for pie crust
- Blind baking pie crust
- How to use pie weights
- Pies to make
- 💬 Comments & Reviews
Yogi Berra said: "Cut my pie into four pieces, I don't think I could eat eight," and wiser words have never been spoken! I feel this way about homemade pie too!
Why the rolling pin matters
The rolling pin you use to roll pie dough is a personal choice, but makes a difference in how your crust turns out, and if you can roll the dough into an even circle. Choose between wooden rolling pins, marble, silicone, even glass or a good old wine bottle!
Wooden Rolling Pins
Wooden rolling pins hold flour in their little grooves, so you get a perfect non-stick rolling pin without adding too much flour. Too much flour will cause your dough to dry and get tough.
There are several styles of wooden rolling pins including the kind with handles and a metal pin that goes through the center, a French rolling pin that is a rod-style with tapered ends, or a classic rod style rolling pin.
I prefer a rod style or French rolling pin. I find I can control the pressure better as I roll. If you are used to other styles of rolling pins, that is fine.
Glass and Marble Rolling Pins
Glass, marble rolling pins, or wine bottles are fine, but I don't like them for a few reasons. If you are rolling with glass the benefit is you can potentially fill it will ice to chill it. However, I find condensation forms on the outside and that is not great for rolling sticky dough.
Marble rolling pins are heavy and it's much harder to roll the dough evenly because you have less control over the pressure you're using. The smooth surface also doesn't hold any flour so you'll end up using more flour than needed to keep it nonstick!
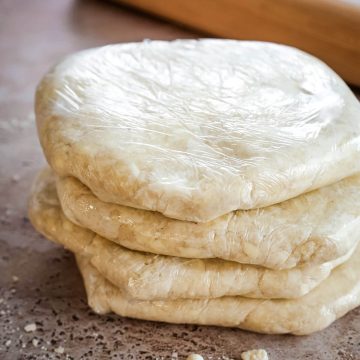
The Best Dough For Rolling Pie
I find the easiest dough for rolling pie is one with a balance of fats. Perfect pie crust is my recipe that includes both butter and shortening, and it's that shortening that makes the dough more pliable (less prone to cracking), while the butter gives us the flavor!
If you are using a 100% butter crust, just remember it will be a bit firmer. You may want to let the chilled dough sit on the counter for about 5 minutes before you start rolling pie crust so it doesn't crack at the edges. (If it does crack, just pinch the cracks together as you go).
Now that you have the best dough prepared, there are some pretty important secrets to roll the perfect pie crust.
Step-by-Step: How to Roll Out Pie Dough
Start your pie crust rolling journey with these simple steps:
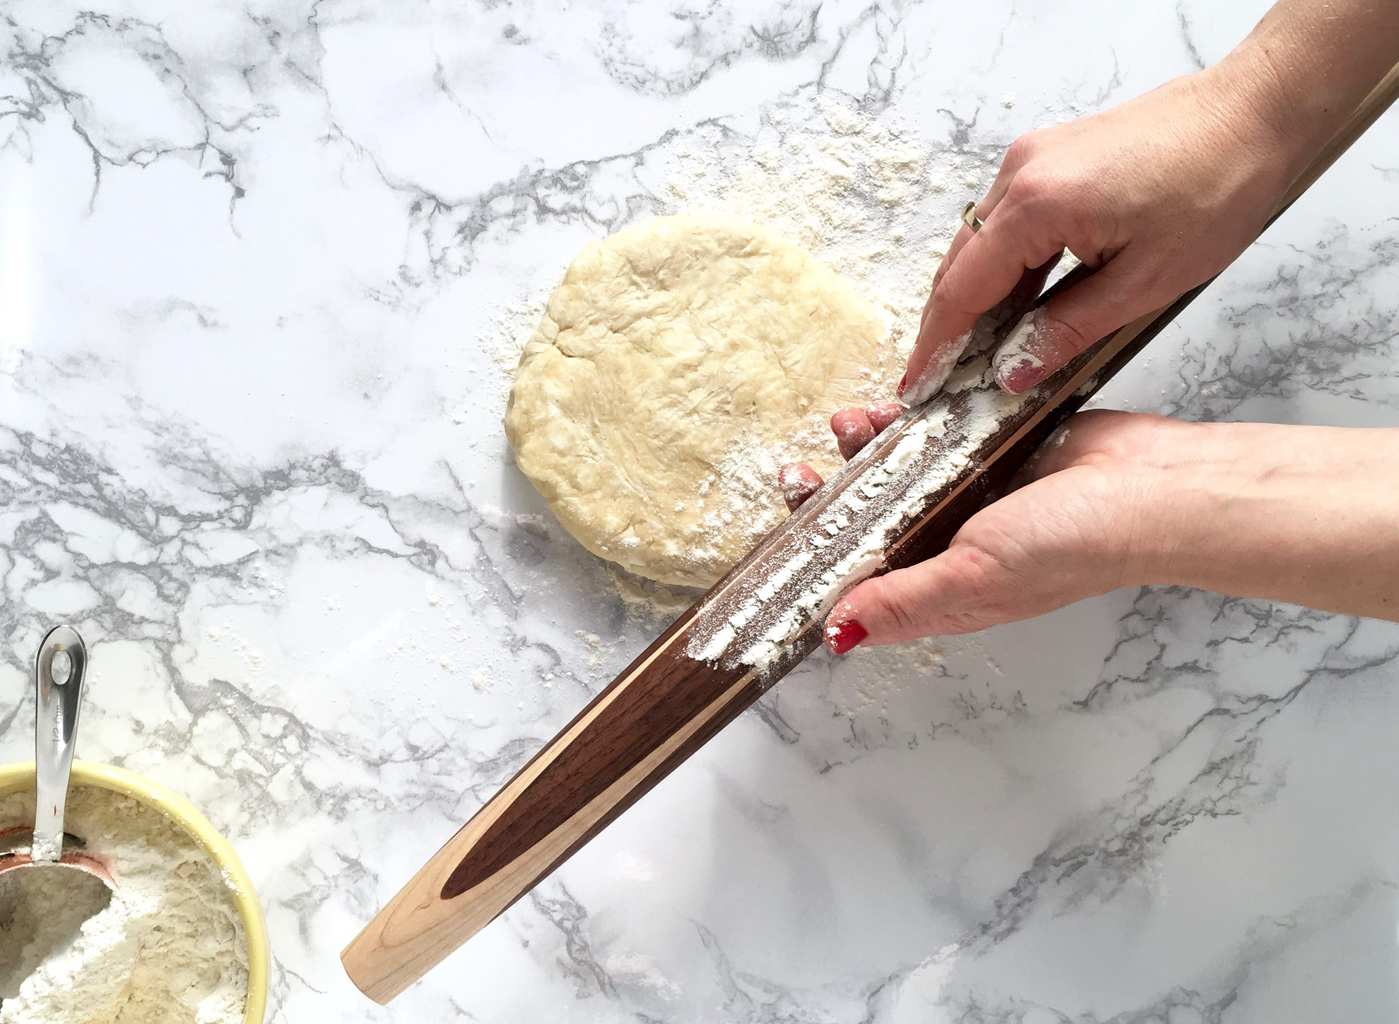
- Start with cold dough: Always work with chilled dough. If the butter starts to melt while you're rolling pie crust, you lose the gorgeous flaky layers. Work quickly, on a lightly floured work surface, through the next steps so your dough stays as cold or cool as possible.
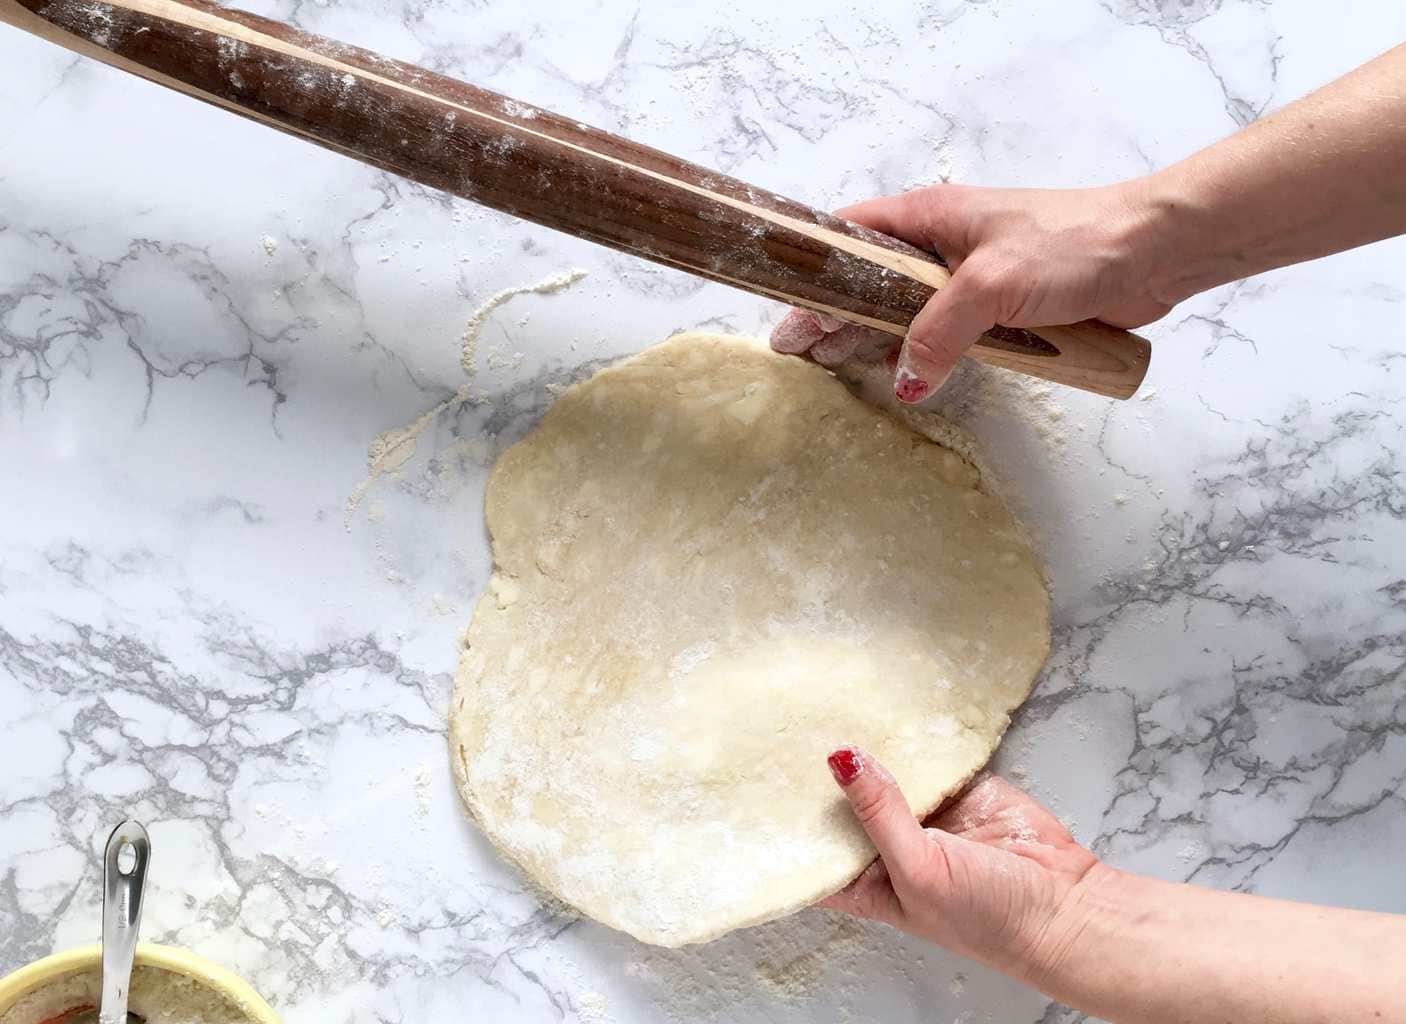
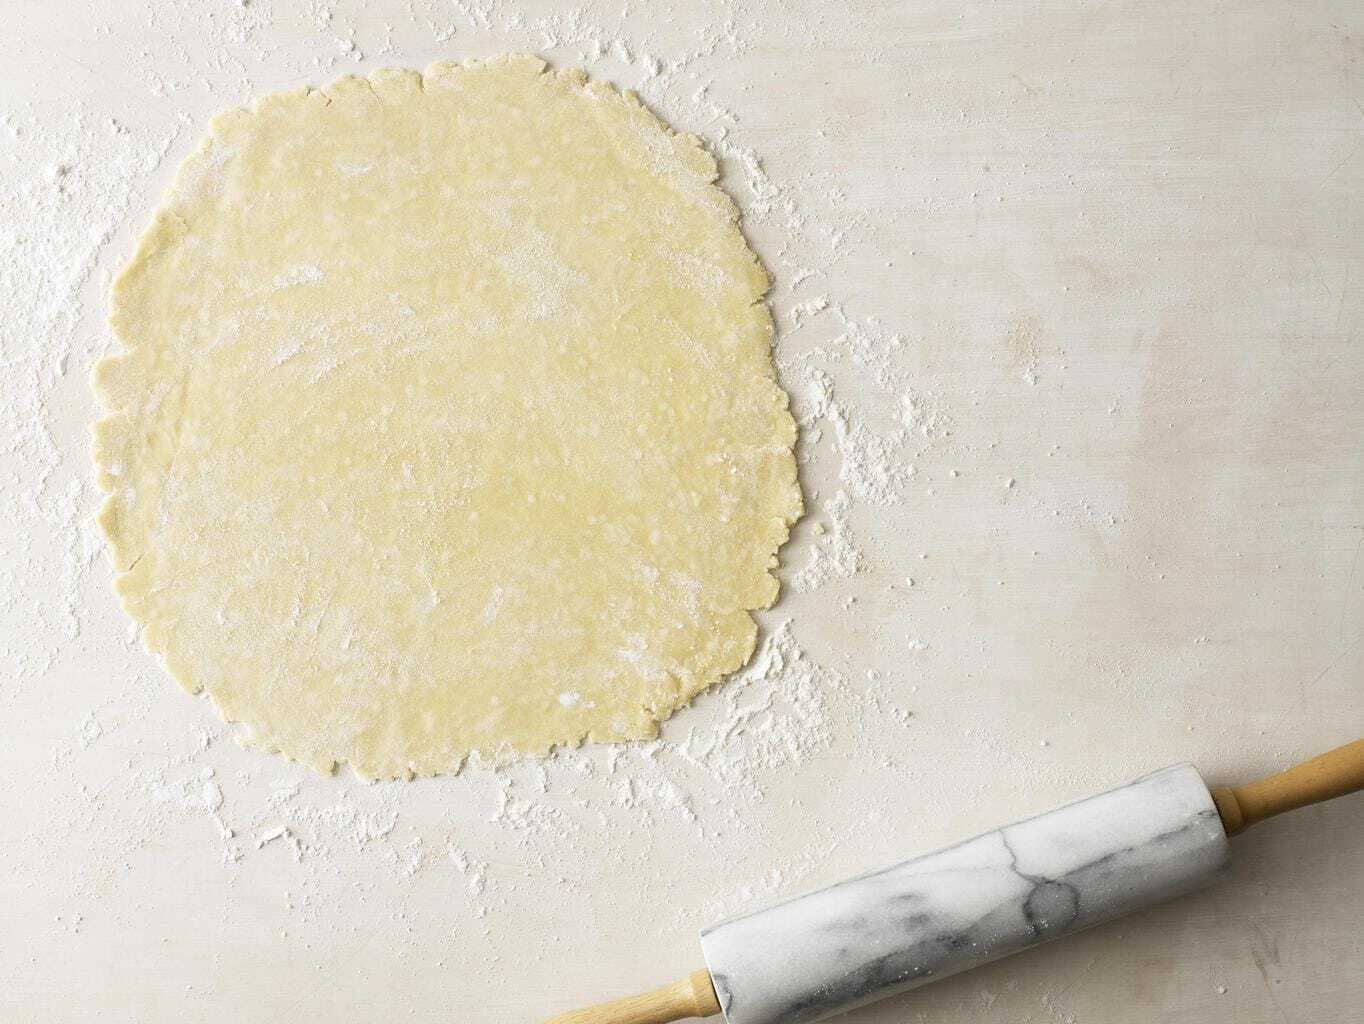
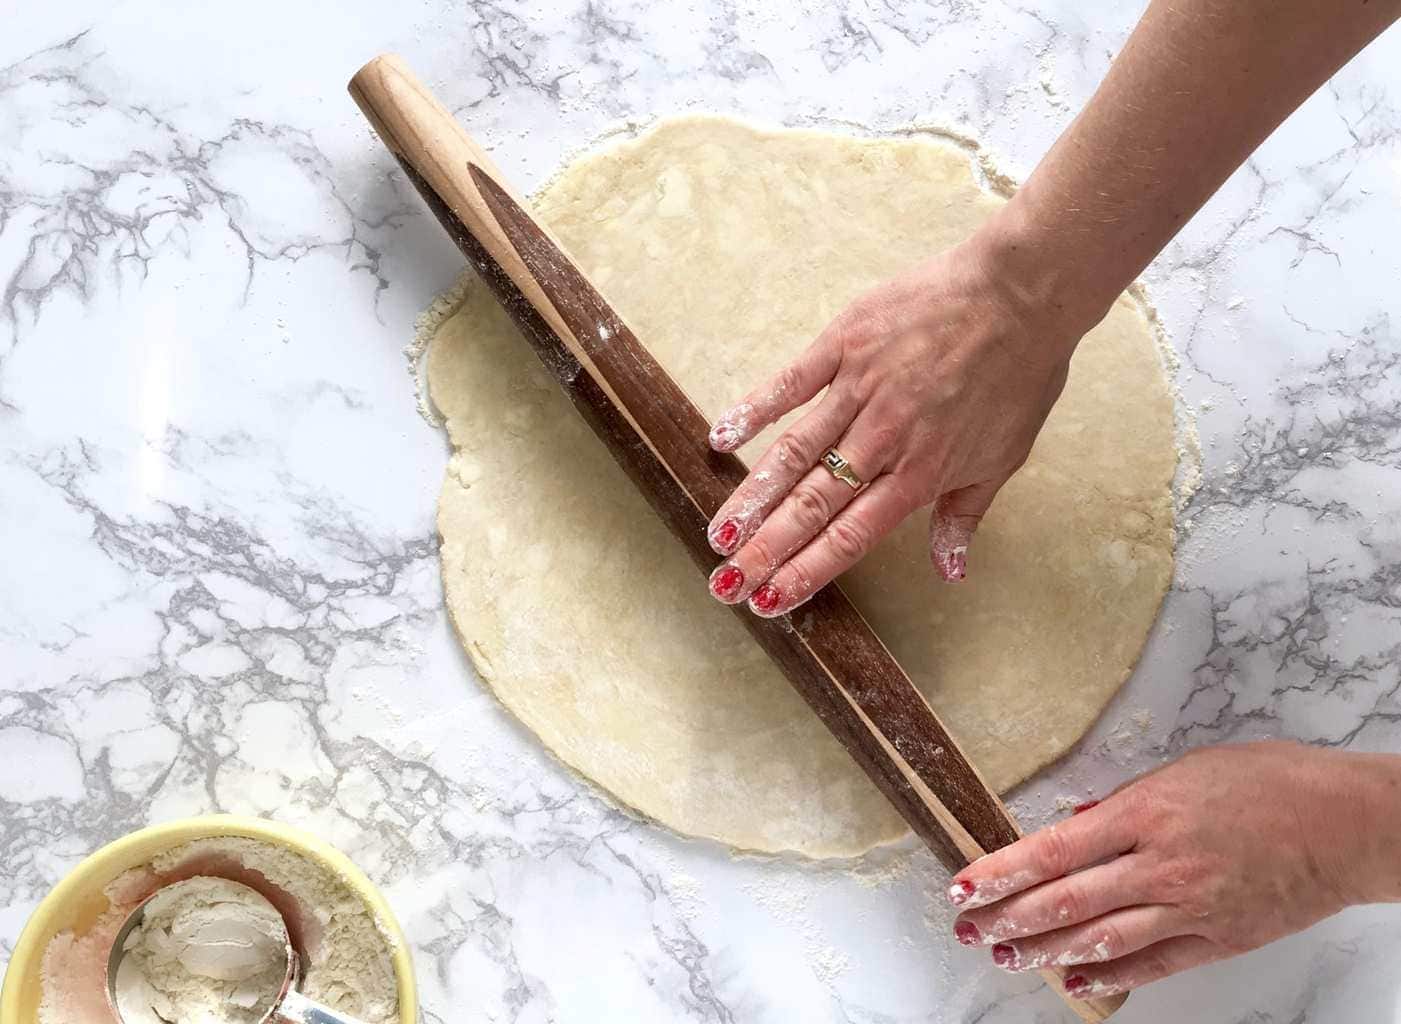
- Roll from the center out: This is my #1 tip for getting a nice circle shape, and not over-stretching the dough. Place your rolling pin in the middle of the dough and roll toward the dges, lifting the pin as you reach the end. Never roll back and forth like you're ironing, that stretches the gluten which makes the crust shrink in the oven.
- The quarter-turn rule: After every few rolls, give your dough a quarter turn. This ensures it isn't sticking to the counter and helps you maintain a nice circular shape.
- Flour dusting: Use just enough flour to keep things moving. A light rub on the pin and a dusting on the counter is all you need unless your dough is warm or quite soft.
Moving Pie Dough To the Pan
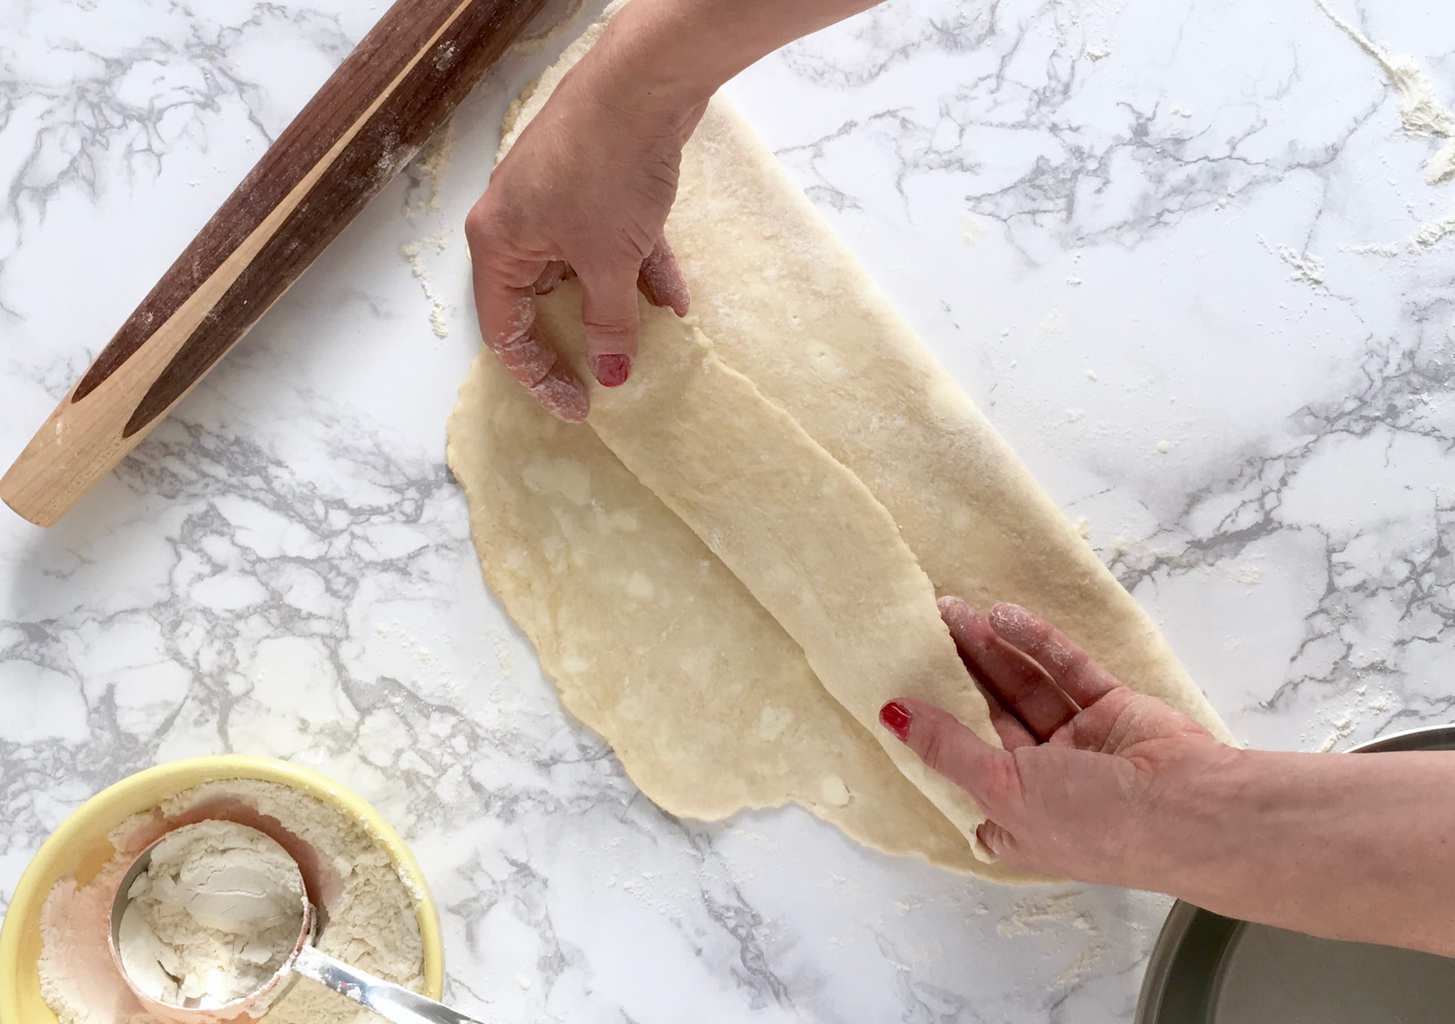
Many people wrap the dough around the rolling pin to move it, but I find that can stretch the dough out of shape.
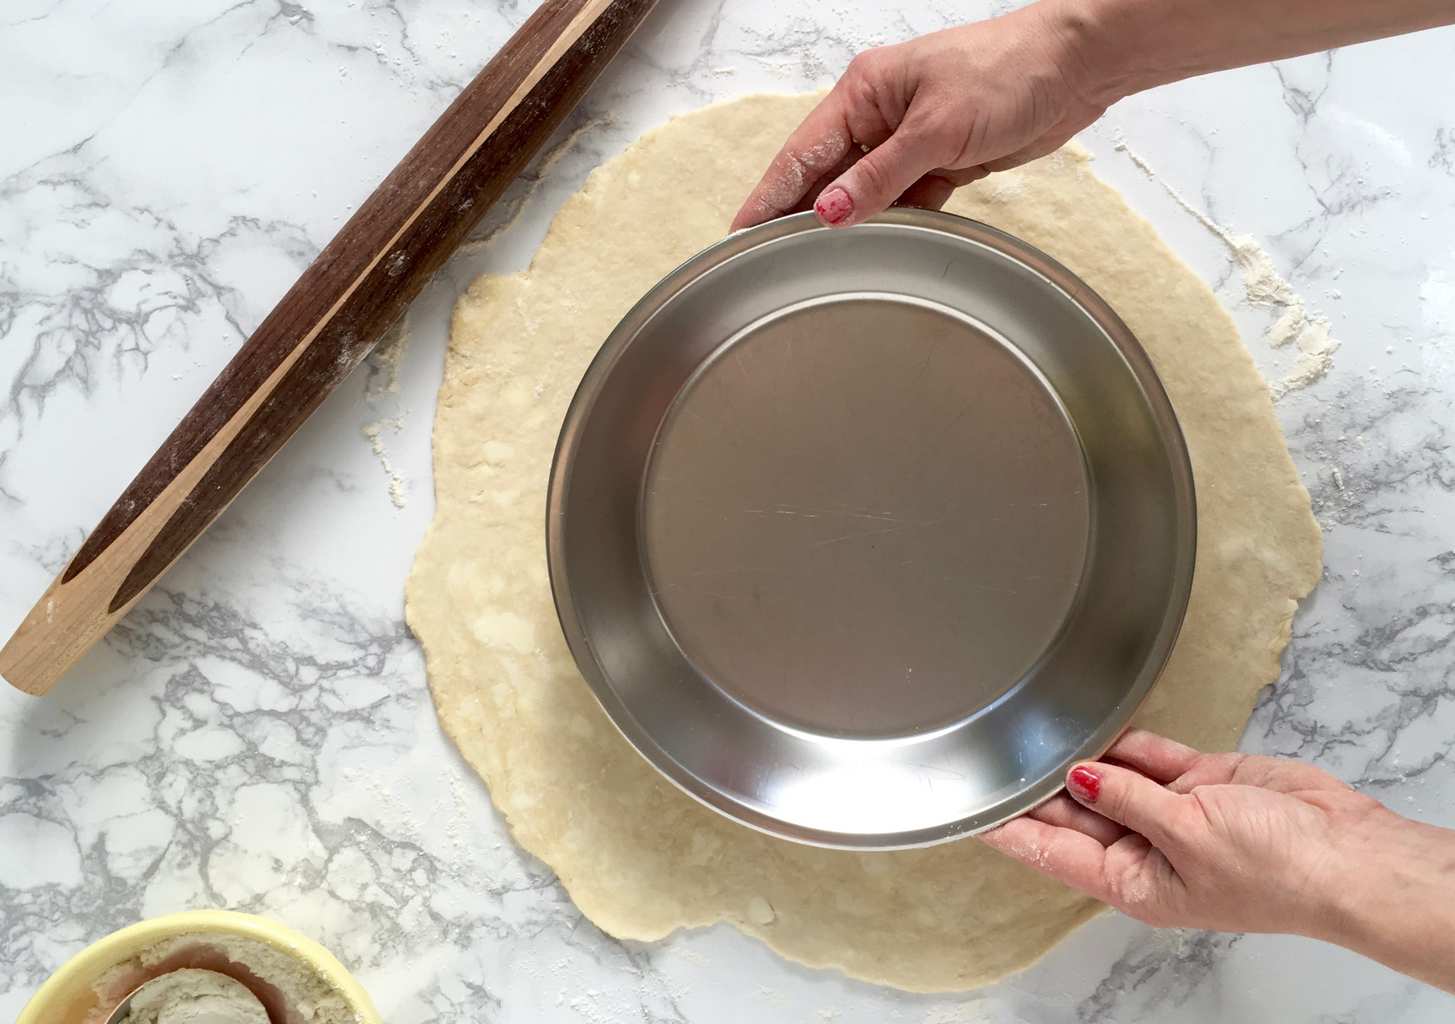
- Measure the dough: Once your dough circle is an inch and a half, to two inches bigger around the edge of your pie pan it's ready to go in. Hold your pie tin over the dough circle to check for size.
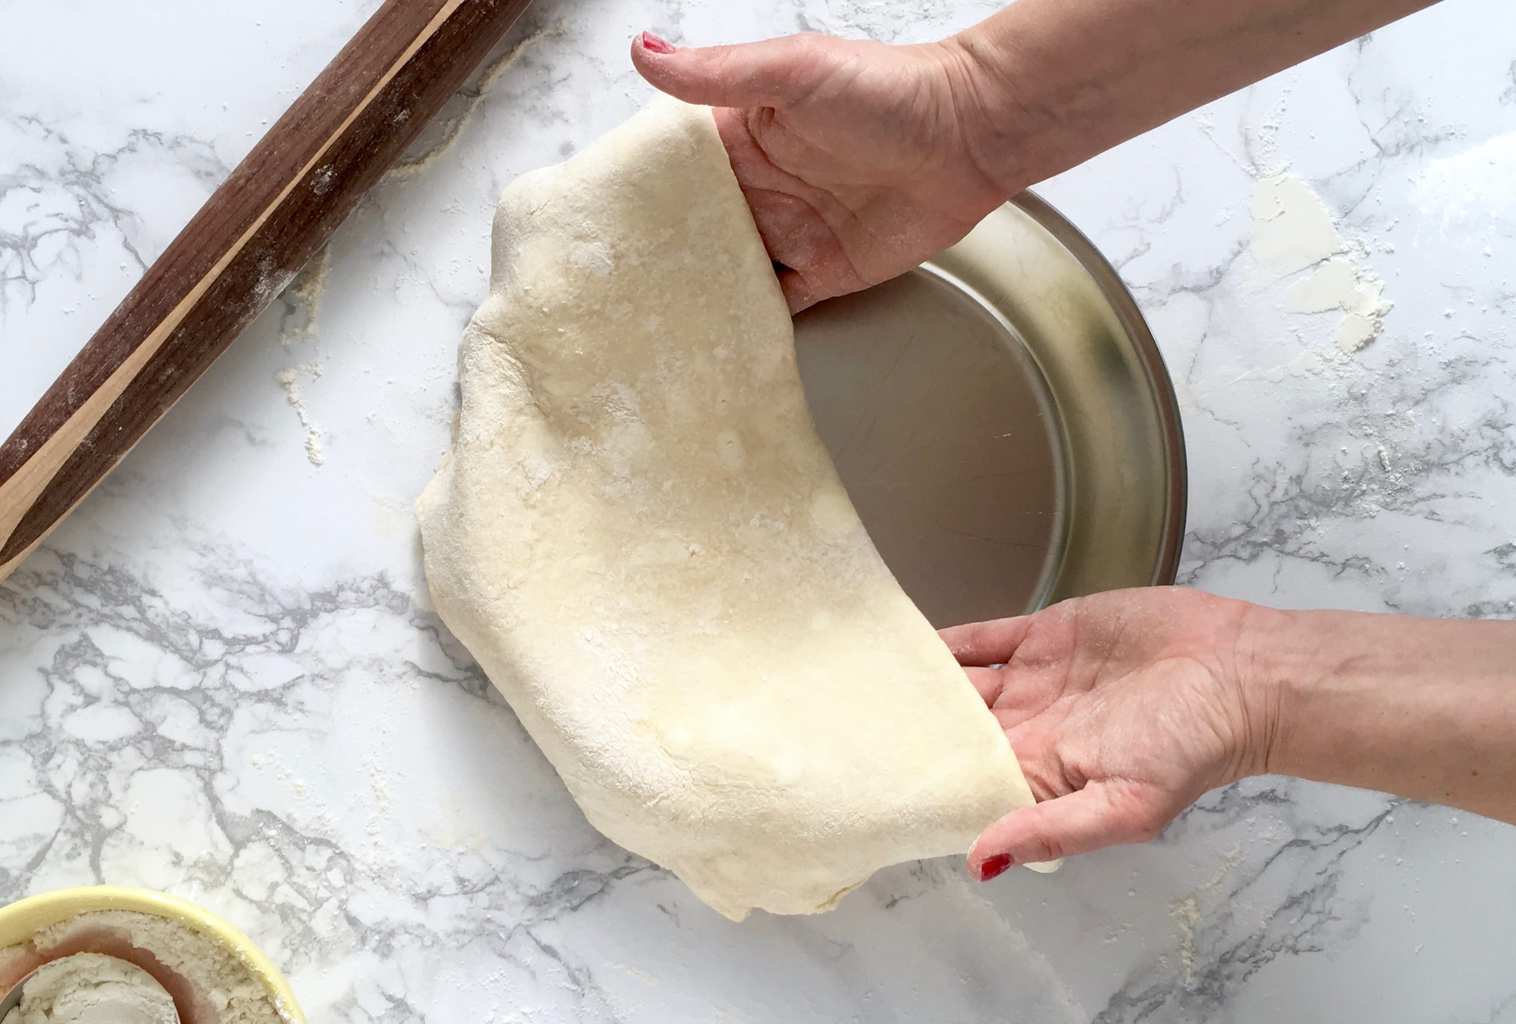
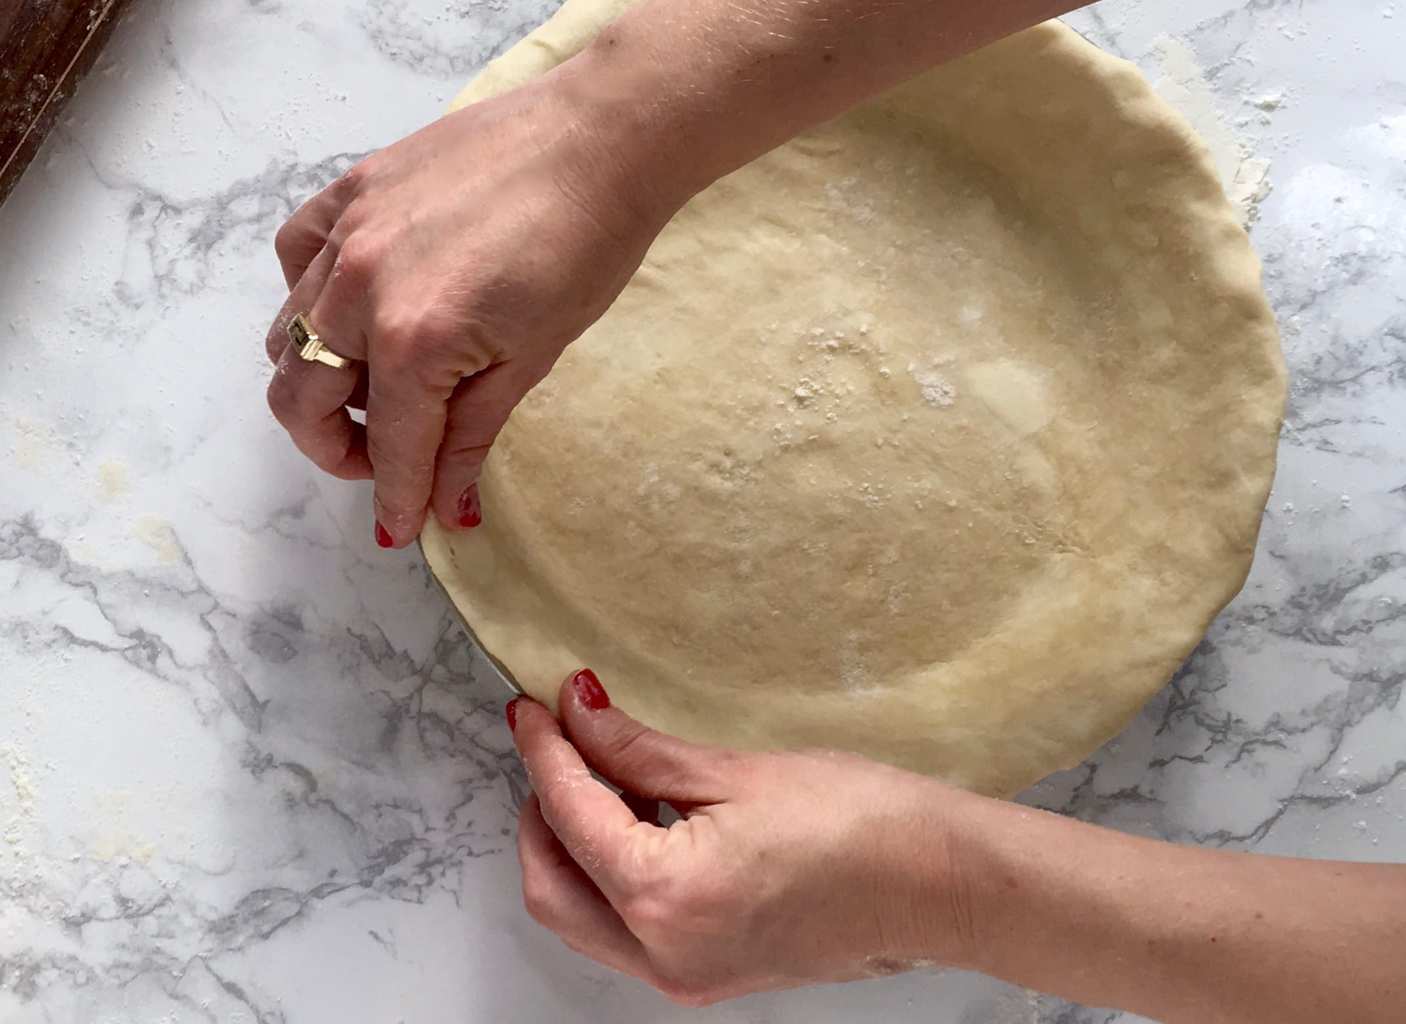
- Fold don't roll: Gently fold the circle of dough in half then lift it, place the seam in the center of the pie pan and unfold, without stretching or pulling.
- Don't stretch: Once the dough is in the pan, lift the edges and let it settle into the corners. Never pull or stretch it to fit. If you stretch it now, it will just "snap back" and shrink while it bakes.
Finishing touches for pie crust
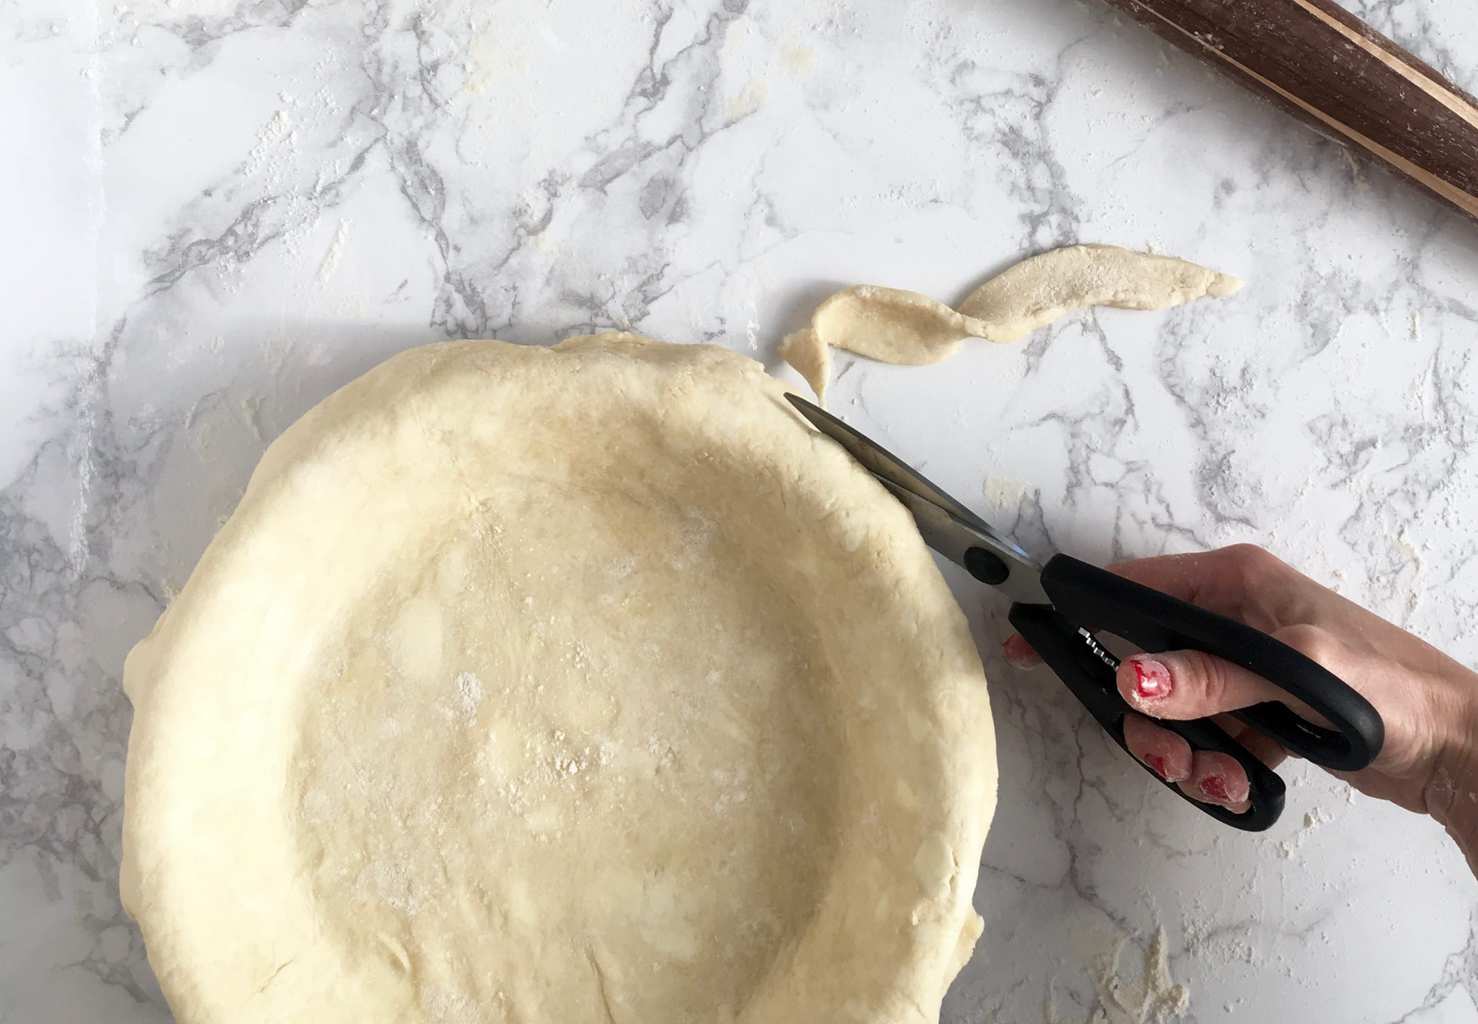
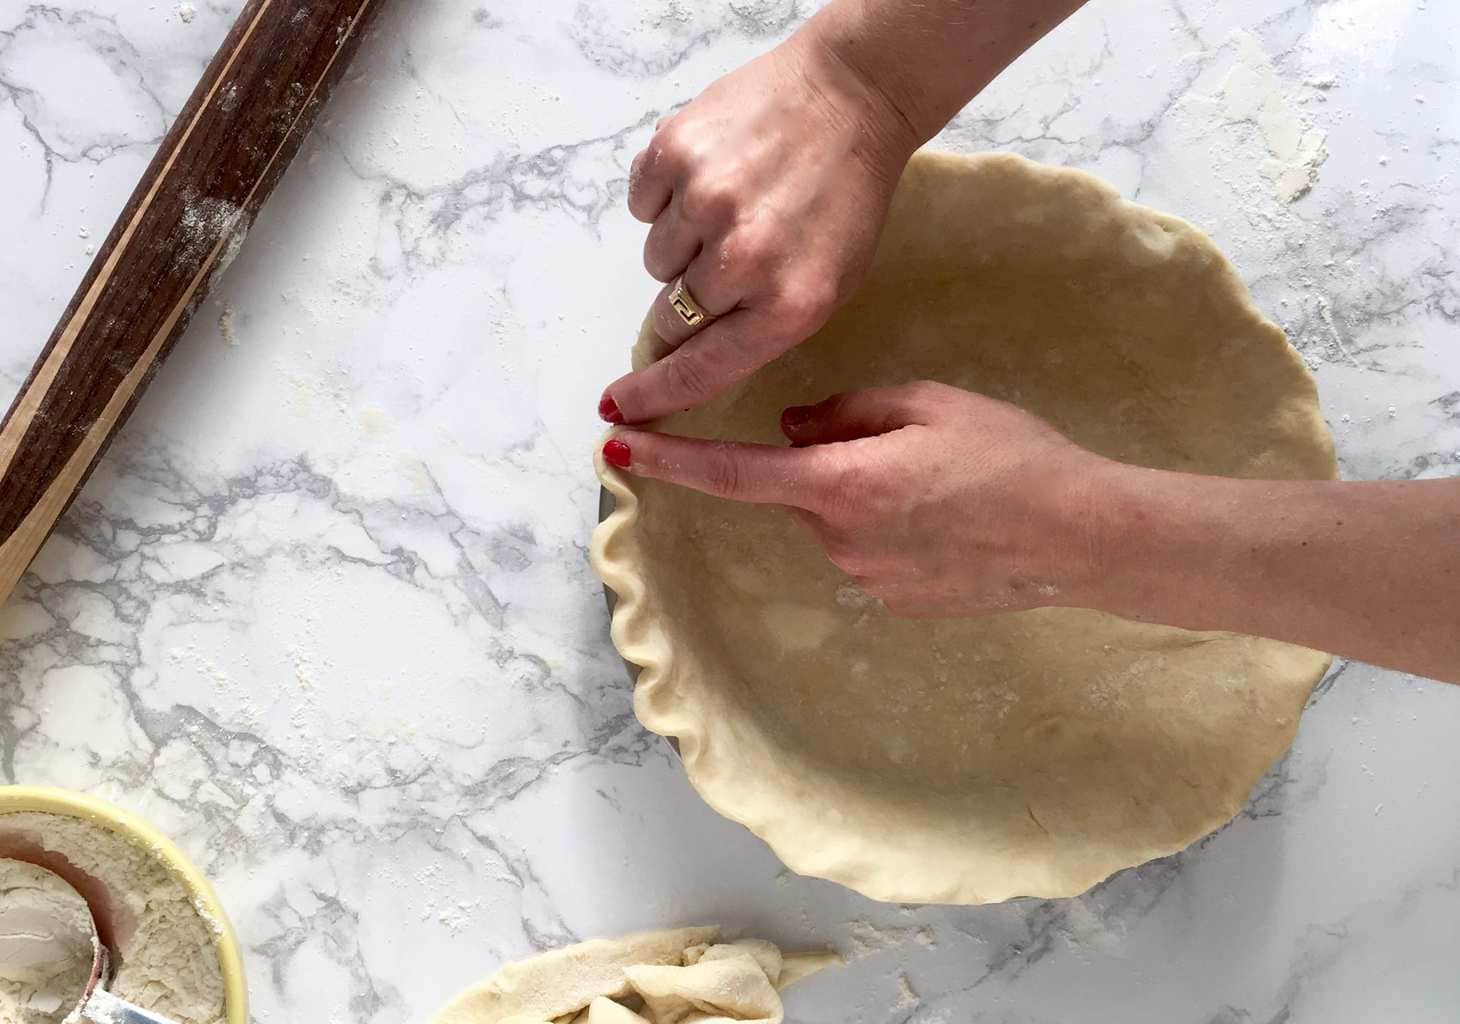
Once the dough is in the pan, fitted to the corners and sides, use kitchen shears to trim the edges, leaving about half an inch past the rim.
Fold that extra bit under itself to create a sturdy, clean border, and then crimp it with your fingers.
Use your fingers to make pretty crimps along the edges, working quickly so you don't melt the bits of butter with the heat from your hands.
For inspiration and ideas to decorate the edges of your pie read about my Beautiful Pie Crusts.
Blind baking pie crust
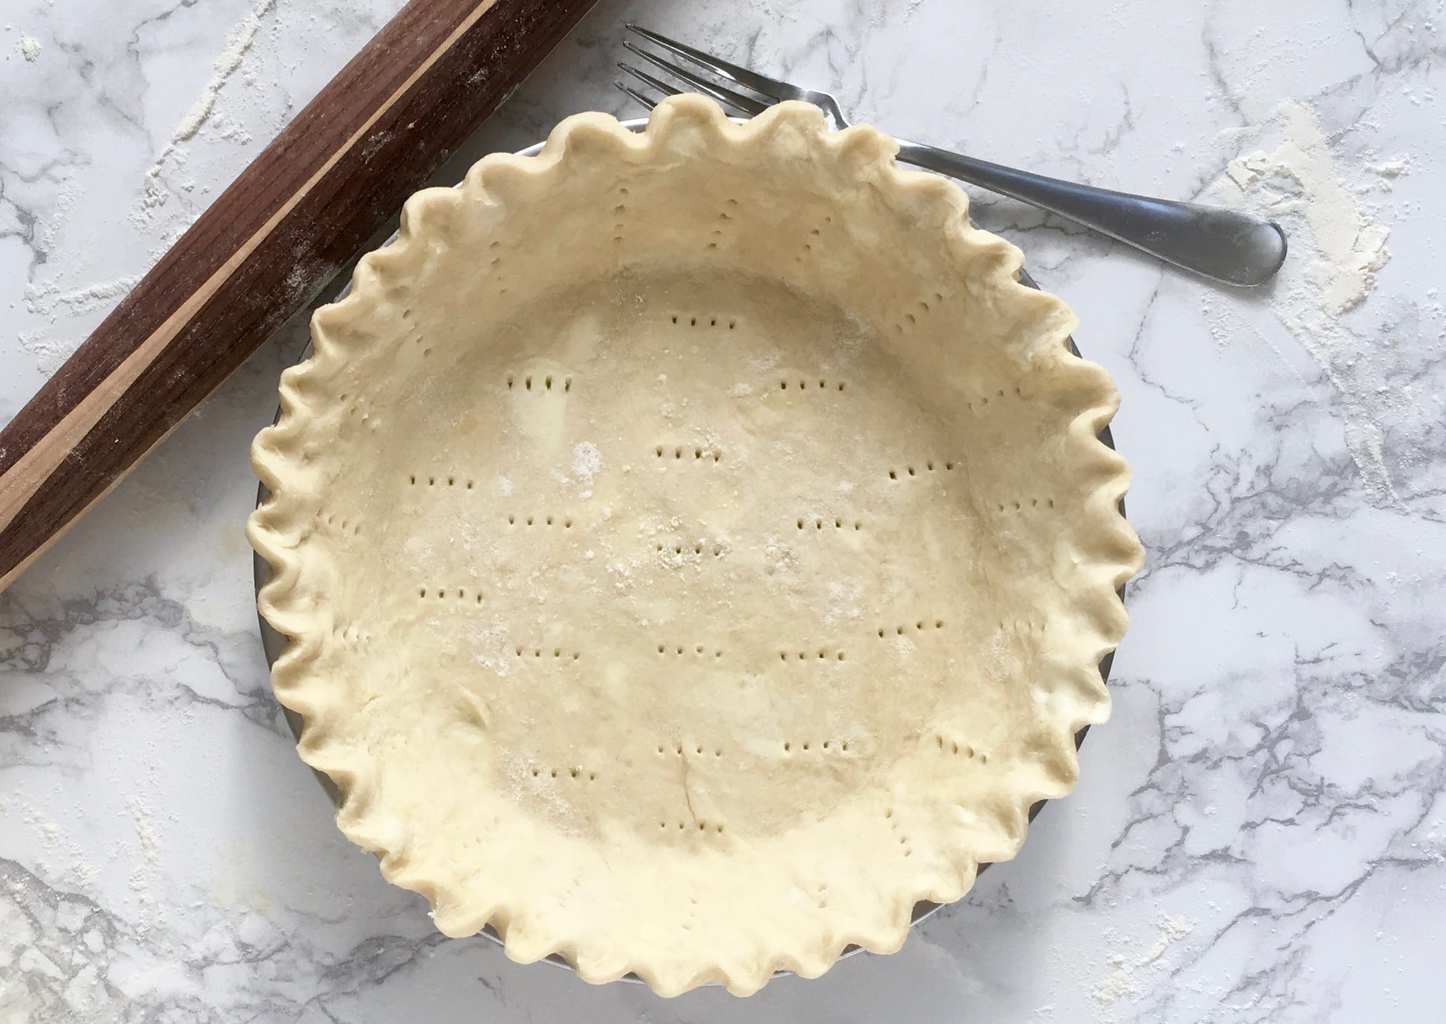
If you are "blind baking" (baking the crust before adding a wet filling like cream or custard), make sure to "dock" the dough by poking it with a fork. This lets steam escape so the bottom doesn't puff up.
Finally, pop that beautiful crust in the freezer for 15 minutes before it hits the oven—this ensures the butter is ice-cold and the shape stays perfectly intact.
You can also line the frozen pie crust with parchment paper, fill it with baking beans or pie weights, and par-bake the crust for about 10 minutes. Gently remove the parchment and weights, and continue to bake until golden brown.
How to use pie weights
If you’ve ever had a pie crust slump down the sides of the pan or puff up like a pillow while "blind baking" (that’s just baker-speak for pre-baking a crust without the filling), you need to try par-baking it with weights.
You can purchase traditional pie weights, but I prefer beans! I keep a dedicated jar of plain, dried beans in my pantry just for this. Simply line your chilled dough with a piece of crumpled parchment paper (crumpling it makes it fit the corners better!) and fill it all the way to the top with the dried beans. This holds the sides up and keeps the bottom flat.
Bake the crust 10 to 15 minutes with the weights, then gently remove the parchment sling, filled with the beans, and let the crust continue to cook.
Bonus Tip: Don't throw the beans away when you're done! Let them cool completely and pop them back in the jar. You can’t eat them after they've been in the oven, but you can reuse them for years of perfect pie crusts!
Pies to make
Love Pie? Make more pie with Tara Teaspoon recipes.

Tara Teaspoon
I’ve been in food publishing for over 25 years, creating recipes & food-styling for magazines, books, television, food brands, & advertising. With two cookbooks under my belt and thousands of my recipes at your fingertips, I hope you'll be inspired to spend more time in the kitchen!
Comments
No Comments