
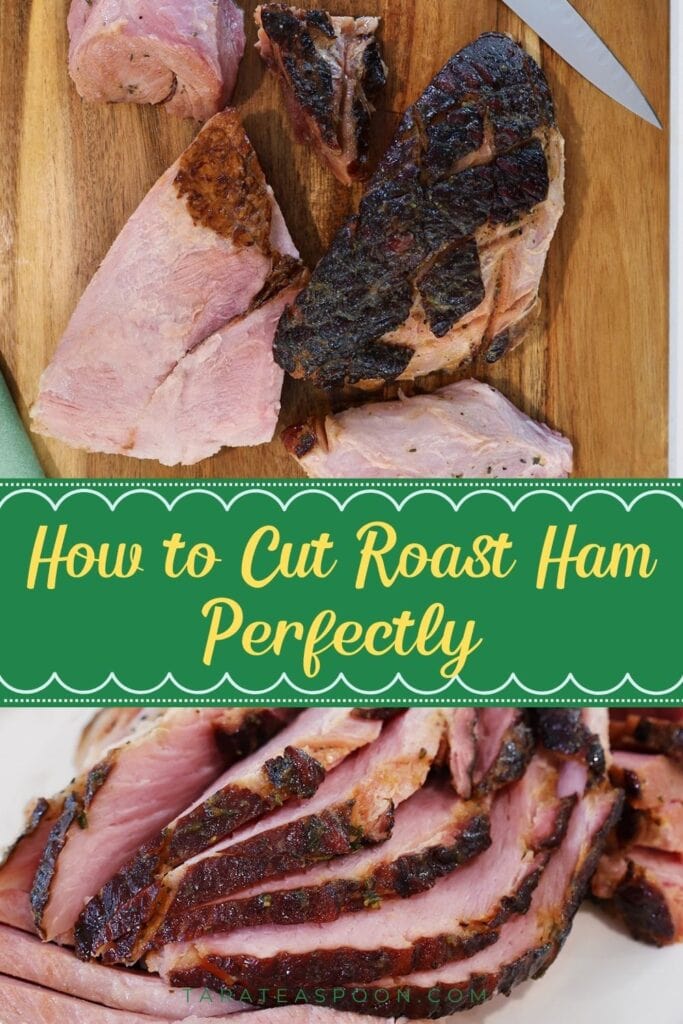
Learn how to carve a bone-in ham (not spiral cut) for an impressive presentation for your next holiday menu. Whether it's Easter or Christmas or family dinner, ham is easy to prepare and makes for an elegant main course.
In this article you'll learn:
- To cut a bone-in ham, remove large sections of meat by slicing along the bone and natural seams, then slice those pieces across the grain for tender, even servings.
- Shank-end ham (single center bone) is the easiest to carve, while butt-end ham follows the same method but requires working around multiple bones.
- Large sections of meat should be removed from the bone first, then sliced, instead of trying to carve thin slices directly from the roast.
- A sharp carving knife, steady cutting surface, and carving fork make the process easier and cleaner.
- Plan about ½ to ¾ pound per person for bone-in ham, and slice only what you need to keep the remaining meat juicy.
Generated with AI and experts from the Tara Teaspoon team.
When it comes to holiday entertaining, I love to serve an uncut, bone-in ham because it turns out perfectly juicy, tender, and savory. However, for many people the thought of cutting the ham away from the bone can seem overwhelming.
Since spiral-cut ham is easier to serve, it's often the 'safer' choice. I have nothing against spiral hams (check out my Honey Baked Ham and Holiday Ham with Pomegranate Brown Sugar Glaze!), but there is something really satisfying about carving your own roast.
Don't let fear keep you from slicing and serving an uncut ham; I've got all the tips you need to serve a beautifully sliced ham!
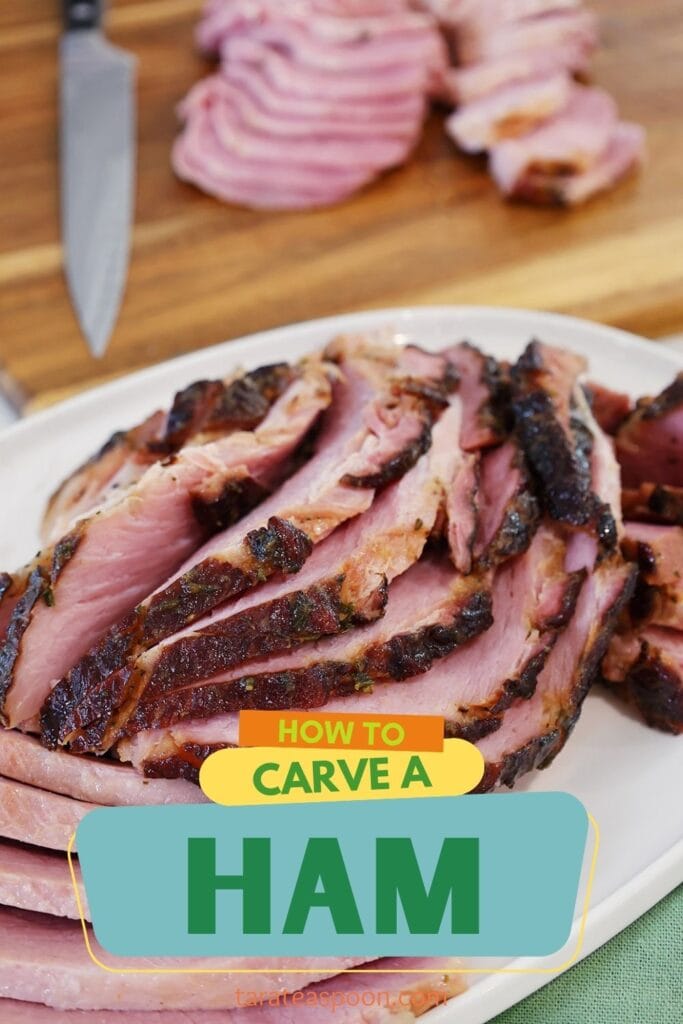
Learn how to carve bone-in ham like a pro
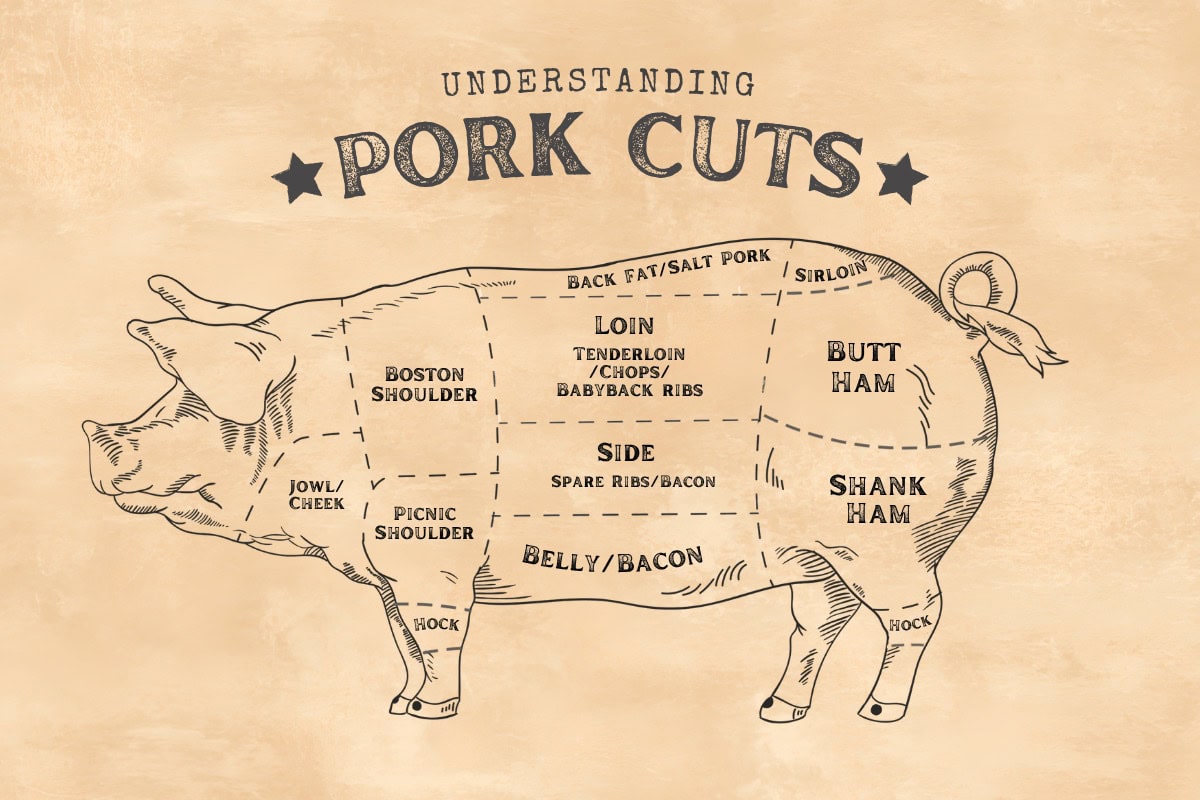
Ham comes from the butt and leg of a pig. Occasionally you can find a full leg of ham at the store, but usually it is divided in half and sold with the bone-in as a shank-end (lower leg) or butt-end.
This tutorial was designed for carving a shank-end ham with a single femur bone in the center. However, the principles also apply to carving a butt-end ham that has the femur and part of the hip.
Carving a bone-in holiday ham is actually very simple with the right technique--even beginners can do it!
This guide explains exactly how to carve bone-in ham like a pro, including tools, techniques, and helpful tips.
So, put your fears aside! After reading this tutorial you'll be able to carve properly, create even slices, and make a beautiful presentation worthy of Easter, Christmas, or a non-traditional Thanksgiving dinner.
Jump to:
Tools you'll need
Before getting started, it's important to make sure you've got the right tools on hand. Here are the essentials:
- Sharp carving knife or chef’s knife: For easy carving and clean slices. The knife should be long enough to insert through the meat and reach the bone in the center. I love this carving set because it contains both a knife and carving fork.
- Carving fork or large fork: Useful for stabilizing the ham while you carve. You can also use it to move sections of boneless meat onto a cutting board.
- Food safe gloves (optional): I use disposable gloves to carve the ham because they protect my fingers from the sometimes hot, roast ham, as well as keep my hands clean and the main dish sanitary!
- Large cutting board with groove: The cooked ham will be moist and juicy. A cutting board with a groove around the outside will collect excess juices and make clean up easier.
- Paper towels: To prevent the cutting board from sliding on the counter, place wet paper towels or a wet dish cloth under it.
- Serving platter: After cutting your ham, make it the star of your table by dressing it on a nice serving platter.
How to carve bone-in ham

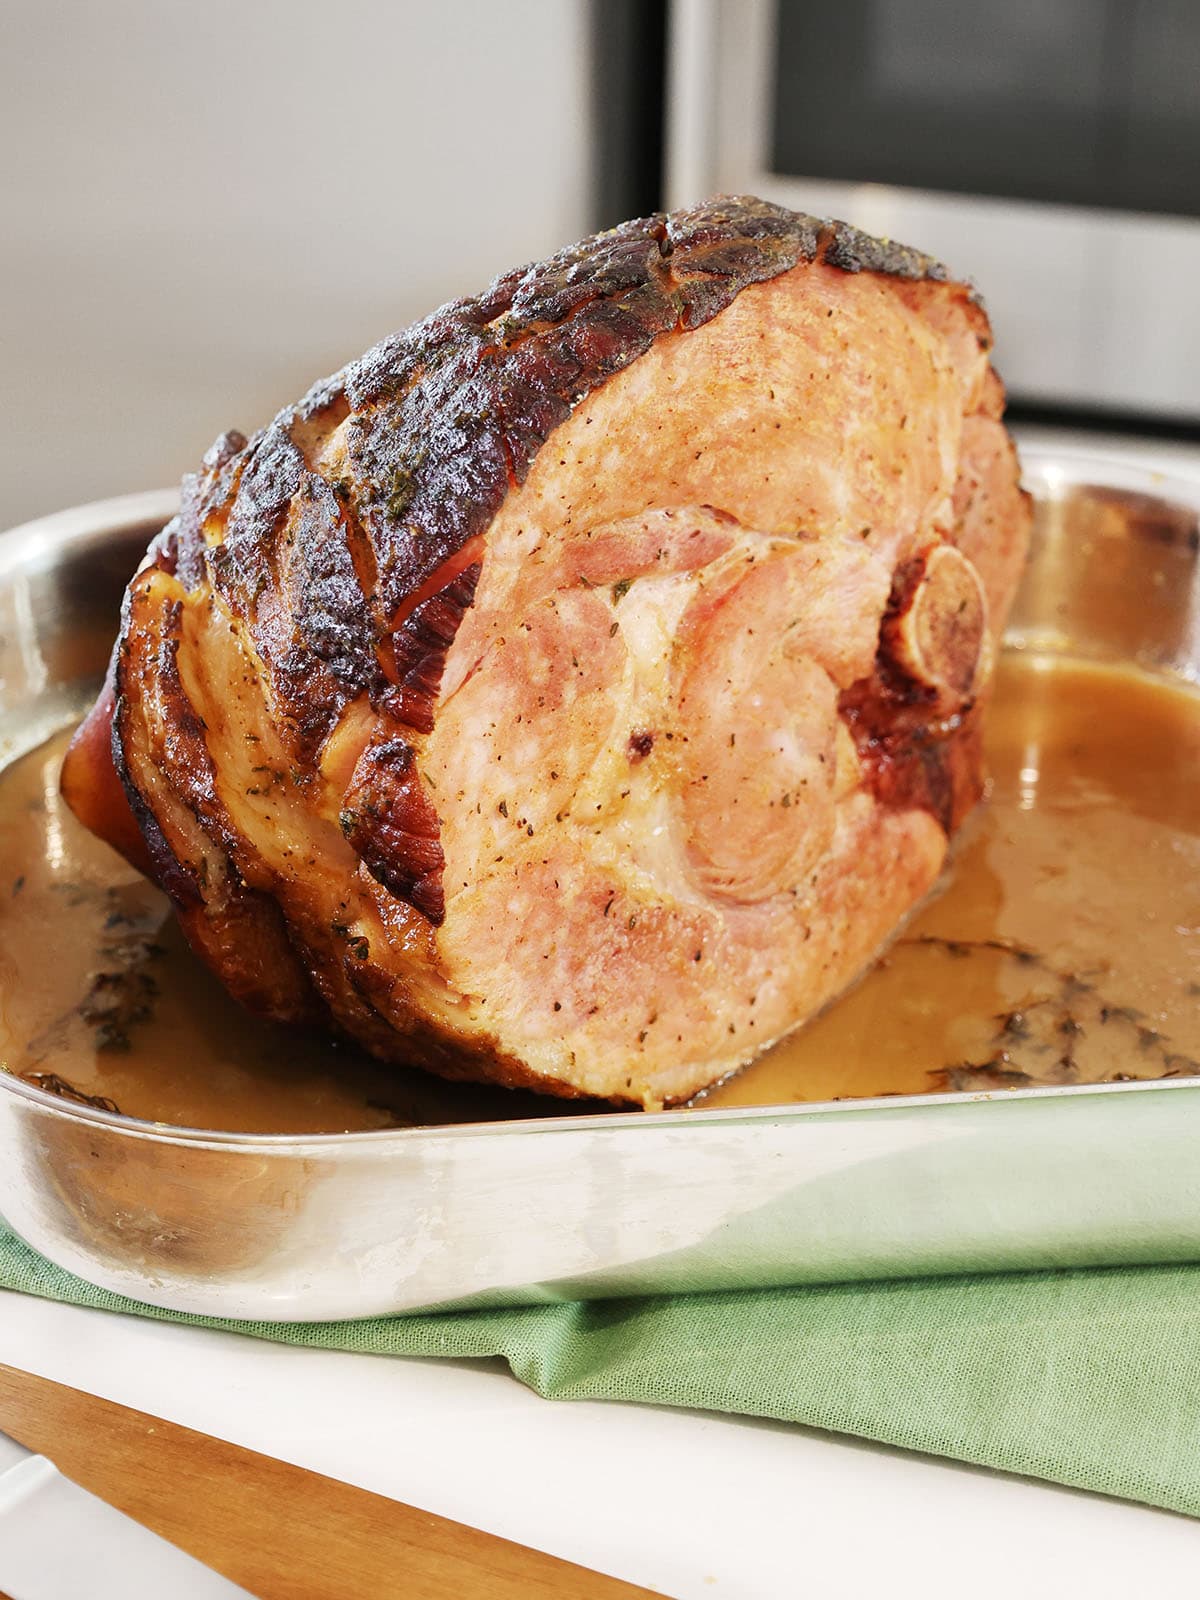
- Rest the ham: Remove from oven and let the ham rest in the pan (covered with foil) for 10 to 15 minutes before cutting into it to let the juices settle.
- Prepare to carve: Get a wet paper towel or dish cloth and place it under a large cutting board that has a rim around the edge to help catch juices. Alternatively, place a cutting board inside a rimmed baking sheet.
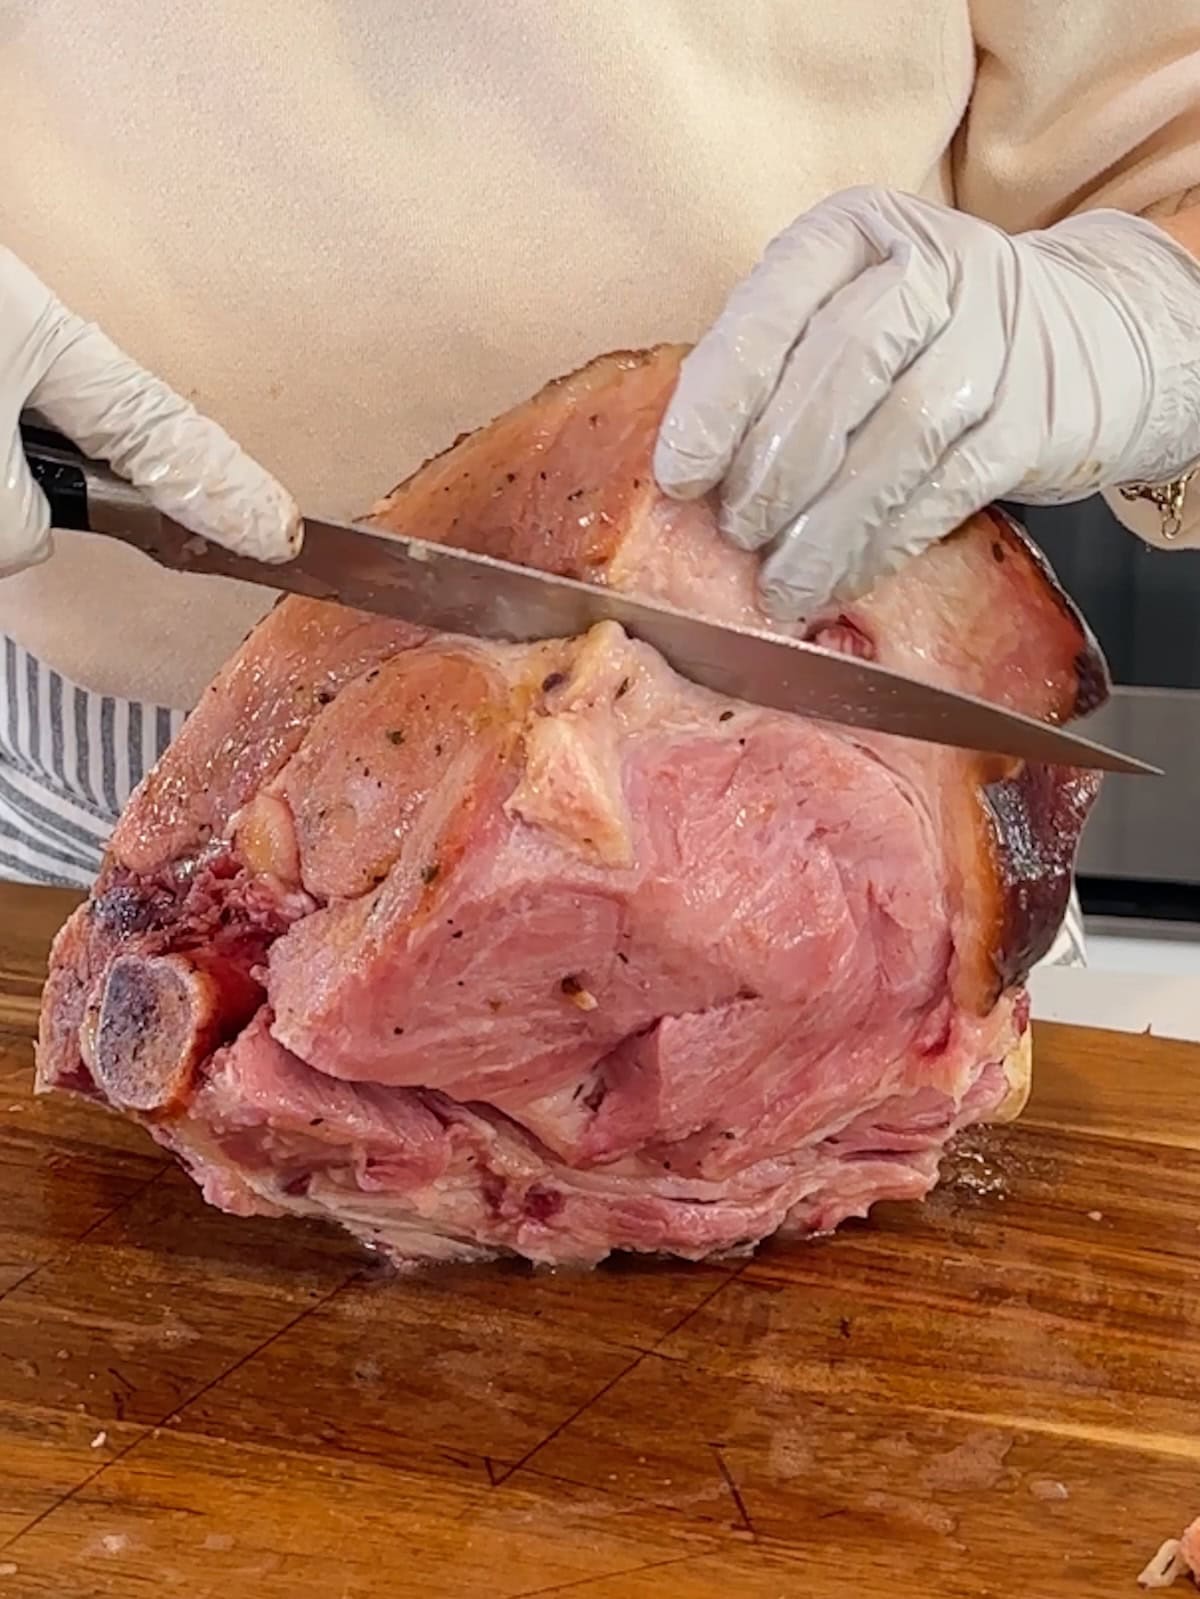
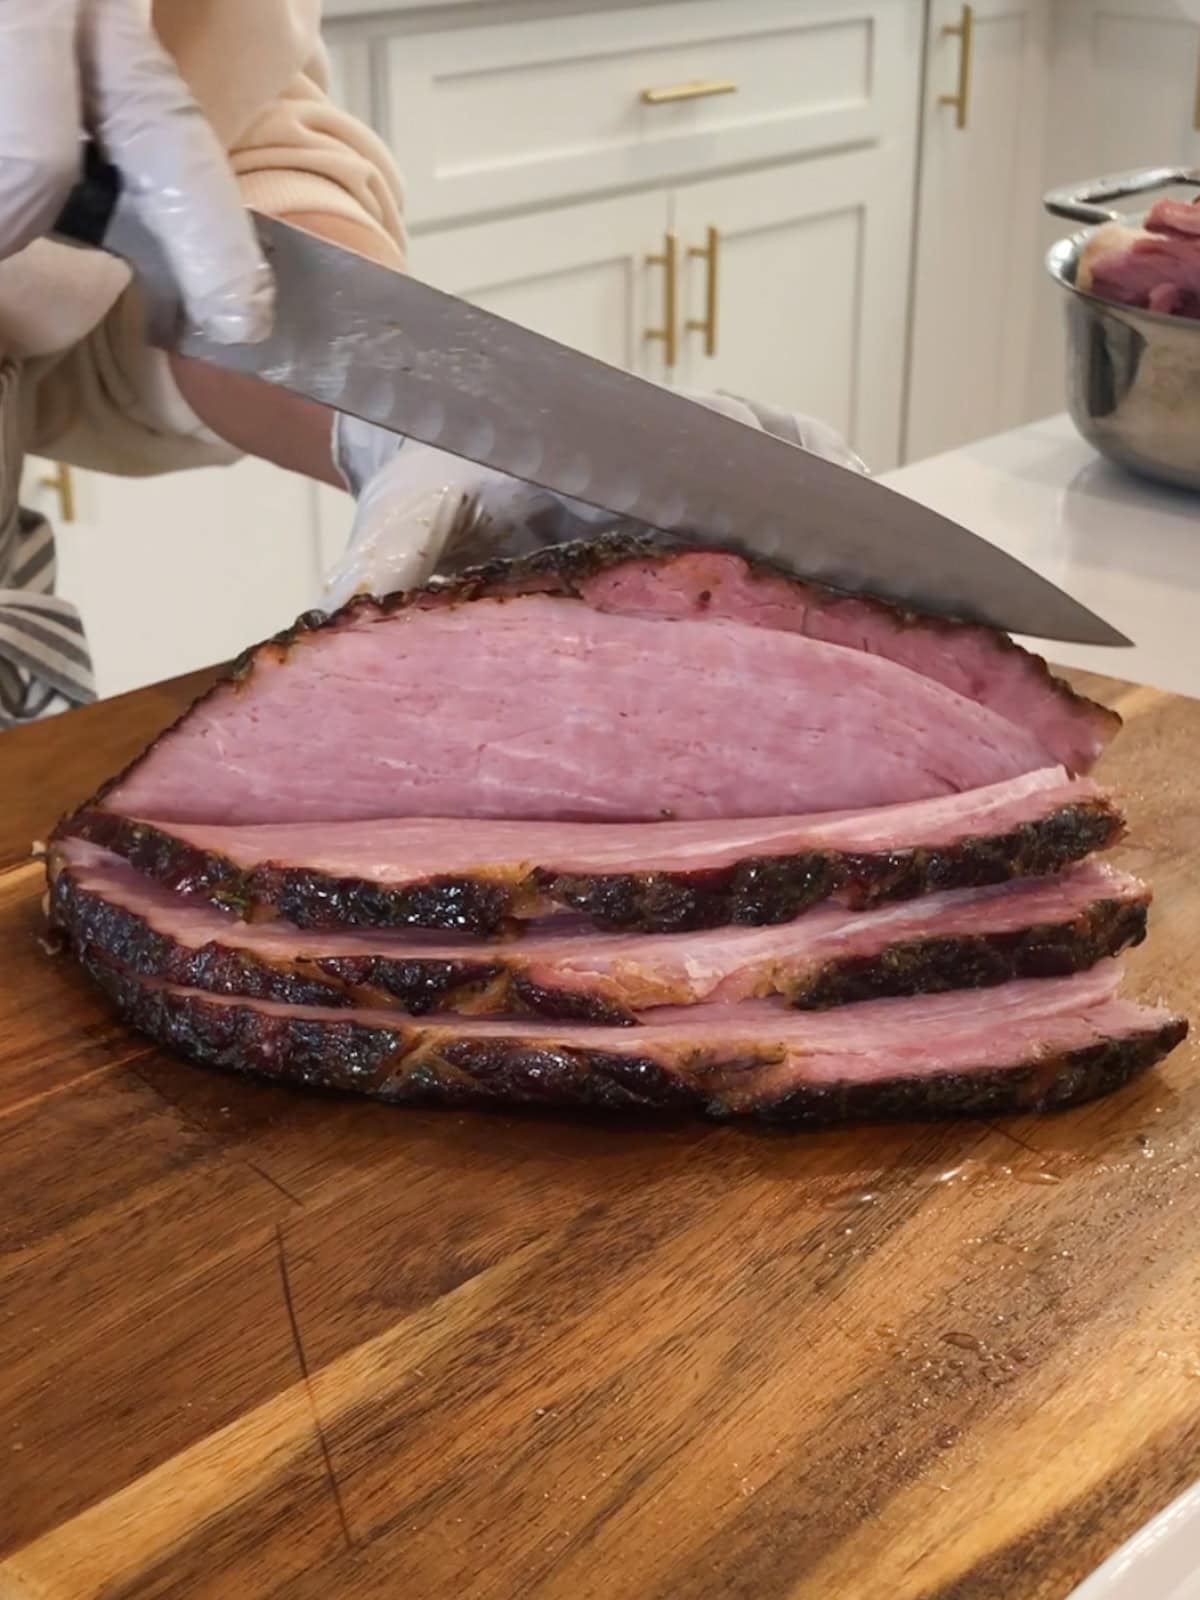
- Stabilize the roast: Lay the ham on the cutting board with the scored side up and the leg bone parallel to the board. With one hand, use a large fork to help steady the roast.
- Cut away chunks of boneless meat: Use your other hand to cut into the ham shank with a sharp chef's knife. You'll cut through the seams of fat surrounding the meaty pieces to get each cut started.
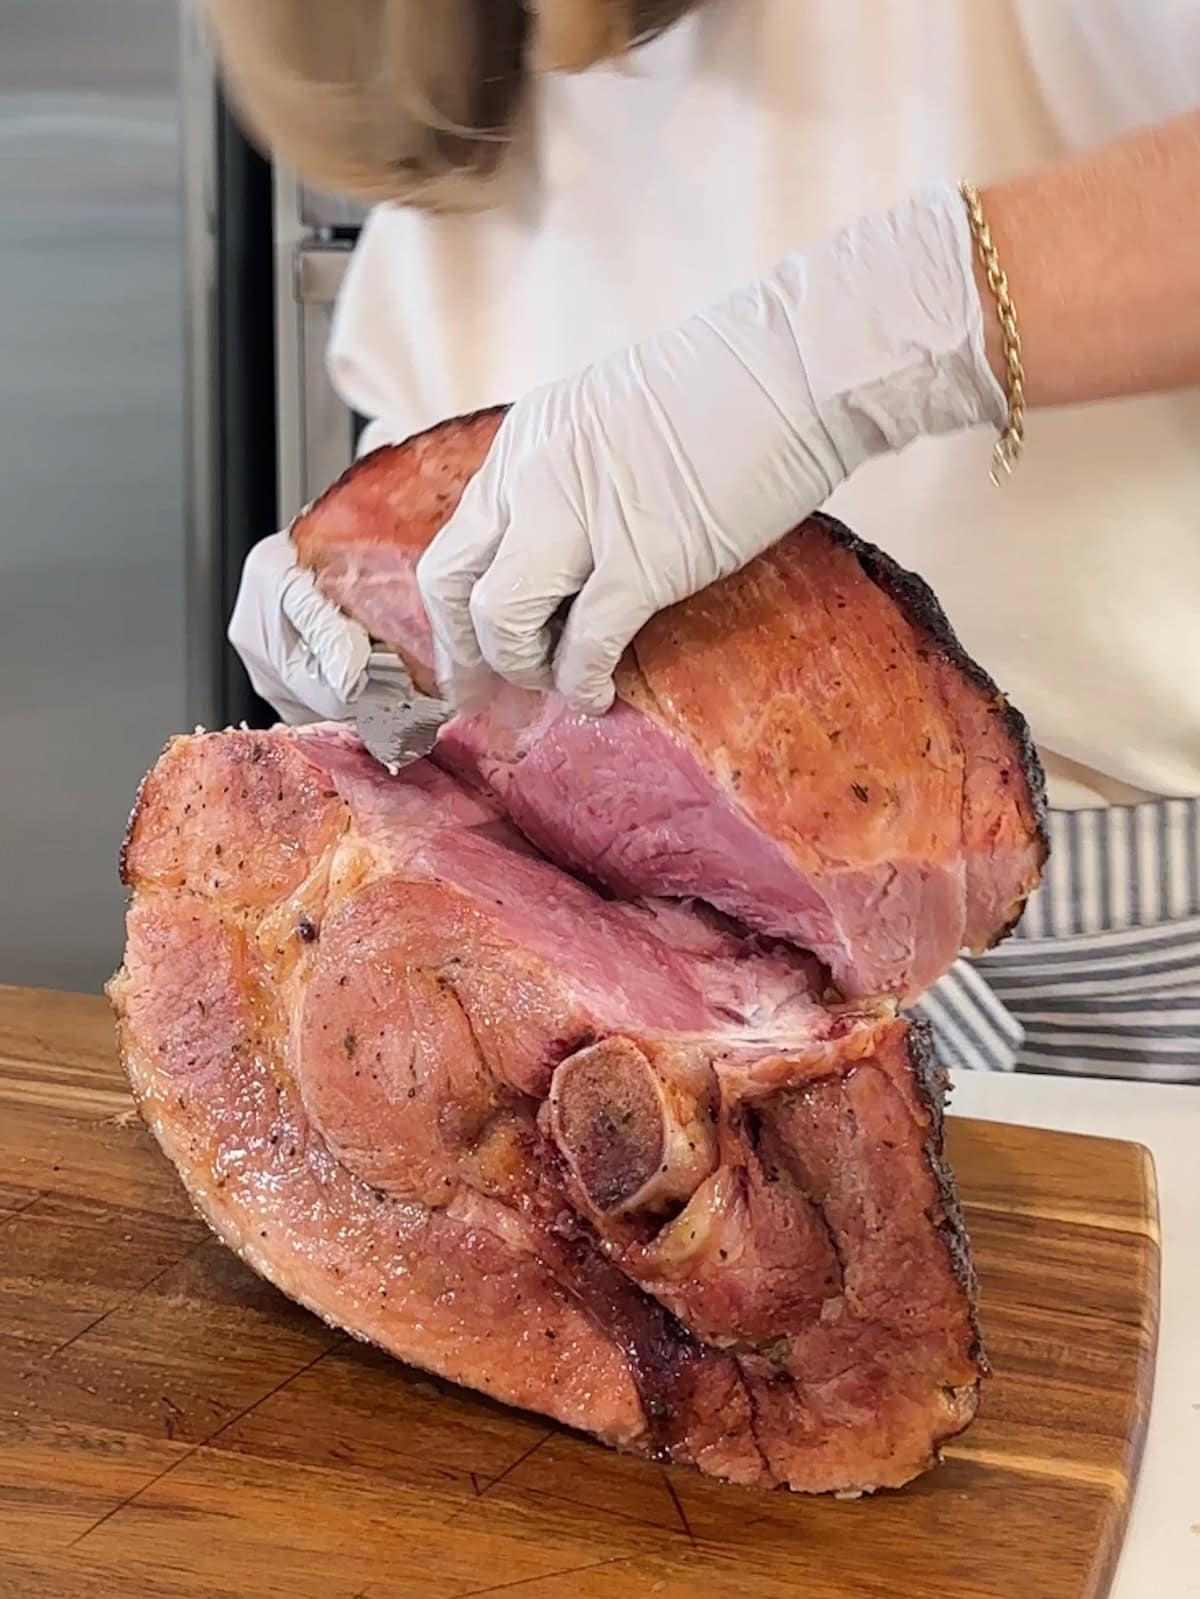
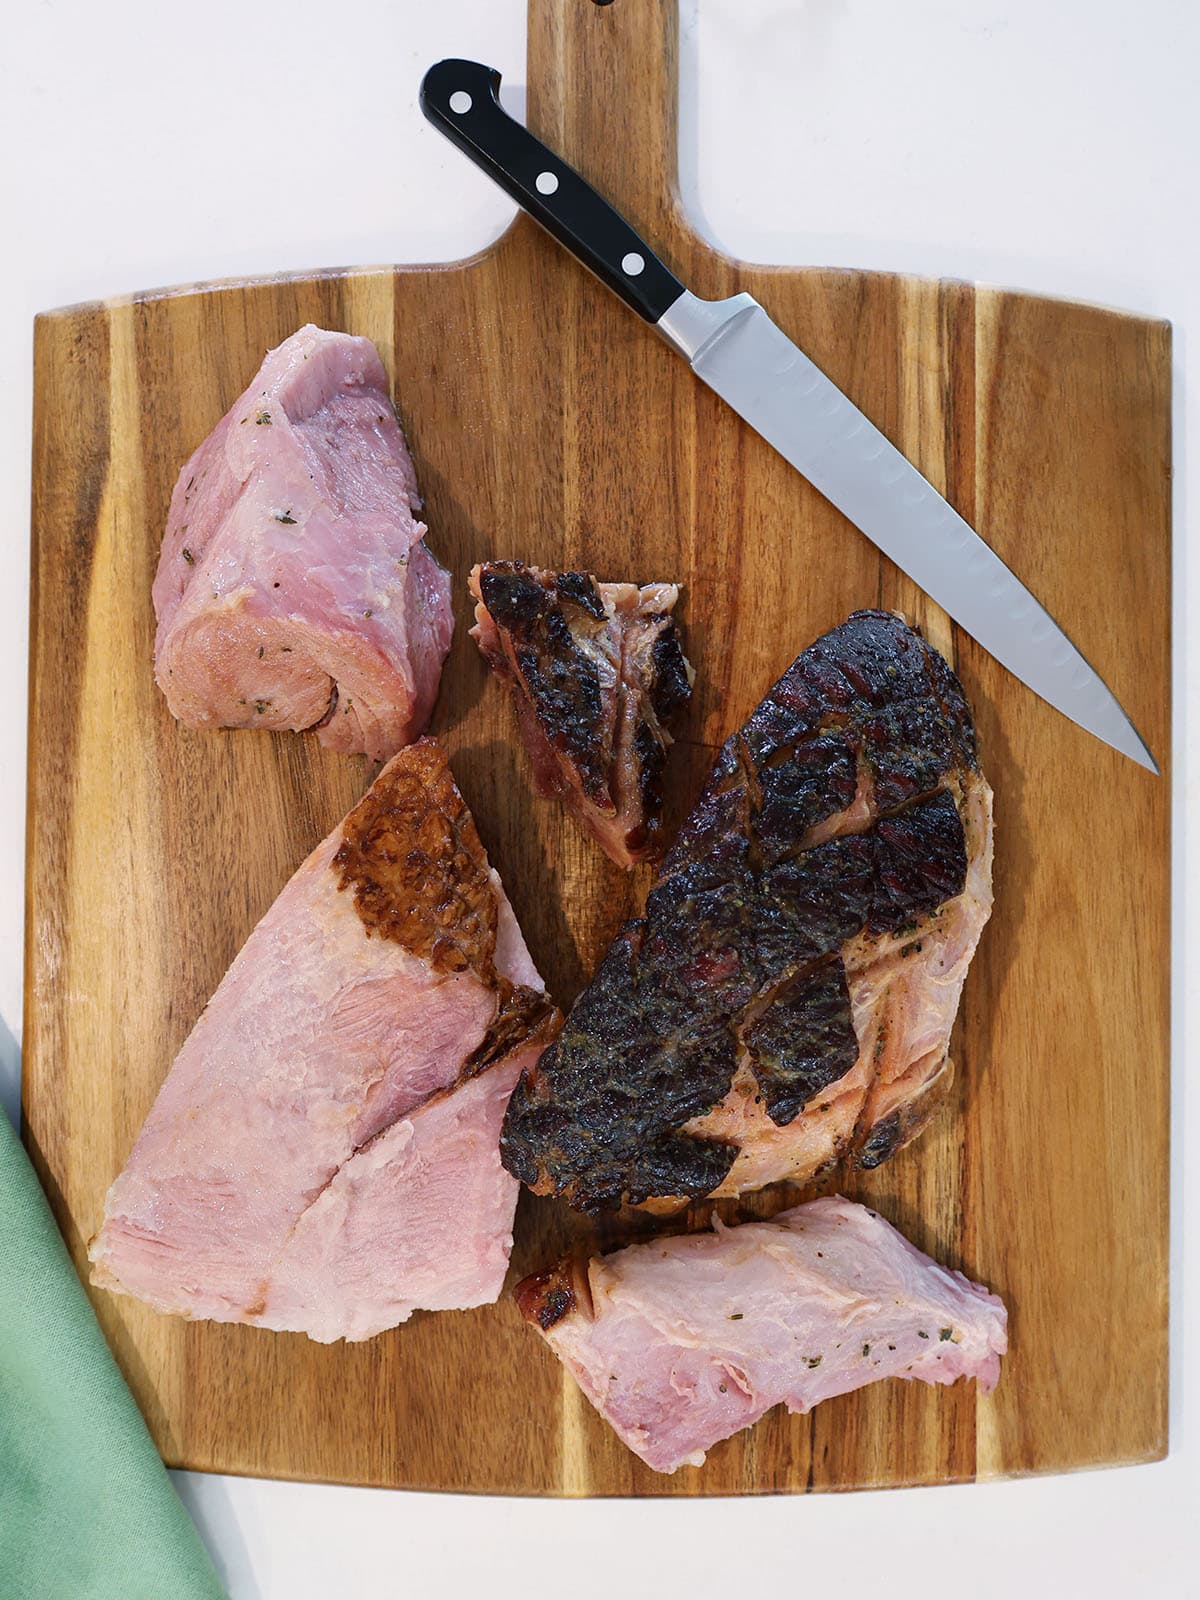
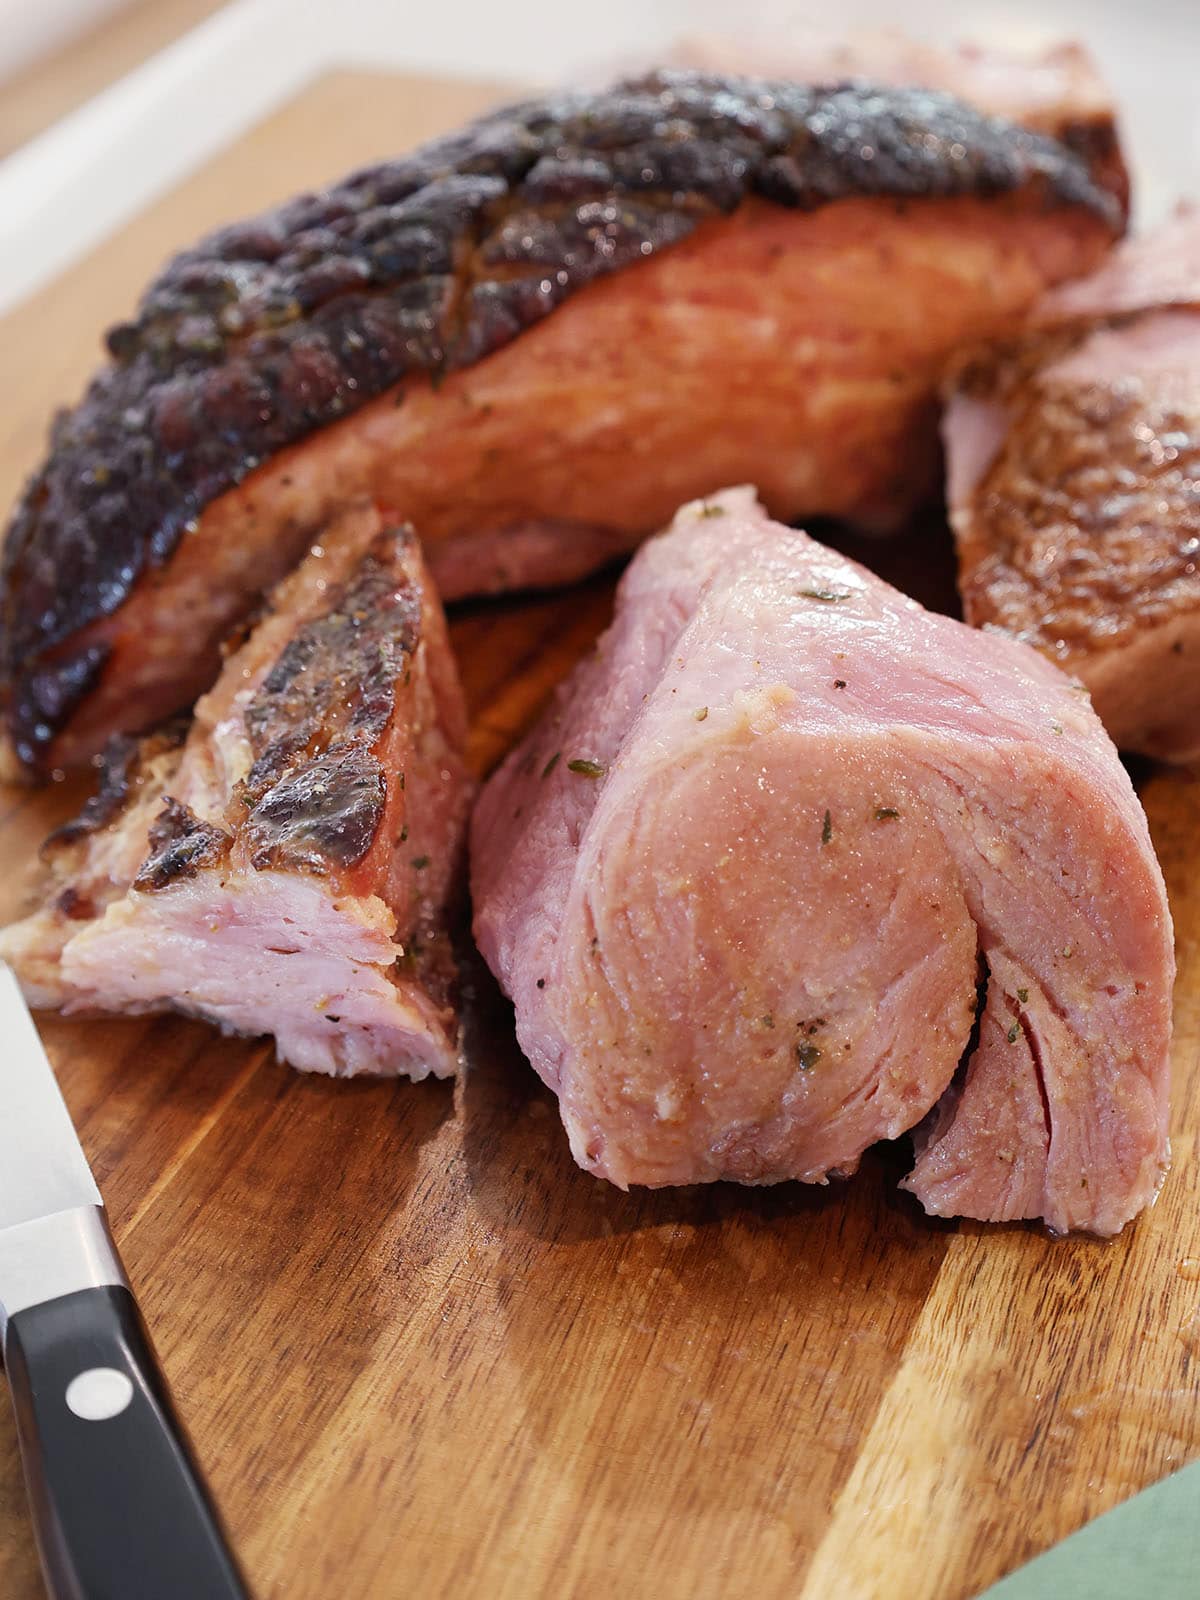
- Lift and trim: Working is sections, continue to follow the fatty seams and natural breaks around the muscles to cut the meat away from the bone in large pieces. Lift each chunk off of the main roast, and set it on the side of the cutting board. Trim away excess fat.
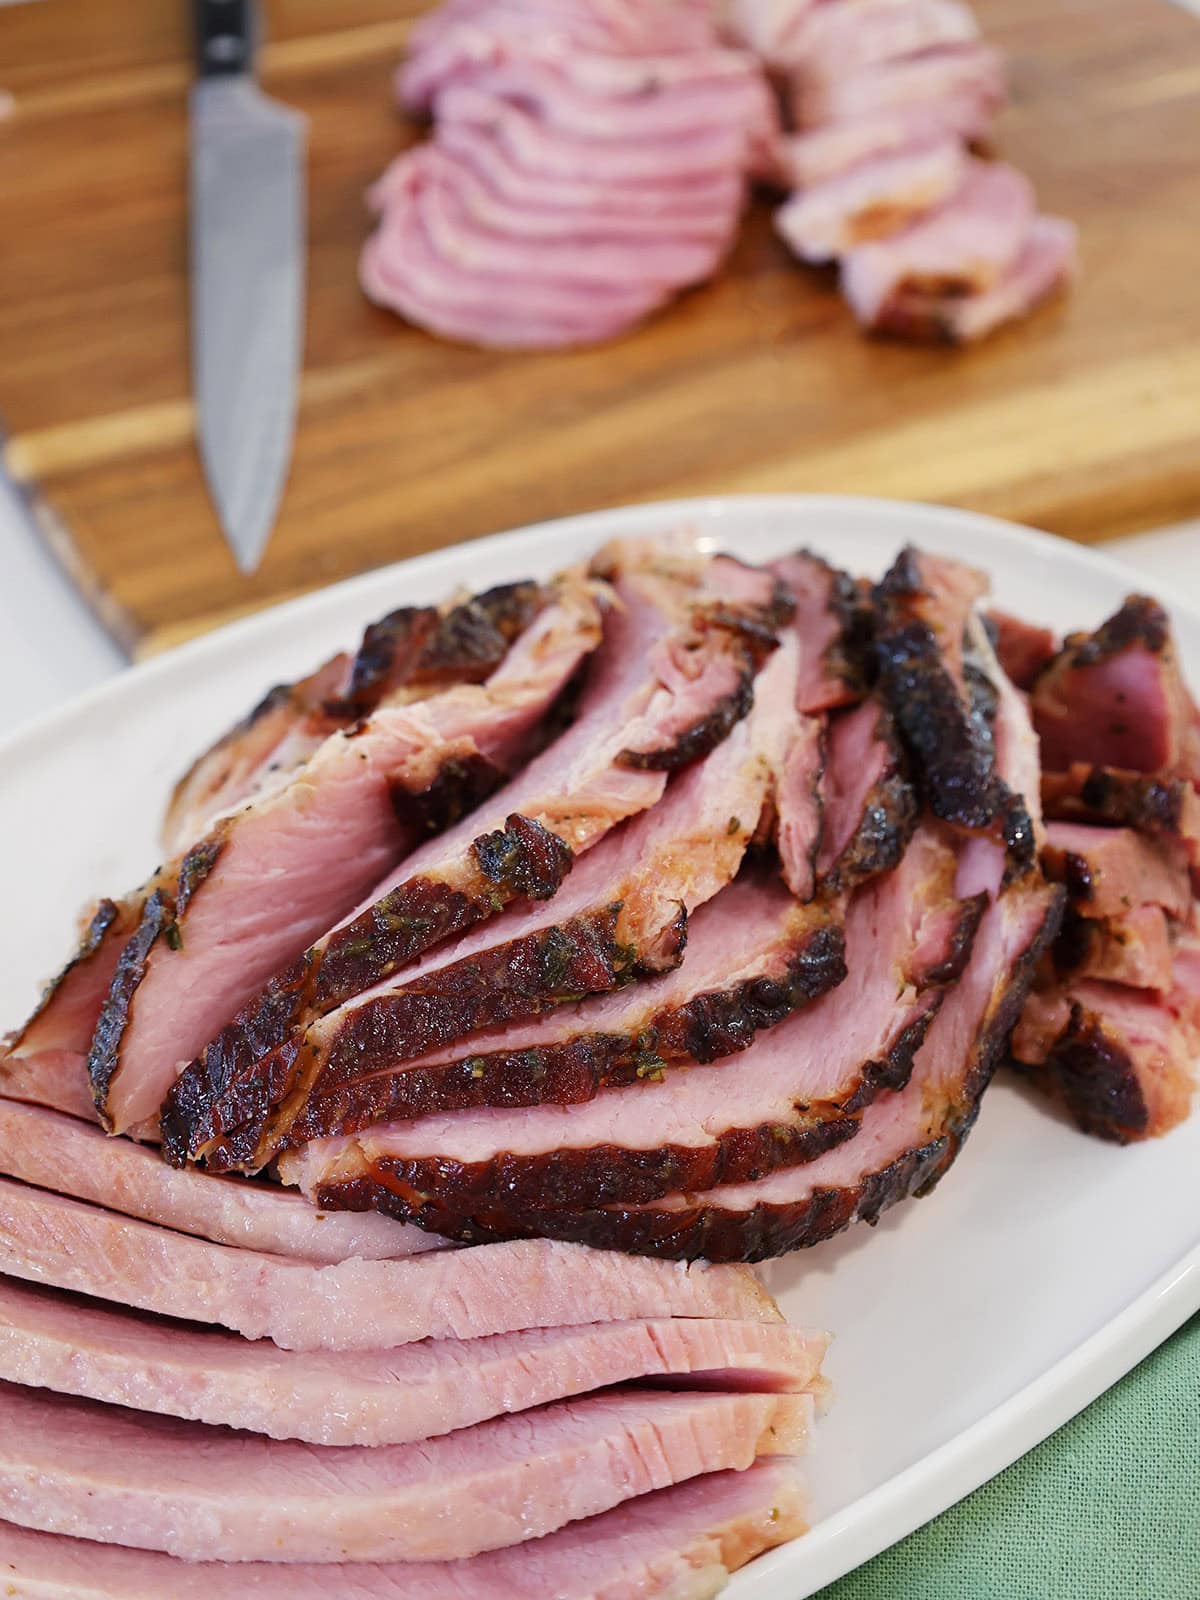
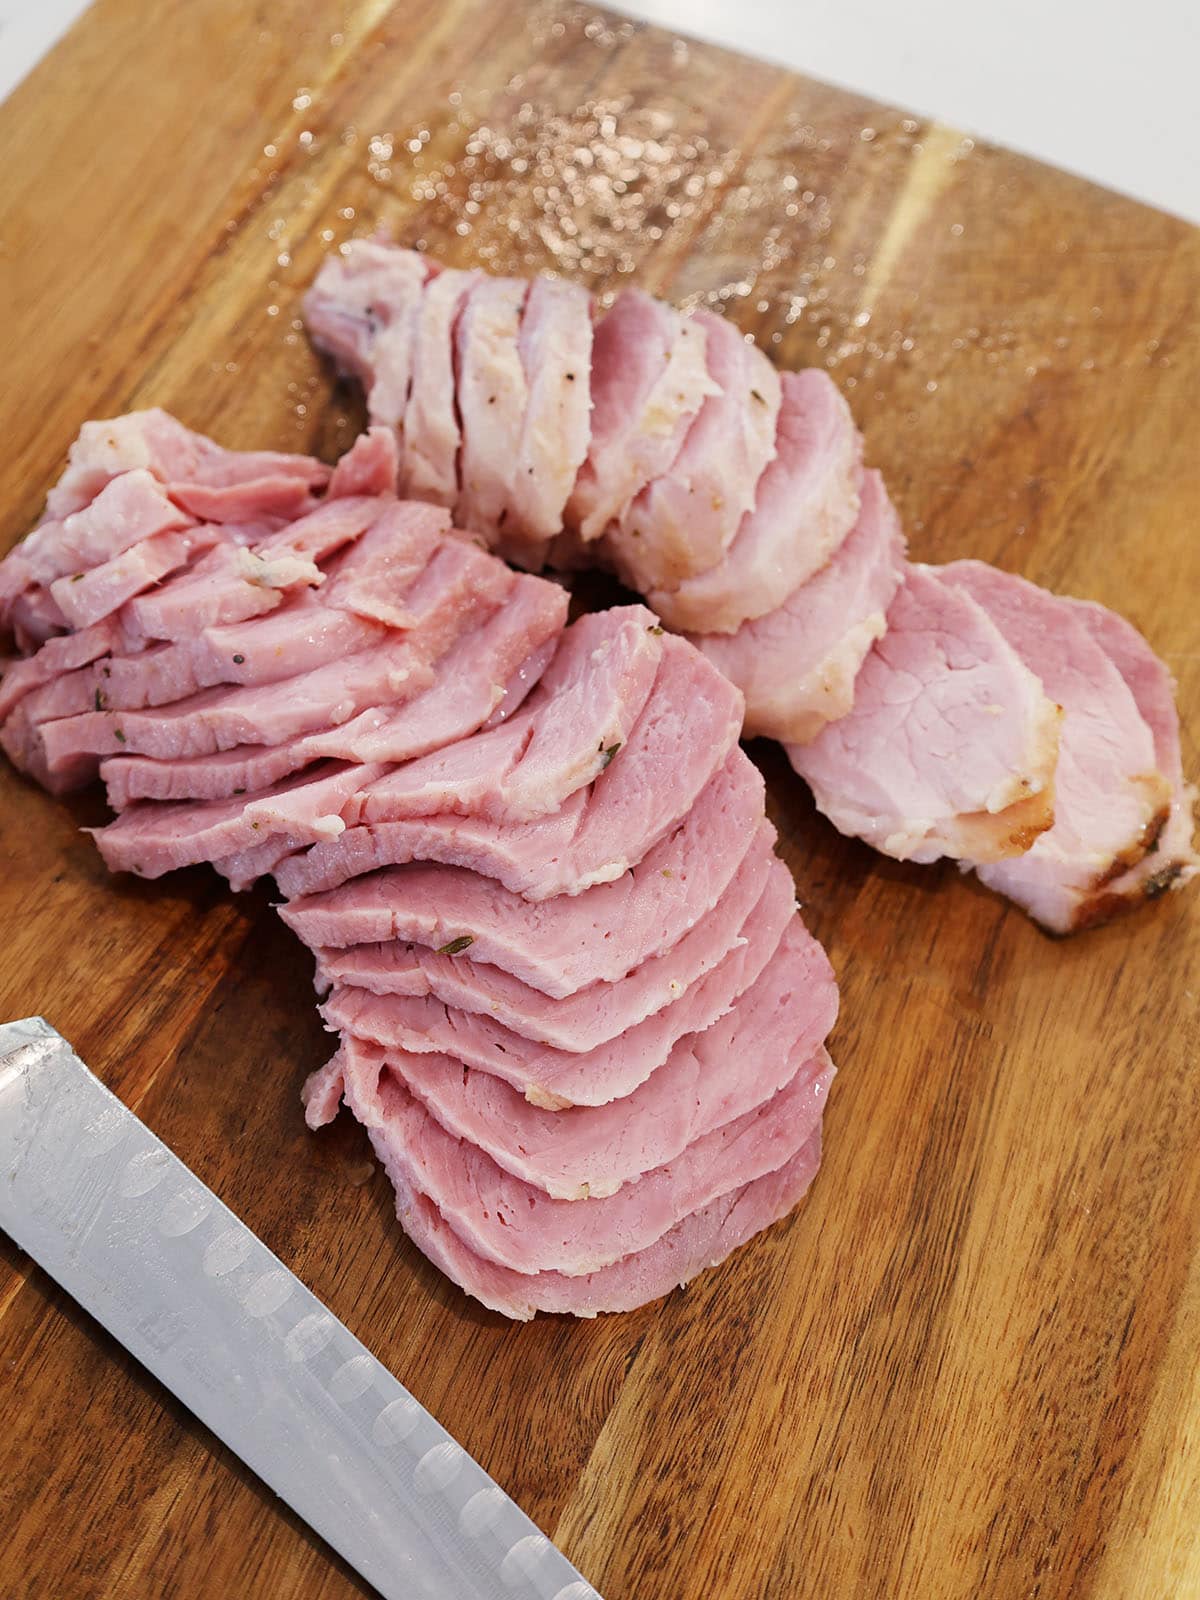
- Slice: Identify the grain (the direction the muscle fibers run). Slice the trimmed, boneless meat into pretty pieces across the grain (perpendicular to the grain if you want extra tender pieces) as thick or thin as you like. I usually cut my slices about ¼-inch thick.
- Keep warm: Place slices under foil to keep them warm. Continue until all the meaty sections have been cut away from the bone, trimmed, and sliced across the grain.
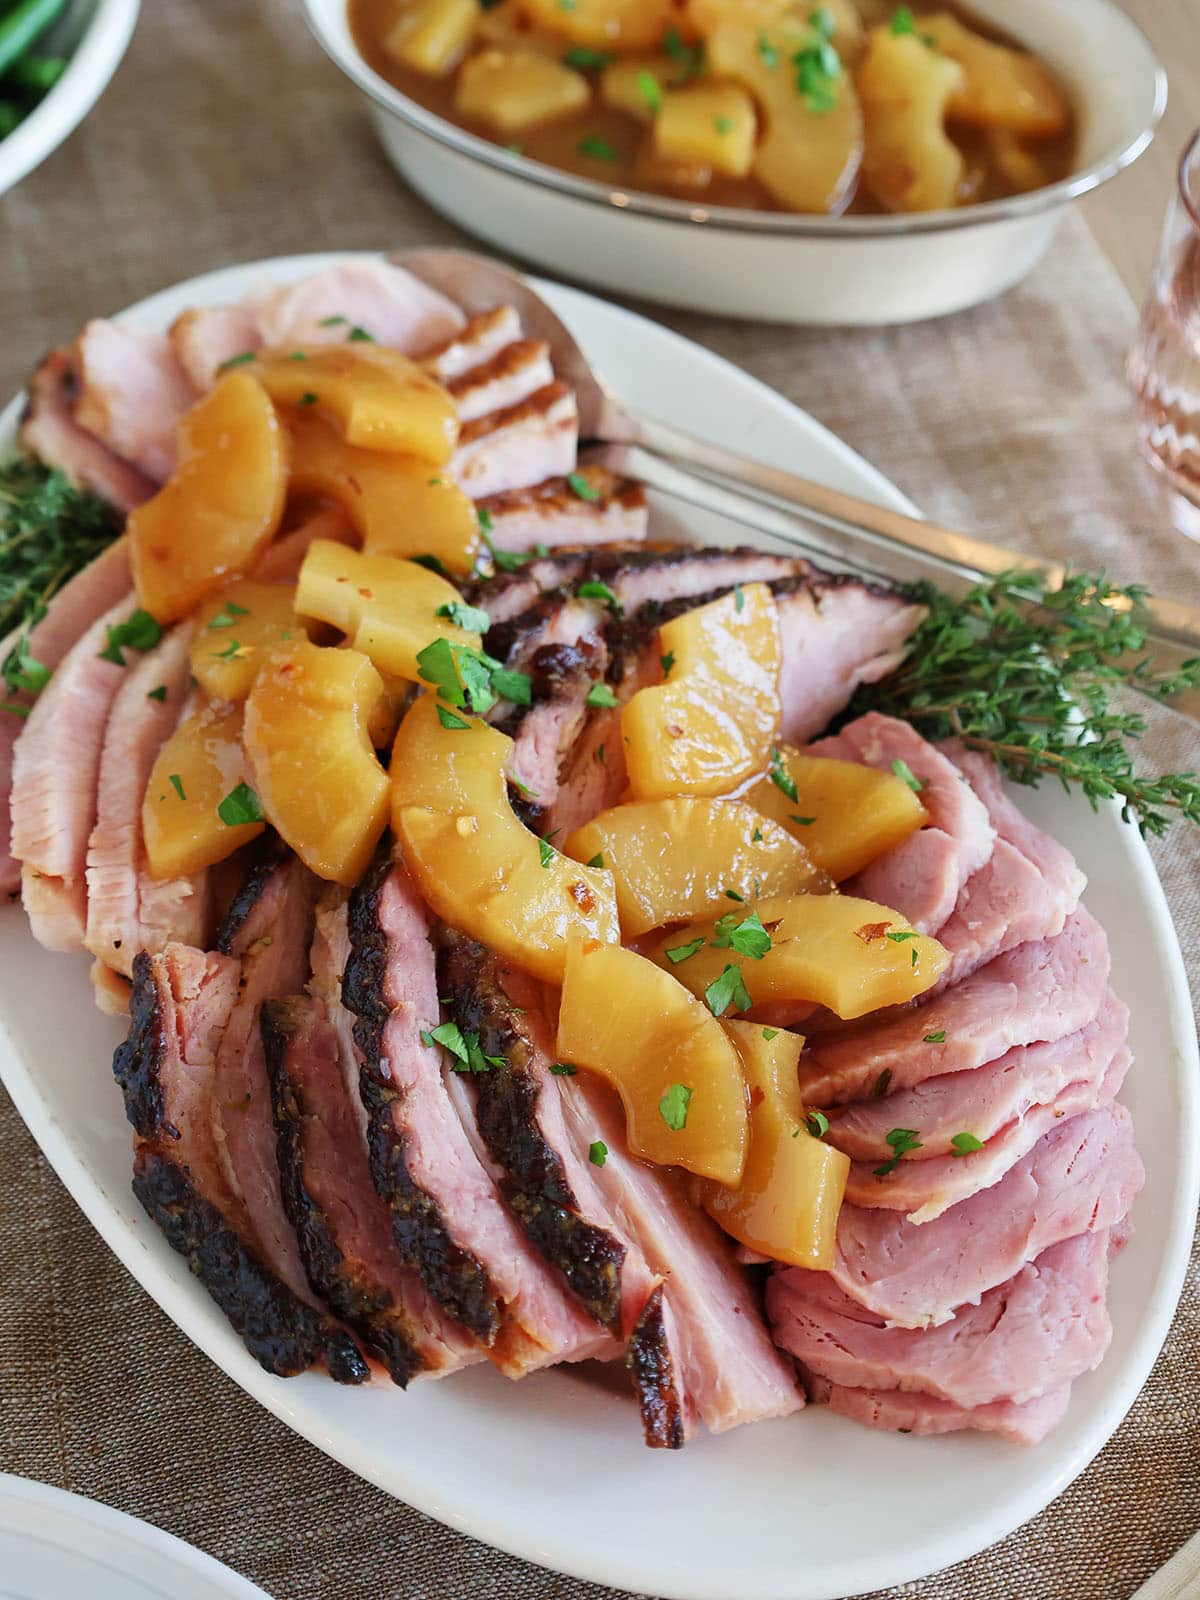
- Assemble serving tray: Arrange your ham slices on a serving plate and garnish with sauce, fruit, and/or herbs.
Try this tutorial with my Pineapple Roasted Ham, and don't forget the Pineapple Sauce!
How to carve other types of ham
Butt-end roast: Carving a butt-end ham follows a similar pattern as a shank-end. However, because a butt-end ham has multiple bones/joints it will require a little more precision to navigate the muscles. Use your knife to help identify where the bones are and cut off large boneless chunks from different angles. Portion these large chunks into smaller pieces following the fatty seams between the muscles and slice as described above.
Spiral-cut ham: Although the ham is already sliced, you may wish to remove the meat from the bone and display it on a platter. To do so, use the technique described above to cut sliced meat away from the bone in sections.
Boneless ham roast: Since there's no bone, carving this type of roast is much easier. Lay the ham on the cutting board, and if it seems a little unsteady, cut off 1 to 2 pieces from the underside to create a flat bottom. Starting at one end of the roast, use your knife to cut vertical slices against the grain.
Tara's top tips
Go slow: Work slowly and allow the knife to do the work. Take care to cut away from your body.
Don't over-carve: Slice enough ham for immediate use only, since ham remains moister and juicier when left uncut in large pieces.
Cut slices against the grain: The grain refers to parallel lines of closely grouped muscle fibers. To cut against the grain means to cut the meat perpendicular to the lines of muscle fibers. Cutting across the grain makes the meat more tender and easier to chew, so that it will melt in your mouth. Keep in mind that with some sections of meat, it many not be possible to cut against the grain.
Know how much to cut: A serving of bone-in ham is approximately ½ to ¾ pound per person and a serving of boneless ham is about ⅓ to ½ pound per person.
Storage
Refrigerate: Store leftover cooked and reheated ham in an airtight container in the refrigerator for up to a week.
Freeze: Freeze leftover roasted ham for up to 4 months. For easy thawing and use, slice/dice and portion leftover ham before freezing it. I like to weigh or measure it and write the amount on the container, i.e. "1 pound diced ham". Then I can use it in recipes like Ham and Pea Pasta, Mini Ham Turnovers, and Mac and Cheese with Ham.
Reheat: Easily reheat ham in a 350ºF oven or in an air fryer on low heat. Wrap it in foil to help retain moisture. To reheat it in the microwave, place parchment-wrapped ham on a plate, and reheat for a minute or so.
FAQ
That's really a matter of preference. If you plan to use the ham for sandwiches, you might cut the slices thinner than what you'd cut to serve for dinner as the main course. If you plan to dice it, the slices can be a bit thicker so that the cubed pieces end up being bite-sized or ¼-inch cubes.
You risk having the ham dry out, but I have some tips:
- slice the ham and place it in a rimmed pan
- cover the slices with ham juices from the roasting pan
- cover with foil or a lid.
The carved ham can now be transported and served within a 4 hour window of being roasted. Or, store it in the fridge and reheat in the juices before serving.
Some bits of ham will remain on and around the bone after you've cut away the slices for your meal. You can use your knife to scrape the bone and remove small pieces of meat. These pieces are perfect for adding to a salad, casserole, or soup.
Use the meaty bone to make a broth for a ham and bean soup like Charro Beans (Frijoles Charros) or split pea soup. If you don't feel up to making a soup right away, freeze the bone for up to 6 months. It's also ok to just discard the bone.
More recipes that use ham
The best part of making ham is leftovers! You can use the meat in soups, salads, sandwiches, and casseroles. Here are some of my favorite dishes to use leftover ham:


Rate this tutorial! ⭐⭐⭐⭐⭐
Scroll to the bottom of the page to rate and comment on this tutorial. Leaving comments, questions, and ratings helps other too!

Tara Teaspoon
I’ve been in food publishing for over 25 years, creating recipes & food-styling for magazines, books, television, food brands, & advertising. With two cookbooks under my belt and thousands of my recipes at your fingertips, I hope you'll be inspired to spend more time in the kitchen!
Jill says
What an awesome tutorial! This is just what I needed. Thanks for all the awesome tips and tricks.
Tara Teaspoon Admin says
You're welcome!!
Mia says
Oh this is fantastic! I do love a bone-in ham because it is so tender and moist. Happy to see this process done along with great tips for carving! Thanks, TaraTeaspoon❤️
Tara Teaspoon Admin says
You're welcome Mia! I hope it comes in handy for you.