
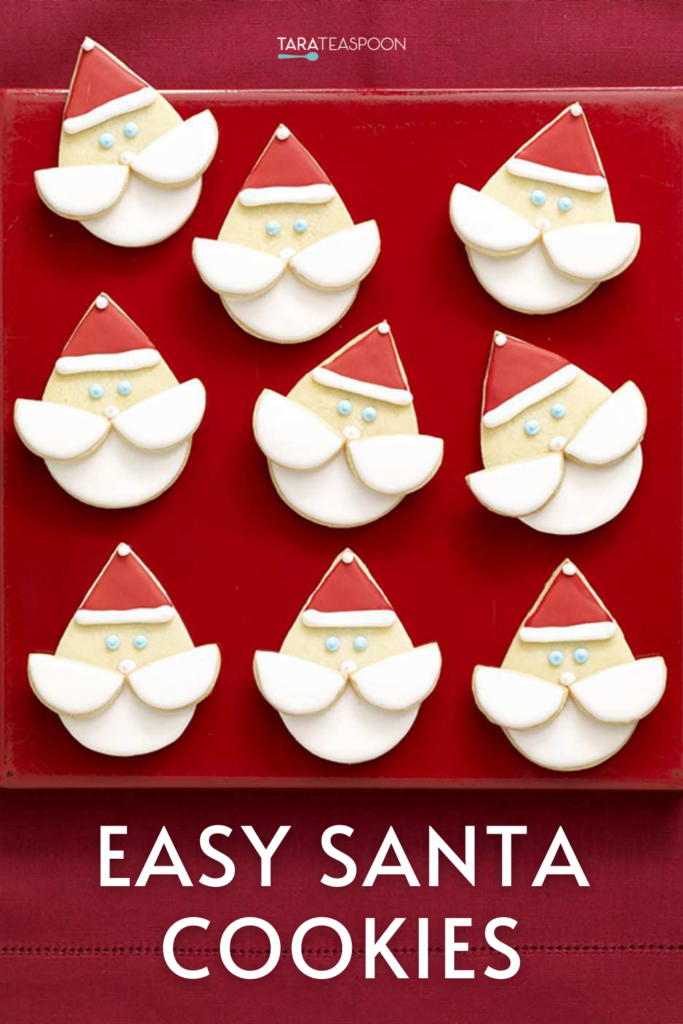

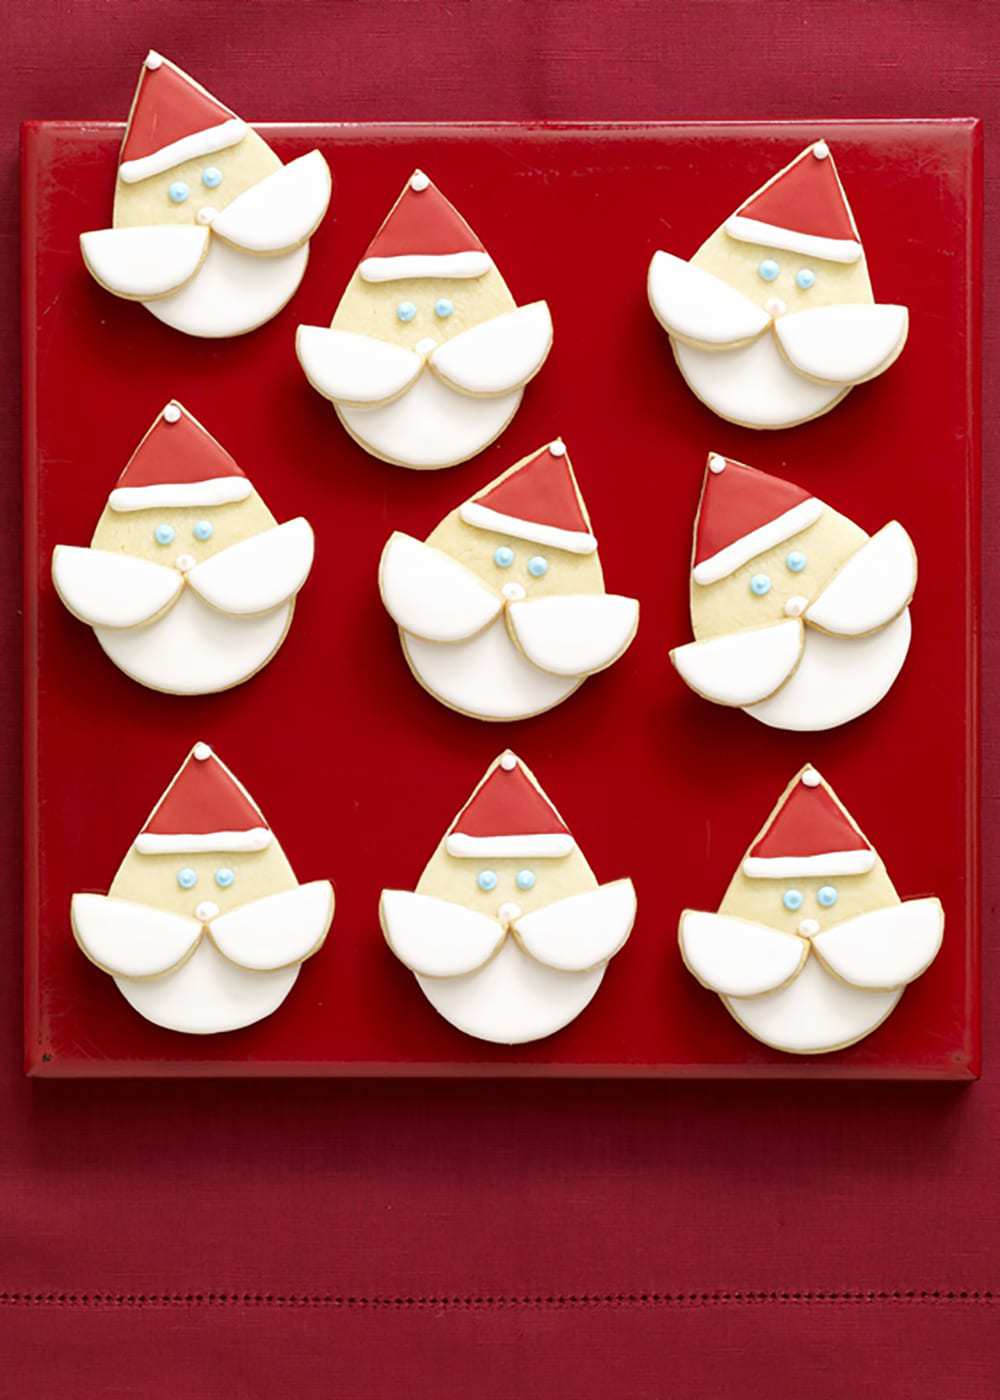
These Santa cookies are the cutest cookies you've ever seen! They're decorated with royal icing and are great for cookie swaps and gifting.
I dare you to nibble on one of these darling Santa face cookies. They are almost too cute to eat! Made with a simple raindrop-shaped cookie cutter, it's the perfect canvas for Santa's smiling face.
There are so many things that make these Santa face cookies special. The little blue eyes and pink nose give Santa's face a little sweet personality.
The up-turned mustache helps Santa smile, and they are perfect for packing up in cellophane bags for party favors or gifts. Because the royal icing sets and hardens, it won't smear or rub off once the cookies are dry.
These will be the hit of any cookie swap! Just tell me if you don't win, or get the most compliments and gushes ever!
Jump to:
Recipe Ingredients
These Santa cookies come together with basic ingredients you likely keep on hand year-round!
The sugar cookie base is made with flour, butter, granulated sugar, and vanilla extract. I also used two egg yolks — save the egg whites for another baked good!
To create the decorated Santa cookies, I used my favorite royal icing recipe. It pipes like a dream and can be colored using gel food coloring.
How to Make Santa Cookies
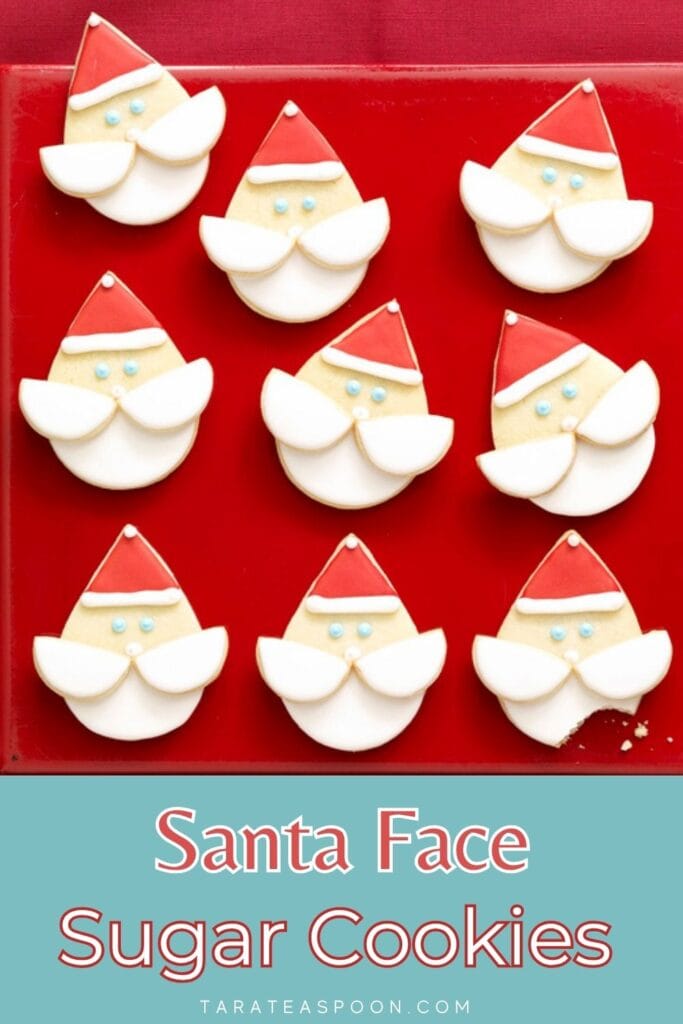
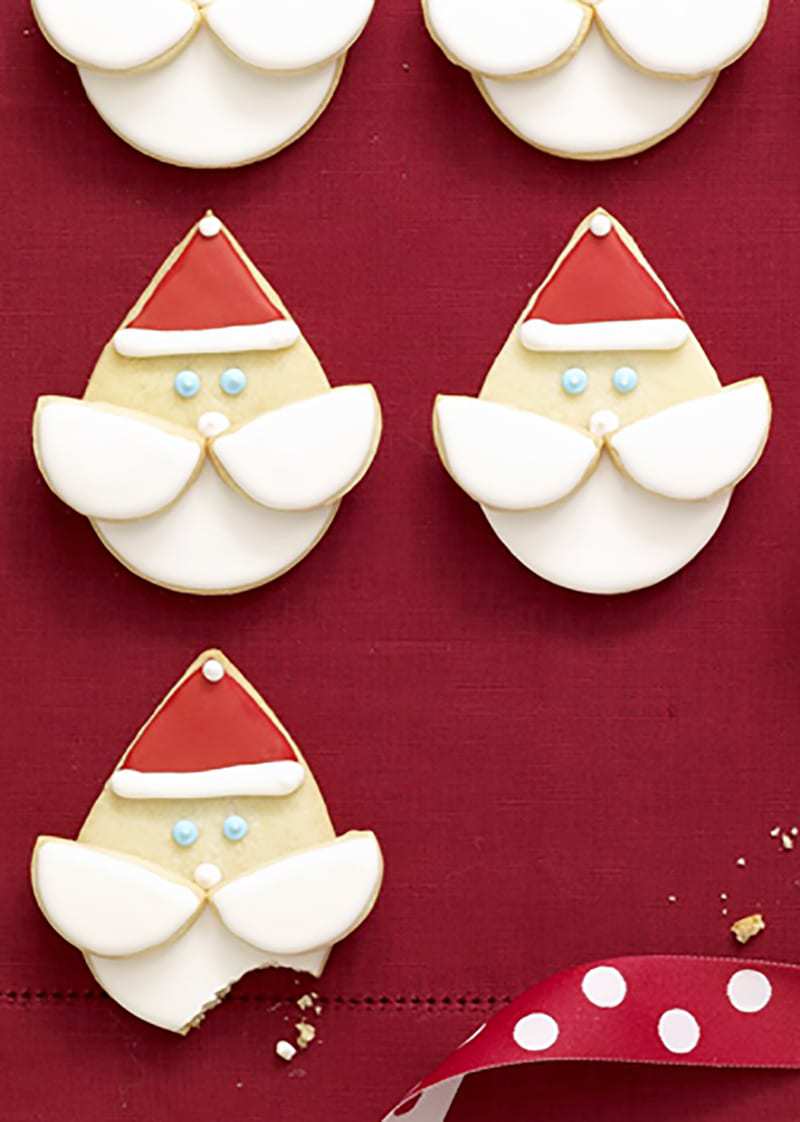
I used a basic sugar cookie dough for these Santa face cookies, a raindrop cutter, and a small circle cutter to make the shapes for his face and three-dimensional mustache! Don't you just love how his little 'stache sits on top?
Here's an overview of how these royal icing Christmas cookies are made:
- Make the sugar cookies as directed in the recipe card below.
- Once the cookies have cooled, you can decorate the cookies. Color ⅔ cup royal icing red and ¼ cup each pink and blue and place in pastry bags with tips.
- Fill another pastry bag with 1¼ cup white icing.
- Ice the tops of the drop cookies with red icing and the bottoms and all half-circles with white icing. Allow icing to set before proceeding.
- Adhere half circles to drop cookies with icing to form a mustache.
- Pipe hat trim and tip with white icing. Pipe eyes and nose with blue and pink icing.
- Allow icing to set completely before enjoying.
Can This Recipe Be Made in Advance?
Yes, you can prepare the decorated Santa cookies up to three days before you plan on serving them.
Store them in airtight containers, separating each layer with wax paper to protect the cookie design.
Tips for Making Santa Sugar Cookies
- If you don't already have raindrop and circle shaped cookie cutters, you'll want to get them to be prepped and ready to bake. These are some of my favorite circle cutters. And this raindrop cutter set has the perfect size.
- Get the kids involved and let them decorate Santa's face. You could use sprinkles or sanding sugar on the beard and mustache! Or even on the hat and trim.
- Royal icing is the easiest to pipe and makes for the cleanest looking decorations. However, you can achieve similar results using cream cheese frosting. The cookies may just be a little messier, but that's okay!
More Christmas Cookie Decorating Ideas:
- Christmas Tree Cookies
- Peanut Butter Rudolph Reindeer Cookies
- Honey Cinnamon Cut Out Cookies
- Chocolate Snowman Cookies
📖 Full Recipe
Santa-Face Santa Sugar Cookies
Ingredients
- 2½ cups all-purpose flour
- 1½ teaspoons baking powder
- ¼ teaspoon salt
- 1 cup unsalted butter
- ¾ cup granulated sugar
- 2 large egg yolks
- 1 teaspoon vanilla extract
- 1 recipe Royal Icing
- Gel paste food coloring
Instructions
Make the cookies:
- Combine flour, baking powder and salt in a bowl; set aside. In mixer bowl, beat butter and sugar until fluffy, 3 min. Beat in yolks and vanilla. Add flour mixture and combine. Wrap dough in plastic wrap, chill 2 hours.
- Heat oven to 350°F.
- Roll dough to ¼ inch thick on a floured surface. Cut using a 2-by-3½-inch raindrop cutter to cut 18 cookies. Use a 1½-inch round cutter to cut 18 cookies. Place drops and circles on separate baking sheets. Cut each circle in half and separate. (Dough scraps can be re-rolled up to 2 times.)
- Bake cookies until just golden, about 15 min for drops, about 10 min for cut circles. Cool completely.
Decorate the cookies:
- Color ⅔ cup royal icing red and ¼ cup each pink and blue and place in pastry bags with tips. Fill another pastry bag with 1¼ cup white icing.
- Ice tops of drop cookies with red icing and bottoms and all half-circles with white icing. Allow icing to set, about 30 min.
- Adhere half circles to drop cookies with icing to form a mustache. Pipe hat trim and tip with white icing. Pipe eyes and nose with blue and pink icing.
- Allow icing to set completely, at least 3 hrs.
Notes
Nutrition Per Serving
Cookie Recipes from Tara Teaspoon
For more holiday recipes that are great to give and share try:

Tara Teaspoon
I’ve been in food publishing for over 25 years, creating recipes & food-styling for magazines, books, television, food brands, & advertising. With two cookbooks under my belt and thousands of my recipes at your fingertips, I hope you'll be inspired to spend more time in the kitchen!
Recipe and Food Styling Tara Teaspoon. Recipe also developed by Vanessa Seder. Photographs Antonis Achilleos. Prop Stylist Gerri Williams. Originally published in LHJ 12/08
Brittany Smart says
The cutest Santa cookies I've ever seen!
Mary Bench says
I've never seen anything this CUTE!!!!