
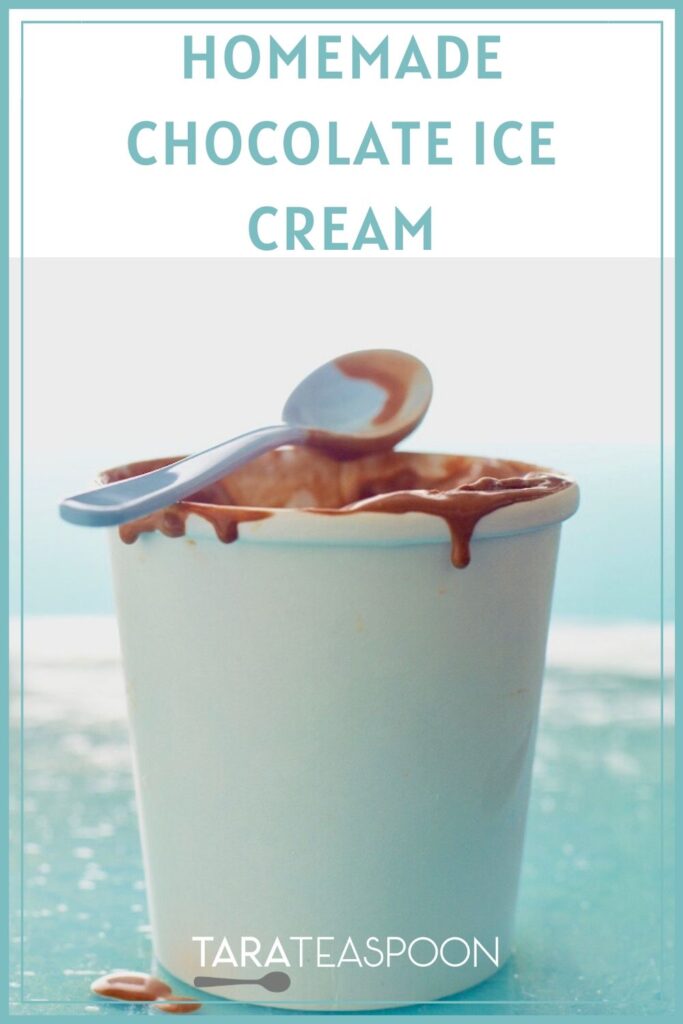
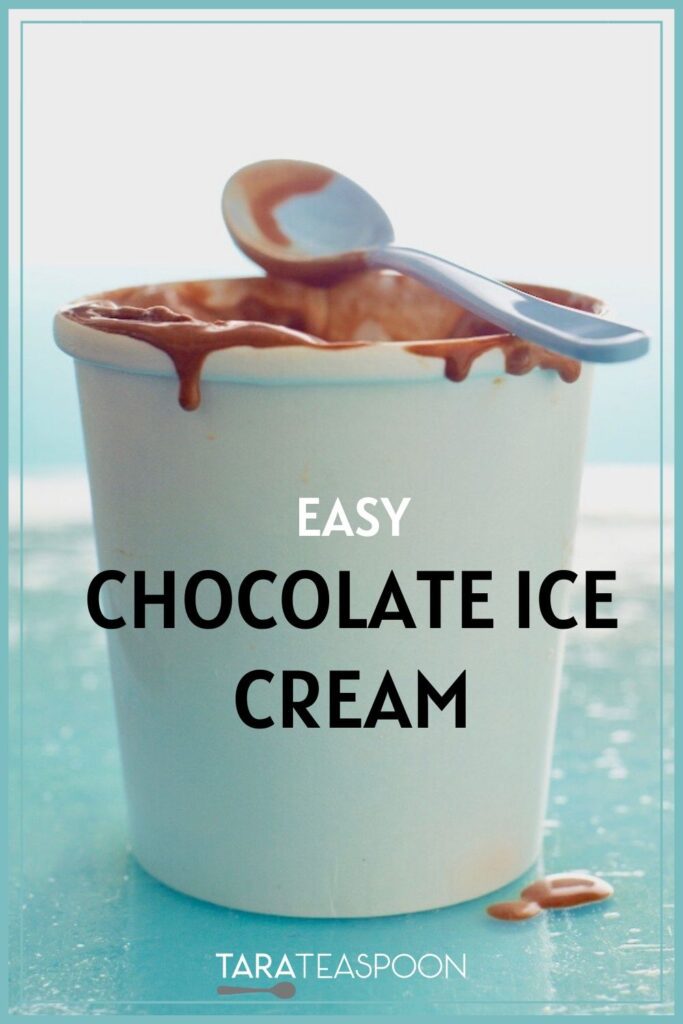

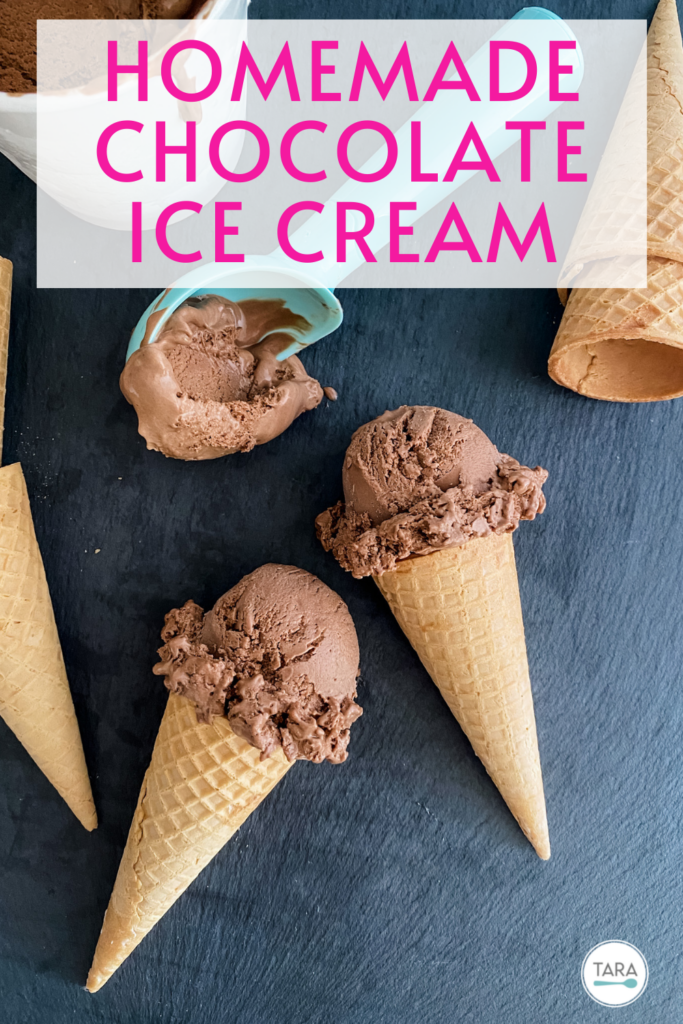
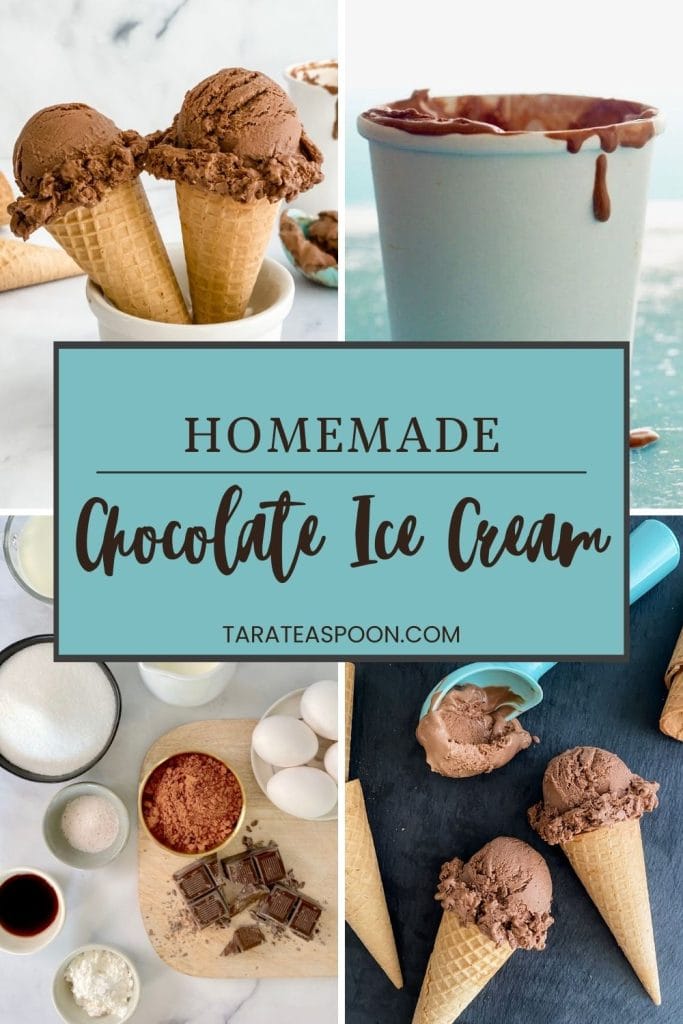
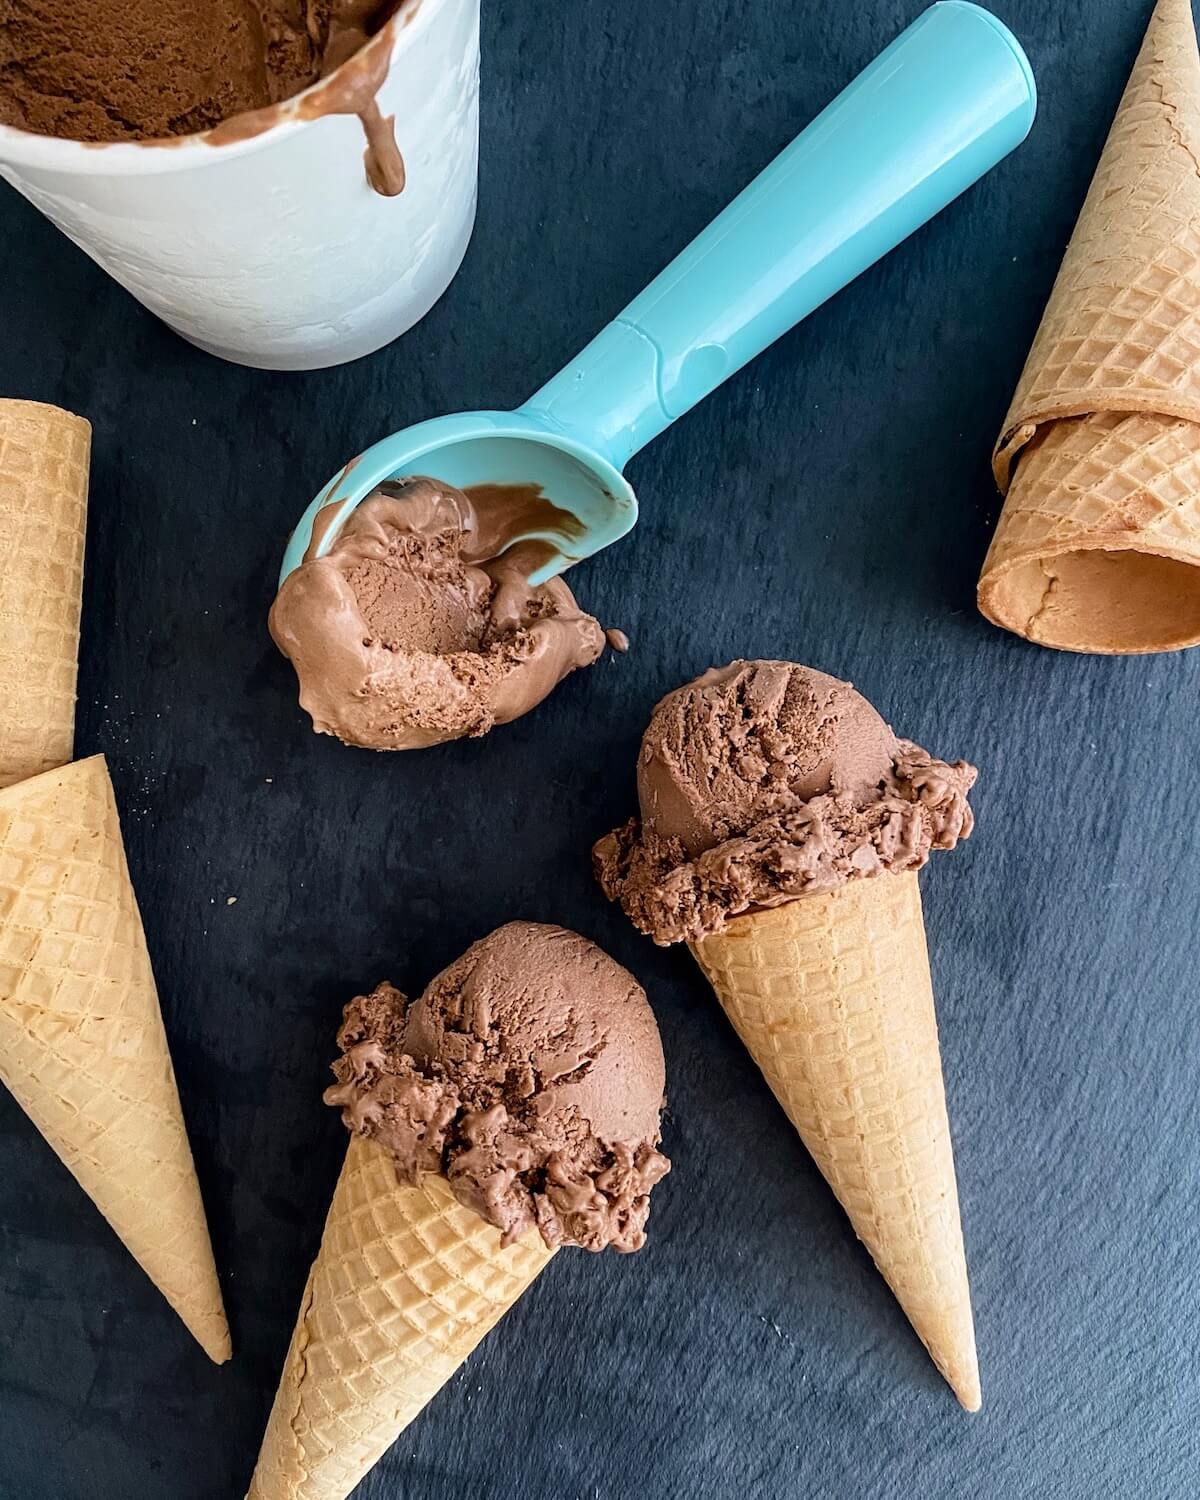
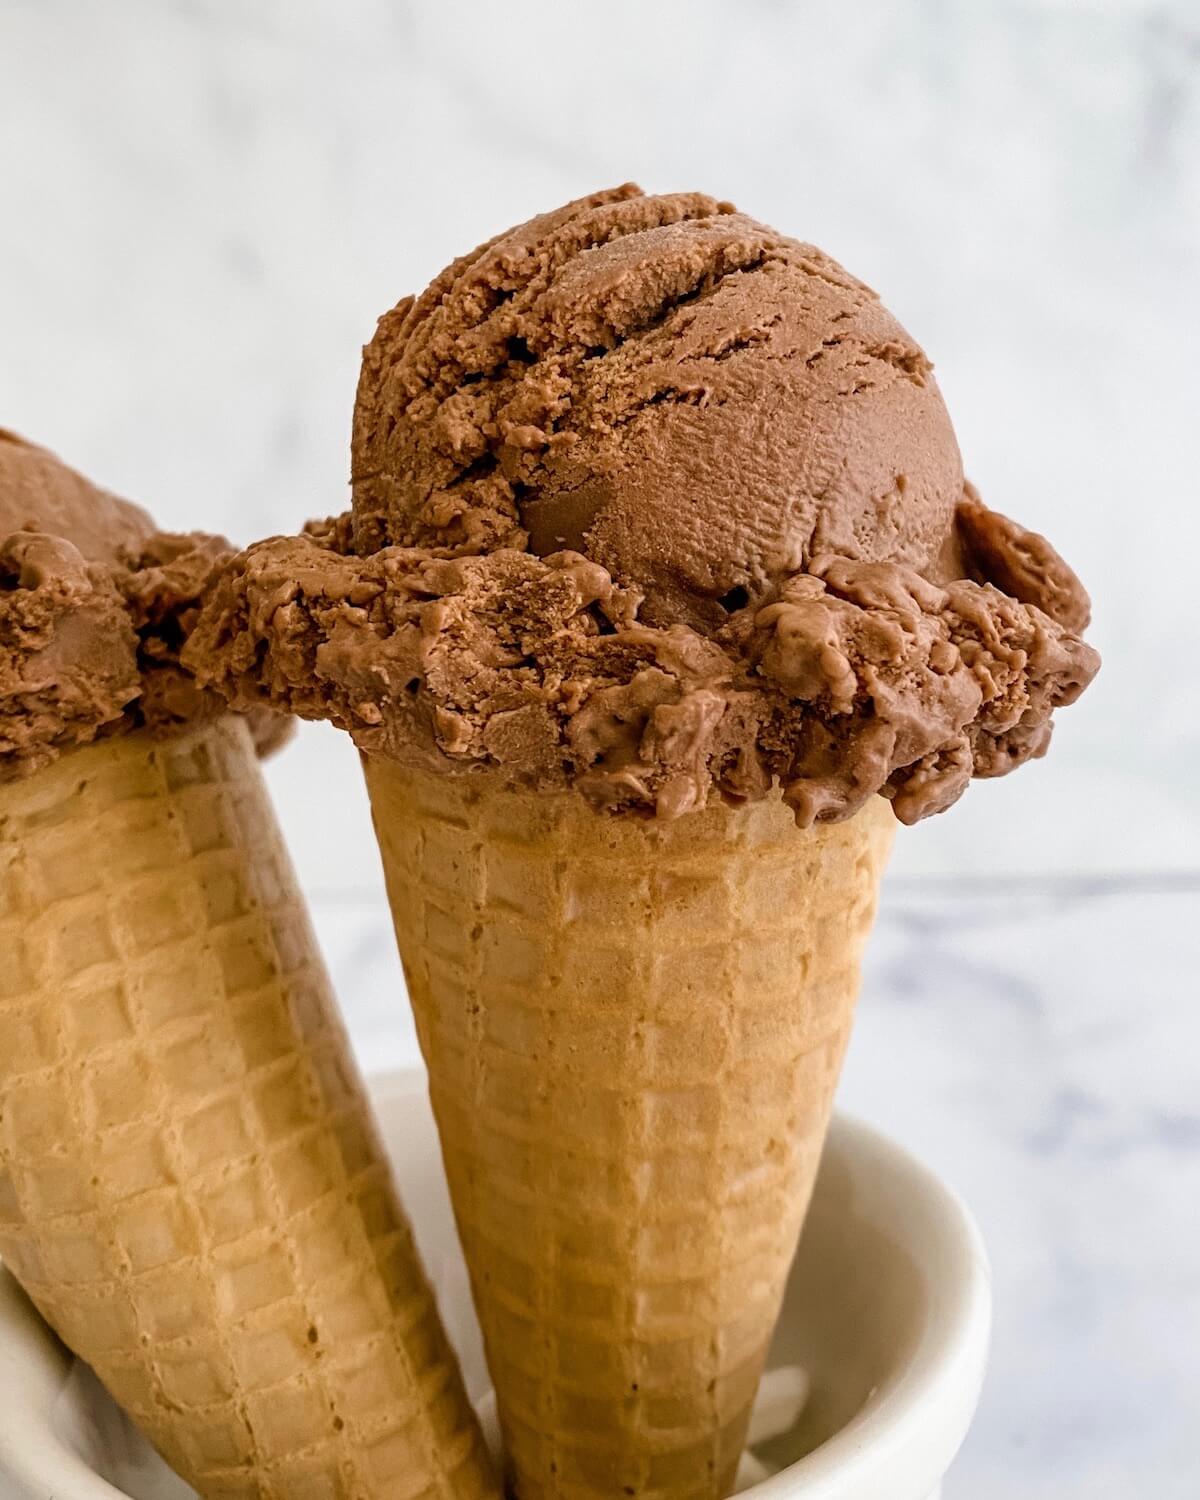
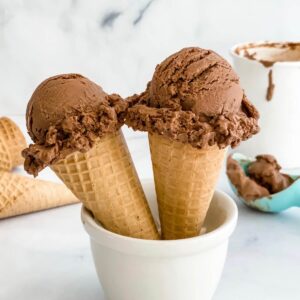
Once you make homemade chocolate ice cream for the first time, you’ll never reach for it at the grocery store again! Make a rich chocolate custard to freeze at home that will forever be your ultimate chocolate treat.
Jump to:
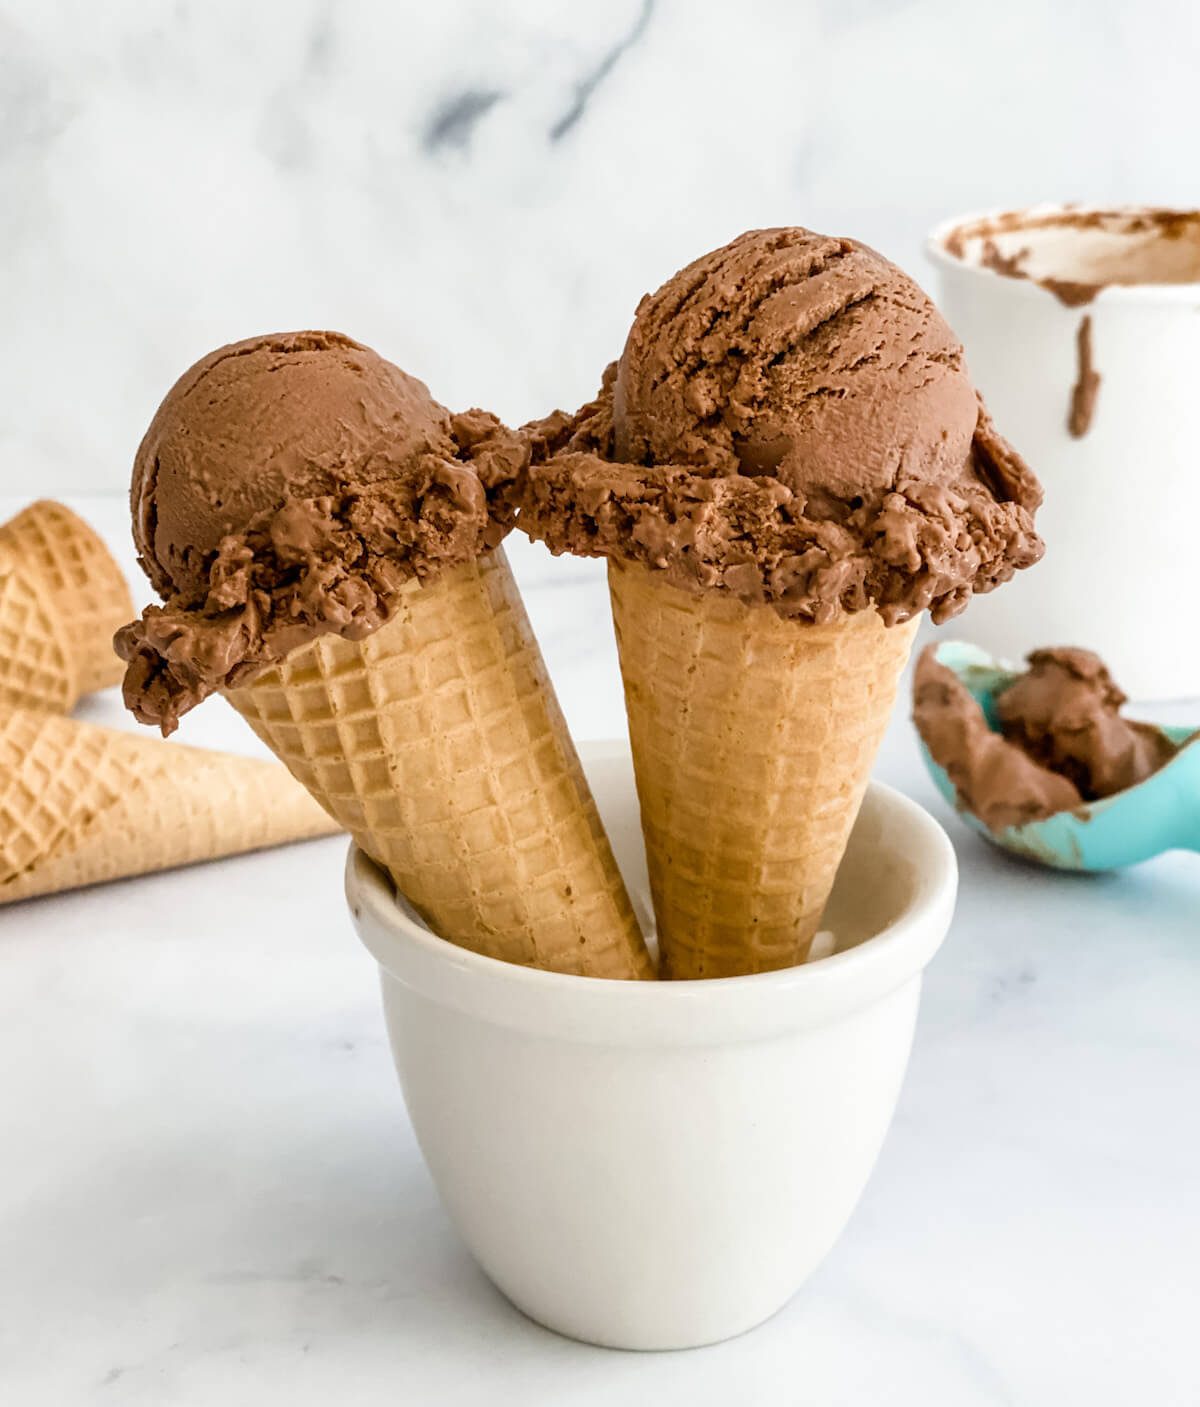
Let's be honest, it's a fun summer treat to have a homemade frozen dessert, and this chocolate custard ice cream has got to be one of my favorites.
I invested in an ice cream compressor and it doesn't get enough use in my opinion! (P.S. you don't need a fancy compressor, you can use any ice cream maker!)
As a summer rule I make sure my fridge is stocked with heavy cream, half and half, and milk just in case the urge for ice cream hits!
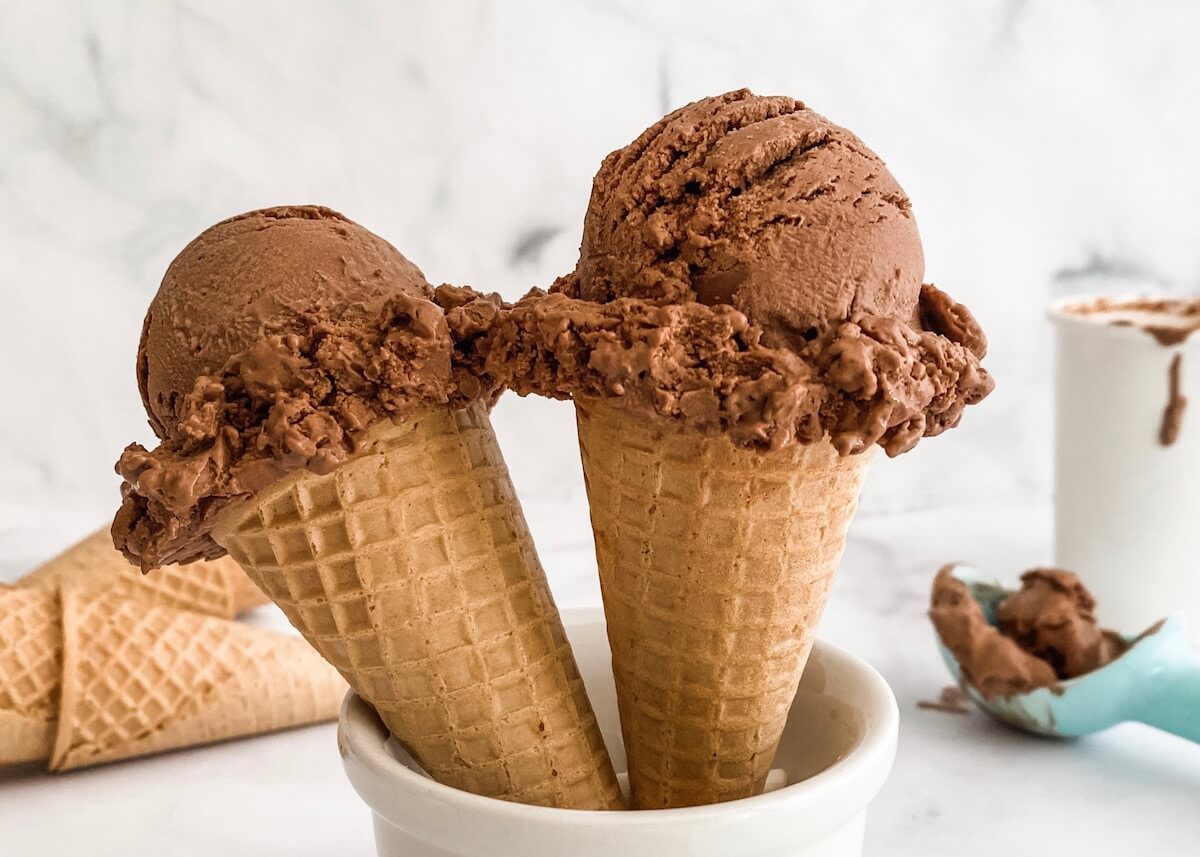
One bite of this homemade chocolate ice cream is like releasing a wave of rich flavor you won't be able to get enough of.
Ingredients in the Chocolate Ice Cream
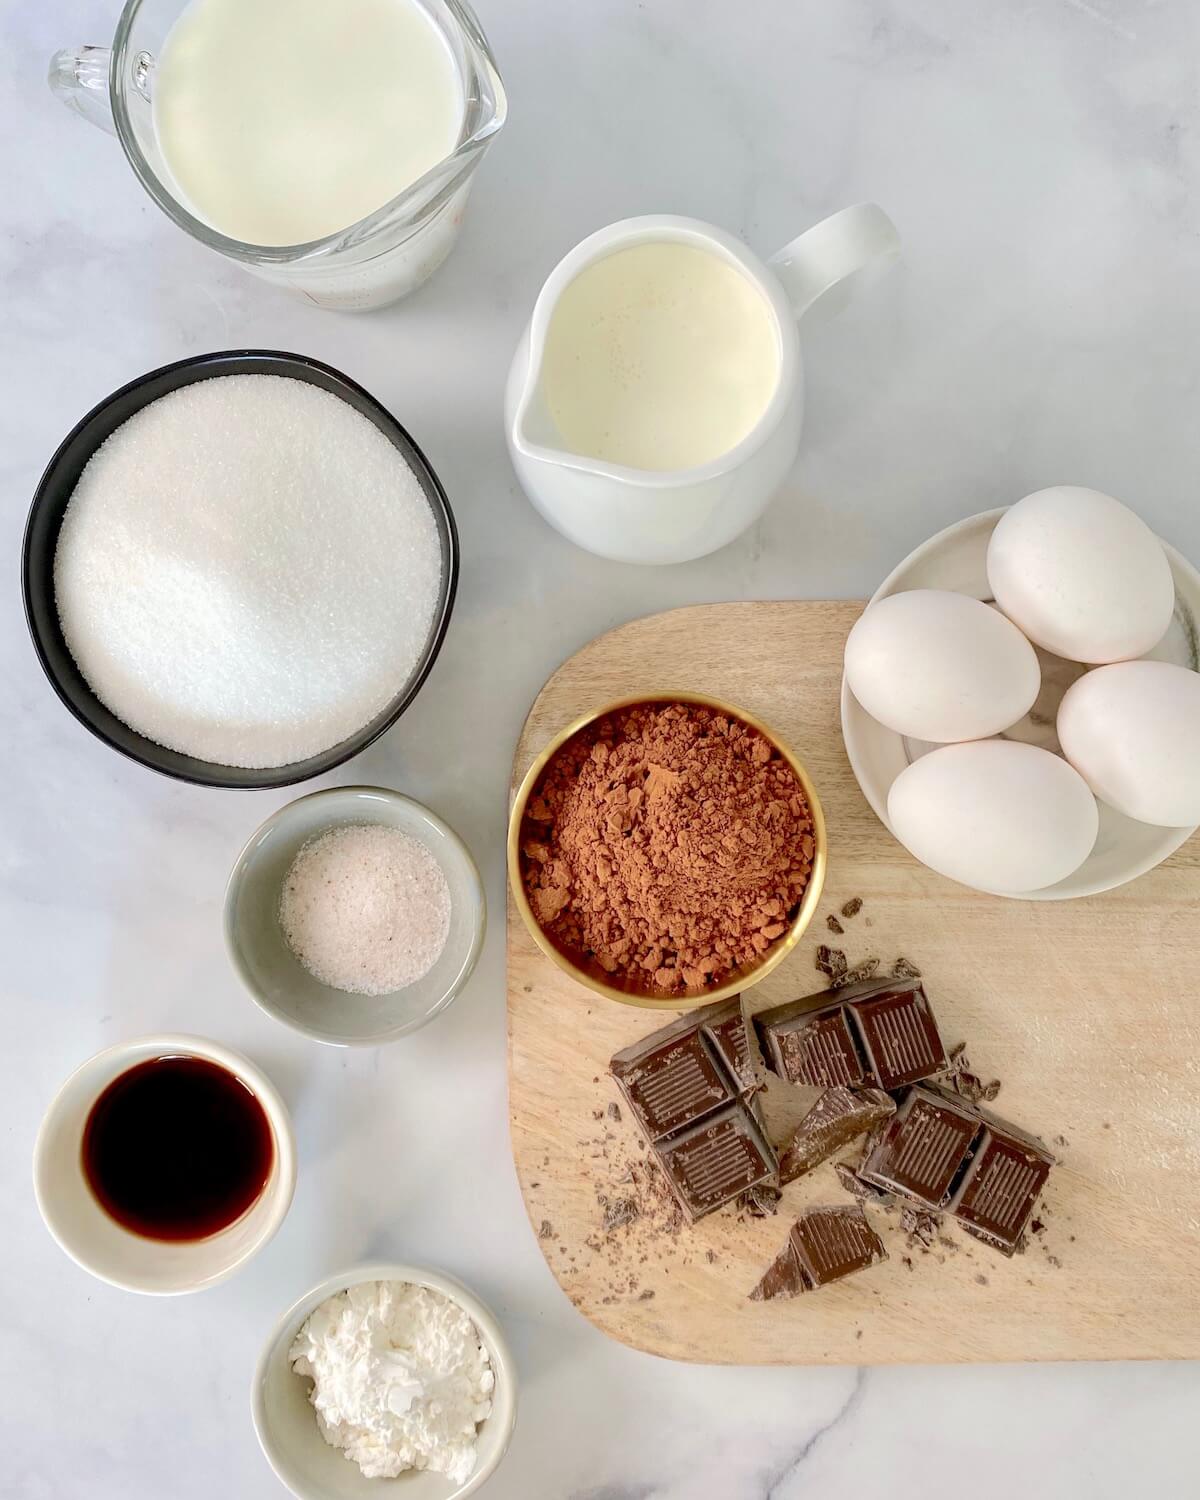
This frozen delight is made with ingredients you probably already have in your fridge and pantry:
- Granulated sugar
- Salt
- Unsweetened cocoa powder
- Cornstarch
- Heavy cream
- Whole milk
- Eggs
- Semi-sweet chocolate
- Vanilla extract
Pure and simple foods for the best chocolate ice cream. I don’t recommend substituting any of the ingredients listed above for lower fat alternatives. You need all that fat to make a smooth and creamy ice cream!
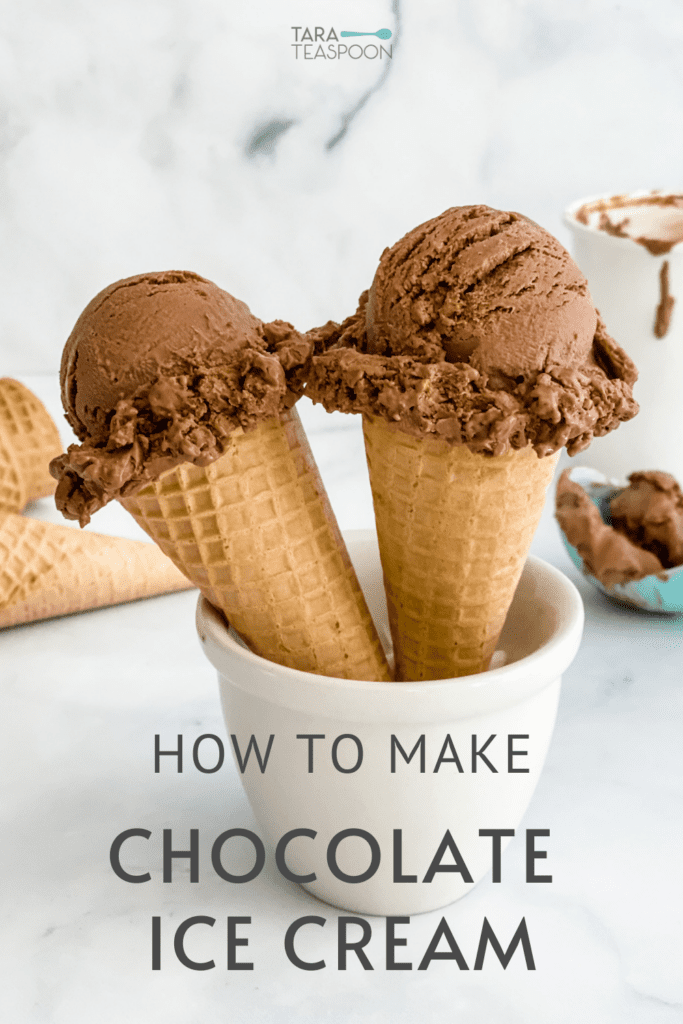
How to Make Chocolate Ice Cream
Having made ice cream so many times before in my test kitchen, I knew I wanted to add cocoa to deepen the chocolate flavor. Cream and milk can inhibit flavors because of the rich fats–so punch those flavors up a bit.
I also changed the method of cooking. Custards can be tricky, and I think my method is foolproof!

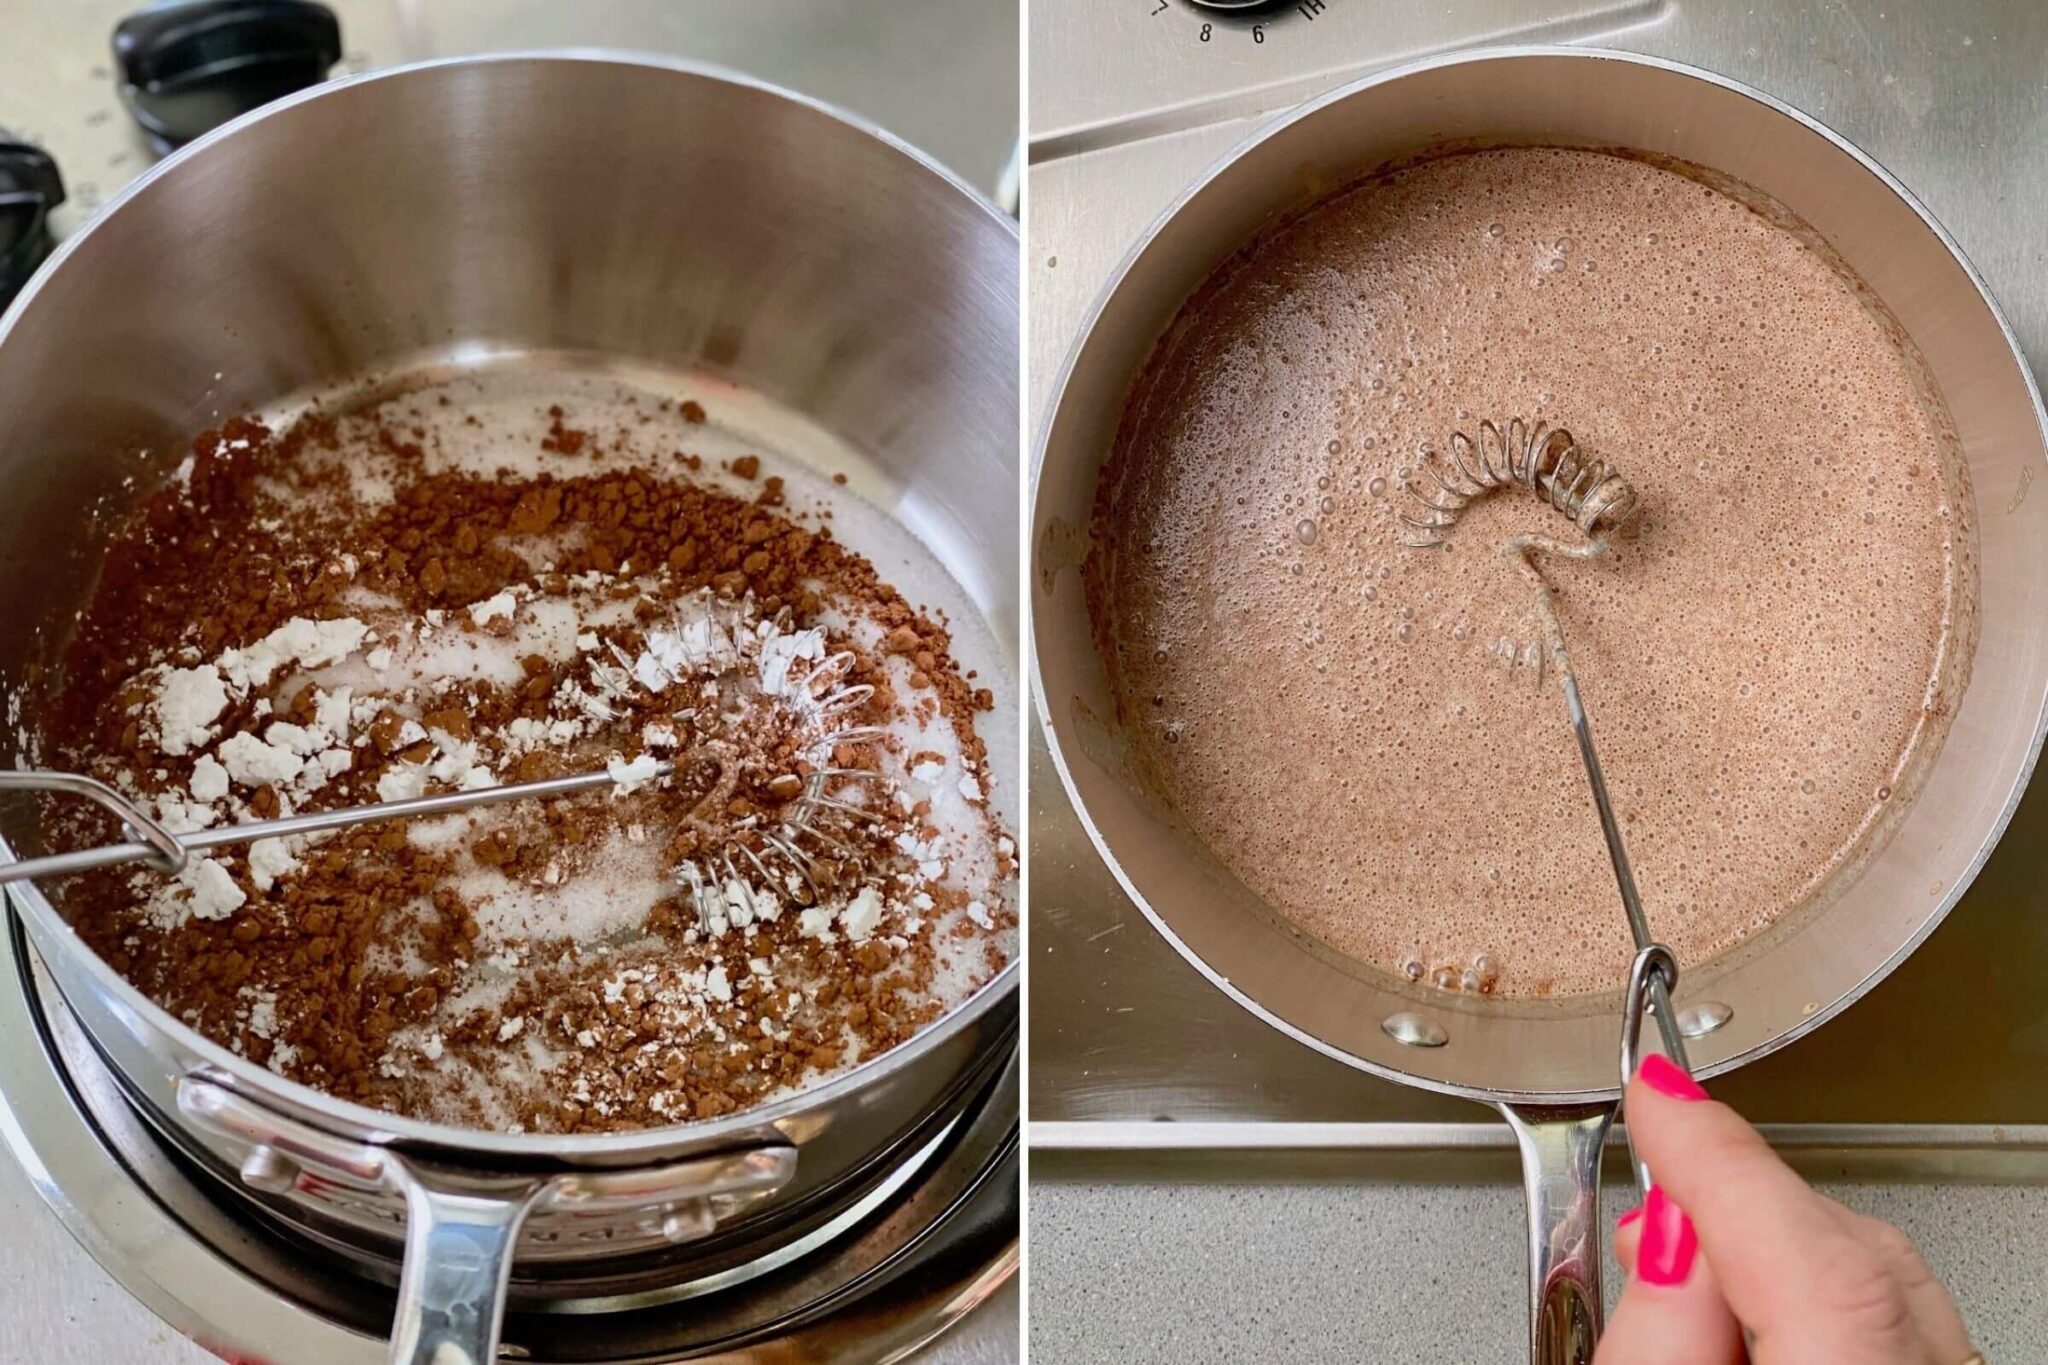
I mix together any dry ingredients first to prevent clumping. The granules of sugar break up any lumps in the cocoa and cornstarch.
Then whisk in the yolks, milk, and cream at the beginning of my cooking. Then they are fully mixed in before things start heating up.
Try using my favorite style of whisk! A spiral whisk gets into every corner of the pan.
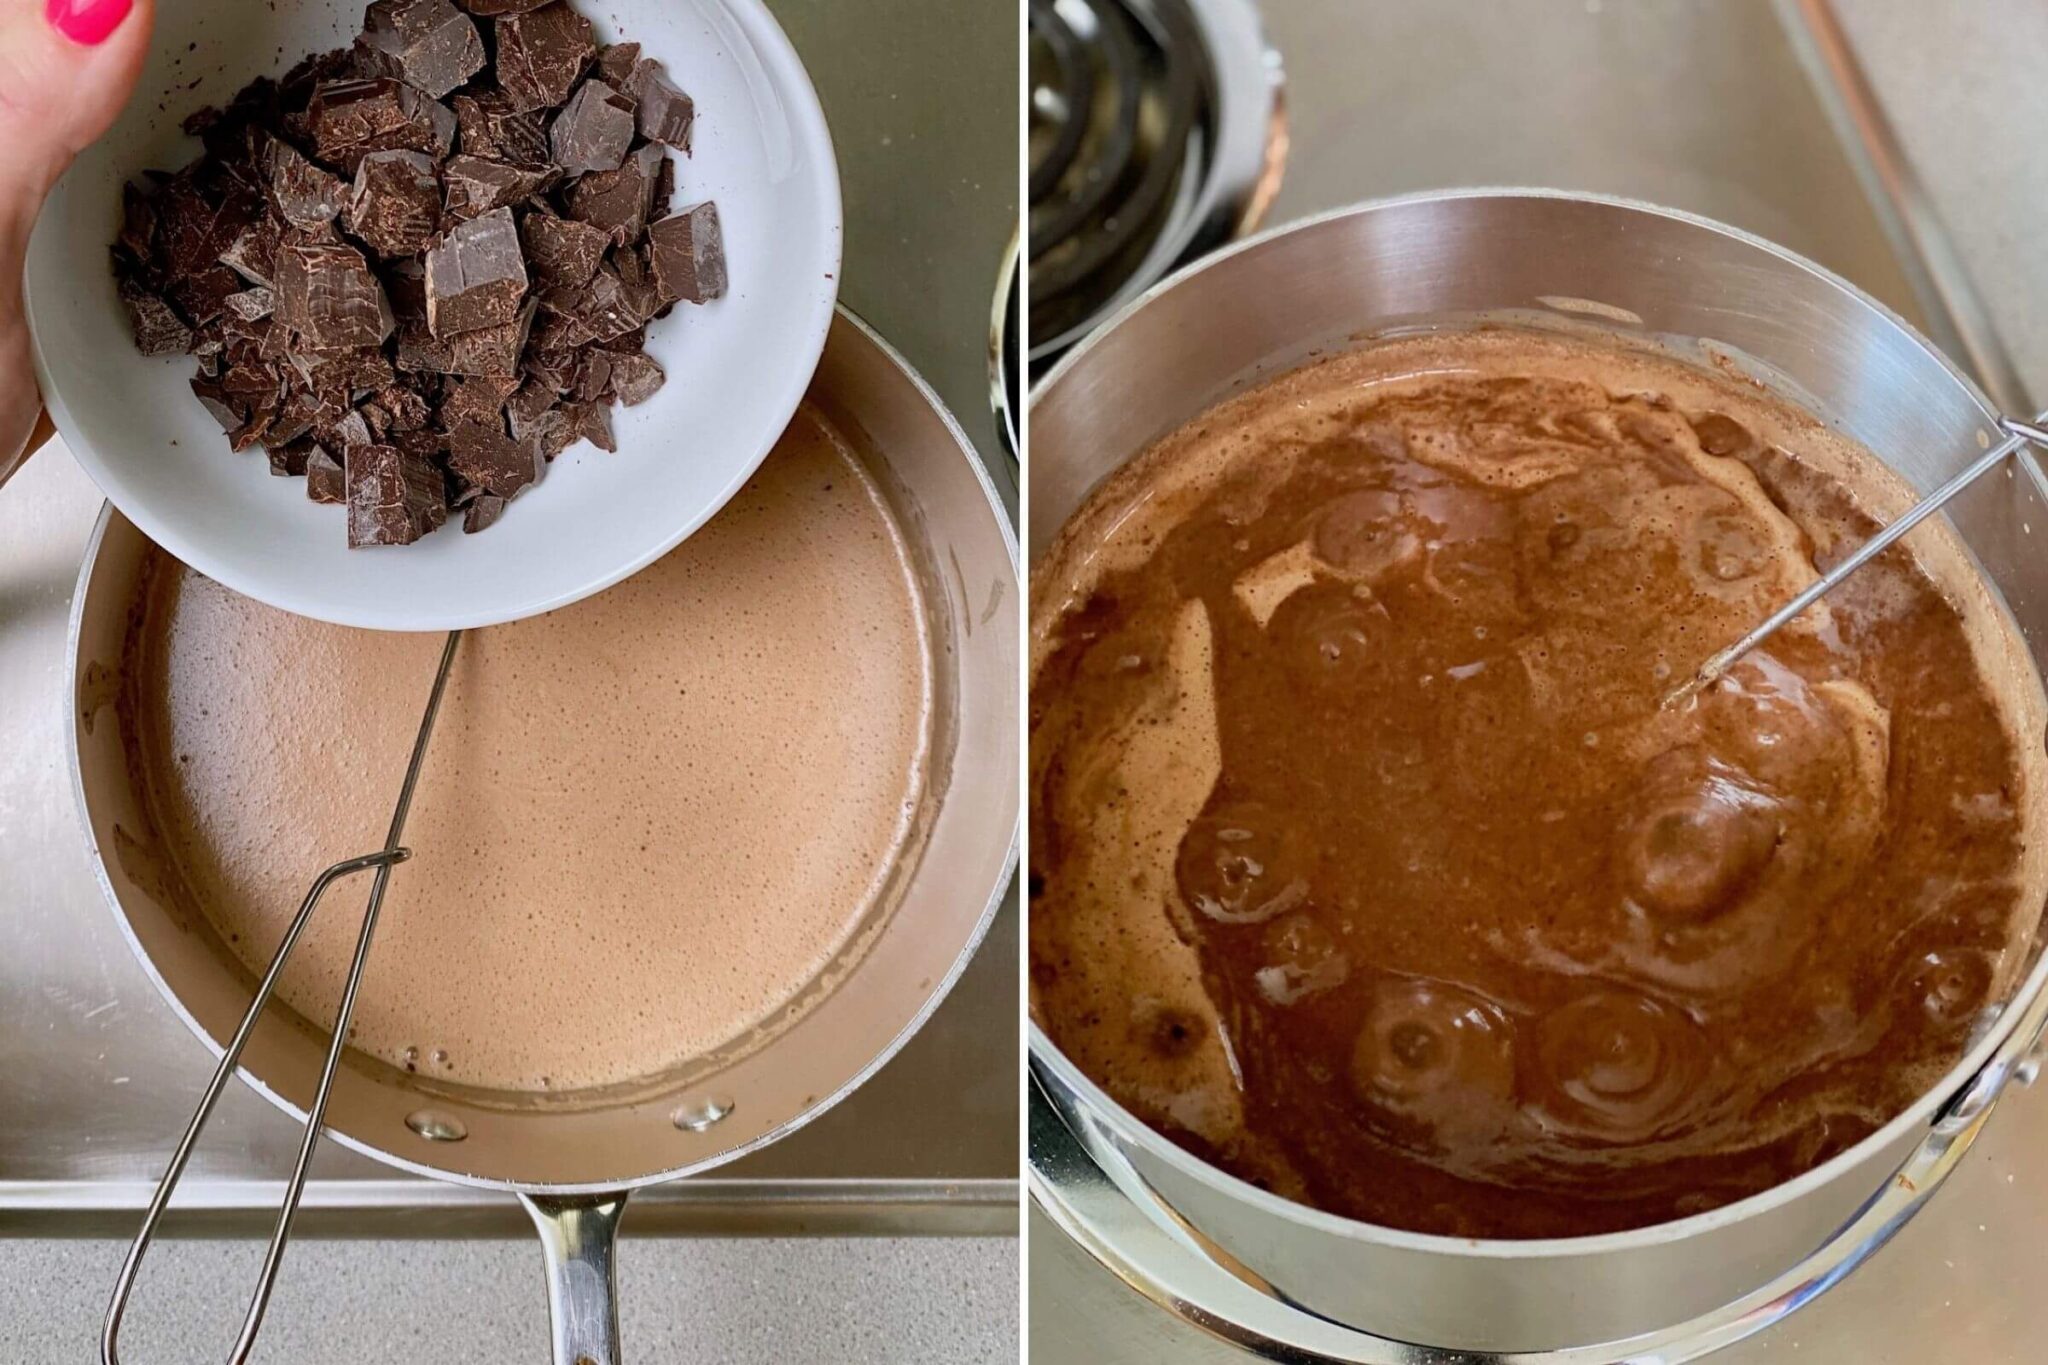
Add the chopped chocolate and then whisk and stir constantly over the heat. The mixture will begin to thicken then start to bubble. Remove from heat after cooking.
I suggest straining this hot mixture through a fine-mesh sieve to remove any bits of egg. This step just makes for an ultra-smooth texture.
The nice thing is you don't have to churn it right away. In fact, it's best if you let the mixture sit in the fridge for at least 3 hours or overnight.
I left mine in the fridge for 3 days before I had time to churn it! The mixture needs time to — what we foodies call — cure or age. Read more about this below.
When everything is set and ready, just pour the mixture into an ice cream compressor, or the chilled bowl of an ice cream churn, and mix according to the machine instructions.
Why Does the Ice Cream Base Have to Age?
The scientific reasons for aging your ice cream base are diverse. Serious Eats covers the topic well here.
Reason #1: Aging your ice cream base ensures it is completely, if not extra, cold. Your ice cream will churn and freeze faster if the base is cold, creating a more stable, smooth ice cream.
Reason #2: Aging your ice cream base allows the fat in the custard to solidify and crystalize, creating an ice cream that churns up lighter and fluffier because that strong structure can hold air better.
Can I Skip the Aging Step?
If you don't have time to age or cure your base, you can skip it. Just make sure to cool it to lower than 40ºF over an ice bath before hitting the ice cream maker!
The Best Ice Cream Makers and Compressors
I really love my Breville compressor. This Cuisinart Ice Cream Maker is also an affordable option if you're going for a compressor workhorse. A compressor is an electric ice cream maker that doesn't require pre-freezing a bowl.
For an ice cream maker version that uses a frozen bowl, try this Cuisinart electric churn. Simply freeze the bowl insert ahead of time and it stays cold just long enough to spin that easy homemade chocolate ice cream.
If you're a traditionalist and want to use ice and rock salt to make your frozen dessert, I recommend this Hamilton Beach appliance. Oh, and be sure to use rock salt! Any other salt does not melt the ice properly.
How Long Does Homemade Ice Cream Last?
I would totally understand if there isn't any ice cream left the day you make it (it's that delicious).
If you are really good at exercising self-control and you don't eat it all right out of the compressor, just transfer it to these Frozen Dessert Containers. I find them easier to scoop out of than plastic or metal containers. Plus they're just so cute. Or, simply keep your ice cream in an airtight container.
Homemade ice cream will last about one month in the freezer. Because it’s made with simple, real ingredients, this chocolate custard ice cream can develop freezer burn more easily. So make sure to store it in an airtight container, even pressing plastic wrap right on the surface to keep air out!
Tips for the Best Chocolate Ice Cream
- This recipe uses whole milk, heavy cream, and egg yolks. Don’t substitute any of these ingredients for lower fat alternatives, otherwise, your ice cream won’t turn out ultra-rich and creamy. It may be icier in texture.
- Use a good quality semi-sweet chocolate bar for this recipe. I prefer using an actual chocolate bar rather than chocolate chips because chocolate chips contain stabilizers that make them difficult to melt. You can also use high-quality chocolate pellets.
- I highly recommend letting the ice cream base cure or age in the fridge for a few hours or overnight before churning it. Trust me, it makes a big difference in how the ice cream tastes, and the texture!
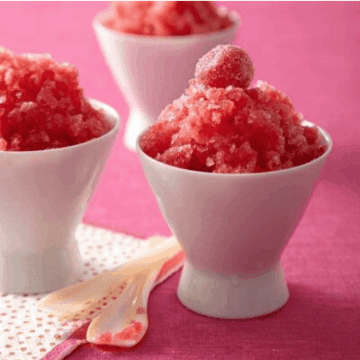
More Easy Ice Cream Recipes:
I mix delicious things into chocolate and vanilla ice cream to make 24 Different Ice Cream Flavors.
You can also make Mini Ice Cream Pops with ice cream and sprinkles.
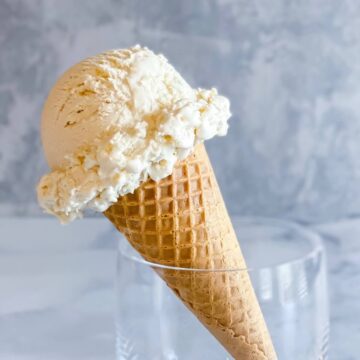
If you love classic ice cream flavors, be sure to make this Homemade Eggless Vanilla Ice Cream next!
Is coffee flavored ice cream your favorite? Try this Coffee Ice Cream recipe to satisfy those cravings.

Rate this recipe! ⭐⭐⭐⭐⭐
Scroll to the bottom of the page to rate and comment on this recipe. Leaving comments, questions, and ratings helps other too!
📖 Full Recipe
Homemade Chocolate Ice Cream
Ingredients
- ⅔ cup granulated sugar
- Pinch salt
- 3 tablespoon unsweetened cocoa powder
- 1 tablespoon cornstarch
- 2 cups heavy cream
- 1 cup whole milk
- 4 egg yolks
- 4 oz semi sweet chocolate, (coarsely chopped)
- 1½ teaspoon vanilla extract
Instructions
- In a heavy saucepan combine the sugar, salt, cocoa and cornstarch, whisk to combine. Add the cream and milk and stir over medium-high heat. Whisk in the egg yolks.

- Add the chocolate and cook, whisking constantly, until the chocolate is melted and the custard begins to thicken. When you see a bubble rise on the surface take the pan off the heat.
- Stir in the vanilla. For a very smooth texture, strain custard through a fine mesh sieve into a bowl. Set the bowl over an ice-bath, or cover the surface with plastic wrap and let it cool to room temperature.
- Transfer to a covered container and refrigerate for 4 hours or overnight.
- When ready to churn, remove from the fridge and churn according to your machine instructions. Transfer to a freezer-safe container and freeze until solid, at least 3 hours before serving.
Notes
- Aging your ice cream base insures it is completely, if not extra, cold. Your ice cream will churn better if the base is cold, creating a more stable, smooth ice cream.
- Aging your ice cream base allows the fat in the custard to solidify and crystalize, creating an ice cream that churns up lighter and fluffier because that strong structure can hold air better.
Nutrition Per Serving

Tara Teaspoon
I’ve been in food publishing for over 25 years, creating recipes & food-styling for magazines, books, television, food brands, & advertising. With two cookbooks under my belt and thousands of my recipes at your fingertips, I hope you'll be inspired to spend more time in the kitchen!
Recipe by Tara. Photography Con Poulos for LHJ 2012 and Tara Teaspoon
Charmander says
How can the Nutrition Facts possibly be correct? 124 grams of fat and 1640 calories per serving?
Tara says
Hi Claudia, I hadn't set the Nutrition facts for a single serving, just for the entire recipe. Thanks for your note. It is now based on 1/2-cup servings!!
Rachel says
This looks fantastic! Making ice cream is on our summer bucket list. My husband has a corn allergy...can't use corn starch...thoughts on suitable substitutions? We've got lots of things in the cupboard but they all have different textures...arrowroot, tapioca, etc. 😉
Tara says
Hi. I haven't tested this recipe with a cornstarch substitute, but I would recommend trying tapioca. It needs to be finely ground into a powder for best results. Don't use arrowroot as that makes dairy based recipes a little gluey. All the best! Hope it's delicious!
Taylor says
Could I substitute the dairy for full fat coconut milk?
Tara Teaspoon says
While I haven't tested making the ice cream with full fat coconut milk, it will work to make ice cream, it will just result in a very different texture. Coconut milk will create a creamy, but almost flaky consistency. Let me know how it goes!
Michael S. says
I cooked this ice cream a few days ago and you know what... This is one of the best chocolate ice cream recipes I've ever tried! My kids loved it! I added some ginger this time and it turned out perfect. I'm going to add strawberries next time 🙂
Brittany Smart says
So perfect for Ice Cream month!
Mary Bench says
What a great idea! I'm anxious to try this!
Kristen M Chidsey says
I have NEVER aged my ice cream base--I am beyond excited to try this method out.
Tara says
Let me know if you notice the difference!
Renee - Kudos Kitchen says
Love your tips about aging the ice cream base. Wonderful idea that I have never done, but will do now.
Tara says
Ohh good! I'm so glad. It's a very good trick for making luscious ice cream.
Megan says
You're right! This ice cream is to die for!! This will ruin my diet ???? ????
Tara says
Haha! Indulge Megan! I'm glad you like it.