
This impressive make-ahead Peppermint Pie, also known as candy cane pie, is the best no-bake holiday dessert. It starts with a chocolate Oreo crust and fluffy pink peppermint cream cheese filling that's topped with real whipped cream and festive crushed candy canes.

What you should know first
Real whipped cream instead of Cool Whip is what gives this peppermint pie a richer, creamier filling that slices cleanly after just 3 hours in the fridge. Beating the cream cheese completely smooth before adding the marshmallow creme is the key to a lump-free texture.
⏱ Prep Time: 40 minutes. Total Time: 4 hours (includes chilling). 🍽 Serves: 8. 🧾 Ingredients: 12. 📊 Difficulty: Easy. 🥛 Dietary: Vegetarian.
- 18 Oreo cookies and melted butter combine into a chocolate cookie crust that sets up without baking.
- Room-temperature brick-style cream cheese, beaten smooth before adding the marshmallow creme, keeps the filling lump-free.
- Peppermint extract, not mint extract, gives the pie its candy cane flavor. 2½ teaspoons is bold, so add ½ teaspoon at a time if you prefer it milder.
- Whipping the cream to firm peaks and gently folding it in keeps the filling airy and helps it slice cleanly.
- The pie needs at least 3 hours in the fridge and can be made the night before. Add the crushed peppermint right before serving so it stays crunchy.
- For red and white candy cane swirls, add a couple extra drops of red food coloring, stir once, and spoon the filling into the crust.
Generated with AI and experts from the Tara Teaspoon team.
Every year I get excited for all the sweets and treats that come with the holiday season. From gourmet Homemade Ginger Cheesecake to easy-to-gift Cranberry Pound Cake, the options for Christmas desserts are practically endless.
This no-bake Christmas pie is no exception, and I've tested and retested it for you, so it's an impressive success every time. I give you step-by-step pictures and expert tips in the article, so it's delicious and beautiful for your table.
No-bake peppermint pie is an easy holiday favorite
My easy candy cane peppermint pie earns its spot as the perfect make-ahead dessert for a busy holiday schedule.
My family has fallen in love with its festive look and flavor (kids and grown-ups both go back for seconds!), and I've fallen in love with its reliable method.
Here are the top reasons you'll want to make this holiday pie:
- Make-ahead friendly: The filling sets up like a no-bake cheesecake and needs time to set in the fridge. For easy entertaining, make it up to a day before, and it'll be ready when you are.
- Tastes like a candy cane: This peppermint-packed pie looks and tastes like Christmas with its fluffy red and white swirls. The crushed peppermint candy on top adds crunch and a festive candy cane finish.
- No oven needed: This no-fuss pie is completely no-bake, so your oven stays free for the rest of your holiday baking.

Jump to:
Ingredients
This easy peppermint pie recipe only needs a handful of ingredients. Here's what you should know before getting started. See recipe card for full list of ingredients and quantities.
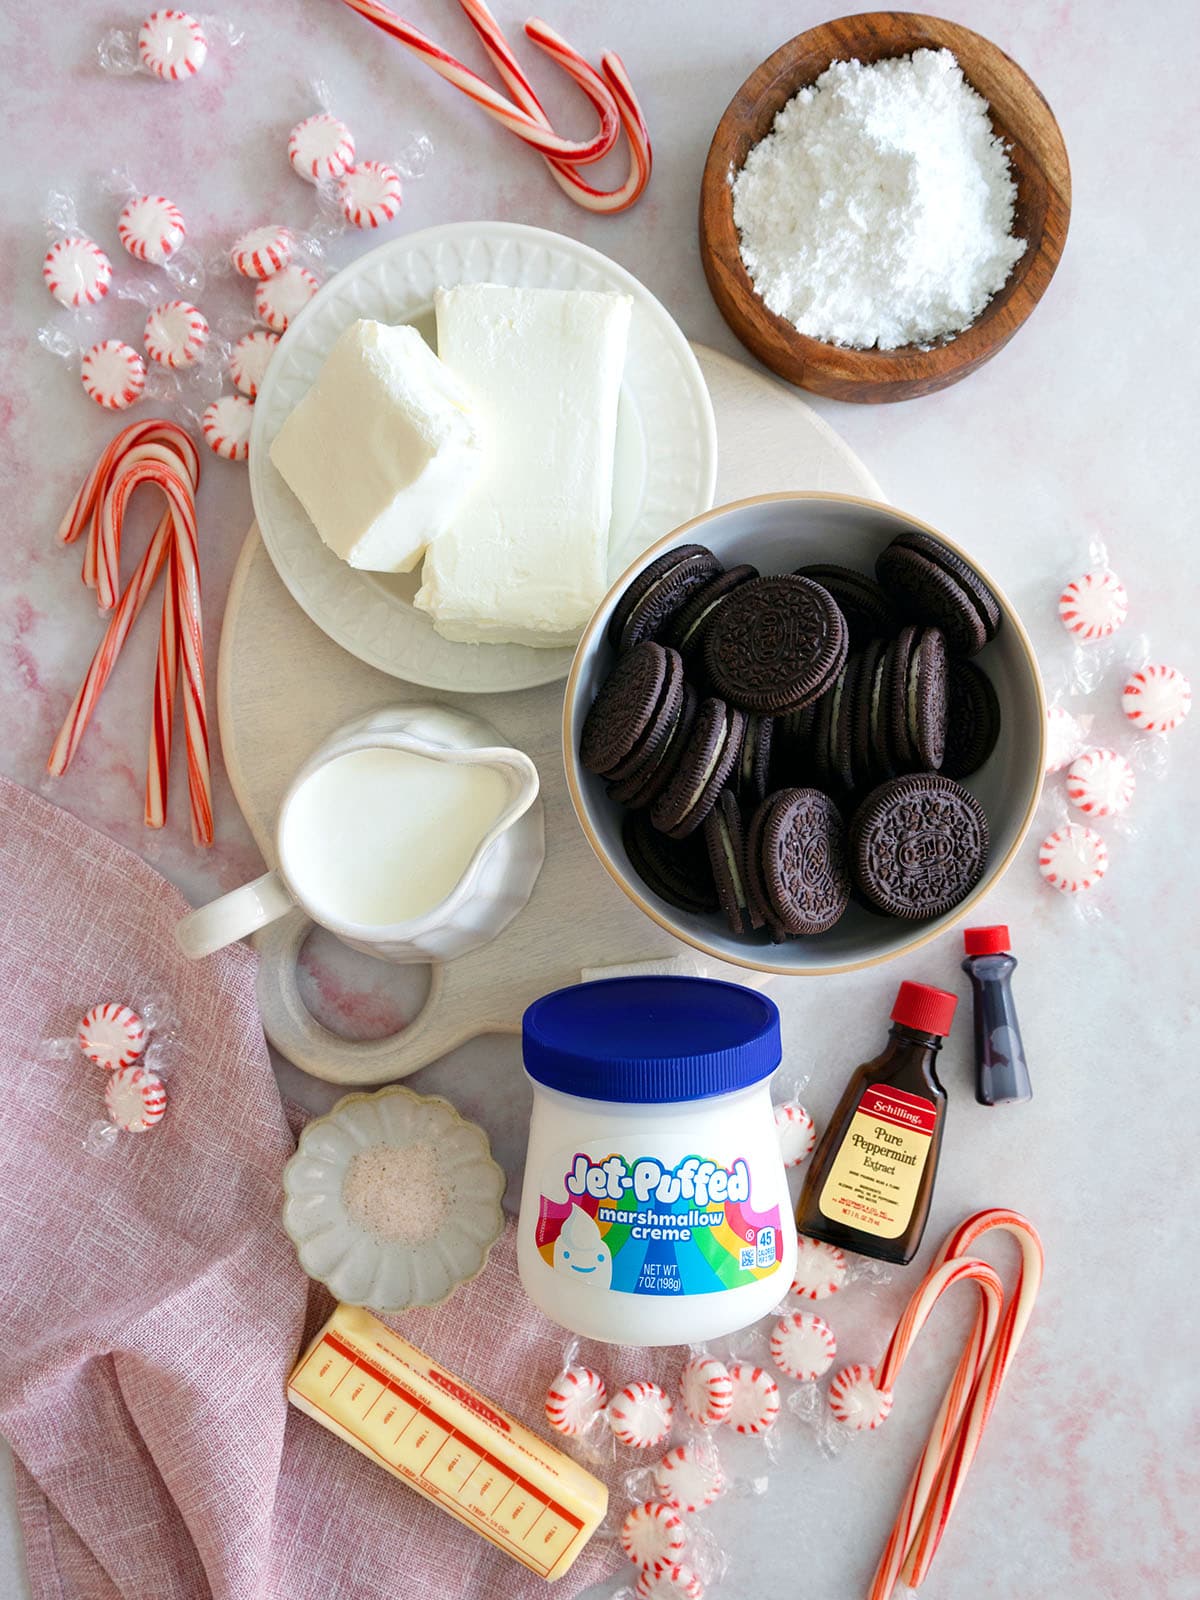
For the crust
- Oreo cookies: I used classic Oreos for the crust. You'll need about 18 cookies.
- Unsalted butter and salt: For ultimate flavor control, I recommend using unsalted butter and a little salt. If you prefer to use salted butter, leave out the additional salt.
For the filling and topping
- Cream cheese: Use full-fat brick-style cream cheese to ensure stable, lump-free filling. Give it at least 30 minutes on the counter to bring it to room temperature.
- Marshmallow creme: Marshmallow fluff will also work.
- Peppermint extract: Peppermint extract is very potent. I thought 2 ½ teaspoons was perfect, but if you want to be more cautious, add a half teaspoon at a time until you think the flavor is right.
- Heavy cream: Whipped cream is part of the filling and the topping. Chilled heavy cream whips up faster and fluffier than warm cream.
- Confectioners' sugar: Sweetens both the filling and the whipped topping, and dissolves smoothly without graininess
- Liquid red food coloring: I used liquid food coloring for this recipe. If you'd rather use gel food coloring, it's much more concentrated so you'll only need a drop or two.
- Crushed peppermint candy: For a festive garnish, decorate the pie with crushed candy canes or starlight mints.

How to make peppermint pie
This no-bake peppermint pie comes together quickly. Follow my step-by-step photo tutorial to see how it's done. See recipe card for comprehensive directions.
Make the crust
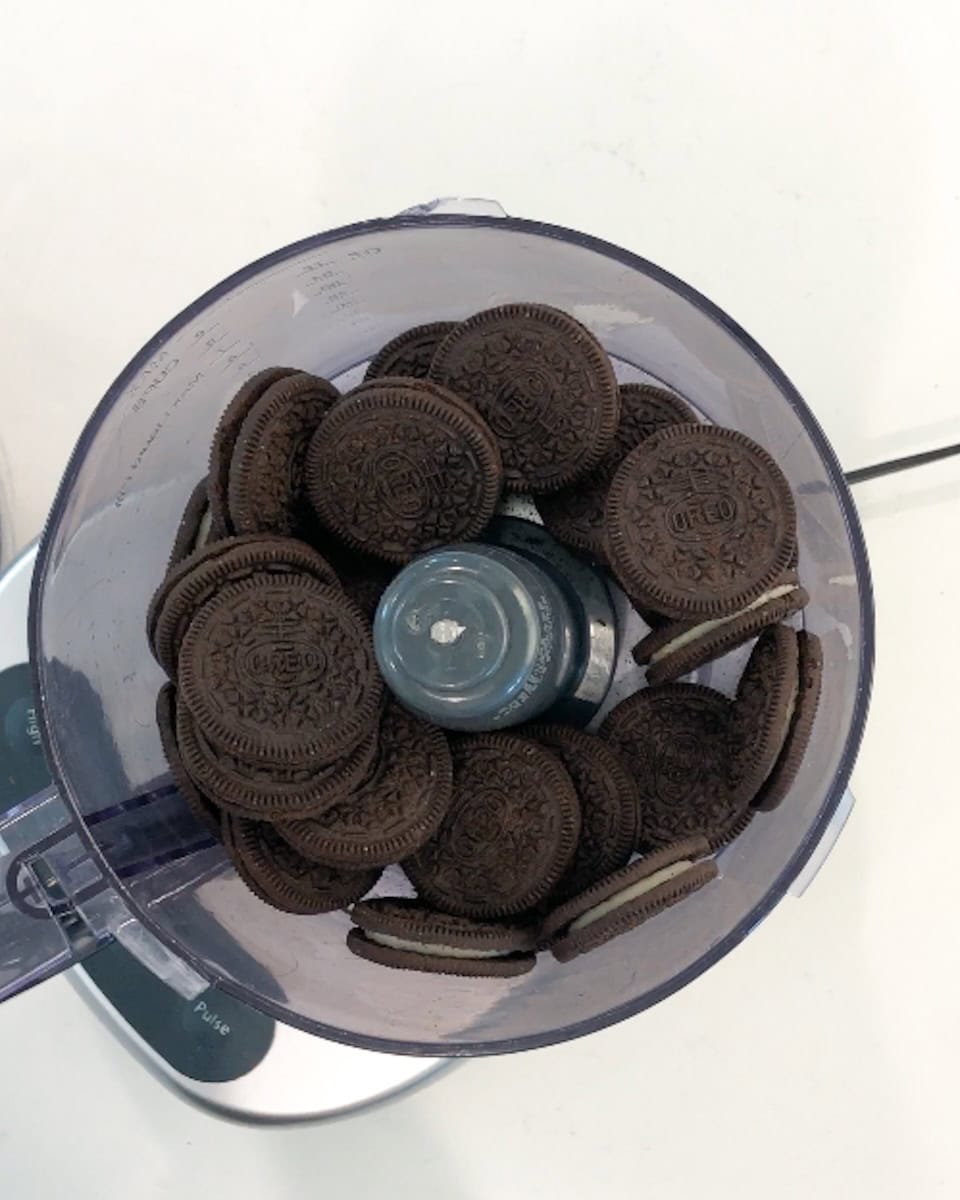
- Step 1: Place Oreos in the bowl of a food processor.
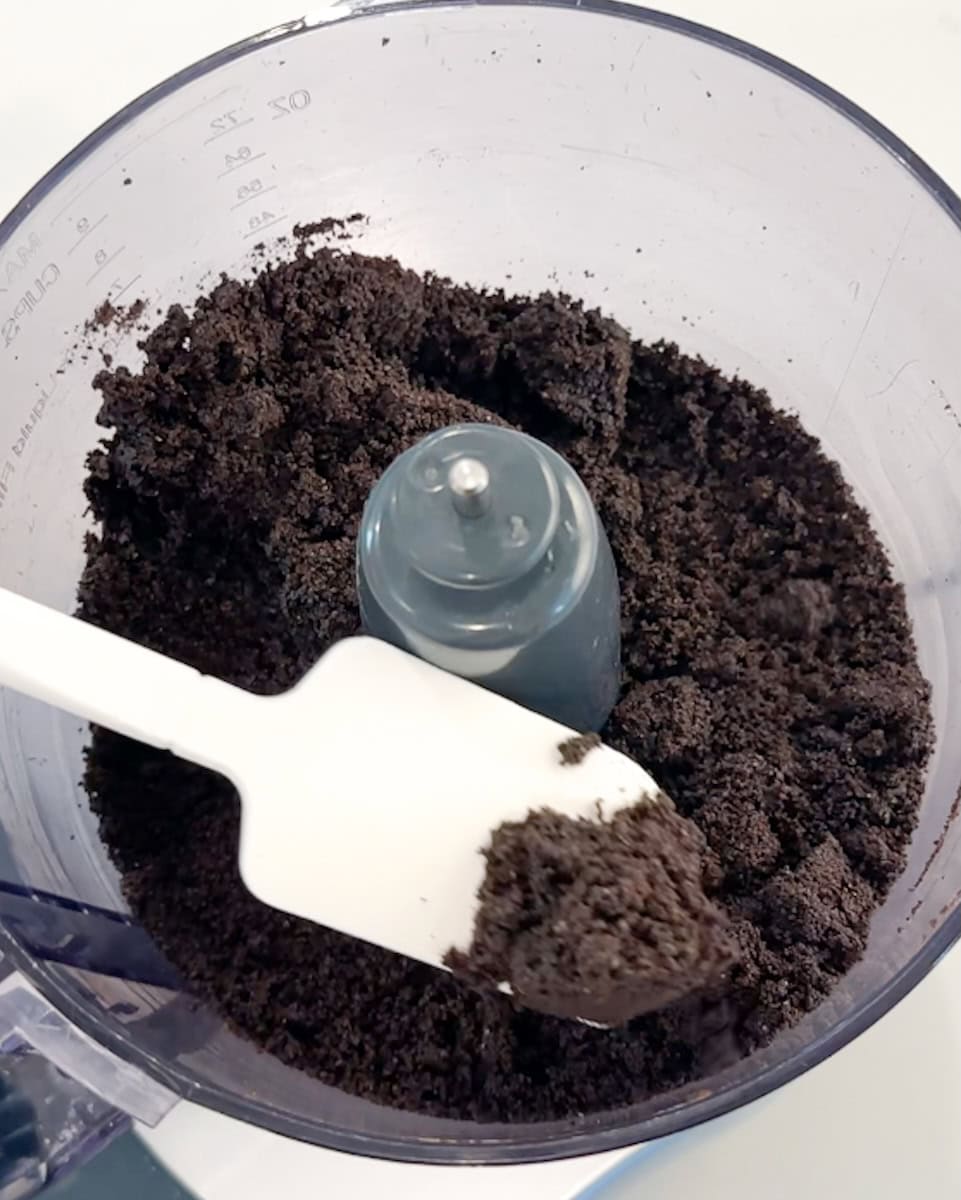
- Step 2: Pulse until cookies are finely ground.
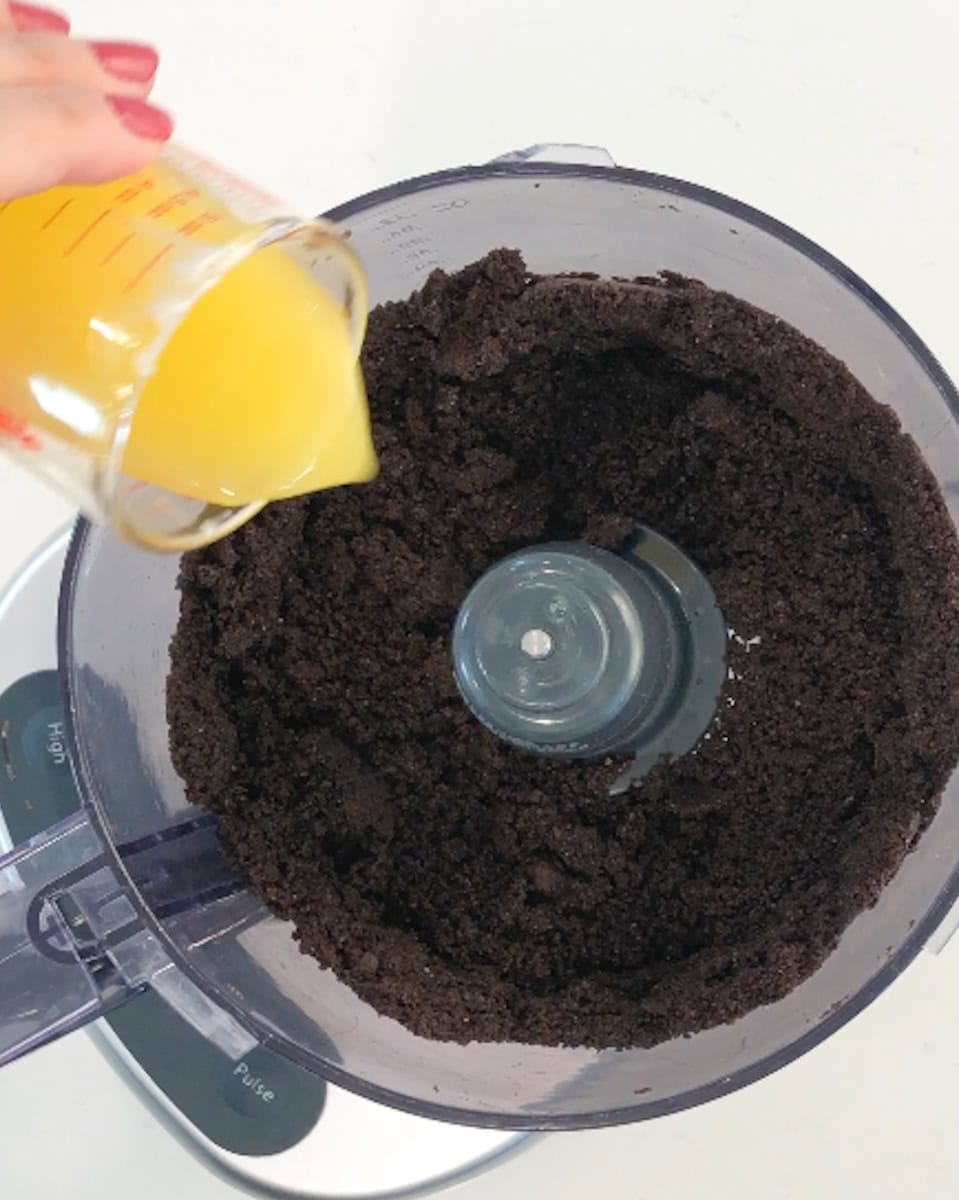
- Step 3: Add the melted butter and salt to the cookie crumbs. Pulse to combine.
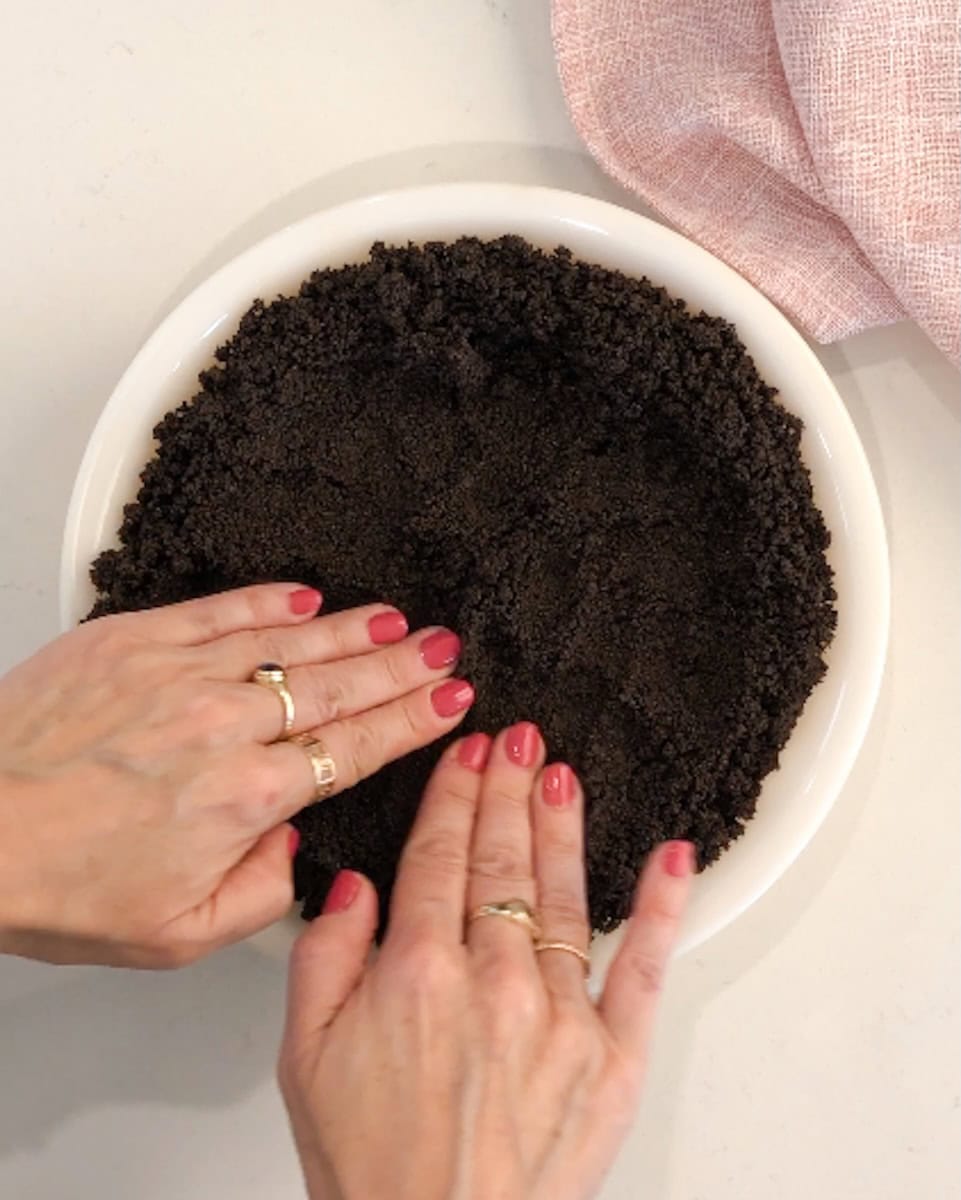
- Step 4: Pour the crust mixture into a pie pan and use your fingers to press it into an even layer on the bottom and sides of the pan.
Make the filling and finish the pie
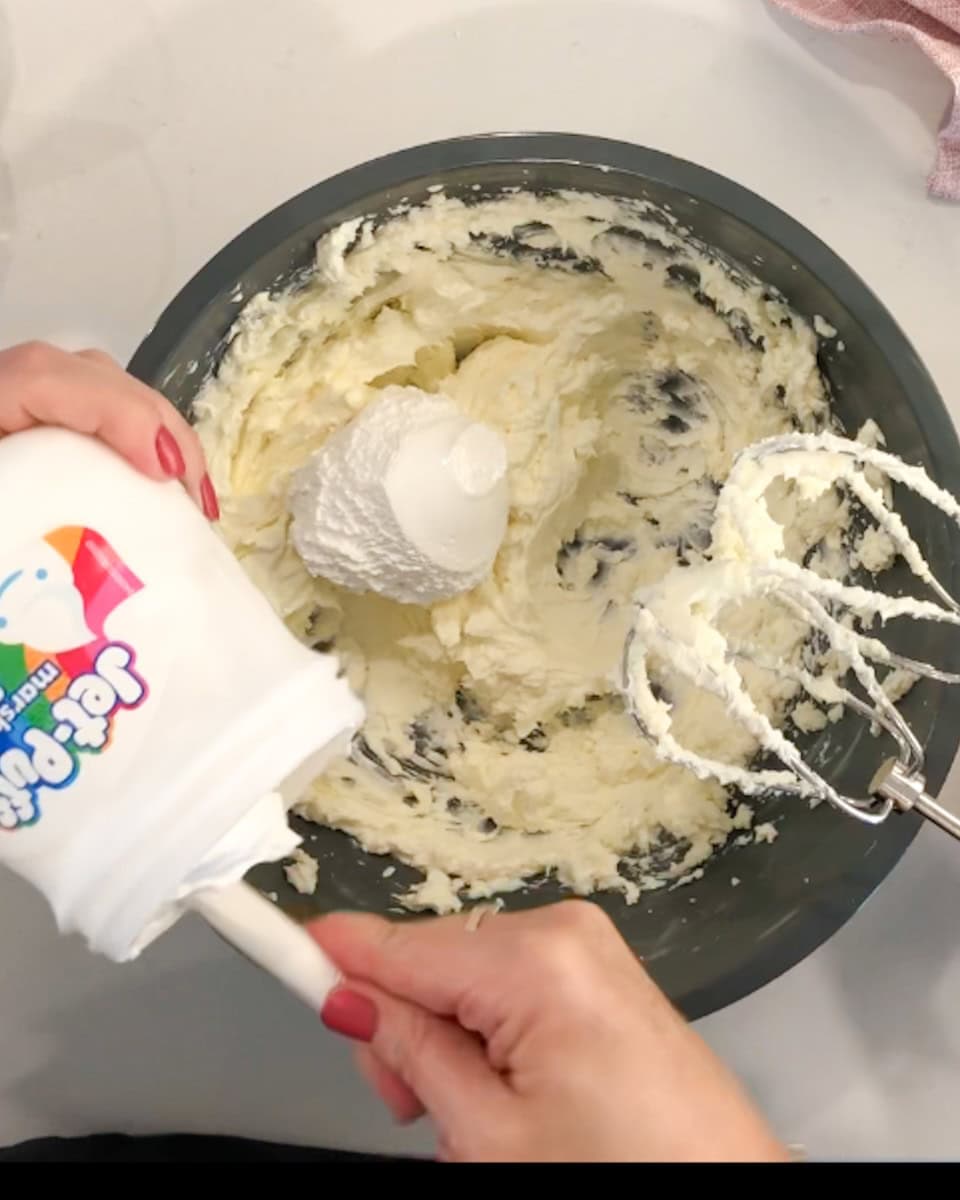
- Step 1: Beat the softened cream cheese until very smooth. Then add in the marshmallow creme and peppermint extract.
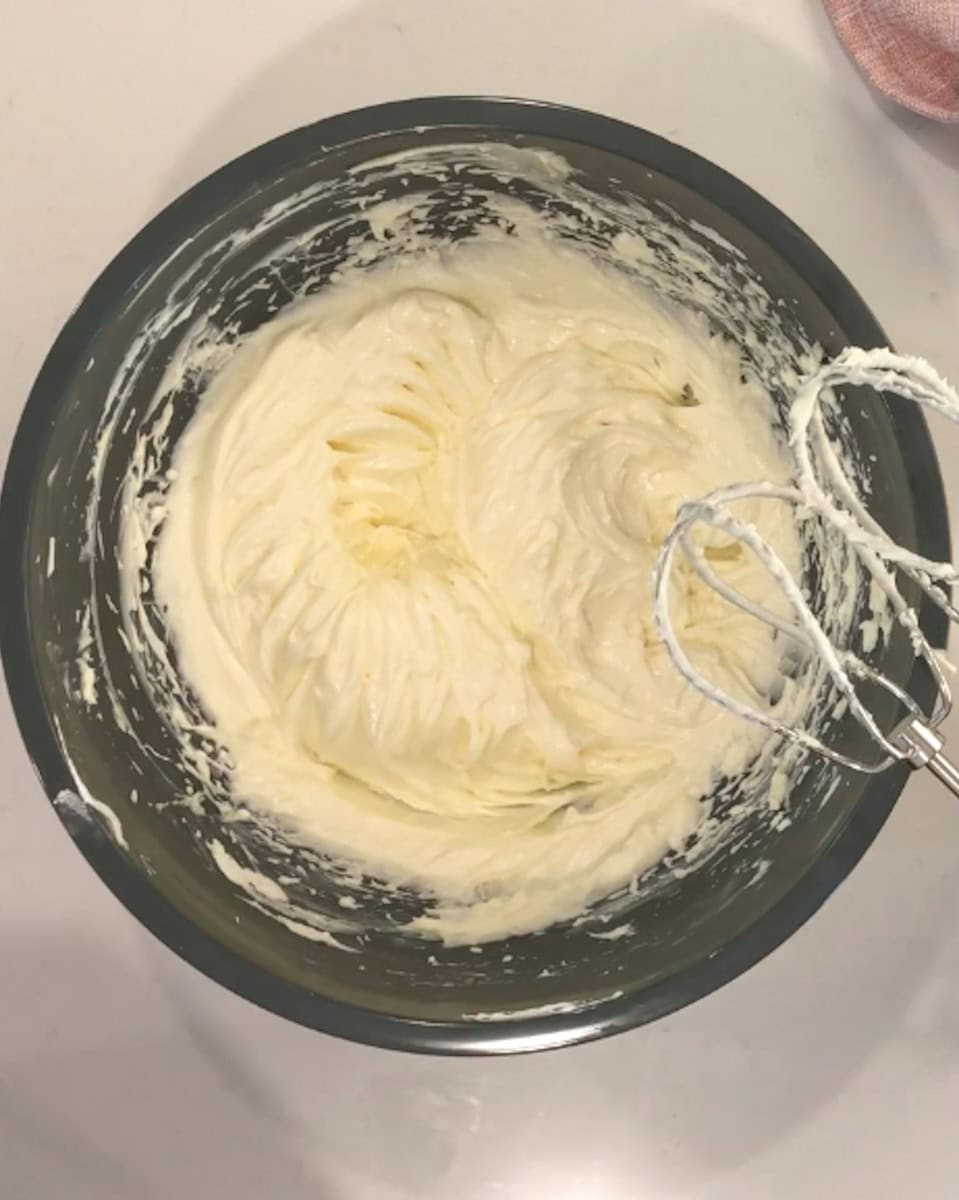
- Step 2: Mix until light and fluffy. Set aside.
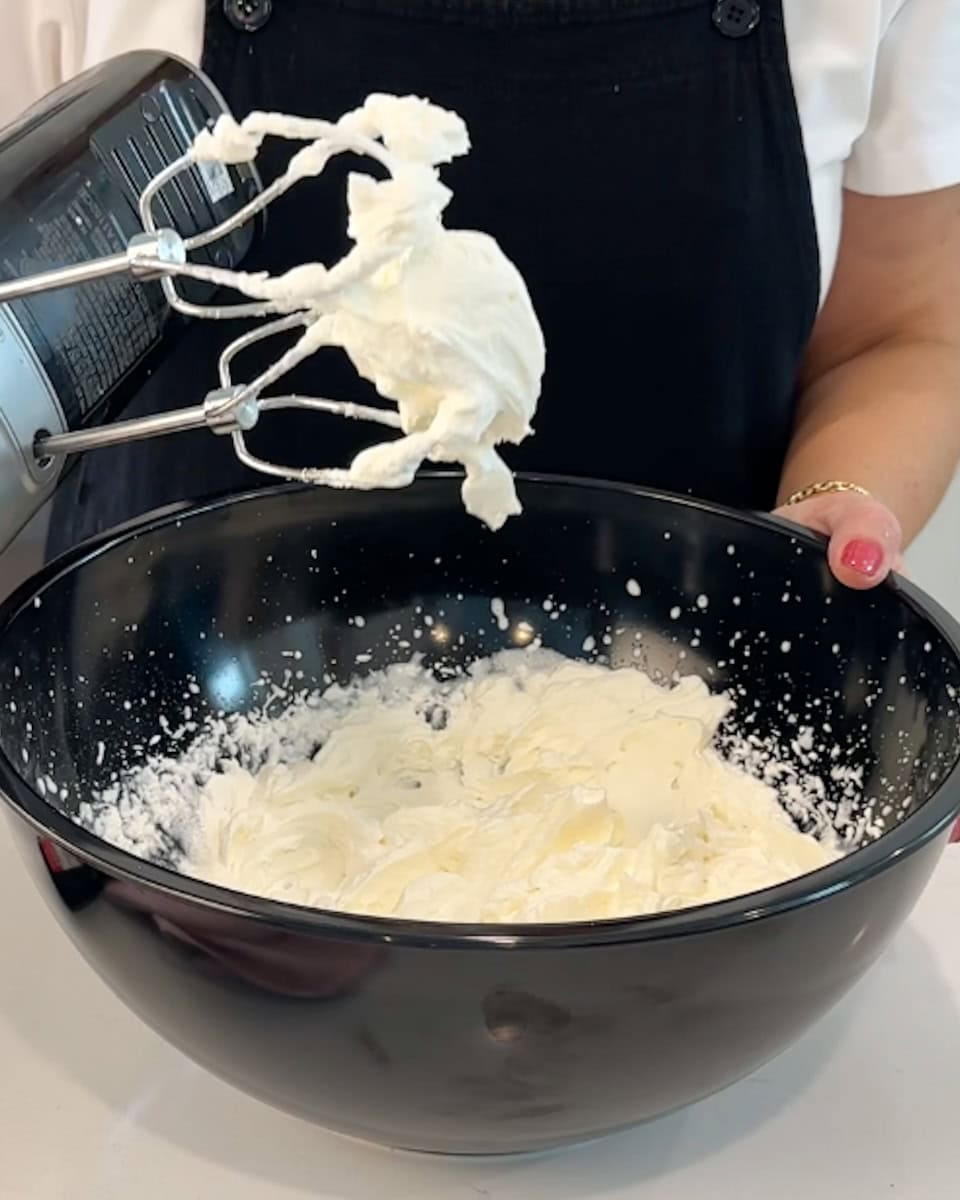
- Step 3: In another bowl, whip the heavy cream and confectioners' sugar to firm peaks.
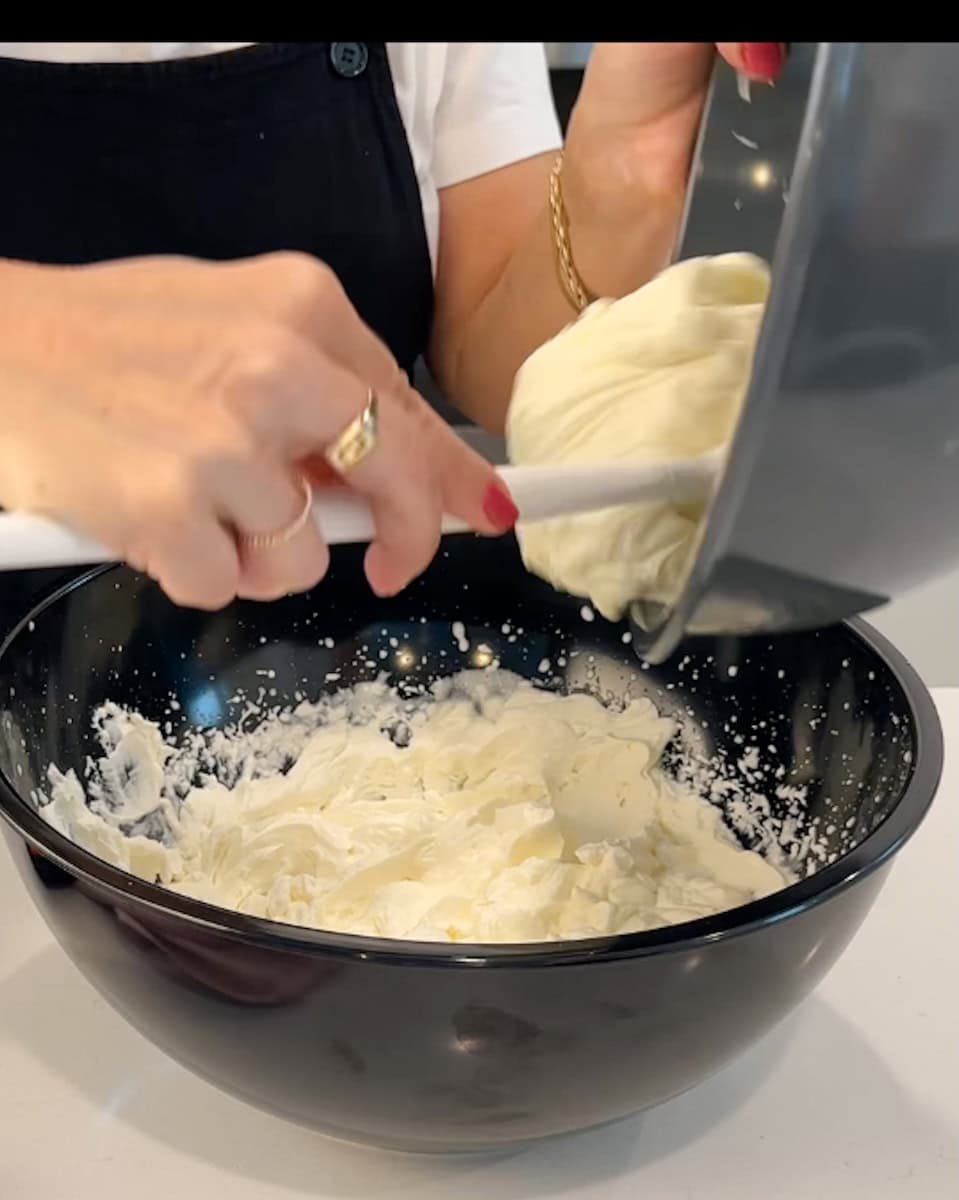
- Step 4: Gently fold the whipped cream into the cream cheese mixture without deflating the cream by over mixing.
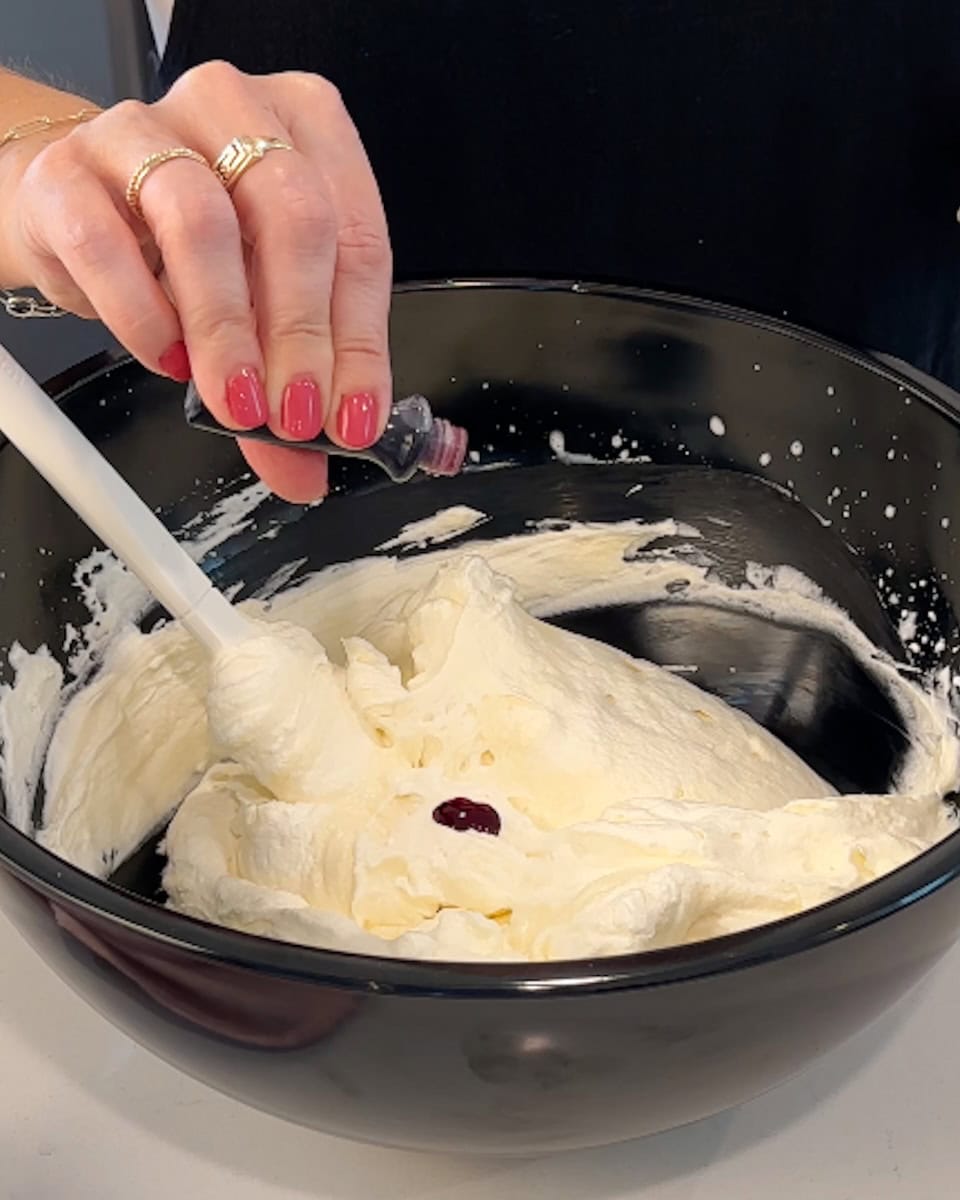
- Step 5: Start with just a few drops of red food coloring to achieve a light pink color.
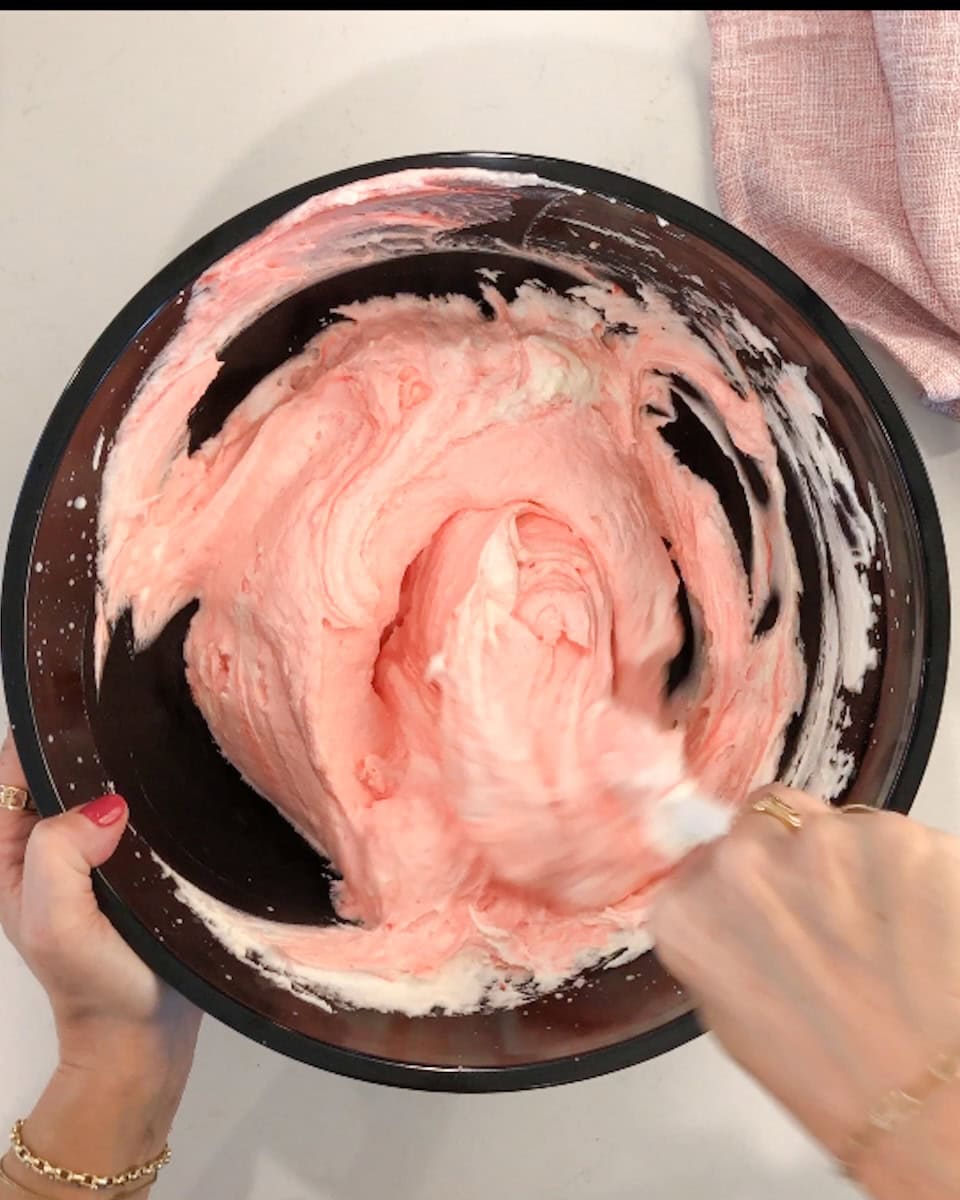
- Step 6: Stir gently until the color is even. If you'd like red swirls in the filling, add 1 or 2 drops of food coloring and stir once to create a swirl.
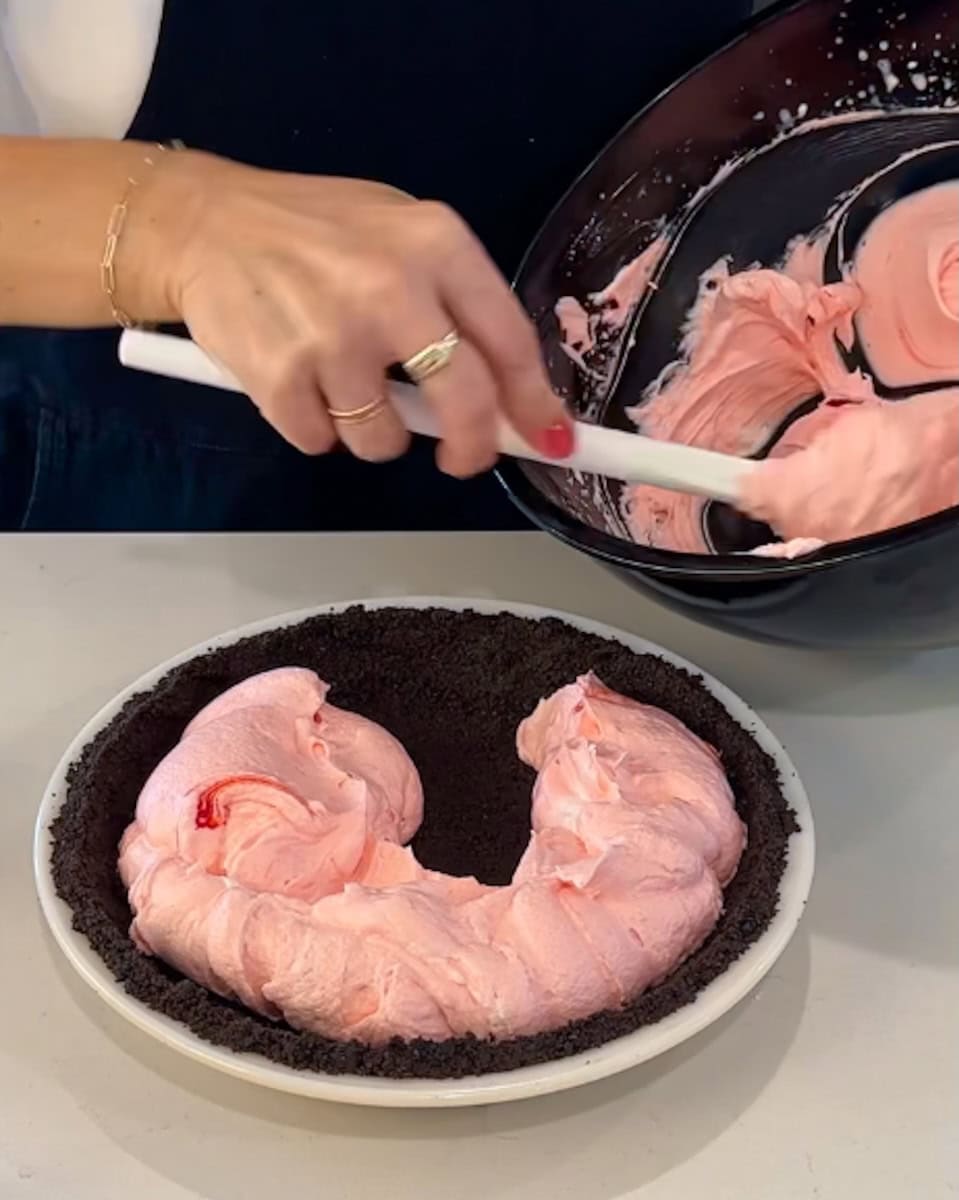
- Step 7: Begin scooping the filling from the bowl into the pie.
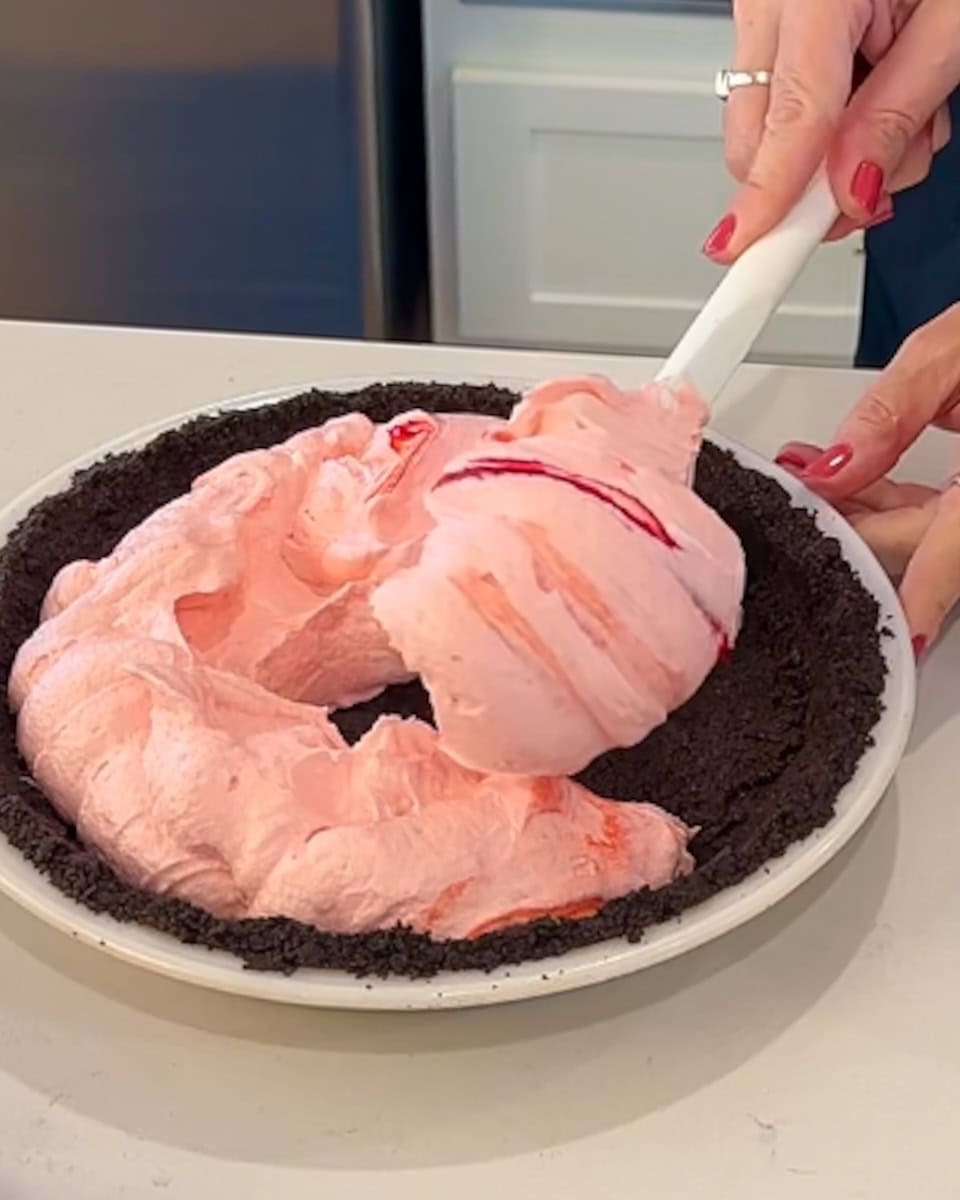
- Step 8: Place scoops with swirls in pretty patterns. Cover the pie and chill in the fridge for at least 3 hours.
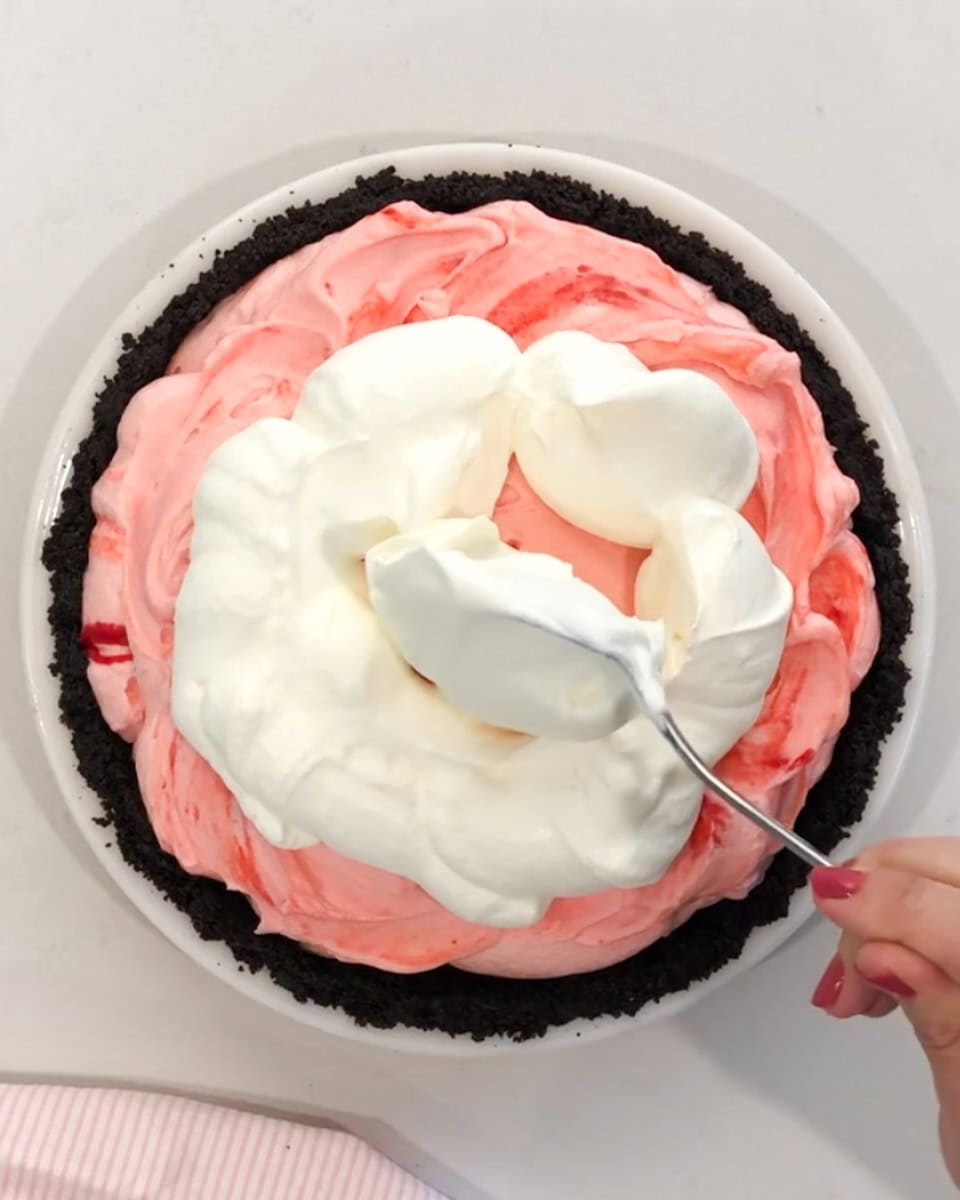
- Step 9: Just before serving, whip the heavy cream and confectioners' sugar. Spoon the whipped cream over the filling.
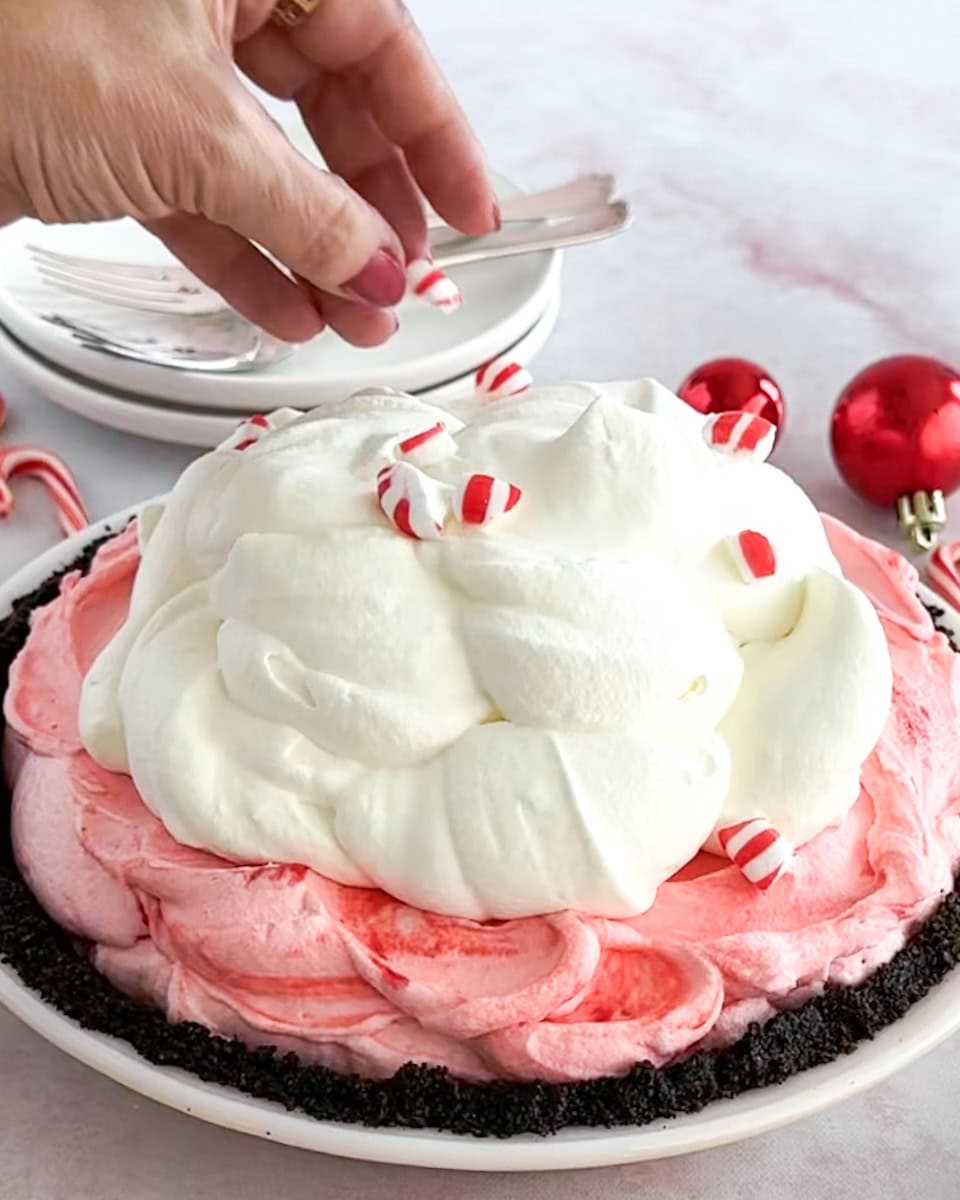
- Step 10: Finish the pie with a sprinkle of crushed candy canes or starlight mints.
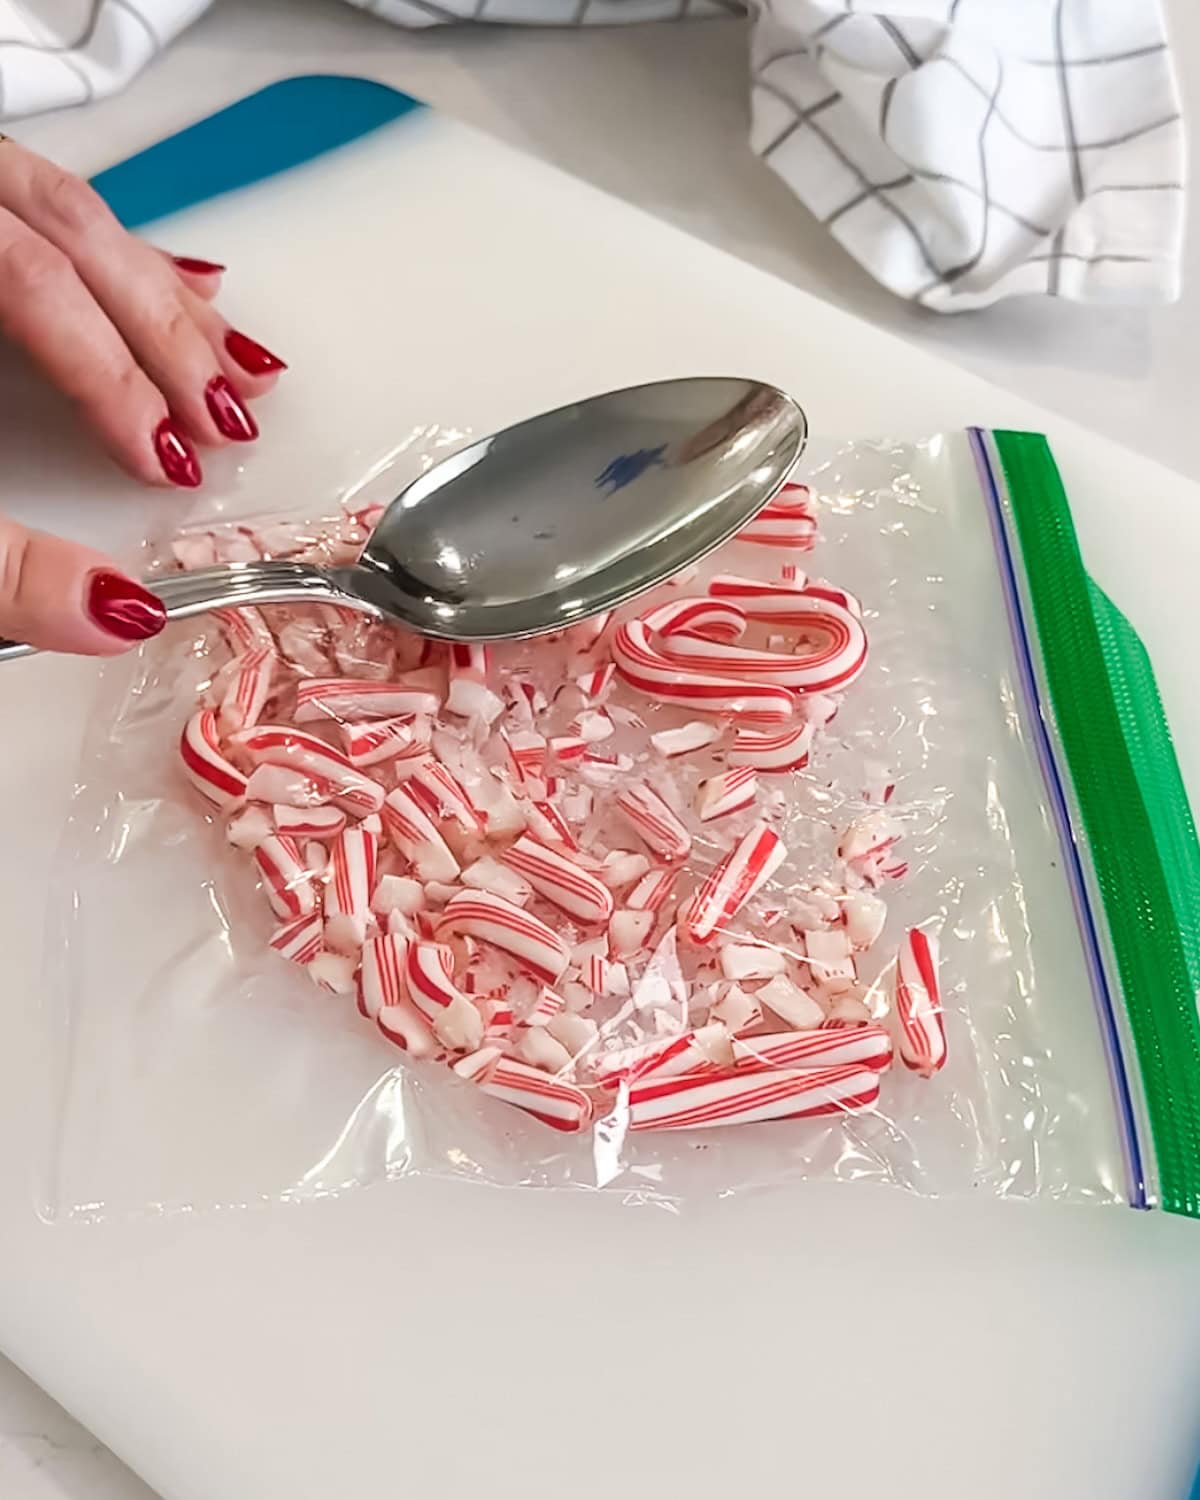
How to crush candy canes
Place the candy in a plastic zipper bag and break it with the back of a large spoon, a rolling pin, or meat tenderizer.
You can also put the candy in a food processor and pulse it a couple of times.
Tara's tips for perfect no-bake peppermint pie
Chill the pie pan: Chill the pie dish briefly before pressing in the crust so the butter firms up and sets the crust.
Press firmly: You can get a firm even crust by using the bottom of a measuring cup to compact the base.
Use peppermint extract: Keep in mind that peppermint extract is not the same as mint extract. Peppermint tastes like a candy cane whereas mint tastes more like toothpaste.
Fold gently: Use a spatula to gently fold the cream cheese mixture into the whipped cream. Vigorous stirring knocks the air out of the cream and will deflate the light and fluffy filling.
Garnish before serving: Crushed peppermint draws moisture from the whipped topping and turns sticky as it sits. Sprinkle it on just before serving so it stays crunchy.
Cut clean slices: For a cleaner slice, run a sharp knife under hot water, wipe dry, and then cut. Repeat between slices as needed.

Variations and swaps
- Use a store-bought crust: If you're short on time, you can use a store-bought crust. Keep in mind that store-bought crust pans are shallower than a regular 9-inch pie pan. You might have a little leftover filling.
- Swap crusts: For a different flavor use a Nilla wafer or graham cracker crust.
- No food coloring: If you want to leave out the red food coloring, the classic white filling will still taste amazing.
- Swirled filling: For a fun candy cane look, add red swirls to the filling. After tinting the filling pink, add a couple extra drops of liquid food coloring and stir just once, so you see streaks of red. Then spoon the filling into the crust without mixing further, or the swirls will blend in.
- Drizzle chocolate on top: Add a drizzle of melted chocolate or chocolate sauce over the top for a chocolate-peppermint finish.
- Pipe rosettes: Make the whipped cream topping look fancier by piping it into rosettes around the edge of the pie before adding the crushed candy topping.
- Make mini pies: This recipe can be made in a muffin tin for party-sized servings. Use cupcake liners for easy removal from the pan.
- Additional toppings: In addition to or in place of the crushed candy, sprinkle the top of the pie with holiday sprinkles, mini chocolate chips, white chocolate chips, or toasted nuts.
Equipment
Storage
Make-ahead: Make the pie up to 1 day ahead and keep it covered in the fridge. For the freshest look, add the whipped cream topping the day you serve it, and the crushed peppermint right before serving.
Refrigerate: Cover leftovers and refrigerate for up to 3 days. The crust softens a little over time, but the pie still tastes great.
Freeze: Freeze the pie without the whipped cream on top, wrapped tightly, for up to 1 month. Thaw in the fridge for a few hours, or serve it slightly frozen for an icebox-pie texture. Add the topping and garnish before serving.

FAQ
Homemade whipped cream has a fresher, creamier flavor than Cool Whip, but you could swap them if desired. Use an 8-ounce tub of thawed Cool Whip to replace the whipped cream in the filling (no need to add the confectioners’ sugar since it’s already sweetened), and use another 8-ounce tub for the topping.
Peppermint pie and candy cane pie are the same dessert. “Peppermint pie” describes the flavor, since the filling is made with peppermint extract for that classic candy cane taste. “Candy cane pie” describes the look, with the red and white swirled filling and crushed candy cane garnish that make it look like a candy cane.
Lumps usually come from cream cheese that was too cold. Let it sit on the counter for at least 30 minutes, and beat it on its own until completely smooth before adding the marshmallow creme.
You can also use marshmallow fluff. They are similar soft marshmallow products, and are imperative for the taste and texture of the filling. The marshmallow creme or fluff gives the filling its sweetness and fluffy, set texture, so I don’t recommend swapping in other ingredients.
More easy holiday recipes
If you love festive peppermint desserts, try these:



Rate this recipe! ⭐⭐⭐⭐⭐
Scroll to the bottom of the page to rate and comment on this recipe. Leaving comments, questions, and ratings helps other too!
📖 Full Recipe

Peppermint Pie (Candy Cane Pie)
Ingredients
For the Crust
- 18 classic Oreo cookies (195g)
- 3 tablespoons unsalted butter (melted)
- ⅛ teaspoon salt
For the Filling
- 12 ounces cream cheese (at room temperature)
- 1 container (7 ounces) marshmallow creme or fluff
- 2½ teaspoons peppermint extract
- 1 ½ cups heavy cream (cold)
- ¾ cup confectioners' sugar
- 4 to 6 drops red food coloring
For the Topping
- 1¼ cups heavy cream
- ⅓ cup confectioners' sugar
- Crushed starlight mints or candy canes (for garnish)
Instructions
- Make the crust: Pulse cookies in a food processor until the texture is fine crumbs, 10 to 15 times. Add salt and butter, and pulse to combine, 8 to 10 times, it will be a wet crumb mixture. Press crumbs evenly into a 9-inch pie pan or dish, going all the way up the sides.
- Make the filling: Beat cream cheese with an electric mixer on medium speed until smooth, about 1 minute. Add marshmallow creme and peppermint extract, and beat until combined.
- In a separate bowl, beat heavy cream and sugar with an electric mixer on high speed until firm peaks form, 1 to 2 minutes.
- Gently fold cream cheese mixture and cream mixture together. Fold in food coloring starting with 4 drops and adding up to 6 drops until you like the color.
- Spoon filling into prepared crust. (For swirls of red, add a few extra drops of food coloring before spooning filling into pie crust; do not mix in — just stir once and scoop filling out of the bowl.) Cover and chill at least 3 hours, or up to overnight.
- Make the topping: Whip cream and sugar with an electric mixer on high speed until soft peaks form, 1 to 2 minutes; spoon over pie.
- Garnish with crushed mints.
Notes
Nutrition Per Serving

Tara Teaspoon
I’ve been in food publishing for over 25 years, creating recipes & food-styling for magazines, books, television, food brands, & advertising. With two cookbooks under my belt and thousands of my recipes at your fingertips, I hope you'll be inspired to spend more time in the kitchen!
Comments
No Comments