
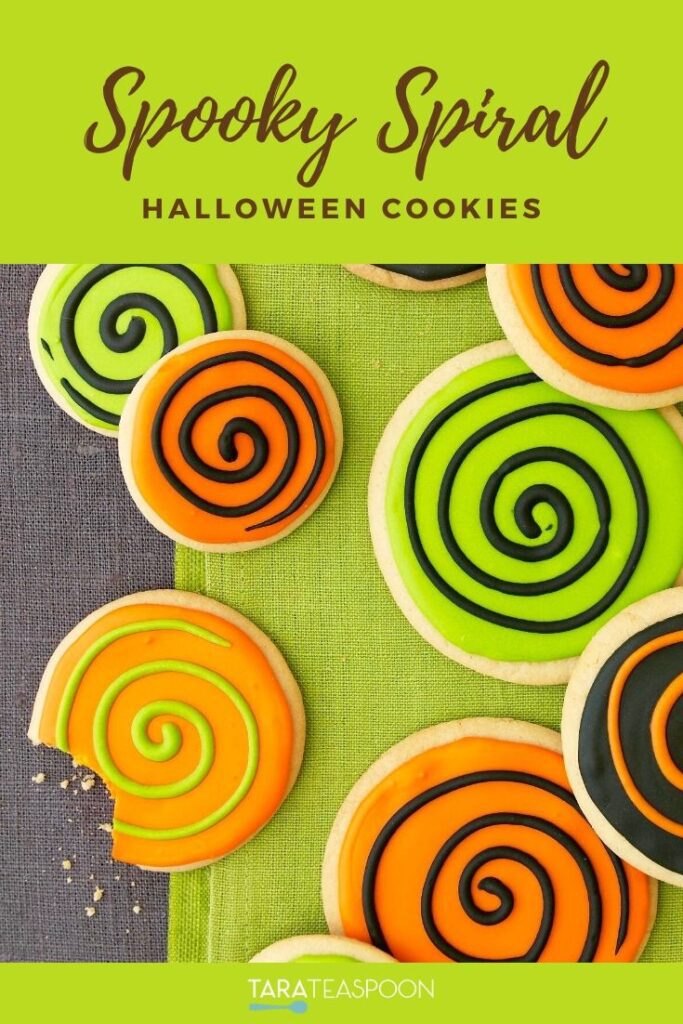
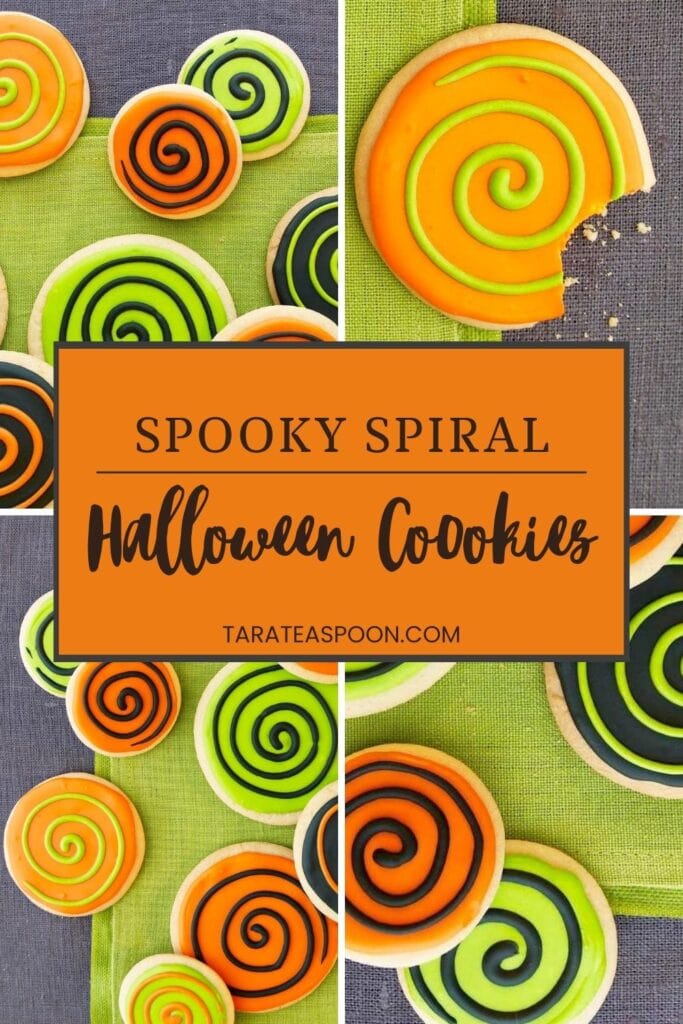
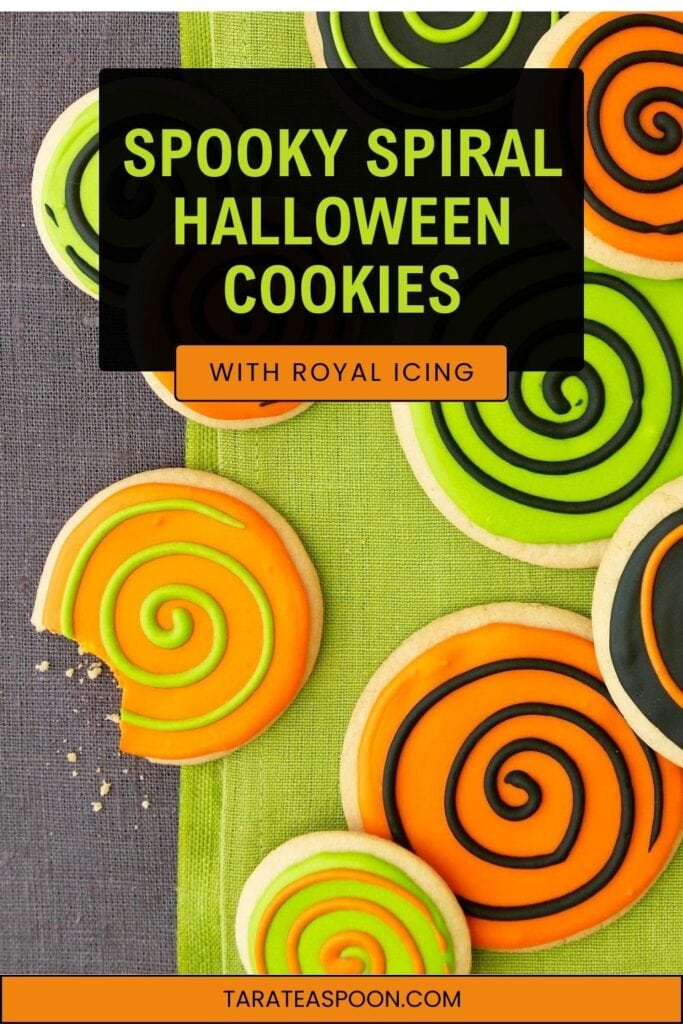
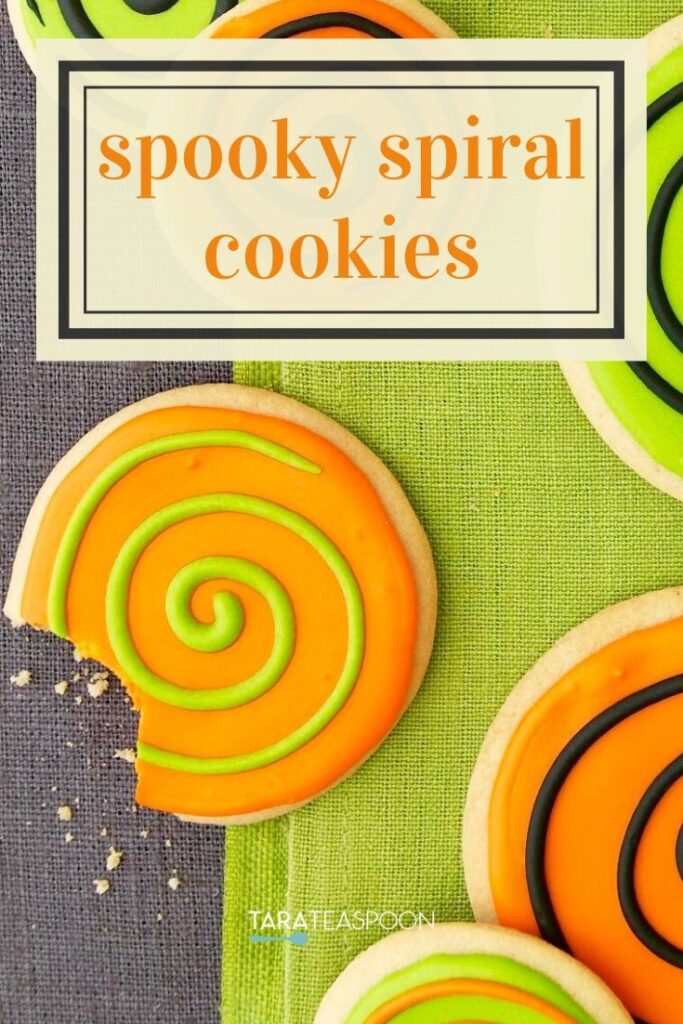
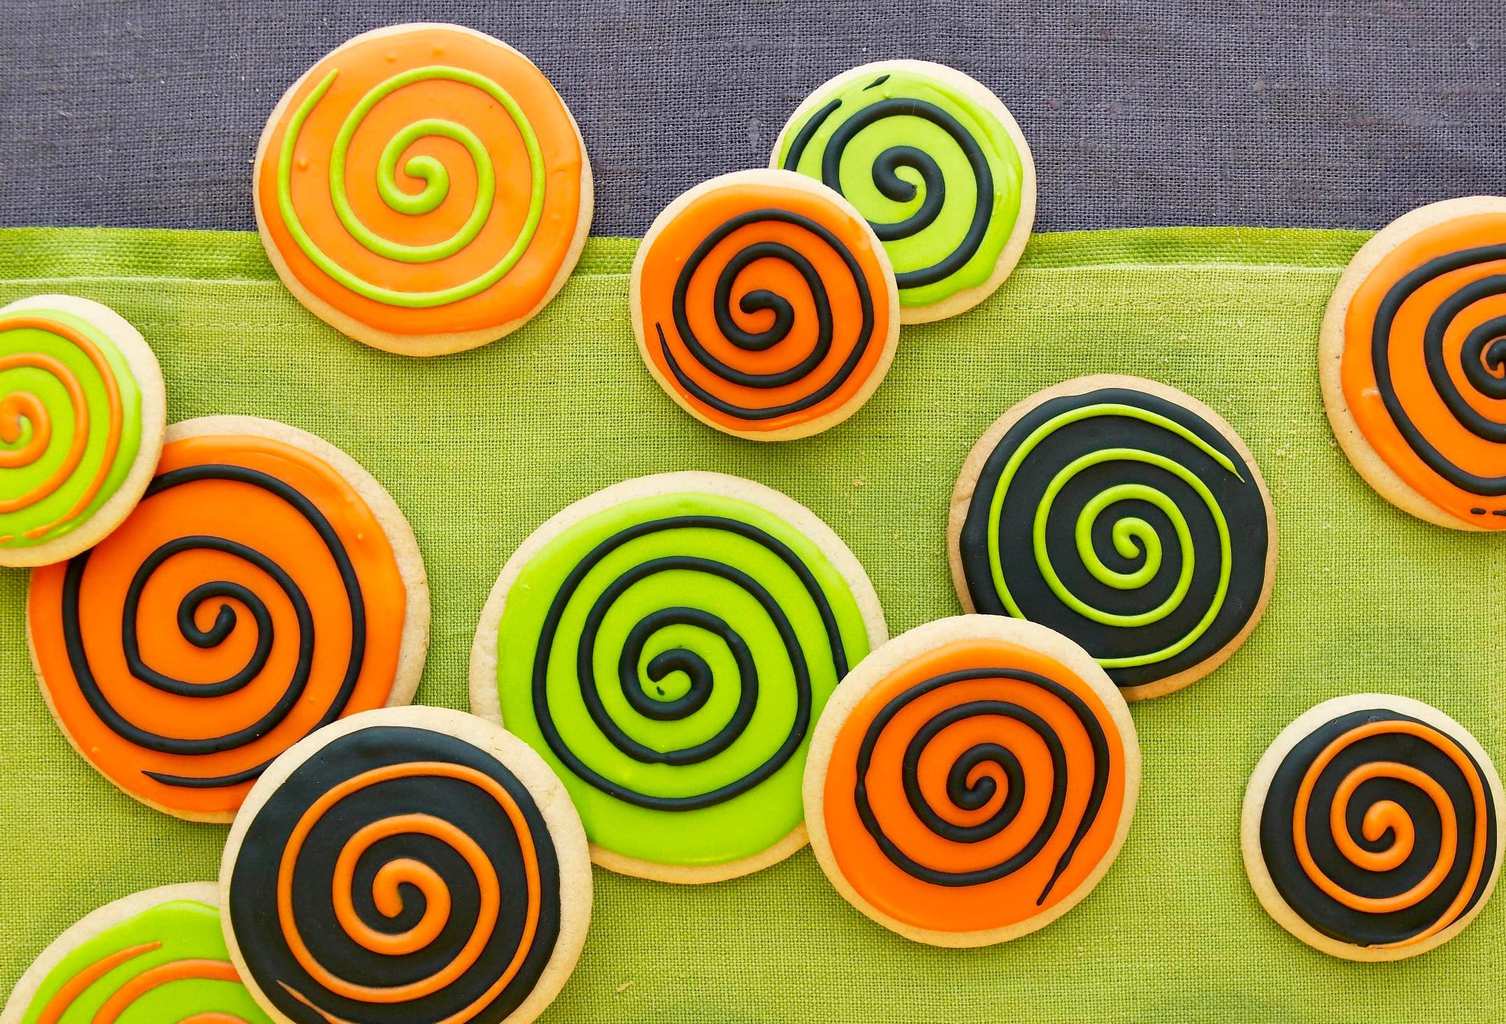
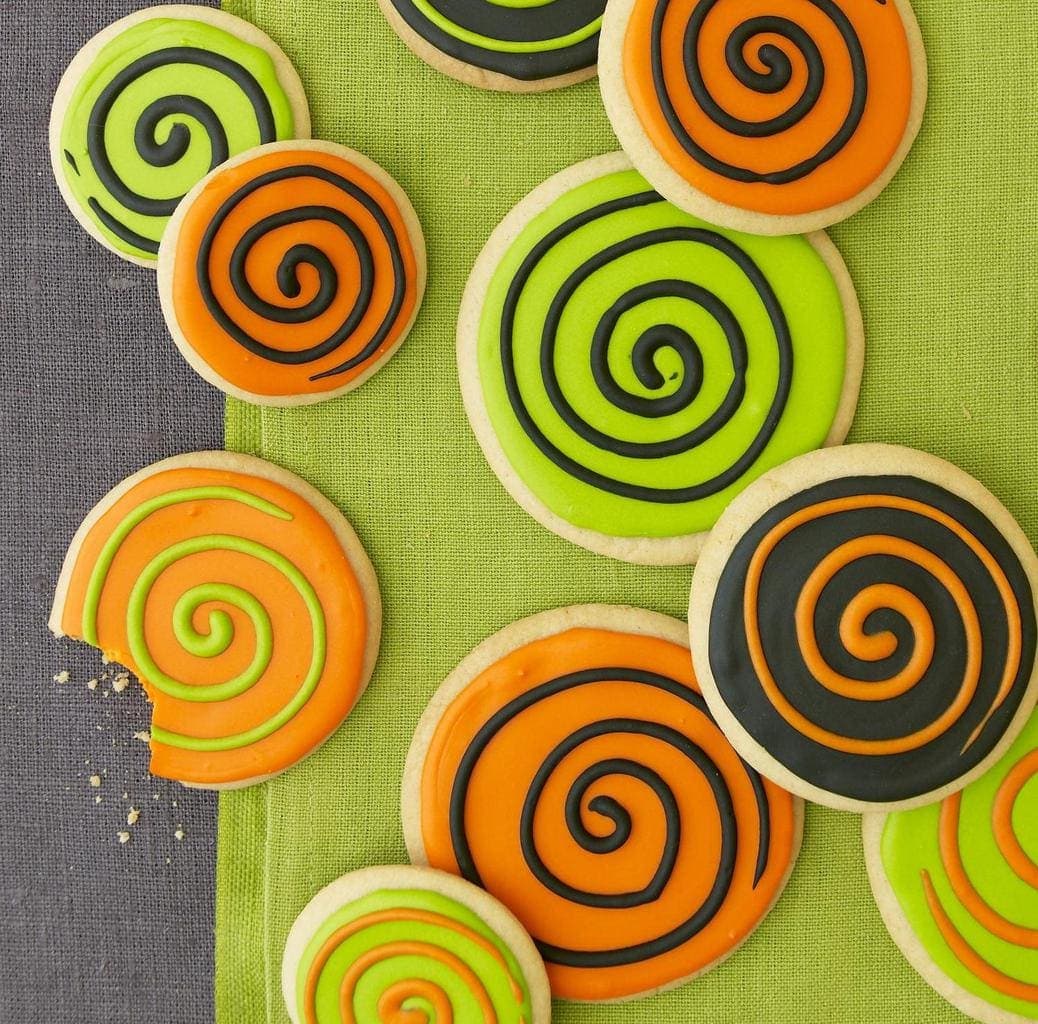
Spooky Spiral Halloween Cookies are the ultimate psychedelic treat! Their swirly design and sweet flavor are sure to wow everyone who tries them.
Every fall I have a contest with myself to see how much I can bake, and every year I seem to beat my record. Each fall I find myself coming back to make these Spooky Spiral Halloween Cookies—they are a great break from the classic pumpkin and apple treats that come with the season. With delicious flavors and fun icing, you’ll be hooked too.
These cookies have so many fun things about them. First, they are a sugar cookie and simple circles at that. Second, they use Royal Icing, which is easy to color, easy to pipe with and looks fantastic. I love using royal icing on sugar cookies, it gives them a clean and polished look. Royal icing may seem intimidating to those who have never used it, but don’t worry! Consistency is key, and the way to getting it just right is by making sure it smooths shortly after spreading.
Royal icing both looks good and tastes great on Spooky Spiral Halloween Cookies!
How to Flood a Cookie with Royal Icing
When mixing the royal icing for covering these Halloween cookies, I make it a flooding consistency. To flood a cookie just means the entire surface is coated with a smooth layer of frosting. As I make the icing I like to brush over a sample of my frosting with a butter knife and if it smooths out within 5 to 10 seconds, its perfect. If your frosting takes longer than that, it is too thick and you should slowly add water. Add water just a few drops at a time. If your frosting is smooth before the 5 to 10 seconds, it is too runny and you should continue mixing or add more confectioners' sugar.
For these Halloween cookies I like my royal icing to be the consistency of cold honey. Does that help?
How to decorate Spooky Spiral Cookies:
- Divide icing into three bowls and tint black, green and orange
- Transfer to piping bags fitted with #3 plain tips and secure bag ends with rubber bands to prevent drying
- Create a smooth layer of icing by outlining each cookie first, then pipe in the center area (icing will run together)
- Let dry about 10 minutes, then add a spiral to each cookie
- Allow icing to set about 3 hours or overnight
Keeping the piping bags upright in a glass with a damp napkin in the bottom will prevent the icing from drying out.
Break away from the normal Fall treats and make Spooky Spiral Halloween Cookies!
Sugar Cookie Tip:
You can make Spooky Spiral cookies with store-bought sugar cookie dough, or you can make them from scratch. I’ve included how to make stellar sugar cookies in my Santa Face Sugar Cookies recipe. Check it out! Use round cookie cutters to cut the shapes.
Otherwise you can buy sugar cookie dough, roll it into balls, flatten just a little on the parchment-lined baking sheet and bake. I love making different sized circles for these cookies, so if you'd like you can roll different sized balls.
📖 Full Recipe

Spooky Spiral Halloween Cookies
Ingredients
- 4 dozen sugar cookies (I baked 2-, 2 ½ and 3-inch rounds)
- 4 cups confectioners' sugar ( (l lb))
- 5 tablespoon meringue powder or powdered egg whites
- Gel paste food coloring
Instructions
- With an electric mixer, mix sugar, meringue powder and ½ cup water on low speed, scraping sides of bowl until icing thickens to a yogurt like consistency, about 4 min.
- Divide icing among three bowls and tint black, green and orange. Transfer to piping bags fitted with #3 plain tips and secure bag ends with rubber bands to prevent drying.
- Create a smooth layer of icing by outlining each cookie first; then pipe in the center area (icing will run together). Let dry about 10 min before adding spirals. Allow icing to set about 3 hr or overnight. Store covered for up to 1 week or frozen for up to 2 months.
Notes
Nutrition Per Serving
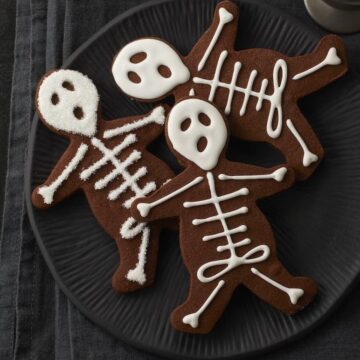
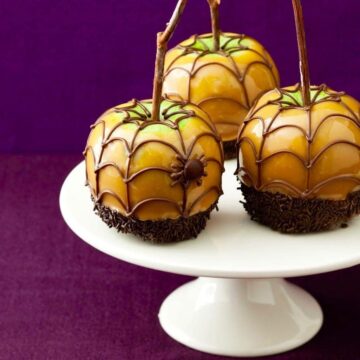
Fantastic Halloween Recipes
Tara Teaspoon
I’ve been in food publishing for over 25 years, creating recipes & food-styling for magazines, books, television, food brands, & advertising. With two cookbooks under my belt and thousands of my recipes at your fingertips, I hope you'll be inspired to spend more time in the kitchen!
Recipe by Tara Bench Originally published in LHJ 10/09 Photography Hallie Burton, Food Styling Joyce Sangirardi, Prop Styling Lynsey Freyers
Robyn says
Next time I’m in NYC can I just come & bake with you? 🙂 These look delicious! I like the cold Hindu example-I’ve been told toothpaste consistency for damming & shampoo for flooding, but that always seems a smidge too runny. My kids will love doing these.
Robyn Harris says
Cold *honey*. Not sure how that was auto-corrected.
Tara says
Haha, for sure! Baking party. Oh yes, toothpaste and shampoo both seem like odd consistency. I think each person has to play around with the consistency they are comfortable with. I truly like having just one for both outlining and flooding, but some folks aren't comfortable with that. Have fun making these!
Brittany Smart says
Such bright and fun colors! Perfect for Halloween
Mary Bench says
Great idea! Could be any color... you are so creative!