
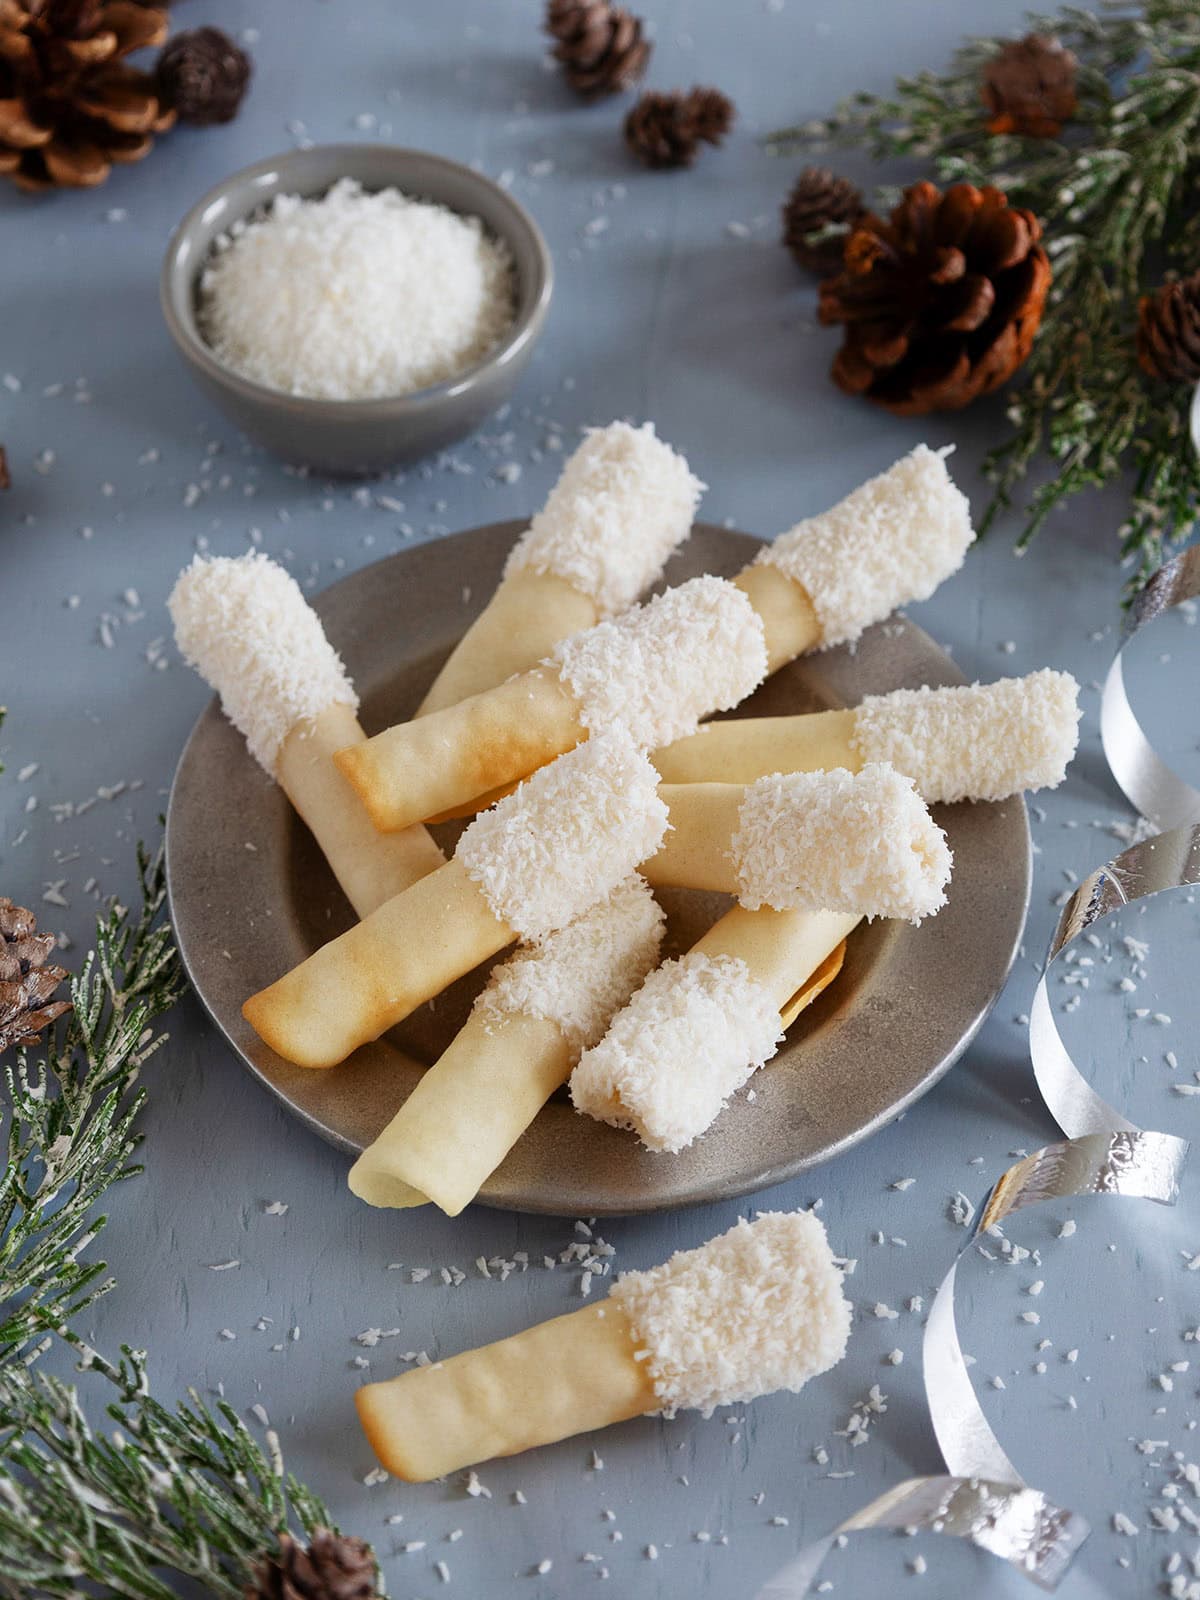
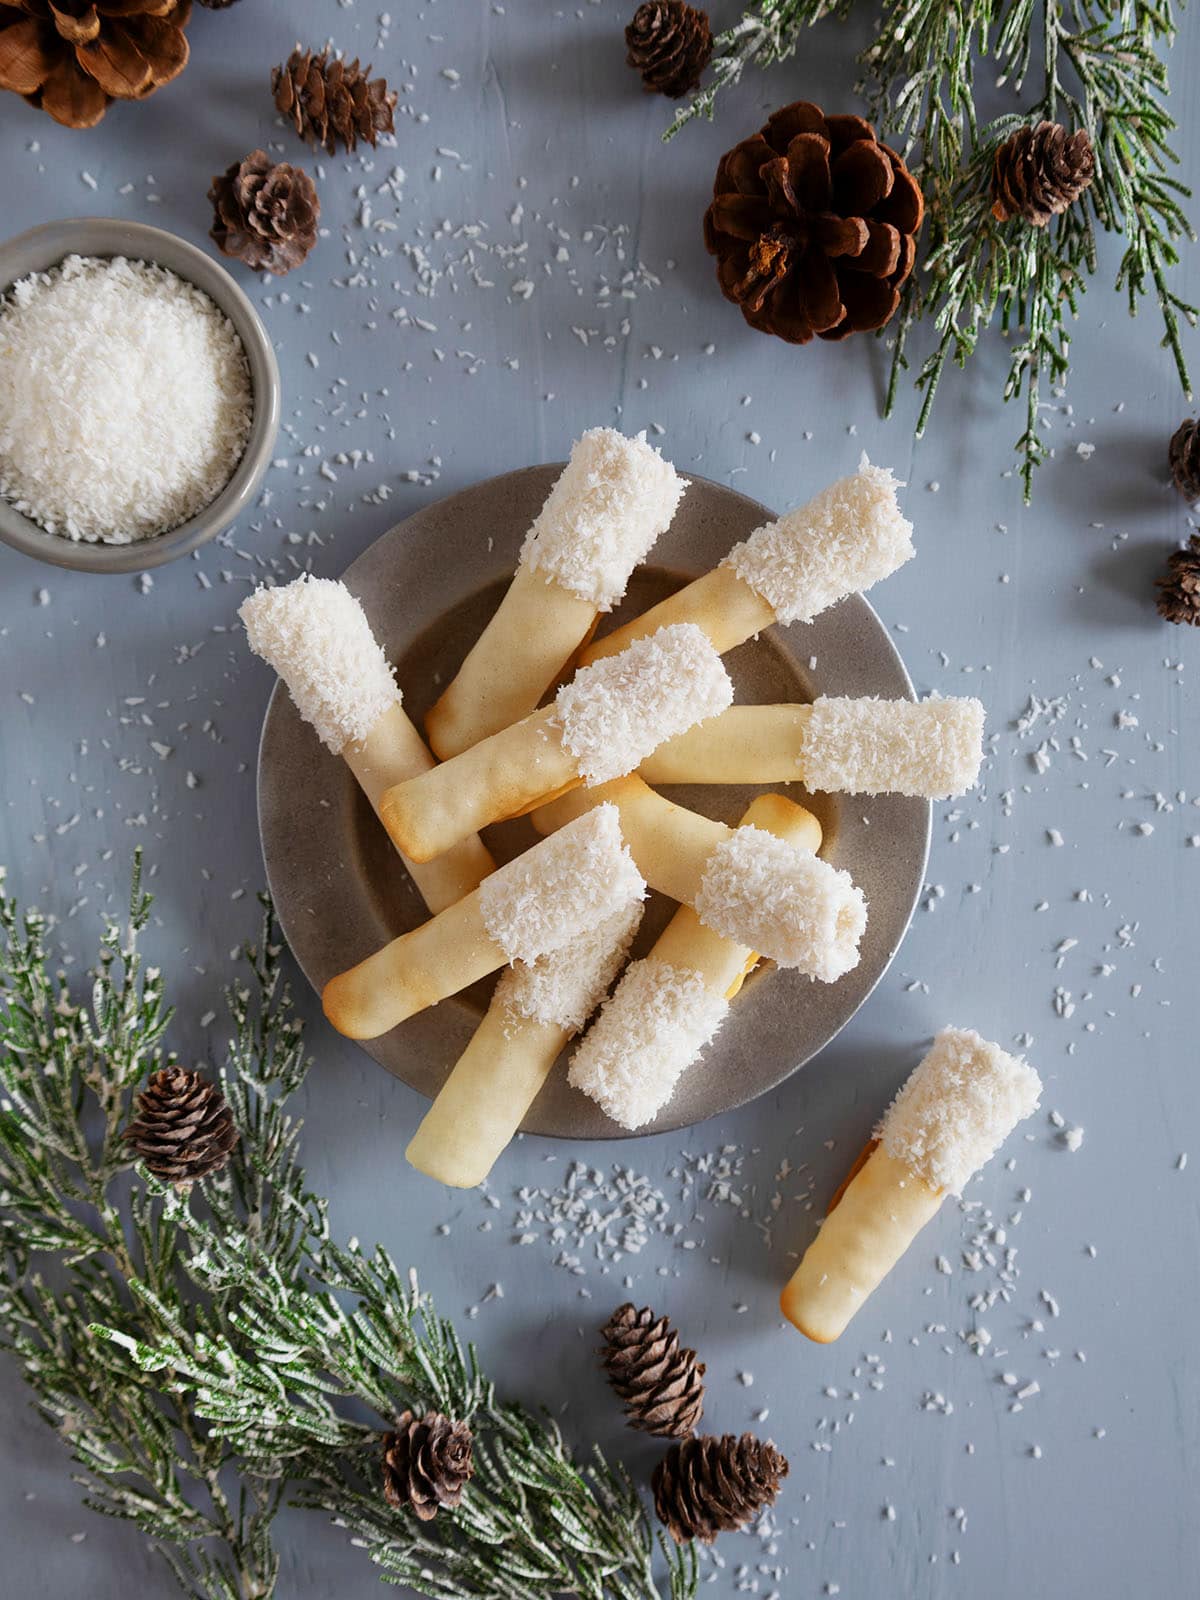
These Coconut Pirouette Cookies, also known as tuile cigars, are a homemade copycat of the store-bought classic with a coconut twist. With just a handful of ingredients, a no-chill batter, and my beginner-friendly tips, this bakery-style holiday cookie is surprisingly easy.
What you should know first
These coconut pirouette cookies are thin, crisp tuile cigars made from a no-chill egg white batter, rolled while warm and dipped in frosting and snowy coconut. A cardstock template keeps the rounds consistent, a silicone baking mat gives smooth results, and working in batches of 2 or 3 keeps the rolling manageable.
⏱ Prep Time: 1 hour 50 minutes. Total Time: 3 hours 15 minutes (includes decorating). 🍽 Serves: 28 cookies. 🧾 Ingredients: 8. 📊 Difficulty: Moderate. 🥛 Dietary: Vegetarian.
- A 3½-inch cardstock template and a silicone baking mat make thin, even rounds from about 1 teaspoon of batter each.
- Bake at 400°F for 5 to 6 minutes, just until the edges start to turn golden.
- Bake only 2 or 3 cookies at a time, because they must be rolled while hot; if they harden, return them to the oven for 30 to 40 seconds.
- Overbaked cookies crack instead of curling, so pull them as soon as the edges color.
- Undecorated cookies stay crisp in an airtight container at room temperature for up to 2 days, so decorate them the day you serve.
Generated with AI and experts from the Tara Teaspoon team.
I look forward to cookie season all year long. Cookie swaps and holiday parties mean I get to sample all the season’s best cookie recipes!
I’m especially drawn to unique cookies like Pistachio Lace Cookies, Easy Coconut Macaroons, and these Coconut Pirouette Cookies, because their charm and flavor outshine anything you can find at the store.
What are pirouette cookies?
Pirouette cookies, also known as tuile cigars, are thin, crisp wafer cookies rolled into a tight tube while they’re still warm from the oven. Pepperidge Farm made them famous, but they’re based on the tuile (pronounced “tweel”), a classic French cookie.
Tuile means “tile” in French, because the cookies were originally draped over a rolling pin to look like curved roof tiles. A pirouette is simply a tuile rolled into a cigar shape instead.
Thin, rolled wafer cookies might look tricky to make, but they are surprisingly easy and beginner-friendly, especially if you make them with a partner. You'll only need a few simple ingredients to make a quick no-chill batter. Then bake, roll, and decorate. I'll share all the tips you'll need to make the process fun and stress-free.
Jump to:
- What you should know first
- What are pirouette cookies?
- Why you'll love these holiday cookies
- Ingredients
- Pirouette template tips
- How to make pirouette cookies
- Tara's tips for making pirouette cookies
- Variations and swaps
- Equipment
- Storage
- FAQ
- More impressive holiday cookie recipes
- 📖 Full Recipe
- 💬 Comments & Reviews
Why you'll love these holiday cookies
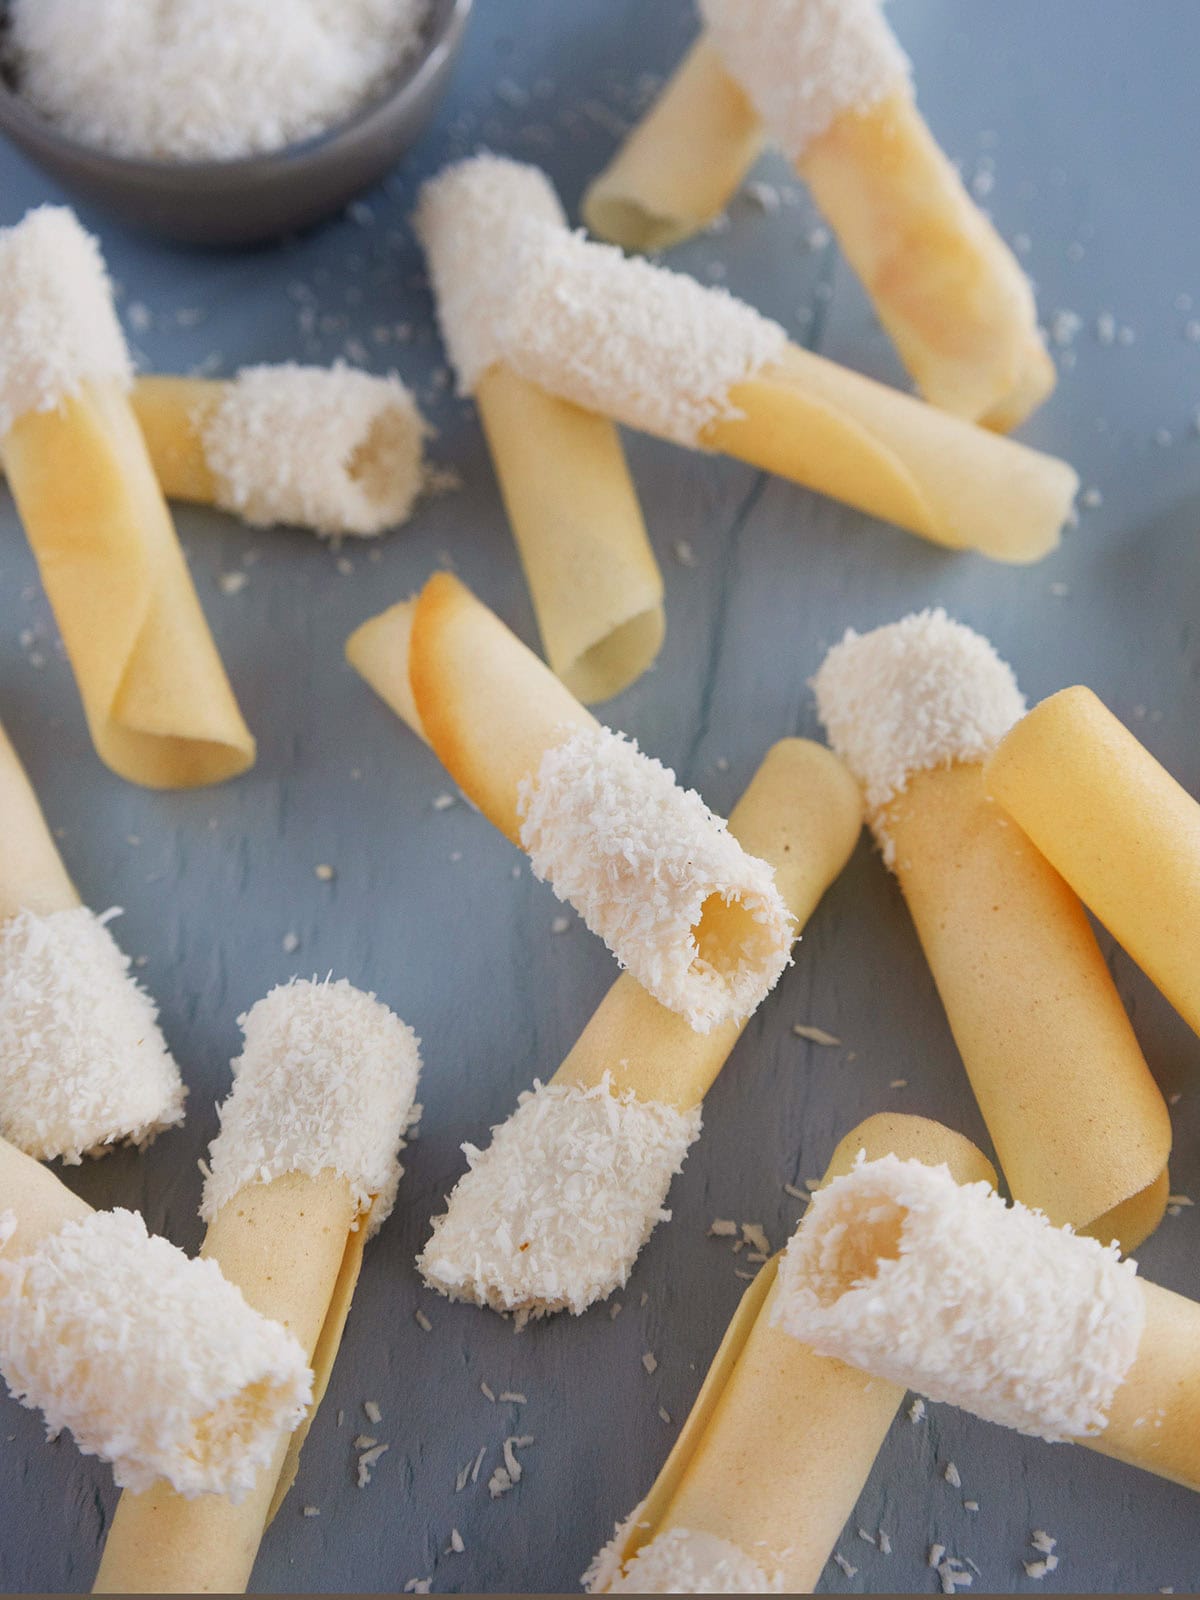
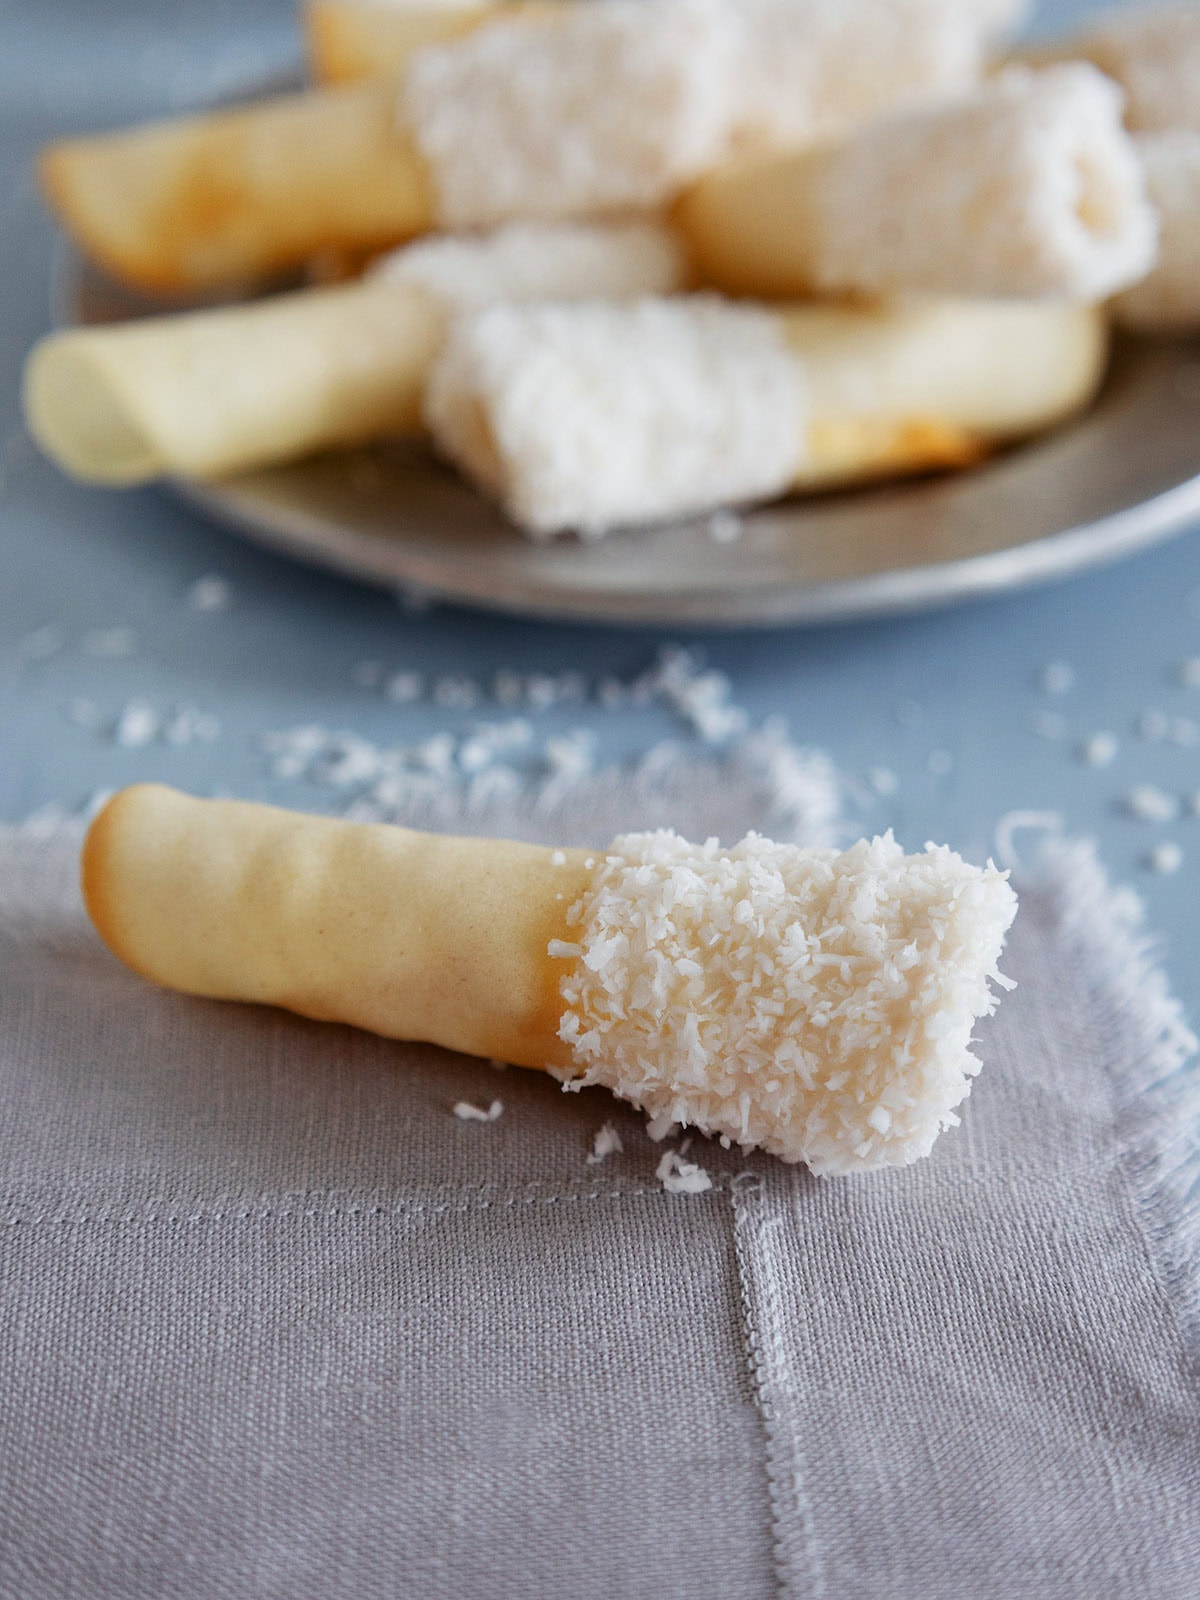
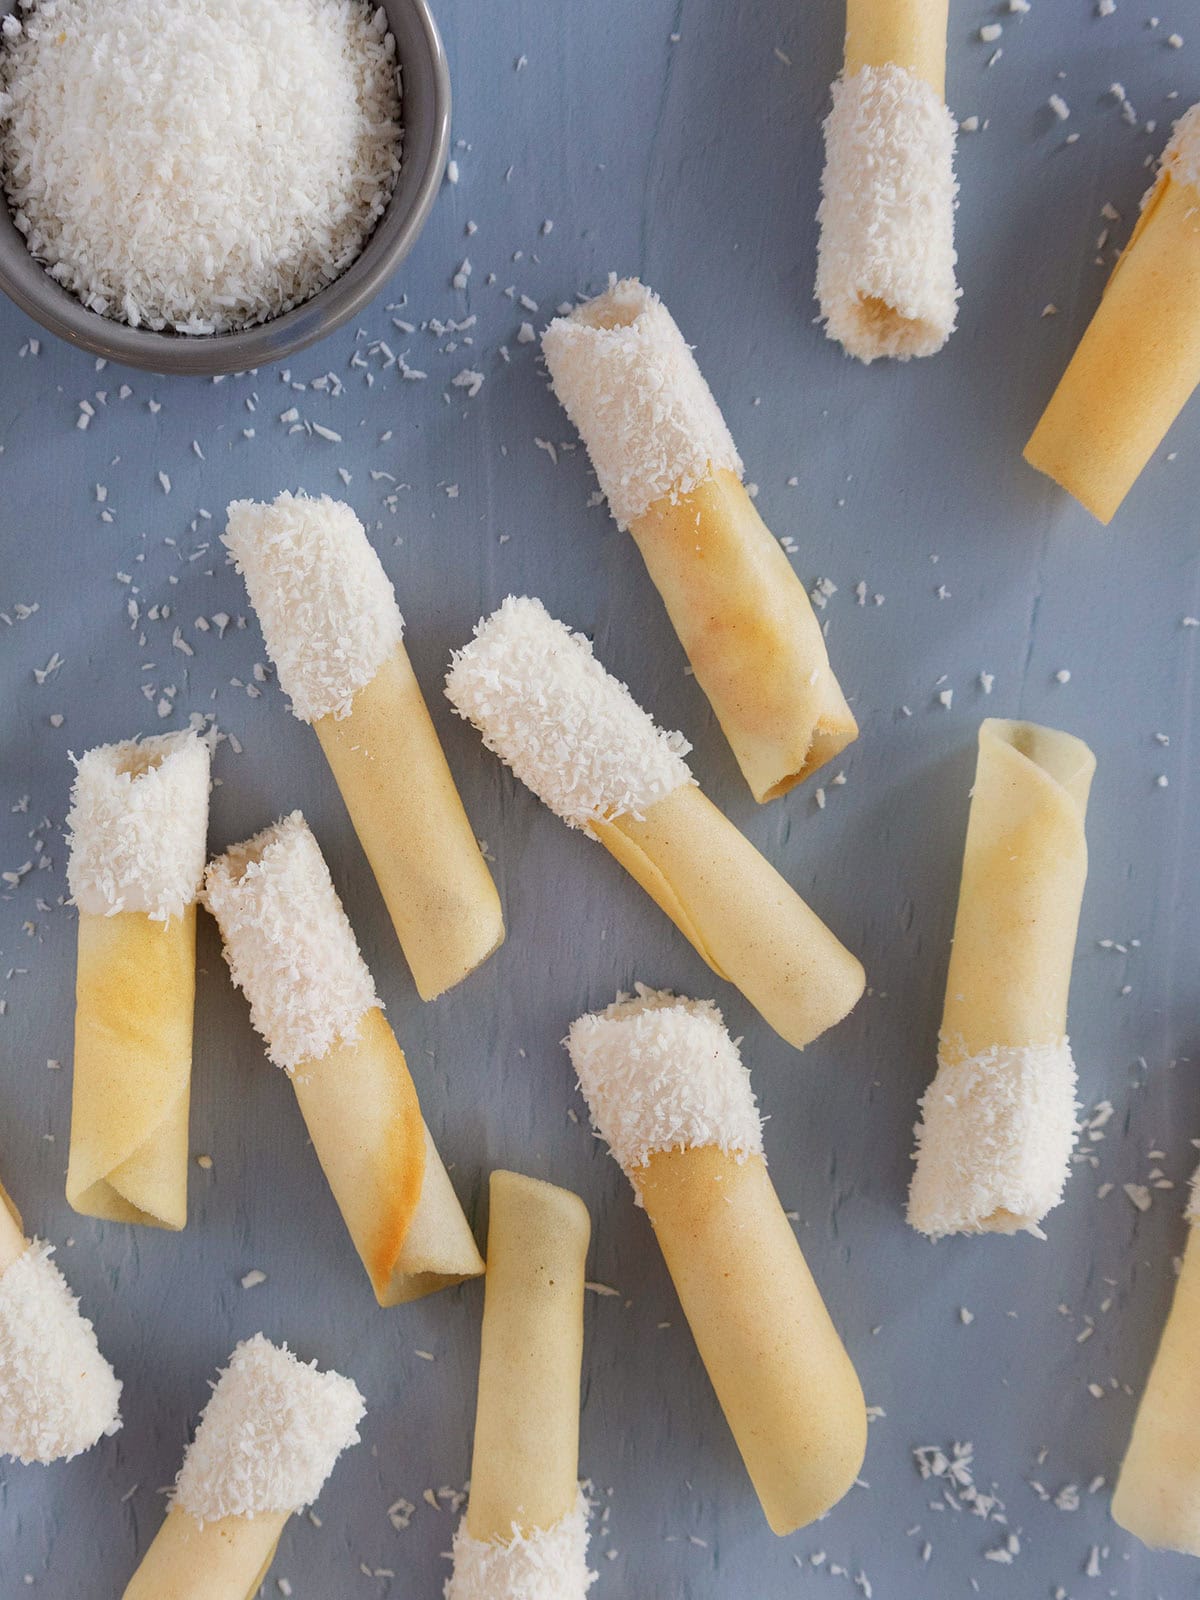
- Snowy coconut tips: A dip in vanilla frosting and unsweetened coconut gives classic crispy pirouettes a festive, wintry finish.
- Bakery-style looks, simple method: These elegant rolled holiday cookies look like they came from a French patisserie, and nobody will guess they’re homemade.
- Made for dessert trays and pairings: Tuck them next to a scoop of ice cream, serve them alongside chocolate mousse, or set out a plate to enjoy with coffee. They add instant elegance to a seasonal cookie tray too.
- Bake ahead: These cookies stay crisp for up to 2 days in an airtight container, so you can bake them the day before a party and decorate them before serving.
Ingredients
You'll only need a handful of ingredients to make this elegant pirouette cookie recipe. Here are a few tips to help you as you gather your supplies. See recipe card for full list of ingredients and quantities.
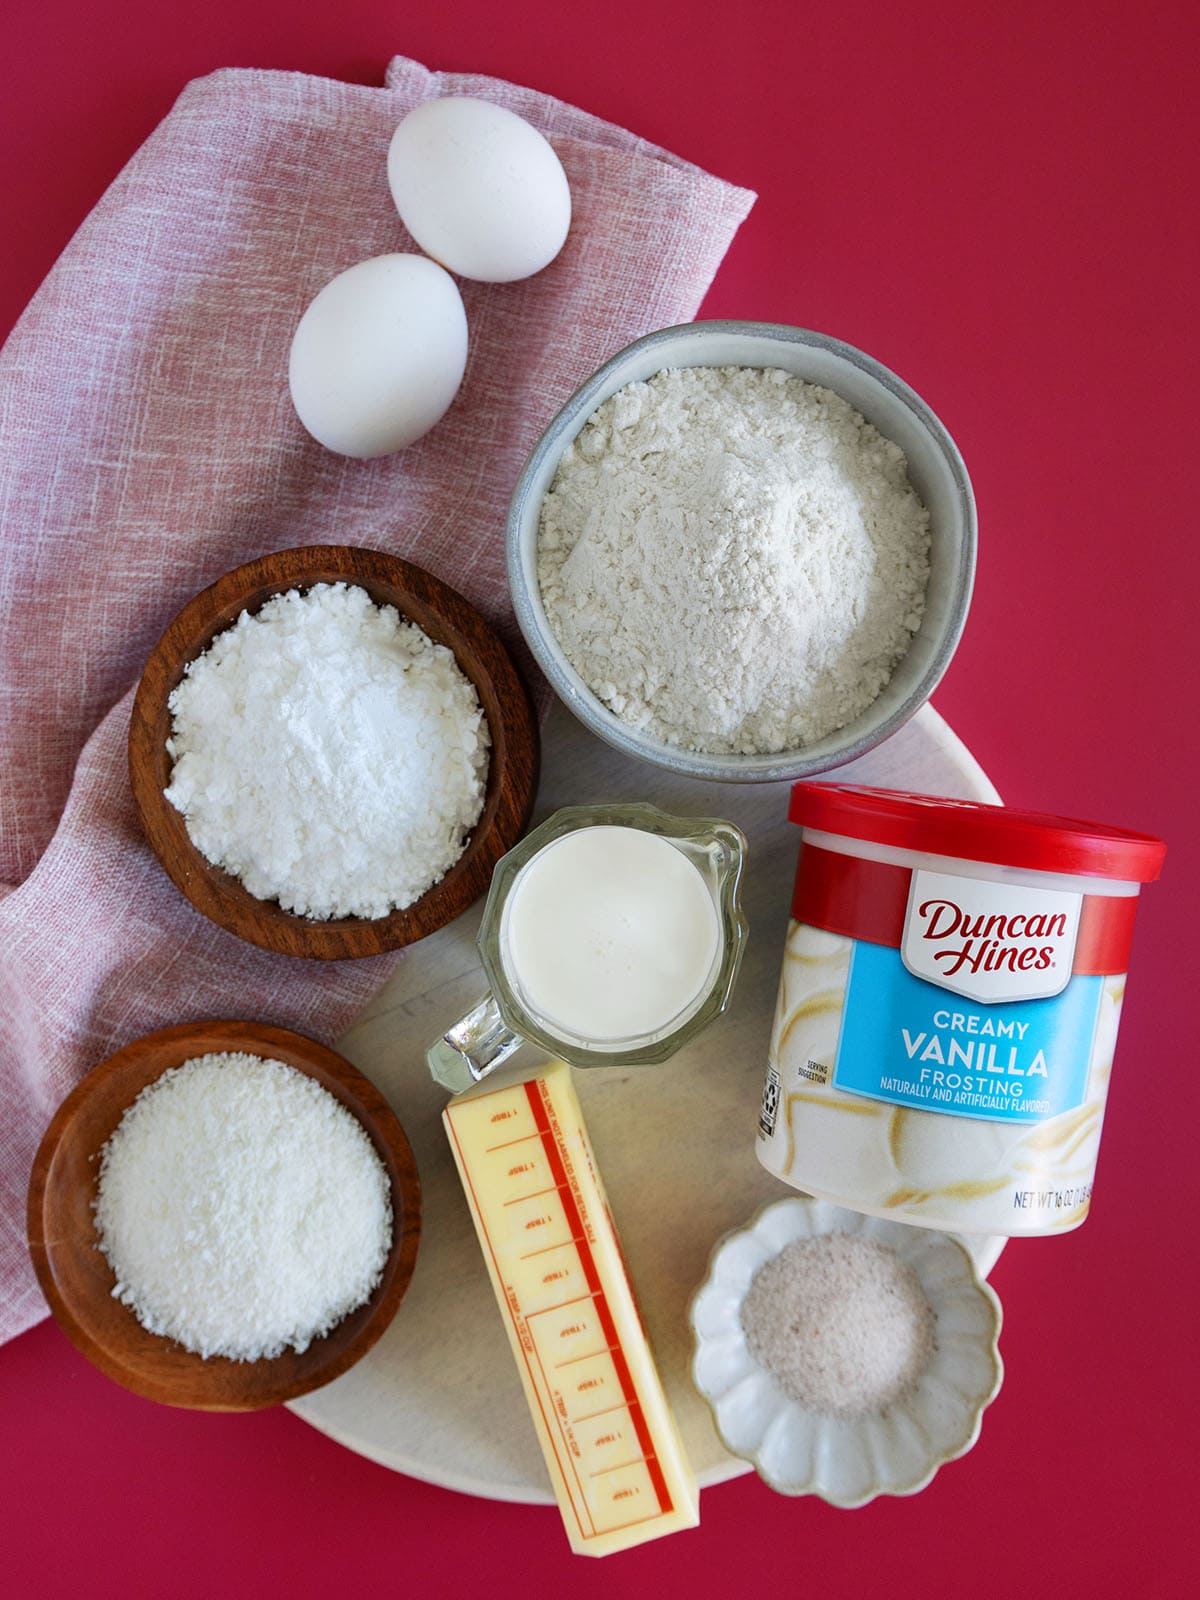
- Large egg whites
- Confectioners' sugar
- All-purpose flour
- Unsalted butter and salt: For the best flavor, I like to use unsalted butter and add my own salt. However, if you want to use salted butter, just omit the additional salt.
- Heavy cream
- White store-bought frosting: These cookies use store-bought canned frosting as 'glue' for the coconut. I heat it in the microwave for a few seconds to get it to a nice thin glaze consistency. You can also use thinned royal icing. Don't use homemade buttercream because it has too much butter and the fat affects these delicate, dainty cookies.
- Unsweetened shredded coconut: Use finely shredded, desiccated (dehydrated), unsweetened shredded coconut to add a snowy embellishment to your cookies. Its fine, dry texture will stick to the frosting easily.

Pirouette template tips
I like to make my templates from a manila file folder (about .3mm) or cardstock. It's the perfect thickness for making the cookies.
- Measure and cut the frame: Cut out a 5-inch square and then trace a 3.5-inch circle in the center. You can use a compass or trace around a 3.5-inch cookie cutter. If you don't have either of those available, look for other objects in your kitchen that are about the right size, like an over-turned bowl, Tupperware lid, mug, or vase.
- Remove the center: The easiest way to cut out the center is with an X-acto knife. If you don't have one, poke a hole in the center of the circle, insert scissors, and cut toward the outer edge. Then cut all the way around the outside, being careful not to bend or fold the template.
- Make an extra: I recommend making two templates right from the start in case one gets bent, soggy, or broken.
- Keep it dry: It's a good idea to keep the template dry. After spreading the batter for 2 or 3 cookies, use the back of your offset spatula to scrape off excess batter and return it to the main bowl.
How to make pirouette cookies
Learn to make coconut pirouette cookies one step at a time with this photo tutorial. See recipe card for comprehensive directions.
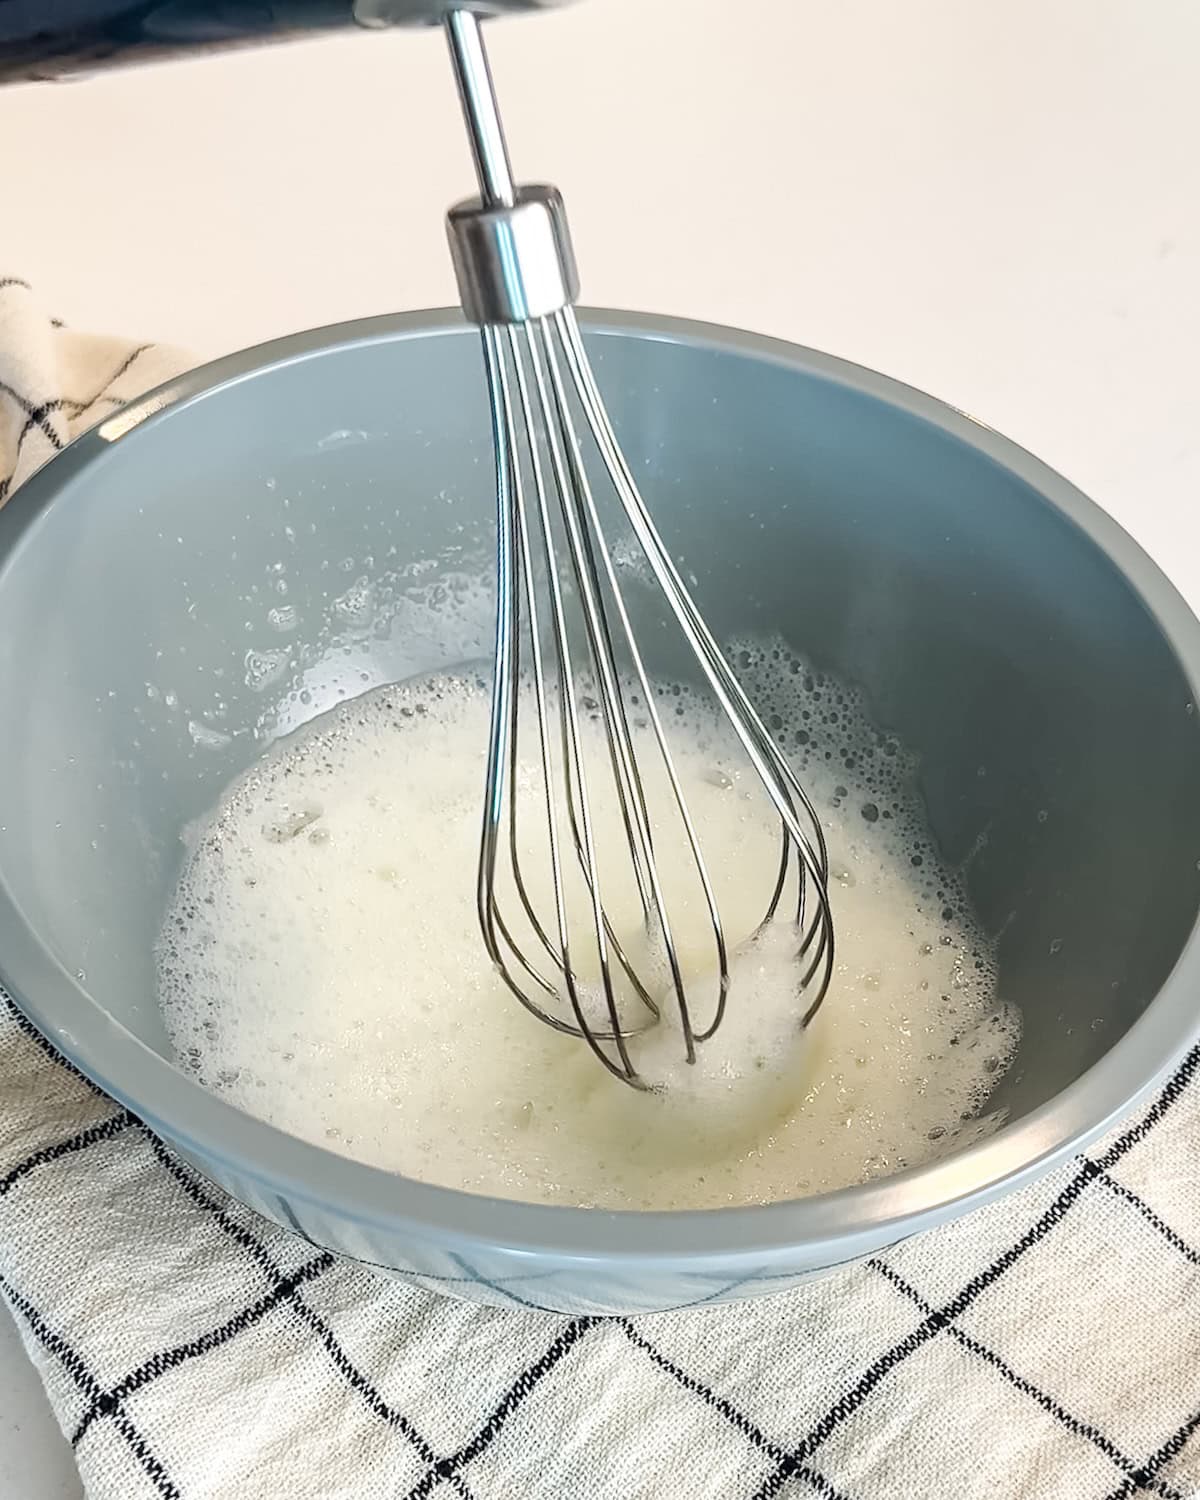
- Step 1: Whip the egg whites and sugar for about a minute until frothy.
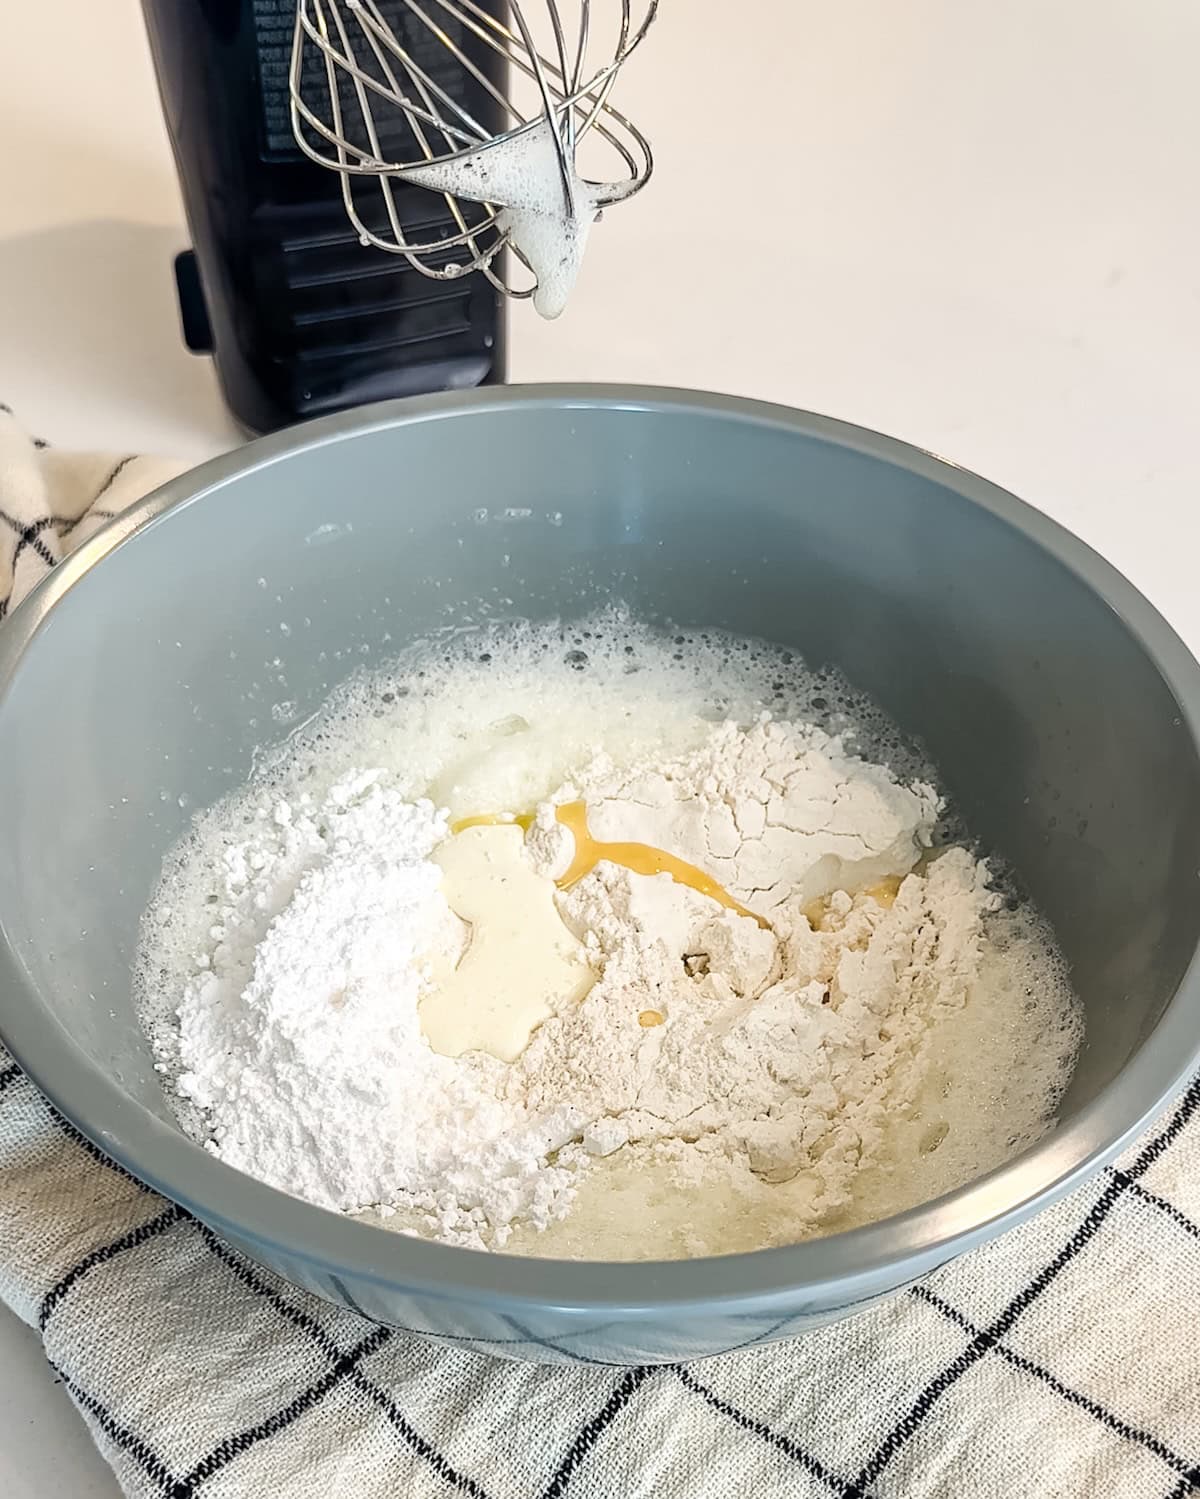
- Step 2: Add the flour, salt, butter, and cream.
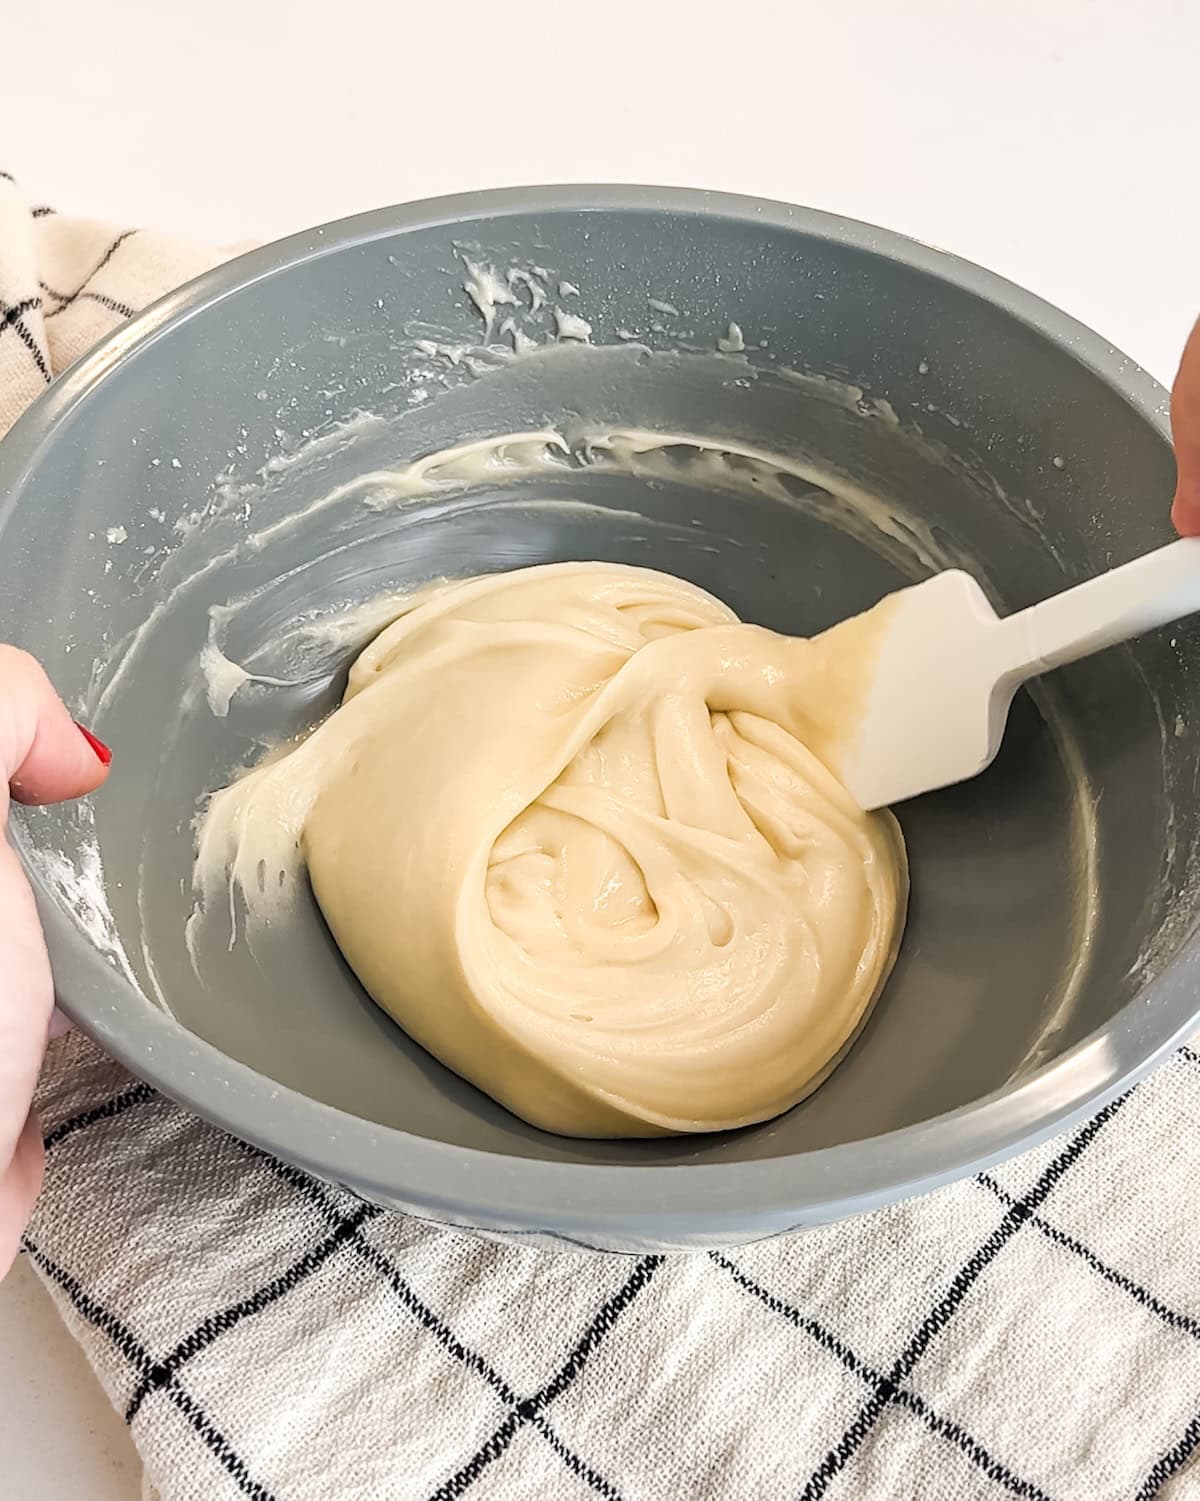
- Step 3: Mix until the batter is smooth.
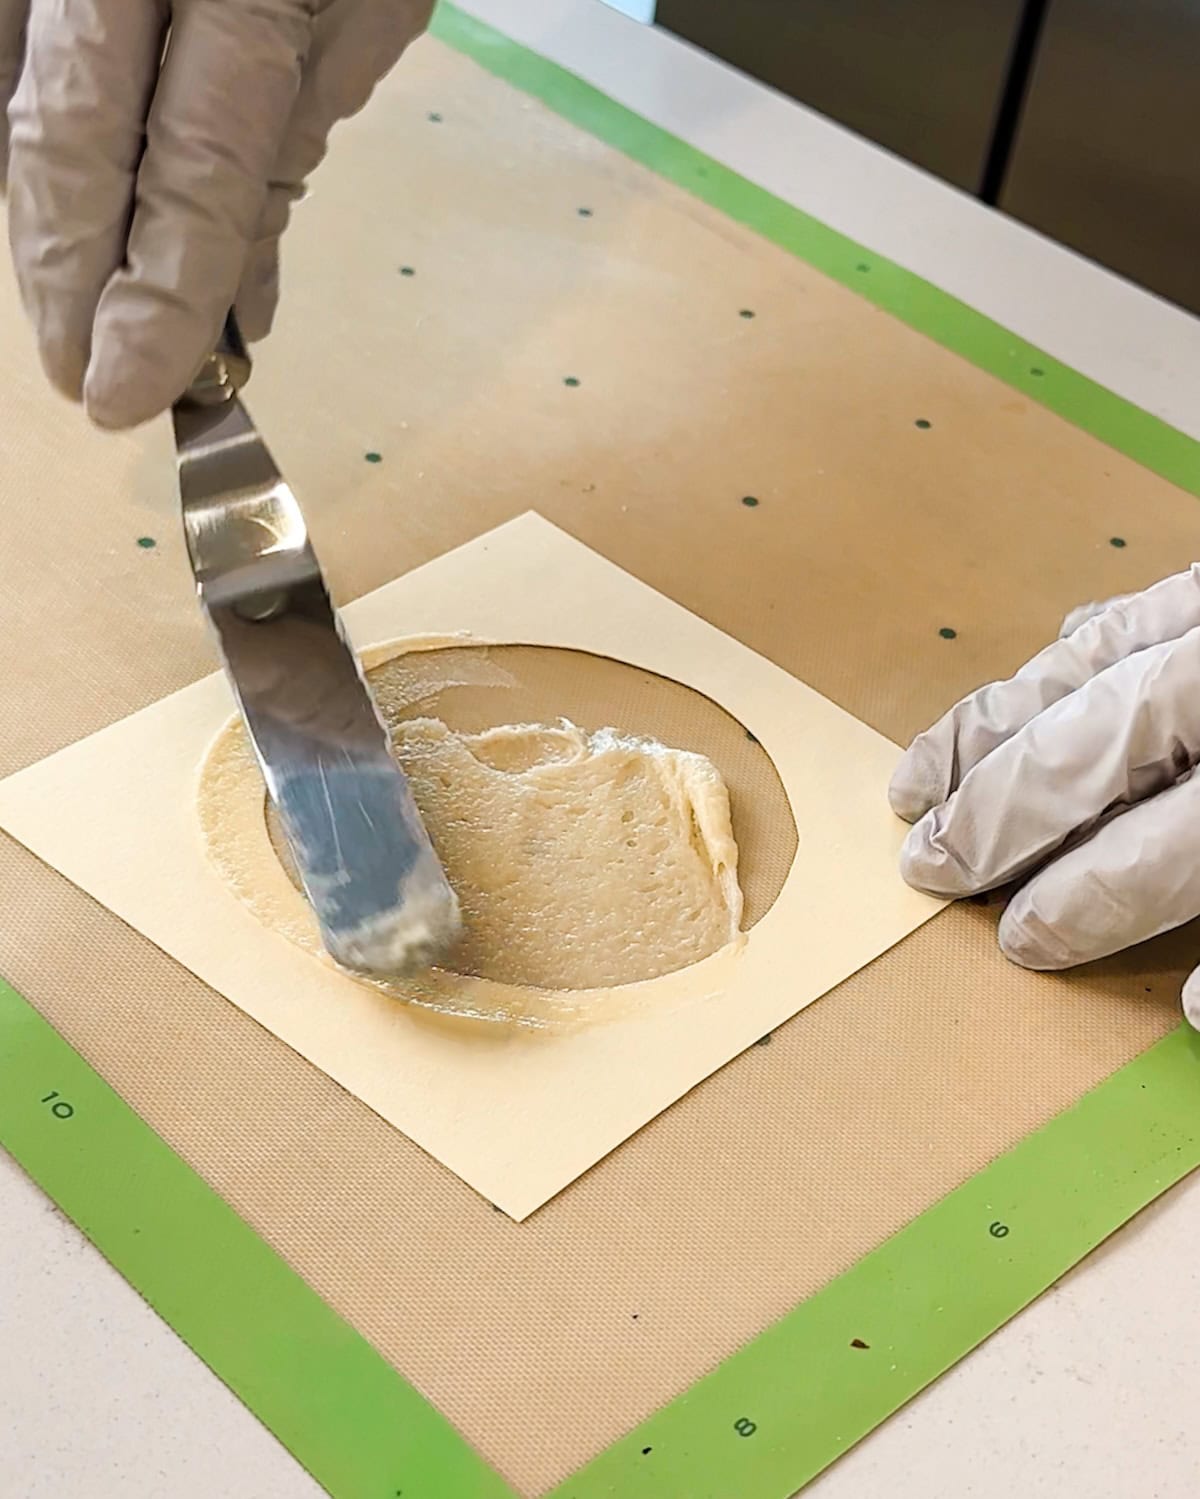
- Step 4: Place your template on the baking mat and drop a teaspoon of batter in the center. Use an offset spatula to smooth the batter into an even layer.
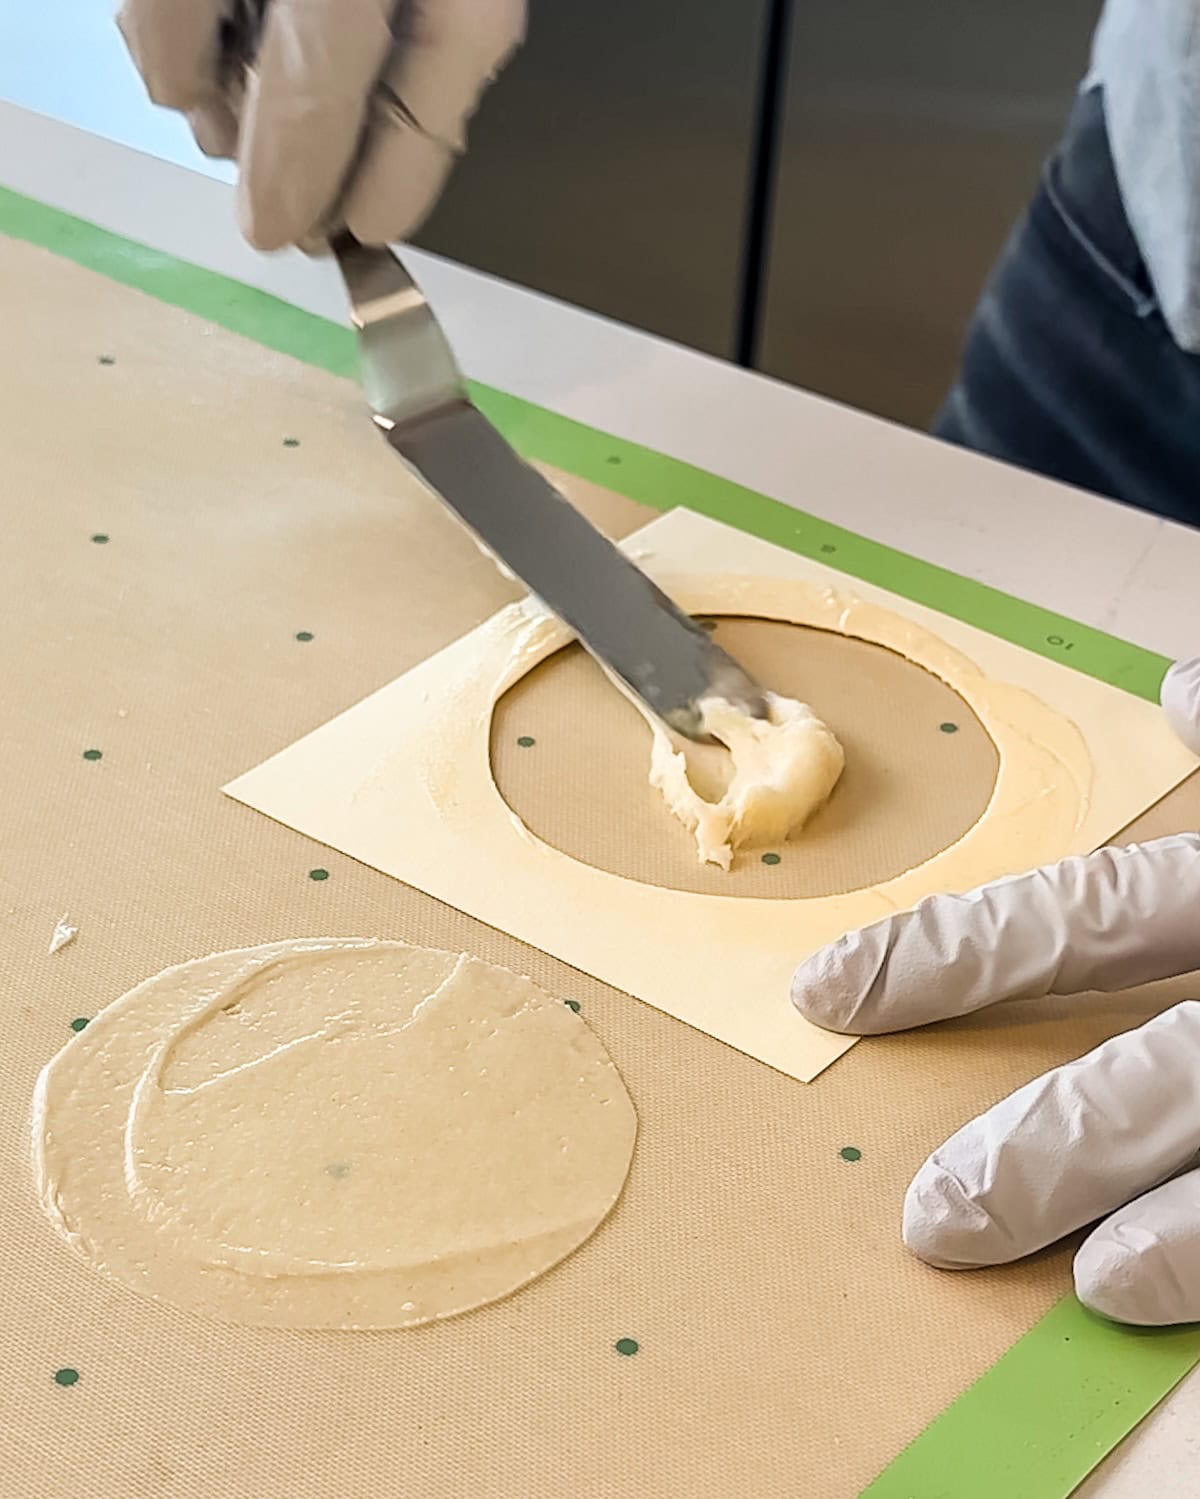
- Step 5: Lift the template and repeat until you have 2 or 3 cookies prepped.
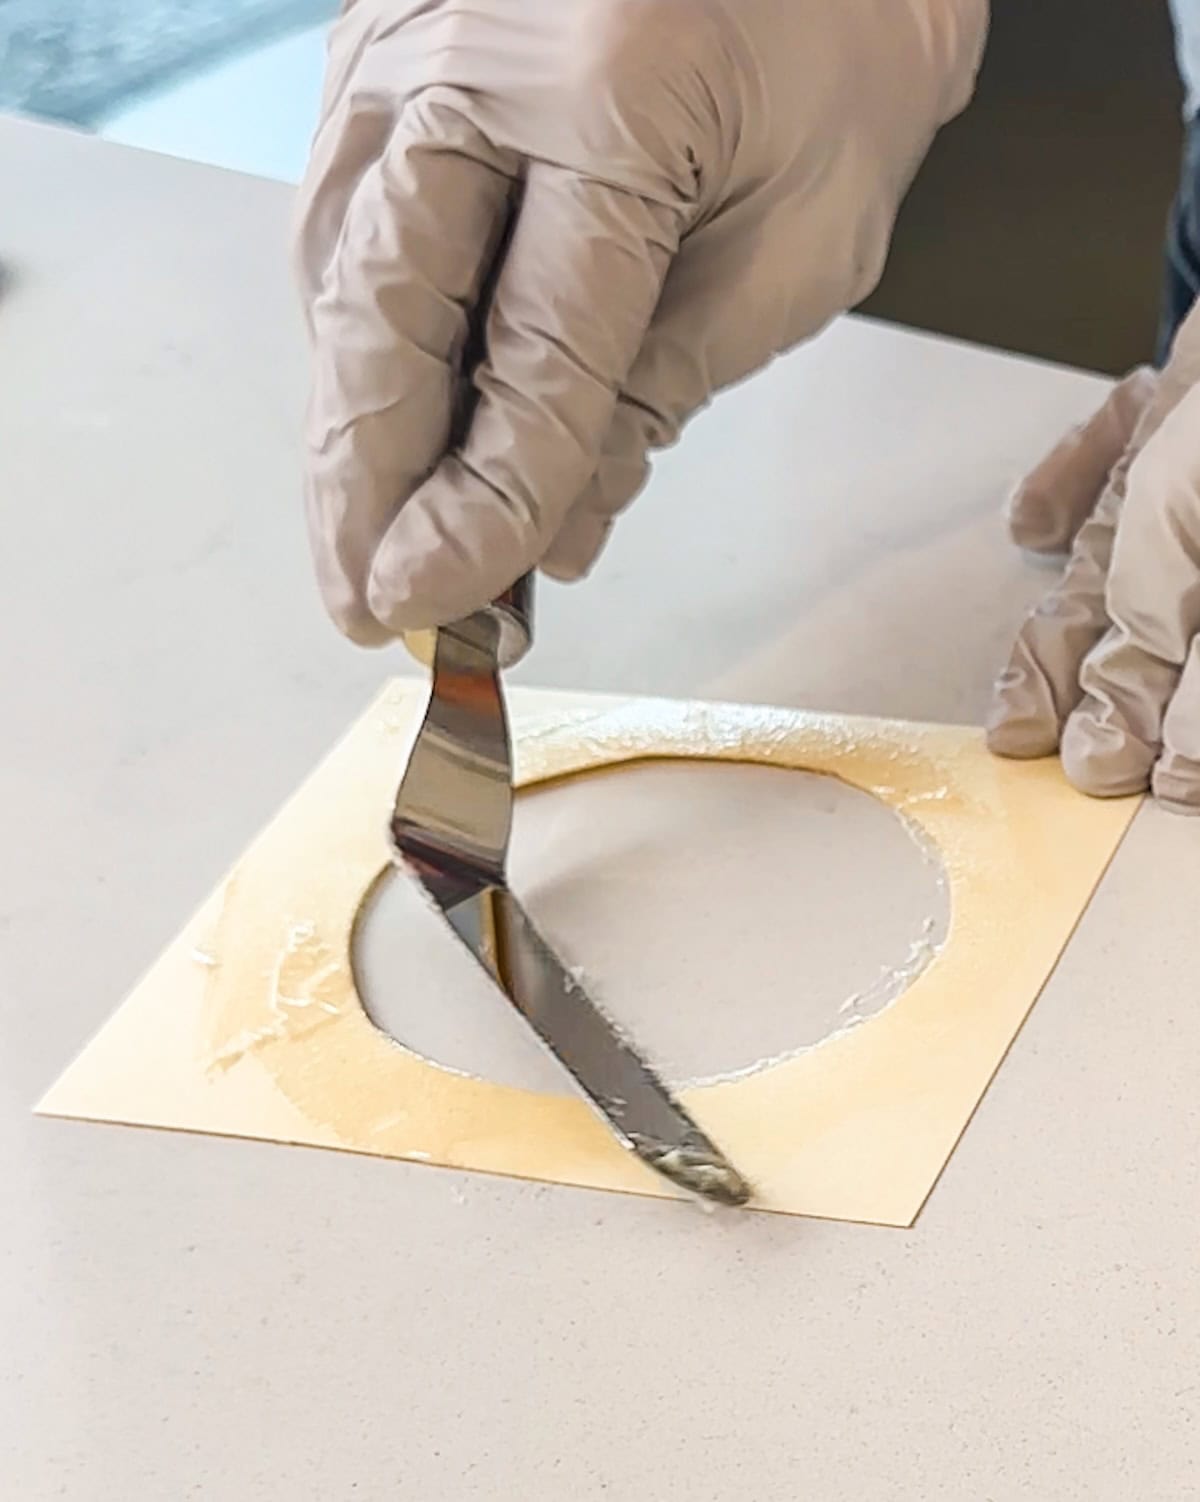
- Step 6: Use the spatula to gently remove any excess batter from the template and return the batter to the bowl.
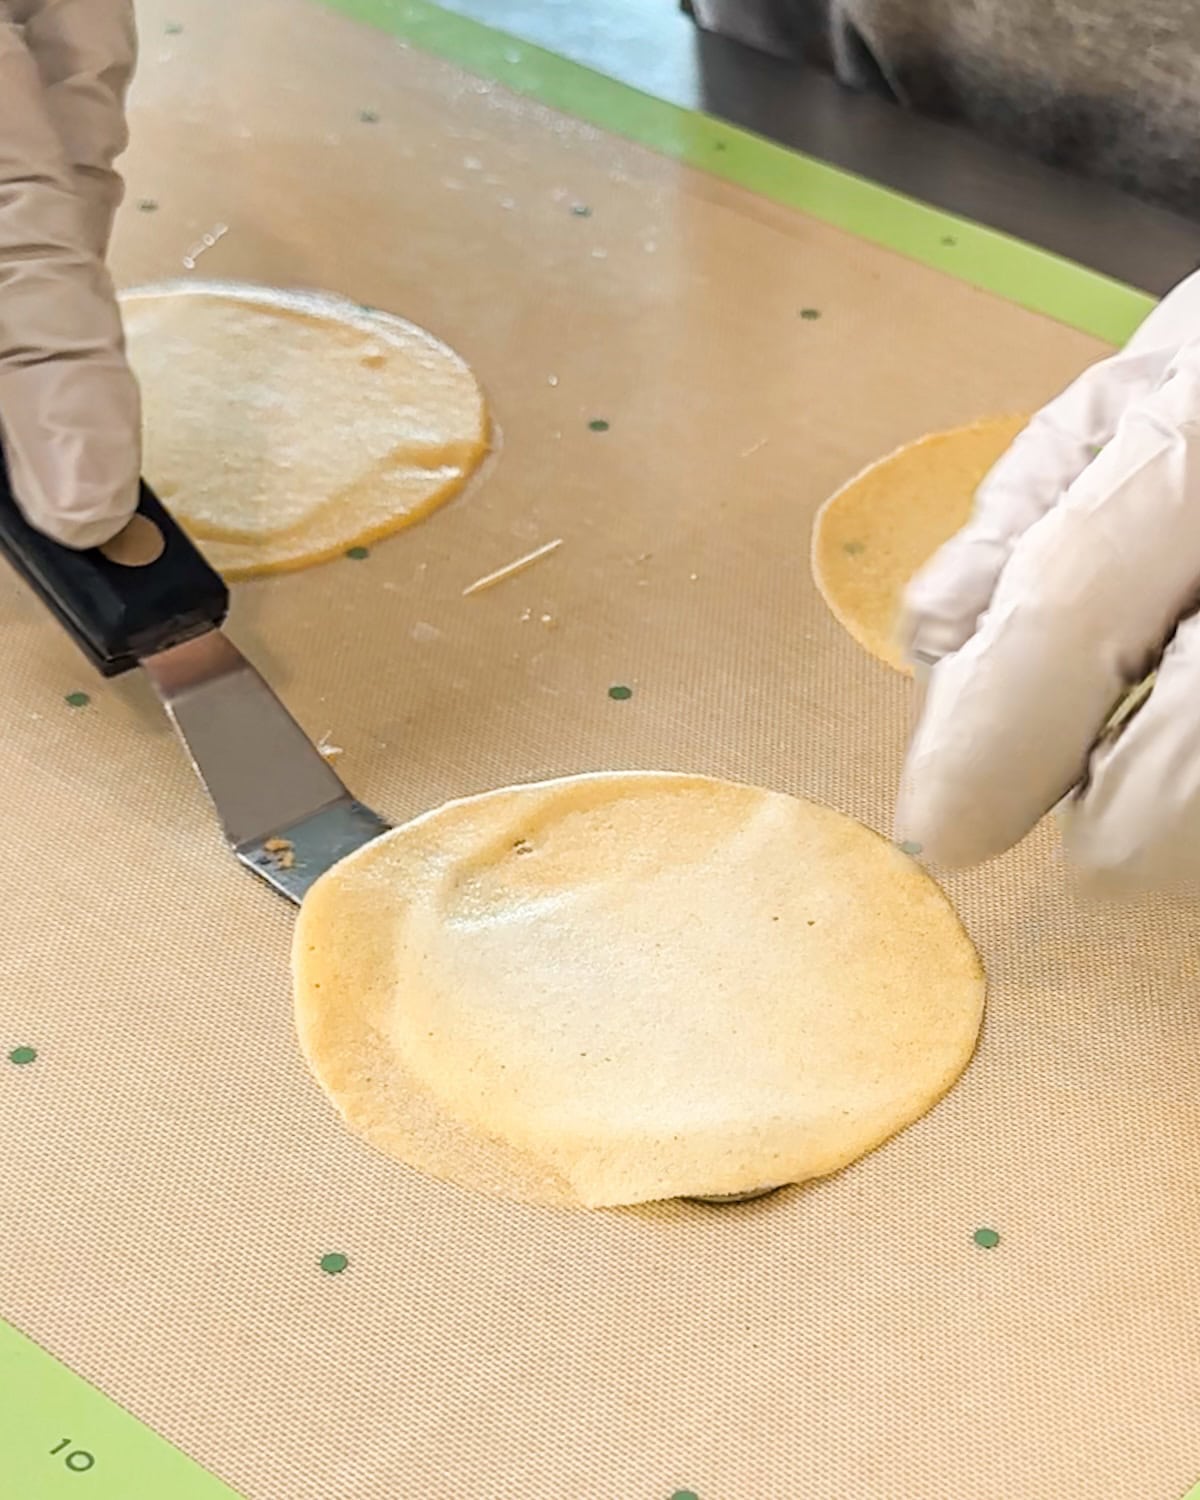
- Step 7: Bake in a 400°F oven until golden around the edges and set enough to lift from the baking sheet, about 5 to 6 minutes.
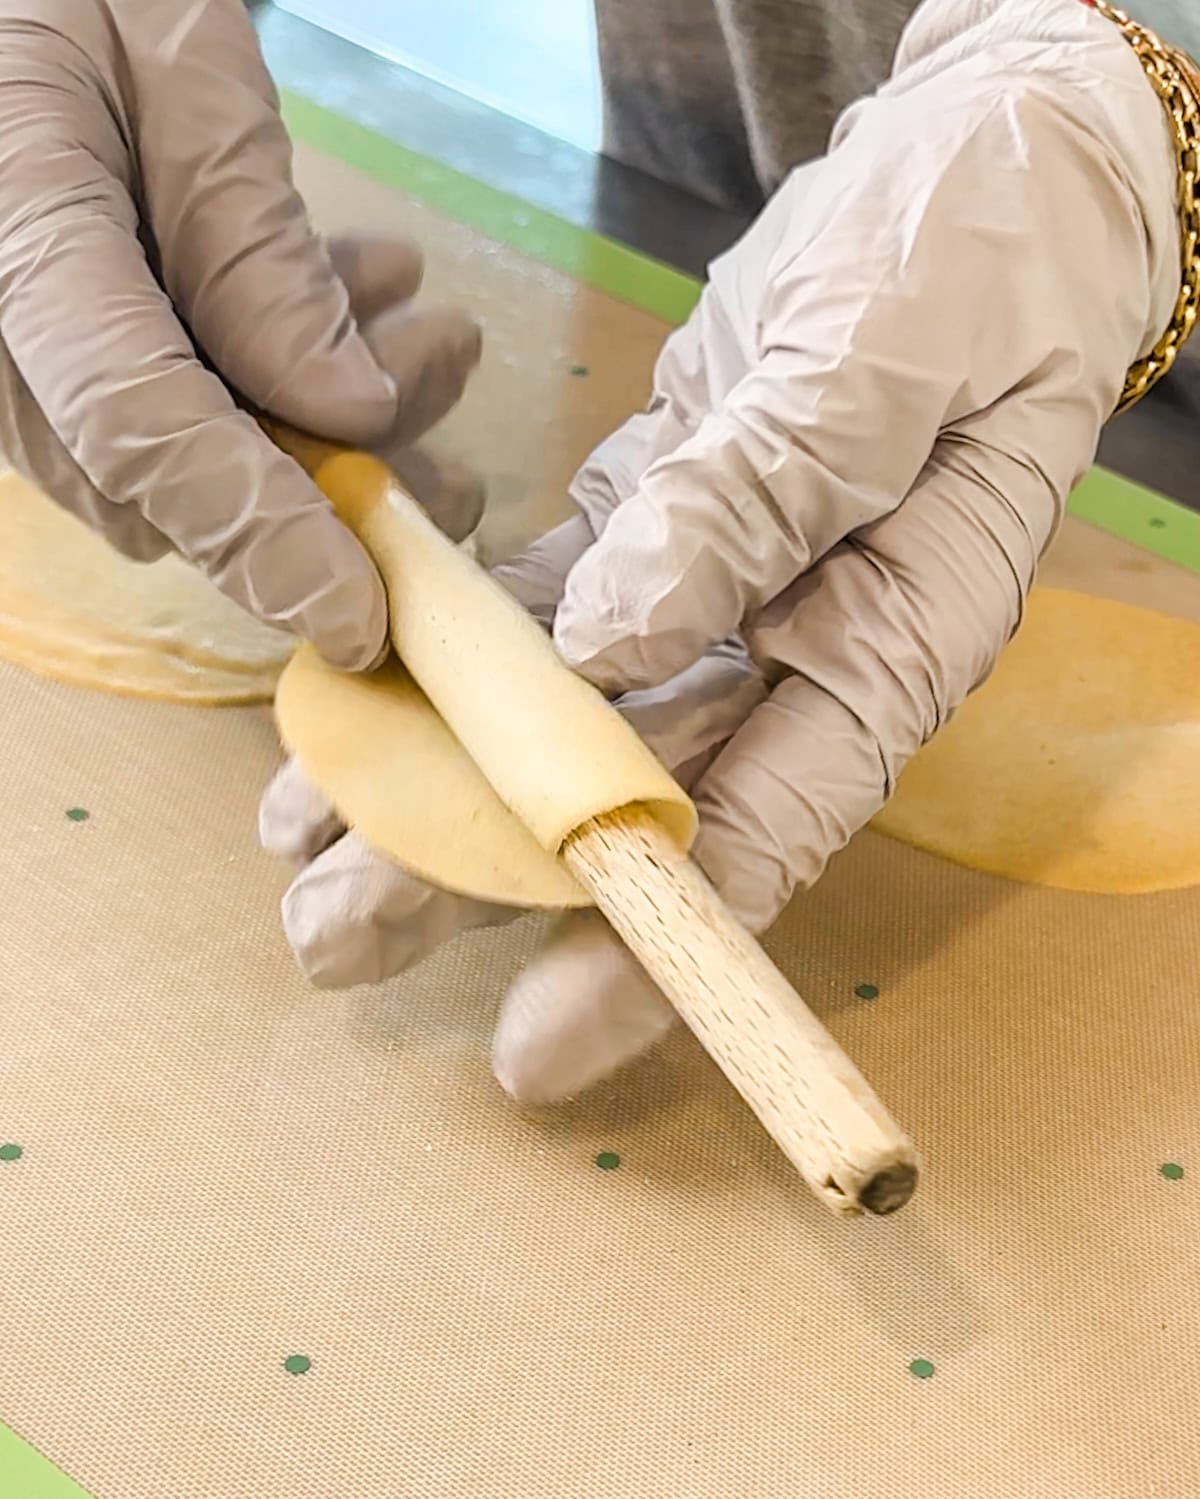
- Step 8: While hot, roll the cookie around a wooden dowel, or just use your fingers, to create a pirouette shape.
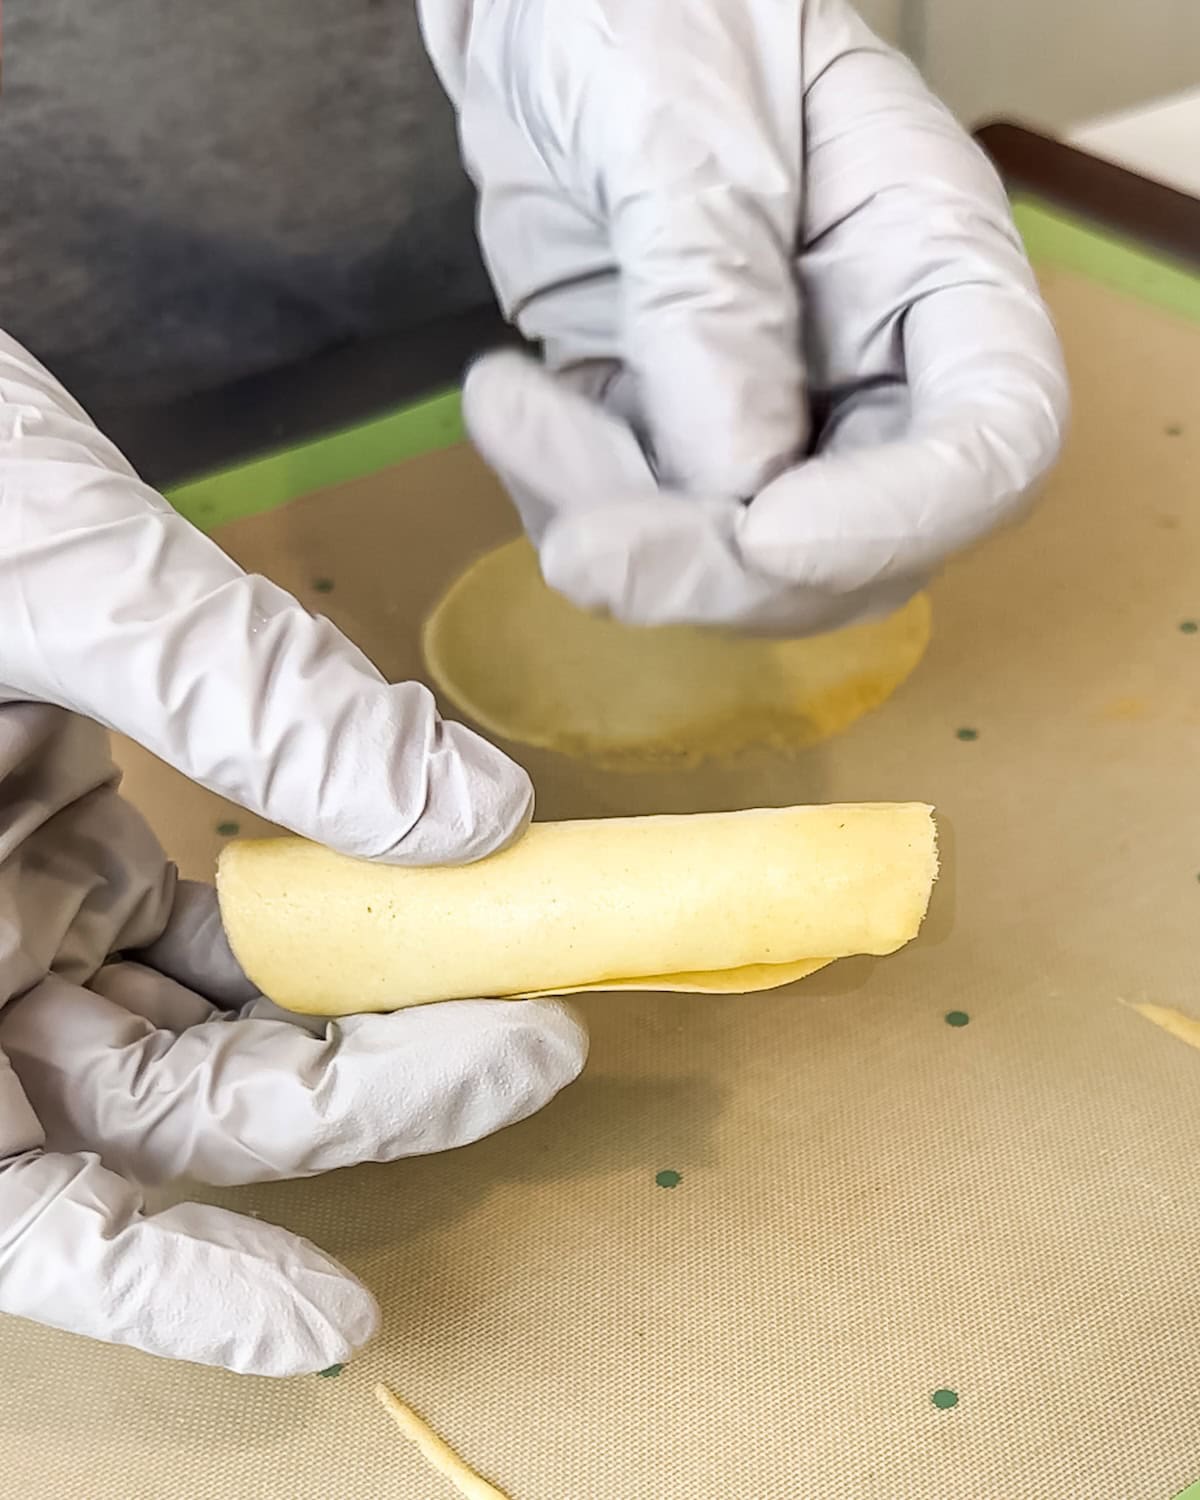
- Step 9: Hold the cookie for 15 to 20 seconds and then place it on a cooling rack to finish setting. See my tips below for more help with this step.
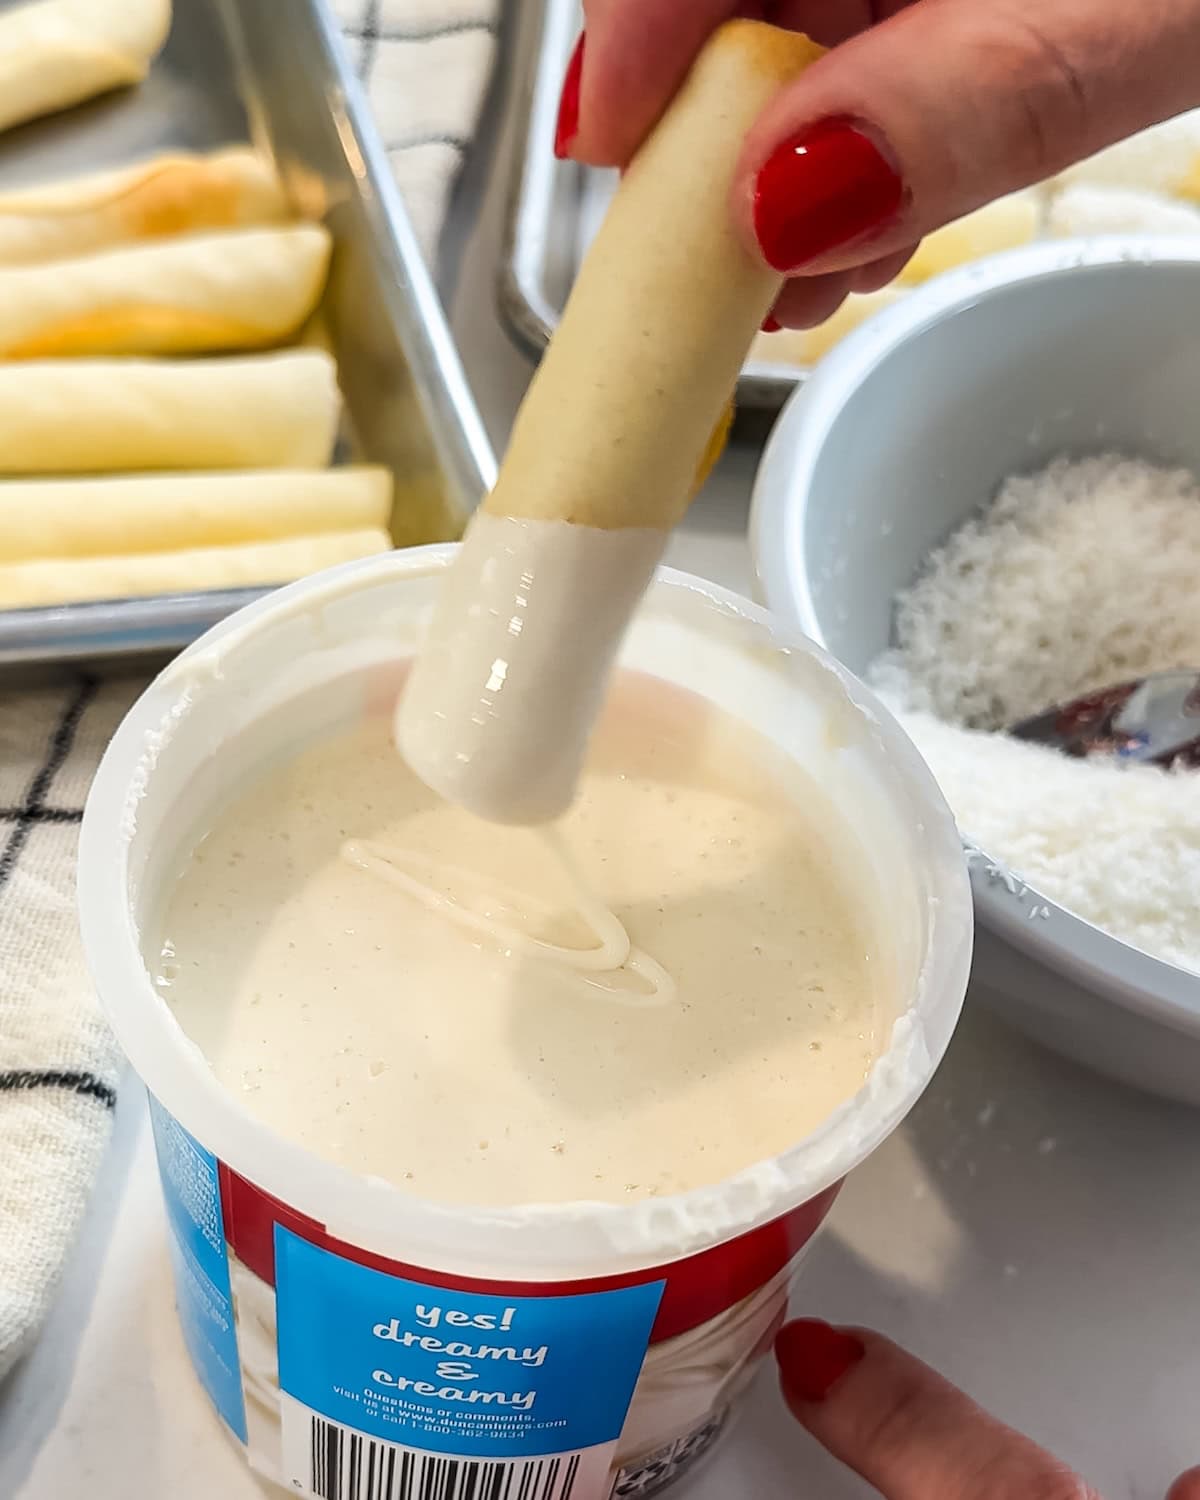
- Step 10: Decorate the cookies 1 to 2 hours before you plan to eat or gift them. Microwave the frosting for about 15 seconds to soften it and then dip a cookie in.
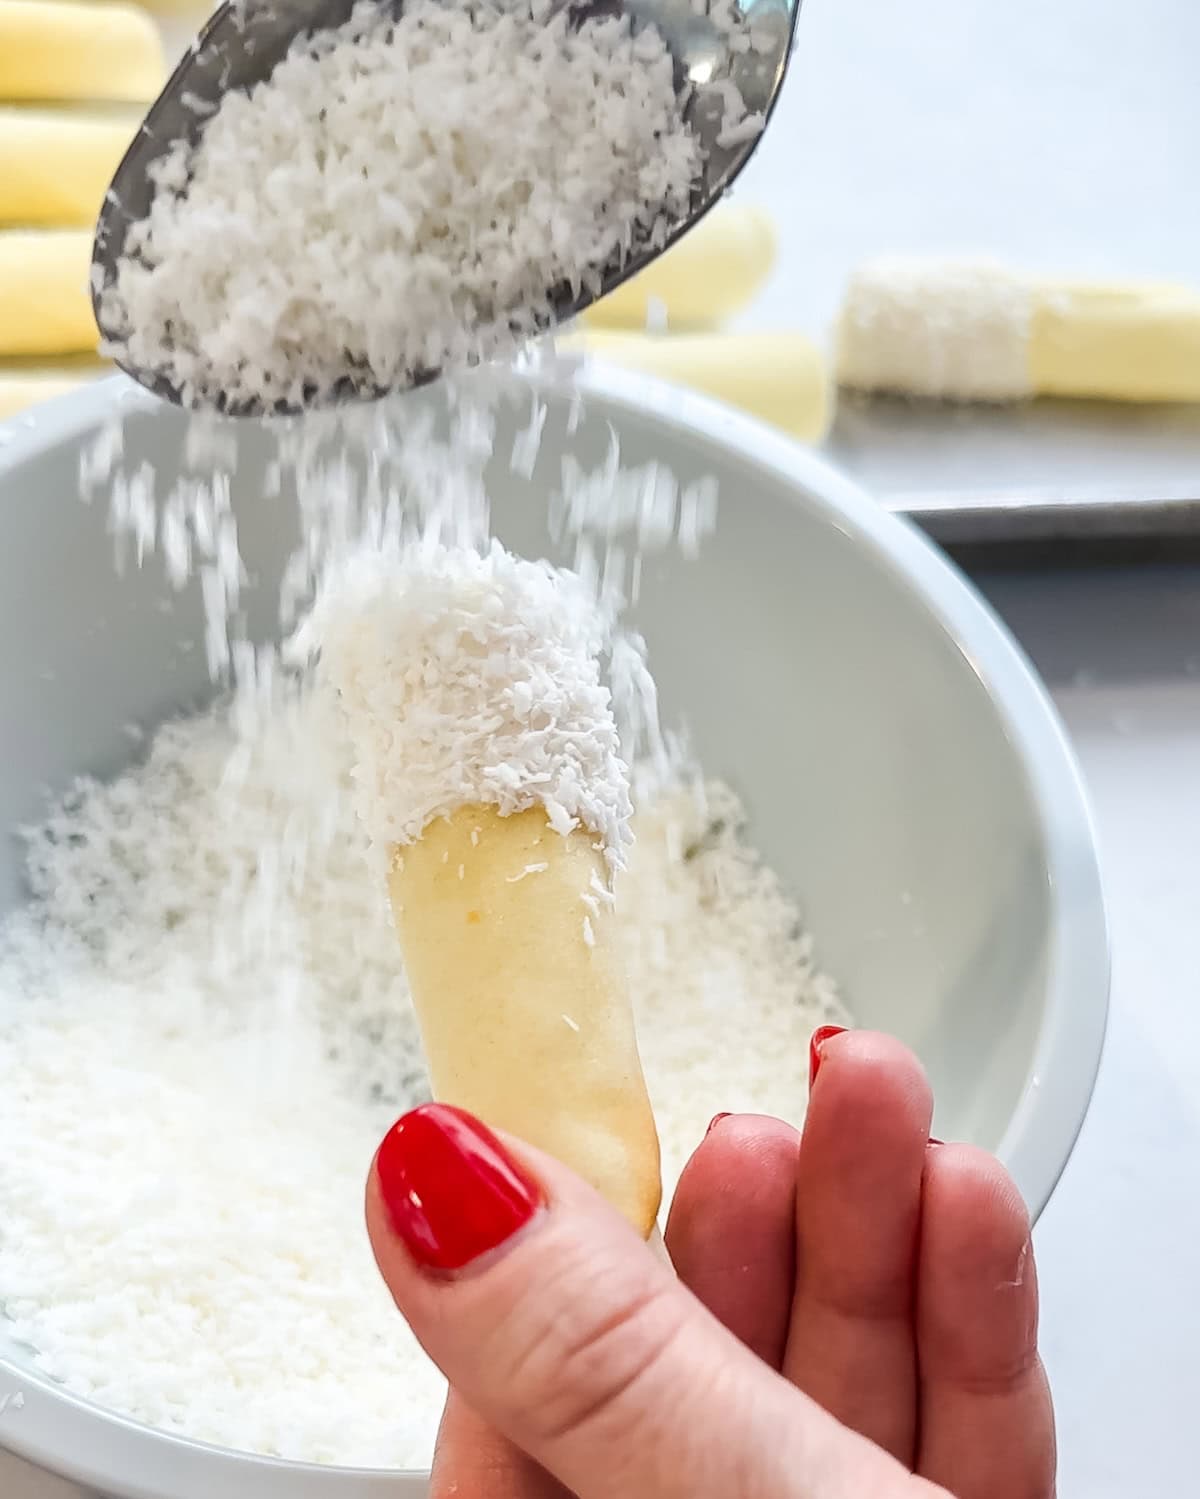
- Step 11: Allow excess frosting to drip back into the tub and then sprinkle immediately with desiccated coconut.
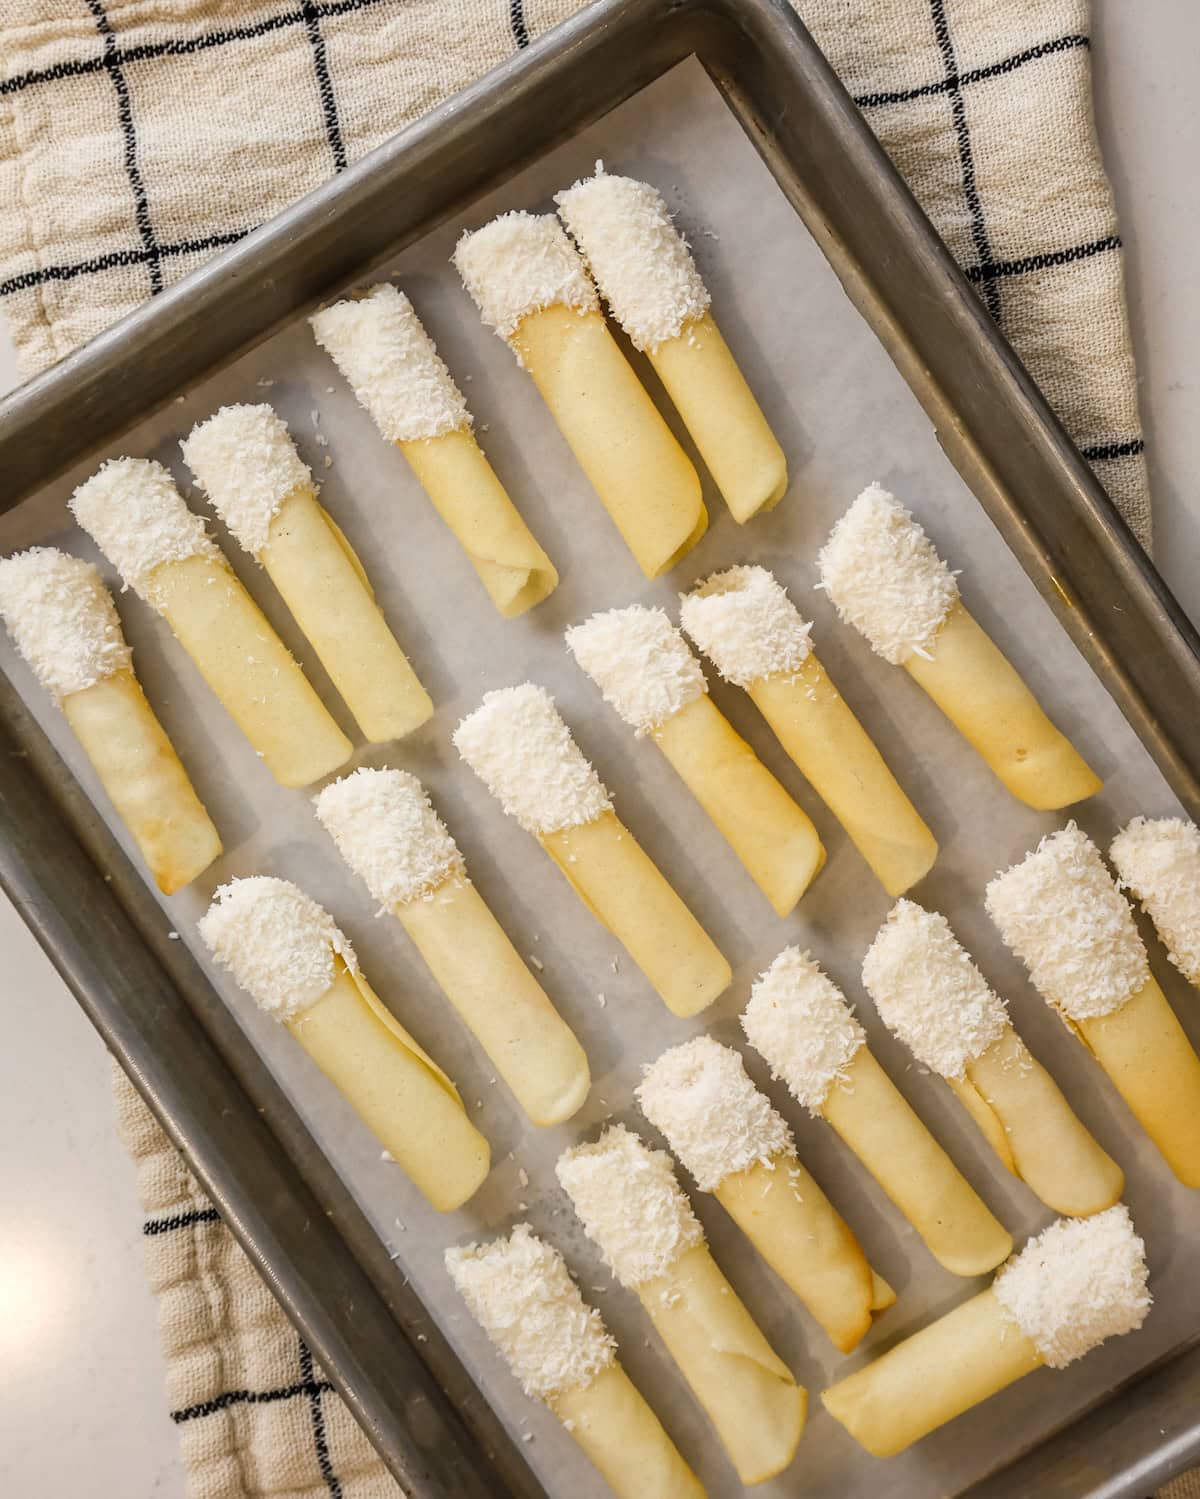
- Step 12: Place finished cookies on a parchment-lined baking sheet. They'll be fully set in 1 to 2 hours.
Tara's tips for making pirouette cookies
You can make this recipe on your own, but it's much easier to make with a partner. There are many steps they can assist with during the baking and rolling process.
- Bake in small batches: Bake 2 or 3 cookies at a time so you can curl them into pirouettes while they are still hot. If your cookies cool and harden before you are able to roll them, pop them back in the oven for 30 seconds. This will soften them enough to roll. (However, this increases the chance of over-baking them, so it's best to start with just 2 cookies so you can manage the process more easily.)
- Thickness: Spread the batter thin enough that you can nearly see the silicone mat underneath. Spreading the batter evenly takes practice but ultimately prevents uneven baking!
- Watch the cookies closely: As the oven heat cycles, and hot spots take their toll, the cookies may cook faster or slower, or need to be rotated in the oven. Be prepared for a few failures at first as you get the hang of it. Mess-ups are delicious snacks!
- Roll quickly: Protect your hands with food safe kitchen gloves and roll the cookies around a wooden dowel, wooden spoon, or other similar long skinny tool. The cookies need to be held in place for 15 to 20 seconds before placing them on a cooling rack. If you have a partner, let them hold the cookie in place while you start rolling the next one.
- Use a cool baking sheet and baking mat for each batch: You cannot spread new cookies onto a hot cookie sheet or silicone baking mat as they will cook very unevenly. If you don’t have unlimited cooled baking sheets, cool your cookie sheets down with a clean, wet kitchen towel. Run it under cold water, wring it out, and lay it on the warm cookie sheet. Repeat a couple of times until the cookie sheet is cool enough to use again.
Variations and swaps
- Use melted chocolate: Once the pirouettes are cooled, dip an end in melted chocolate candy melts instead of frosting. Coat with coconut and let set at room temperature.
- Double dip: For extra flare, dip both ends in glaze and coconut.
- Swap the frosting: You can also dip your cookies in chocolate frosting, or royal icing.
- Change the toppings: Sprinkle the ends of the pirouettes with finely chopped candy canes, toffee, nuts, or sprinkles.
Equipment
- Manila file folder or cardstock: for making the template frame.
- 3.5-inch round cookie cutter or compass: to draw center of the template.
- Food safe kitchen gloves: to protect hands from hot cookies while rolling.
- Baking sheets and silicone baking mats: the baking process will be easier if you have at least 2 of each for this recipe.
- Small offset spatula: to spread the batter and clean off the template.
- Mixer: a hand mixer will work fine for beating the eggs and batter.
- Cooling rack: to hold cooling cookies while they finish setting.
- Food grade silica packets: If you are going to store the un-decorated cookies for a few days, these help keep them crisp.
Storage
Make ahead: Store baked, rolled, and cooled cookies airtight at room temperature for up to 2 days before decorating them. If humidity is a concern, pirouette cookies can be stored with food grade silica packets to help keep them dry and crisp.
Room temperature: Once decorated, cookies will start to lose their crisp texture within 24 hours but can still be eaten for up to 3 days. They can be stored on the counter or in a container. It's not recommended to refrigerate or freeze these cookies as condensation will cause them to get soggy.
FAQ
They’re either over-baked or have cooled too much. Pull them out of the oven when they are just set and cooked, before turning too golden. If a cookie stiffens before you roll it, and it's not over-baked, return it to the oven for 30 seconds to heat, then try rolling again.
Use the handle of a wooden spoon, or simply your hands. I find it easy to just roll them free-hand into a cigar shape. But, anything long, straight, and about ½-inch thick works.
Yes, but fill them right before serving or the cookie will soften and not be crisp. Pipe in whipped cream, mousse, or frosting with a small round tip.
A pirouette is a tuile cookie rolled into a tight tube. Tuile means “tile” in French. The cookies were originally shaped over a rolling pin to look like curved terracotta roof tiles. They are made from the same or a similar cookie batter, and the shape determines their name.
They absorbed moisture from humidity, frosting, or the refrigerator. Store undecorated cookies airtight at room temperature, and decorate them on the day you serve them. For added moisture protection, the cookies can be stored with food grade silica packets.
More impressive holiday cookie recipes
If you're looking for more flavorful, unique cookies, try these favorites from the blog:


Rate this recipe! ⭐⭐⭐⭐⭐
Scroll to the bottom of the page to rate and comment on this recipe. Leaving comments, questions, and ratings helps other too!
📖 Full Recipe
Copycat Pirouette Cookies (Tuile Cigars)
Ingredients
- 2 large egg whites
- ½ cup (57g) confectioners' sugar
- ½ cup (64g) all-purpose flour
- Pinch of salt
- 2½ tablespoons unsalted butter (melted and cooled)
- ½ tablespoon heavy cream
- 1 16-ounce container white frosting (or thinned royal icing)
- 1 cup unsweetened shredded coconut
Instructions
Prepare to bake
- Prepare a 5-inch square template using a piece of card stock (file-folder thickness). Trace a 3½-inch round onto the card stock, cut out the circle and retain the frame for the template; set aside.
- Heat oven to 400°F. Line baking sheets with silicone baking liners. (You can use parchment, but a silicone baking liner is much easier and provides the best, smooth-cookie results.)
Make cookies
- In a bowl whisk egg whites and sugar on medium speed until frothy, about 1 minute. Stir in flour and salt, then whisk in butter and cream until a smooth batter forms. You'll have about ¾ cup of batter.
- Use approximately 1 teaspoon of batter for each cookie, dropping batter into the center of the template on a lined baking sheet. Spread to an even layer using a small offset spatula. Remove template, use your spatula to clean excess batter from the template, and repeat. Place no more than 2 or 3 cookies on the baking sheet. They need to be rolled while hot and will cool too much to roll if you try to do too many at a time.
- Bake until cookies are just starting to turn golden at the edges and are firm enough to remove from the baking sheet, 5 to 6 minutes. Don’t over cook or they will crack instead of curl.
- Gently lift one cookie at a time off the baking sheet with a spatula. To form, flip over, roll into a cylinder and place on a cooling rack (or in the hands of a helper) to hold the shape until they cool, about 15 to 20 seconds. If cookies become too stiff to roll, and aren’t overcooked, return them to the oven for 30 to 40 seconds to soften.
- Undecorated baked, rolled, and cooled cookies can be stored airtight at room temperature for up to two days and stay crisp. Decorate the day of serving or gifting.
Decorate cookies
- Microwave the tub of frosting for about 15 seconds to soften to a consistency just thicker than honey. Dip the ends of the pirouettes into glaze, then sprinkle generously with coconut. Place on parchment-lined baking sheet to set, 1 to 2 hours.
- Best served the same day. Decorated cookies can be stored in a container, but may lose their crisp bite.
Equipment Needed
- Manila file folder or cardstock
- 3.5-inch round cookie cutter compass or other round traceable object
- Wooden dowel (optional) handle of a wooden spoon, knife sharpener, or other long, skinny tool for rolling the cookies
- 2 baking sheets
- Hand mixer
- Cooling rack
- Food Safe Silica packets for longer storage or storing in humid climates.
Notes
Nutrition Per Serving

Tara Teaspoon
I’ve been in food publishing for over 25 years, creating recipes & food-styling for magazines, books, television, food brands, & advertising. With two cookbooks under my belt and thousands of my recipes at your fingertips, I hope you'll be inspired to spend more time in the kitchen!
Comments
No Comments