
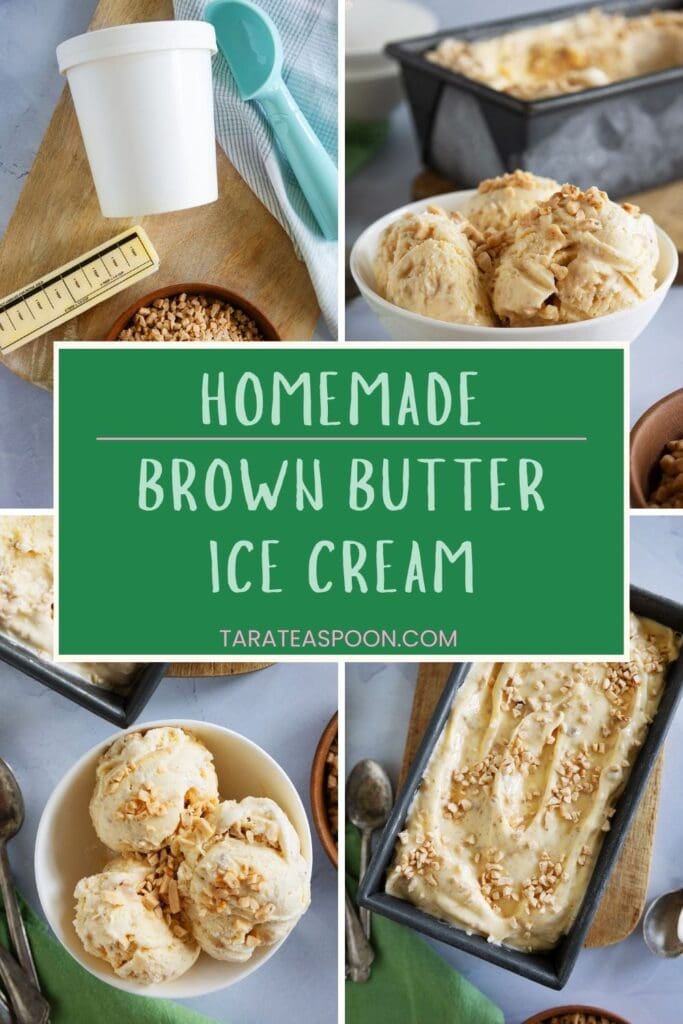
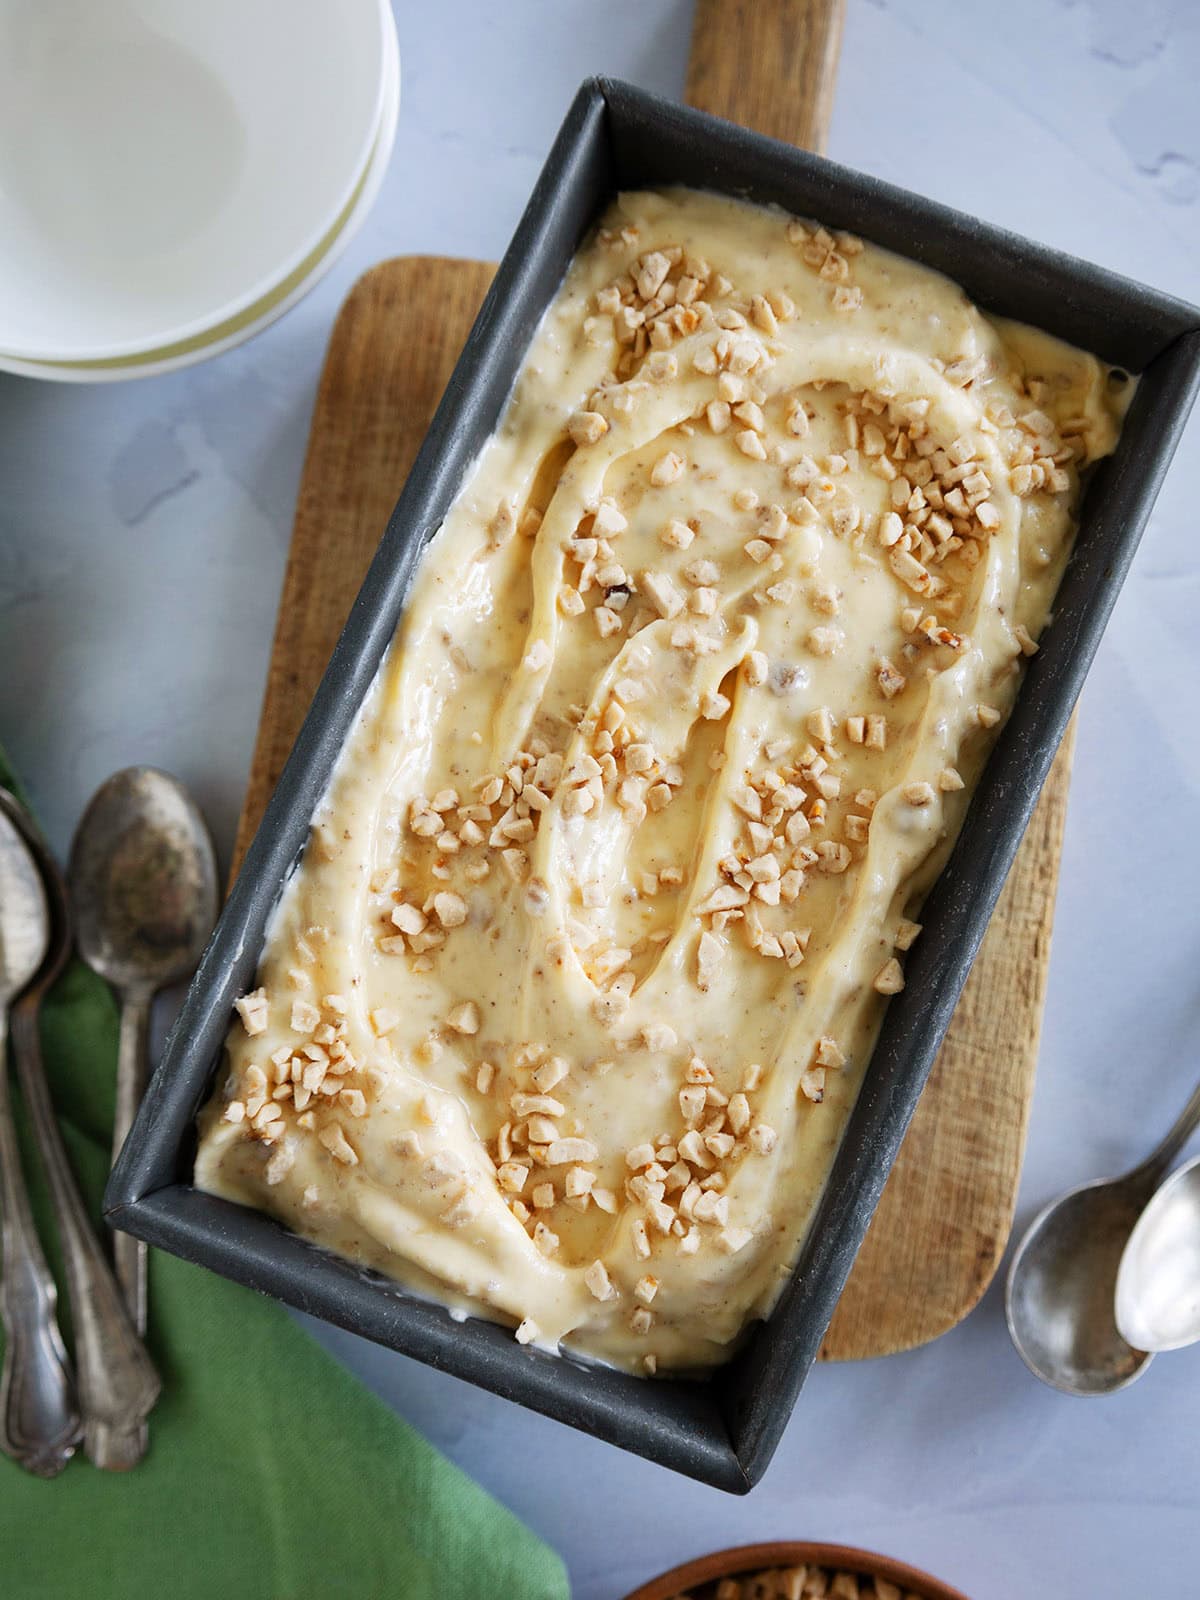
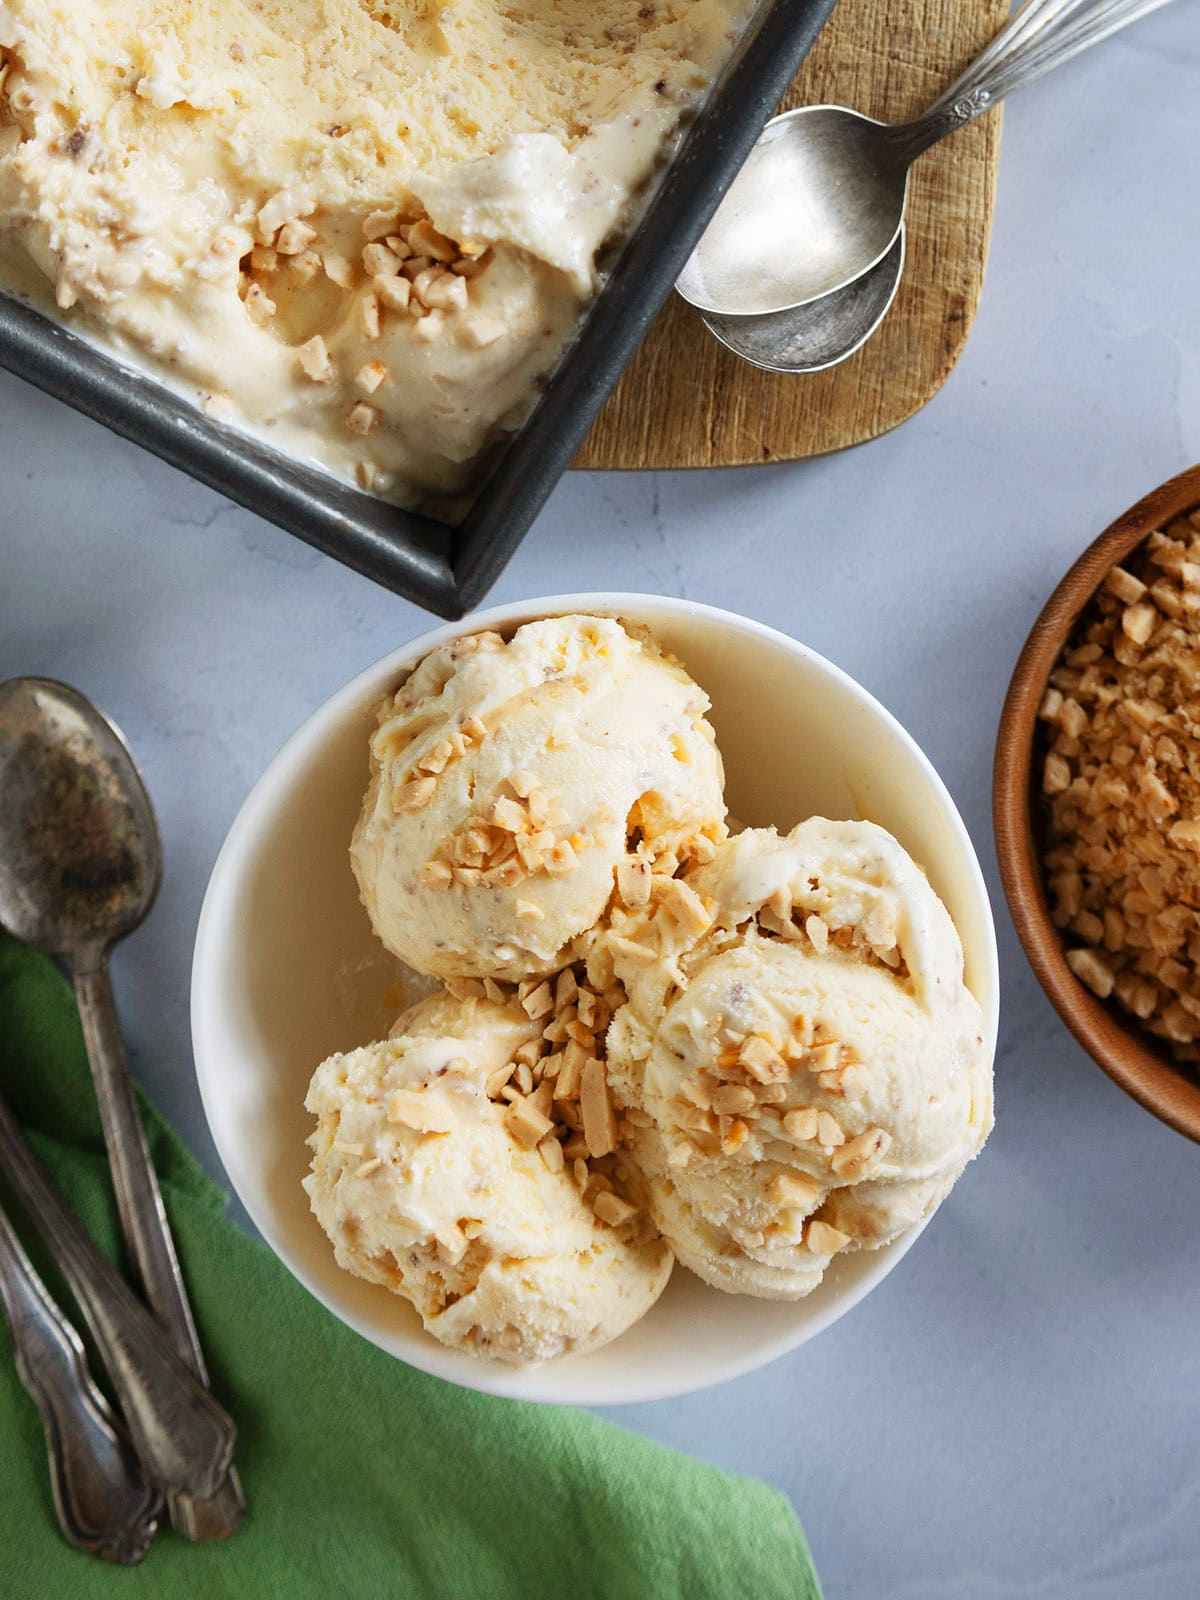
This 3-ingredient Brown Butter Ice Cream is scoop-shop quality made right at home. It's creamy vanilla ice cream with the rich and nutty flavor of browned butter, plus my addition of crunchy toffee bits, for a gourmet frozen treat that is anything but ordinary.
What you should know first
Browned butter gives this ice cream a unique deep, caramelized flavor. This article covers how to use a semi-homemade technique to upgrade premium store-bought vanilla ice cream.
⏱ Active Time: 20 minutes / Total: 4 hours 20 minutes (includes freezing). 🍽 Serves: 8 to 10. 🧾 Ingredients: 3. 📊 Difficulty: Easy. 🥛 Dietary: Vegetarian, Gluten-Free.
- Store-bought ice cream and toffee bits work perfectly and keep this recipe to just 3 ingredients.
- Premium ice cream with high-butterfat holds up best to softening and refreezing. Lower-fat options can turn icy.
- Cool the browned butter completely before adding it to the softened ice cream. Warm butter will melt the base.
- Work quickly when softening the ice cream. It should be thick like a milkshake or soft serve, not fully melted.
- Freeze at least 4 hours or overnight before serving.
Generated with AI and experts from the Tara Teaspoon team.
If you love gourmet ice cream with real depth of flavor, grocery store options can feel disappointing. This is exactly where my semi-homemade ice cream technique shines. It upgrades premium store-bought vanilla ice cream with top-notch mix-ins to deliver gourmet results at home.
From Cinnamon Toast Crunch Ice Cream to Lemon Curd Ice Cream, this simple method delivers delicious results every time. Brown Butter Ice Cream uses the same easy technique, and the flavor will stop you in your tracks.
The upgrade your vanilla ice cream deserves
Brown butter ice cream is a specialty flavor that is nearly impossible to find at the grocery store, and even gourmet ice cream shops. And when you do find it, the brown butter flavor is often subtle and underwhelming.
Making it at home means you control exactly how much butter goes in, so the warm, nutty, caramelized flavor of browned butter is bold, pronounced, and impossible to miss. The addition of crunchy toffee bits takes it even further, adding a textural contrast. You'll get creamery-worthy results and won't even need an ice cream maker.
This recipe is delicious year-round. Those warm, toasty notes are at home all summer and into the fall when you want a dessert that feels a little cozier. Pair it with my Pecan Crisp Cookies or Cashew Cookies with Brown Butter Frosting for a delicious finish to any gathering or holiday table.
Here are the other reasons you'll love this:
- Extraordinary flavor with minimal effort: Rich brown butter takes just minutes to make on the stovetop. Once folded into creamy vanilla ice cream with crunchy toffee bits, the final scoop is silky, complex, and indulgent.
- Simple and semi-homemade: Just 3 ingredients and no ice cream maker required! Use store-bought vanilla ice cream for the quickest version, or swap in my Super Creamy Eggless Vanilla Ice Cream to make it from scratch.
- Perfect for any occasion: Impressive enough for big celebrations and holiday dessert tables, but easy enough to make any time. Make it ahead and it's ready to scoop when you need it.
Jump to:
Ingredients and variations
Before getting started, check out these ingredient tips to help you find everything you'll need. See recipe card for full list of ingredients and quantities.
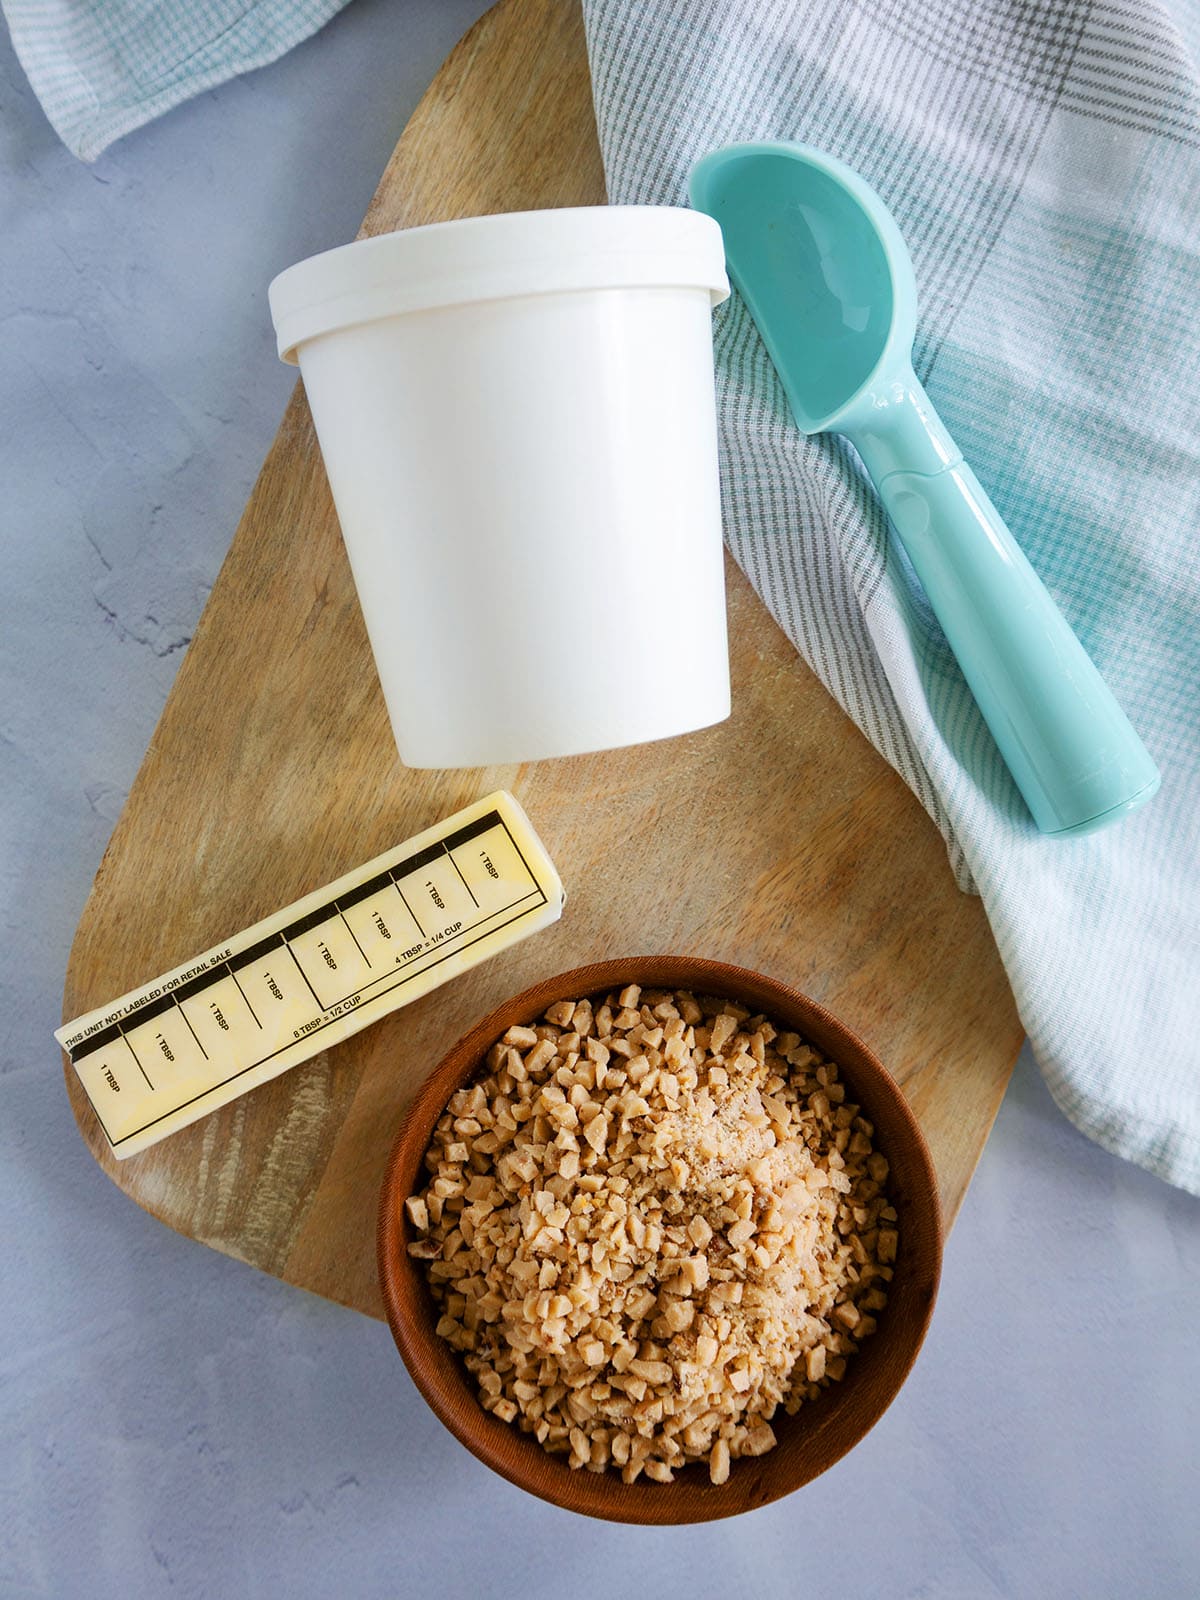
- Salted butter: For this recipe, salted butter is the best choice. Unlike most recipes where unsalted butter is preferred for more flavor control, sweet and creamy ice cream benefits from the contrasting flavor of salt. Keep in mind that salted butter foams more than unsalted, so watch the browning process closely to avoid burning the milk solids. If you only have unsalted butter on hand, it will still work. Just add a pinch of salt to compensate. For an extra gourmet touch, look for a European or European-style butter with a higher butterfat content and less water than standard American butter for the richest, most flavorful results.
- Premium vanilla ice cream: Use a high quality, premium vanilla ice cream when using the semi-homemade method. Slow-churned options like Haagen Dazs, Tillamook, Van Leeuwen, and Graeter's have less air mixed into the base and a higher butterfat content, which means they hold up well to the softening and re-freezing process in this recipe. If you decide to use a lighter, lower-butterfat ice cream, know that the texture may not be quite as creamy once it's refrozen. If you'd prefer to make your ice cream from scratch, try my Super Creamy Eggless Vanilla Ice Cream.
- Toffee bits: I love adding toffee bits to this ice cream to enhance the flavor and provide a nice crunch. Set aside a little extra for garnish. NOTE: many toffee bits have nuts, please note this for allergies.
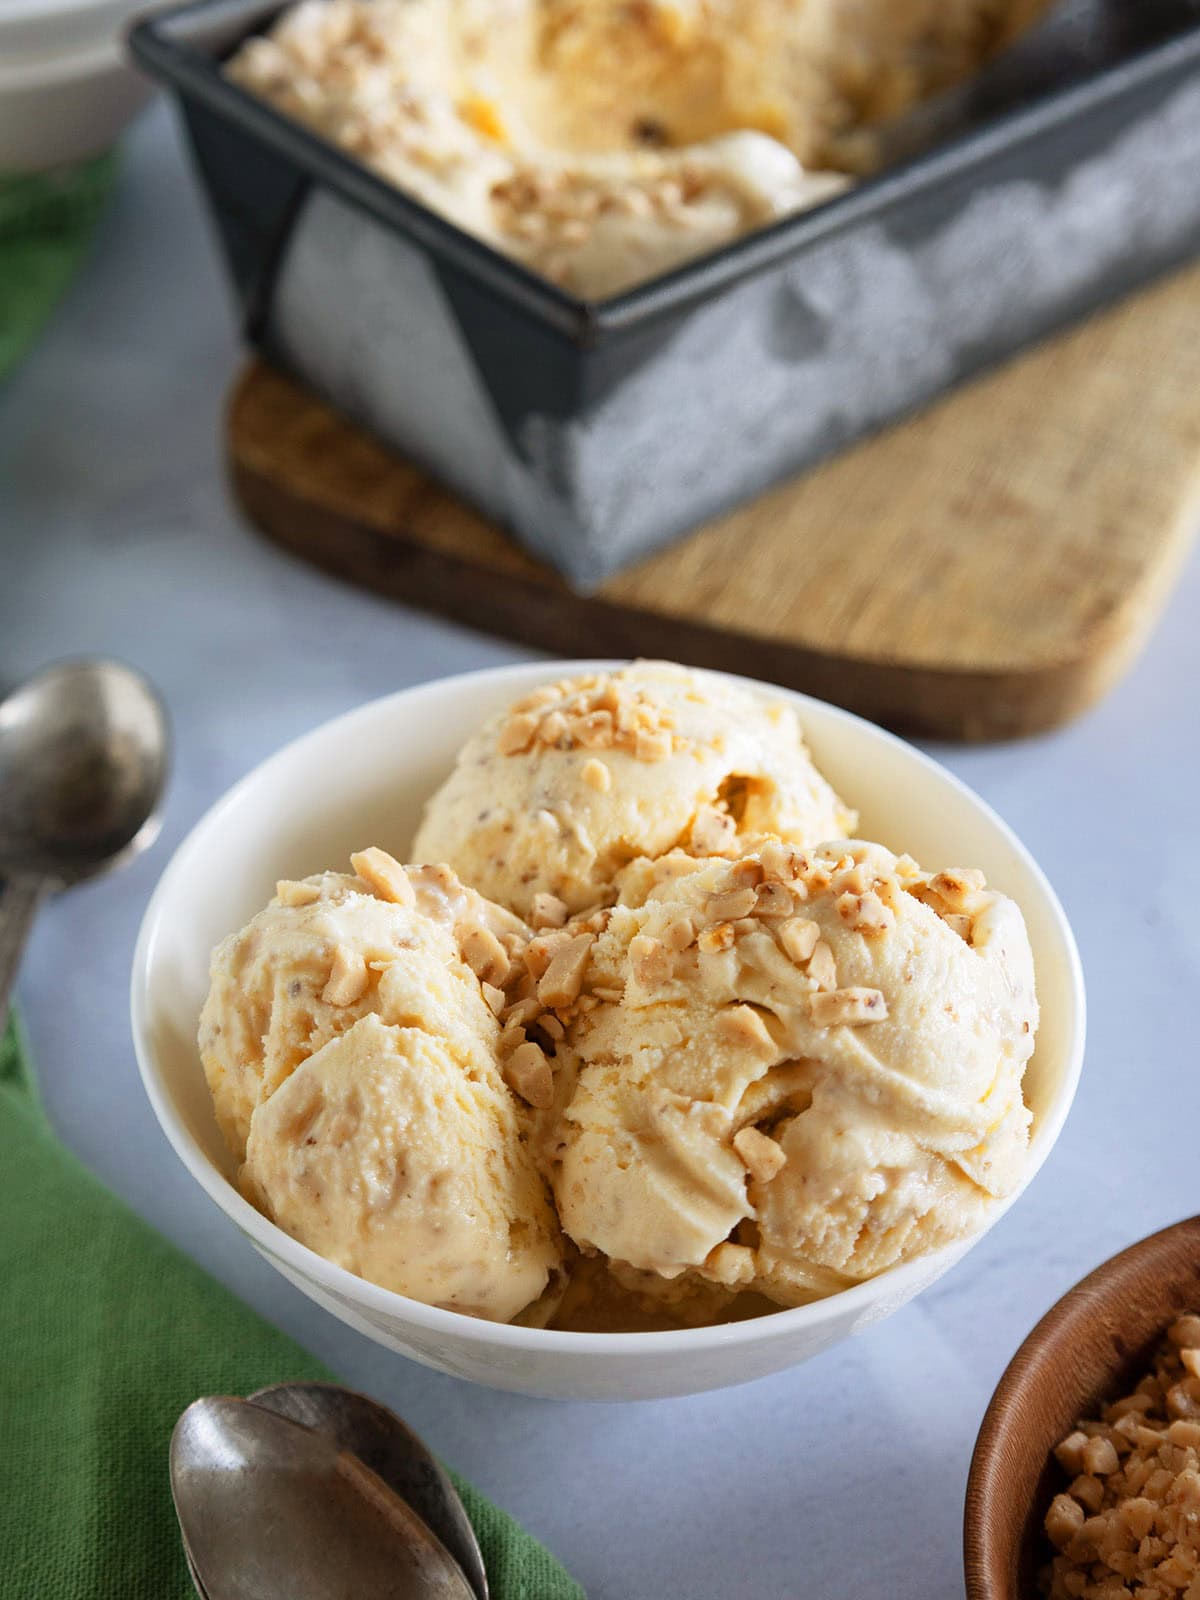
How to make browned butter ice cream
Learn how to make this rich and creamy treat with my step-by-step photo tutorial. If you'd like extra support, check out my post for how to make browned butter. See recipe card for comprehensive directions.
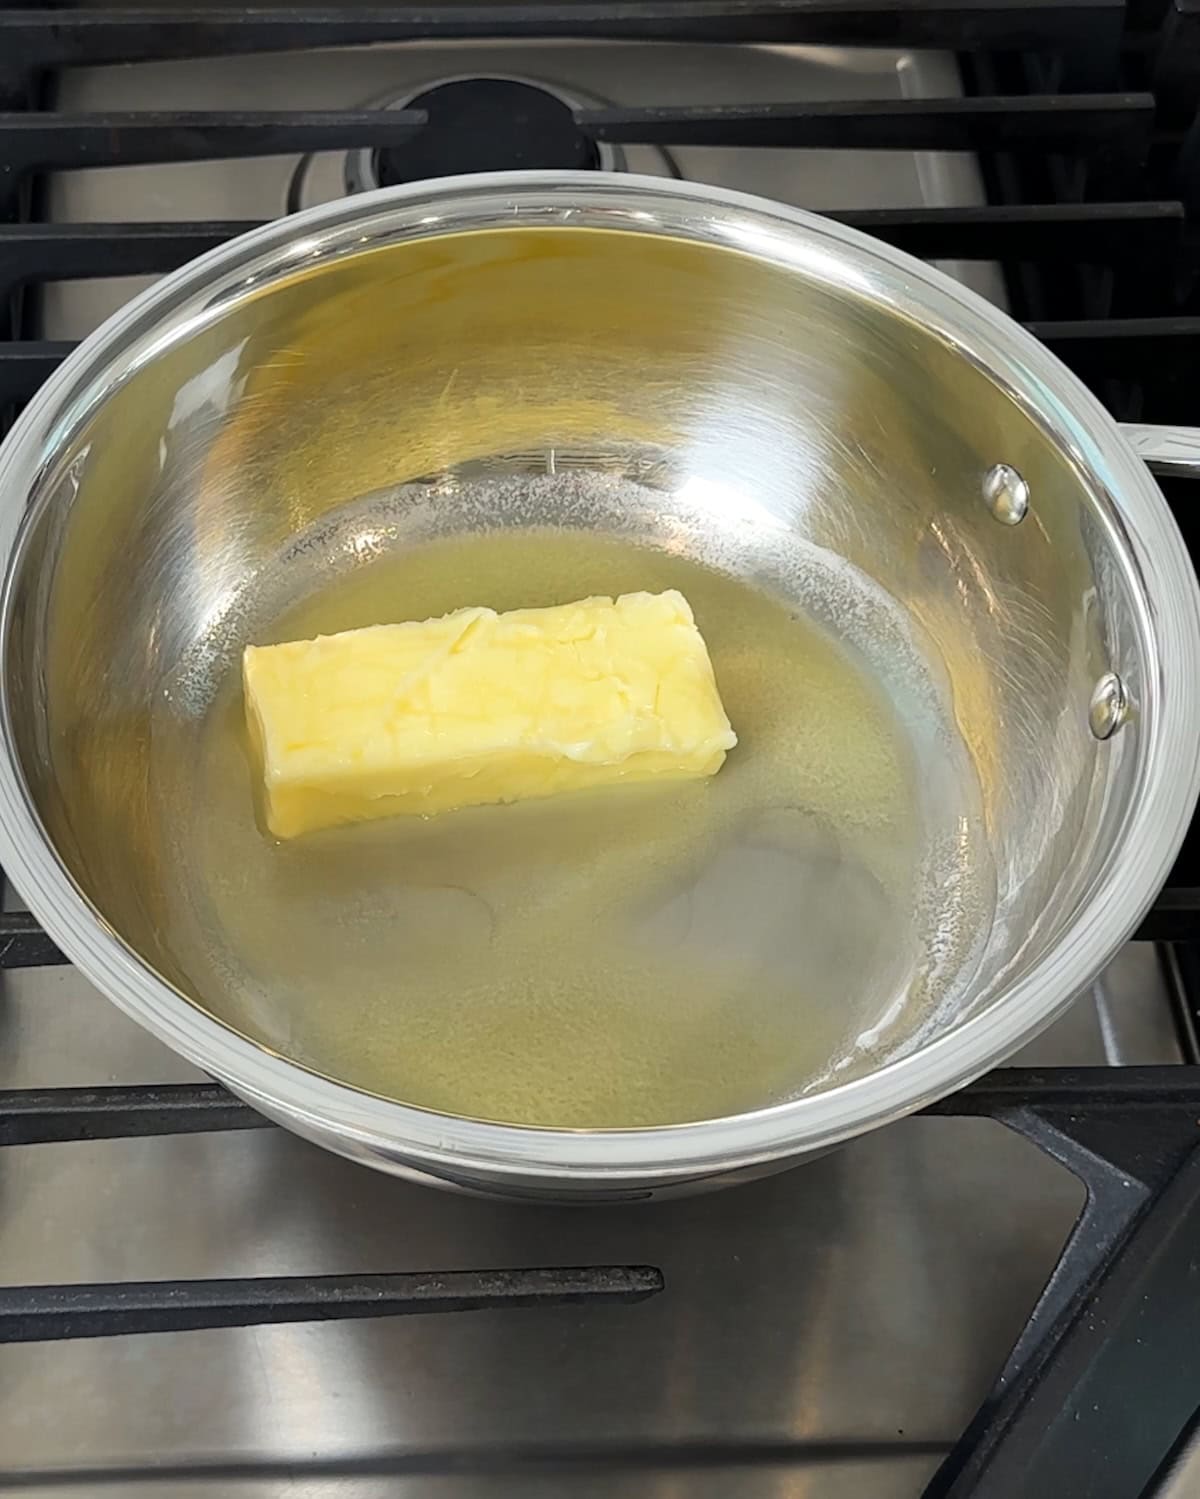
- Step 1: Stir and melt the butter until the milk solids begin to caramelize, and it smells rich and nutty.
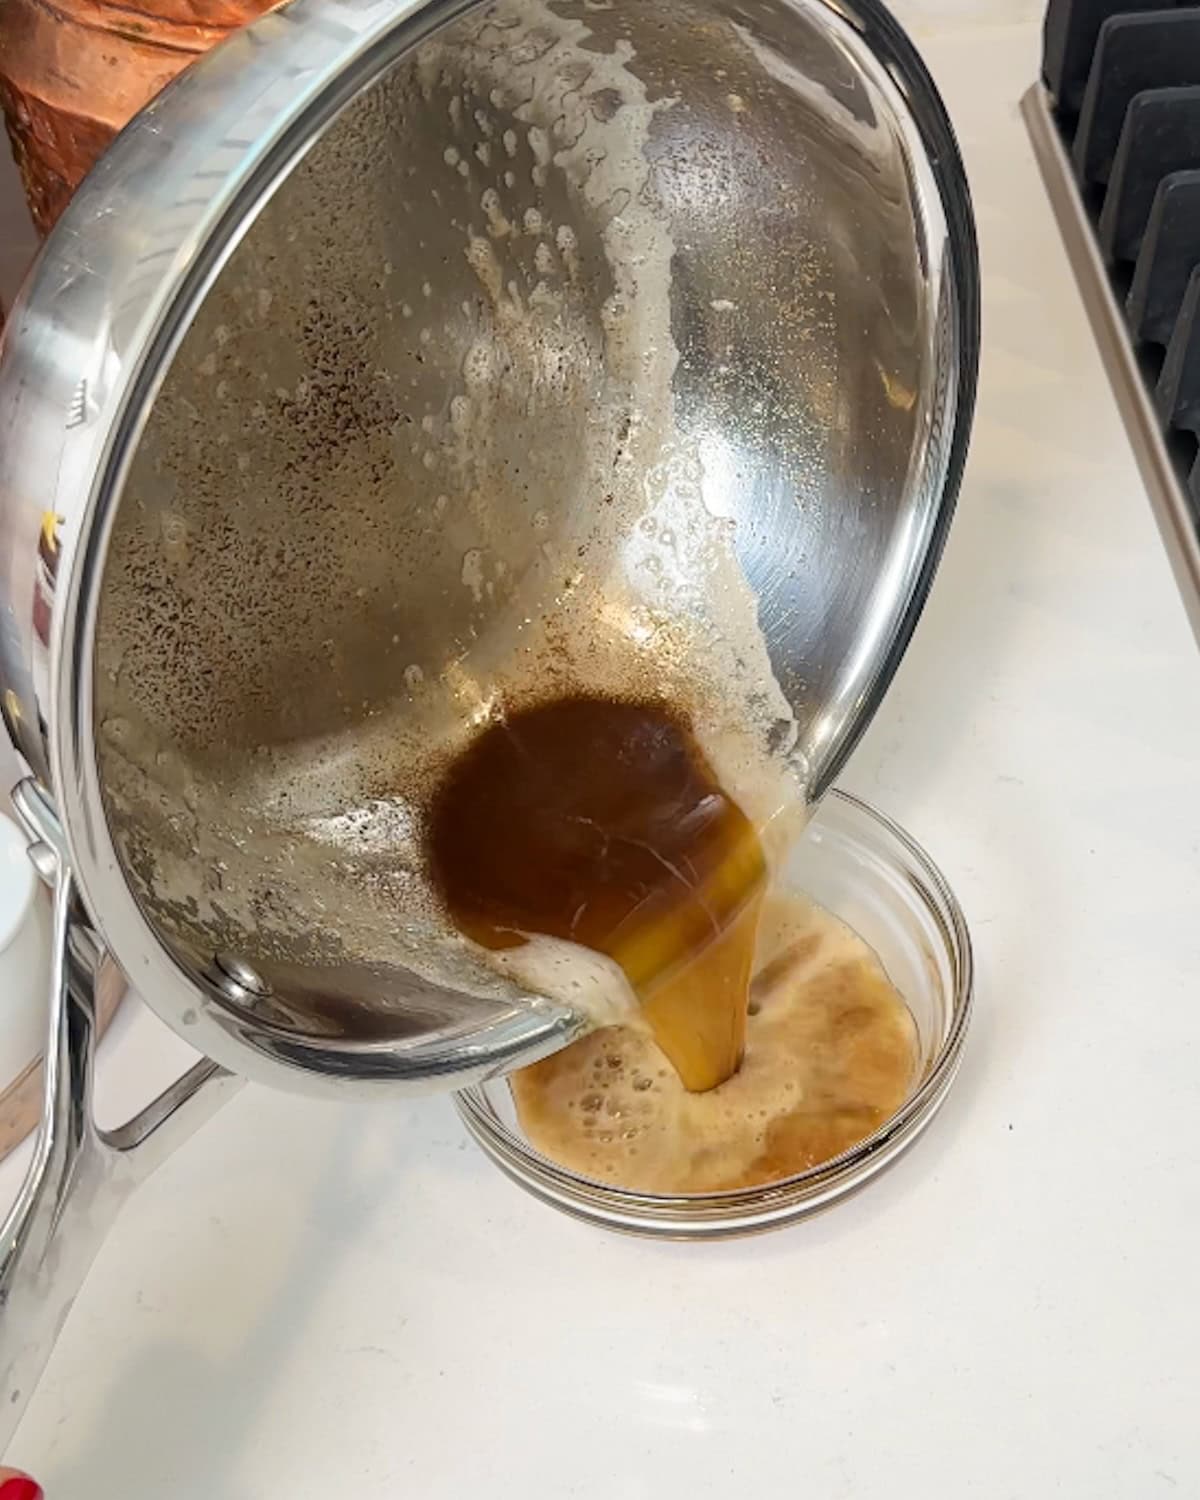
- Step 2: Pour the browned butter into a separate container to start cooling. You can place it in the fridge to speed up the process.
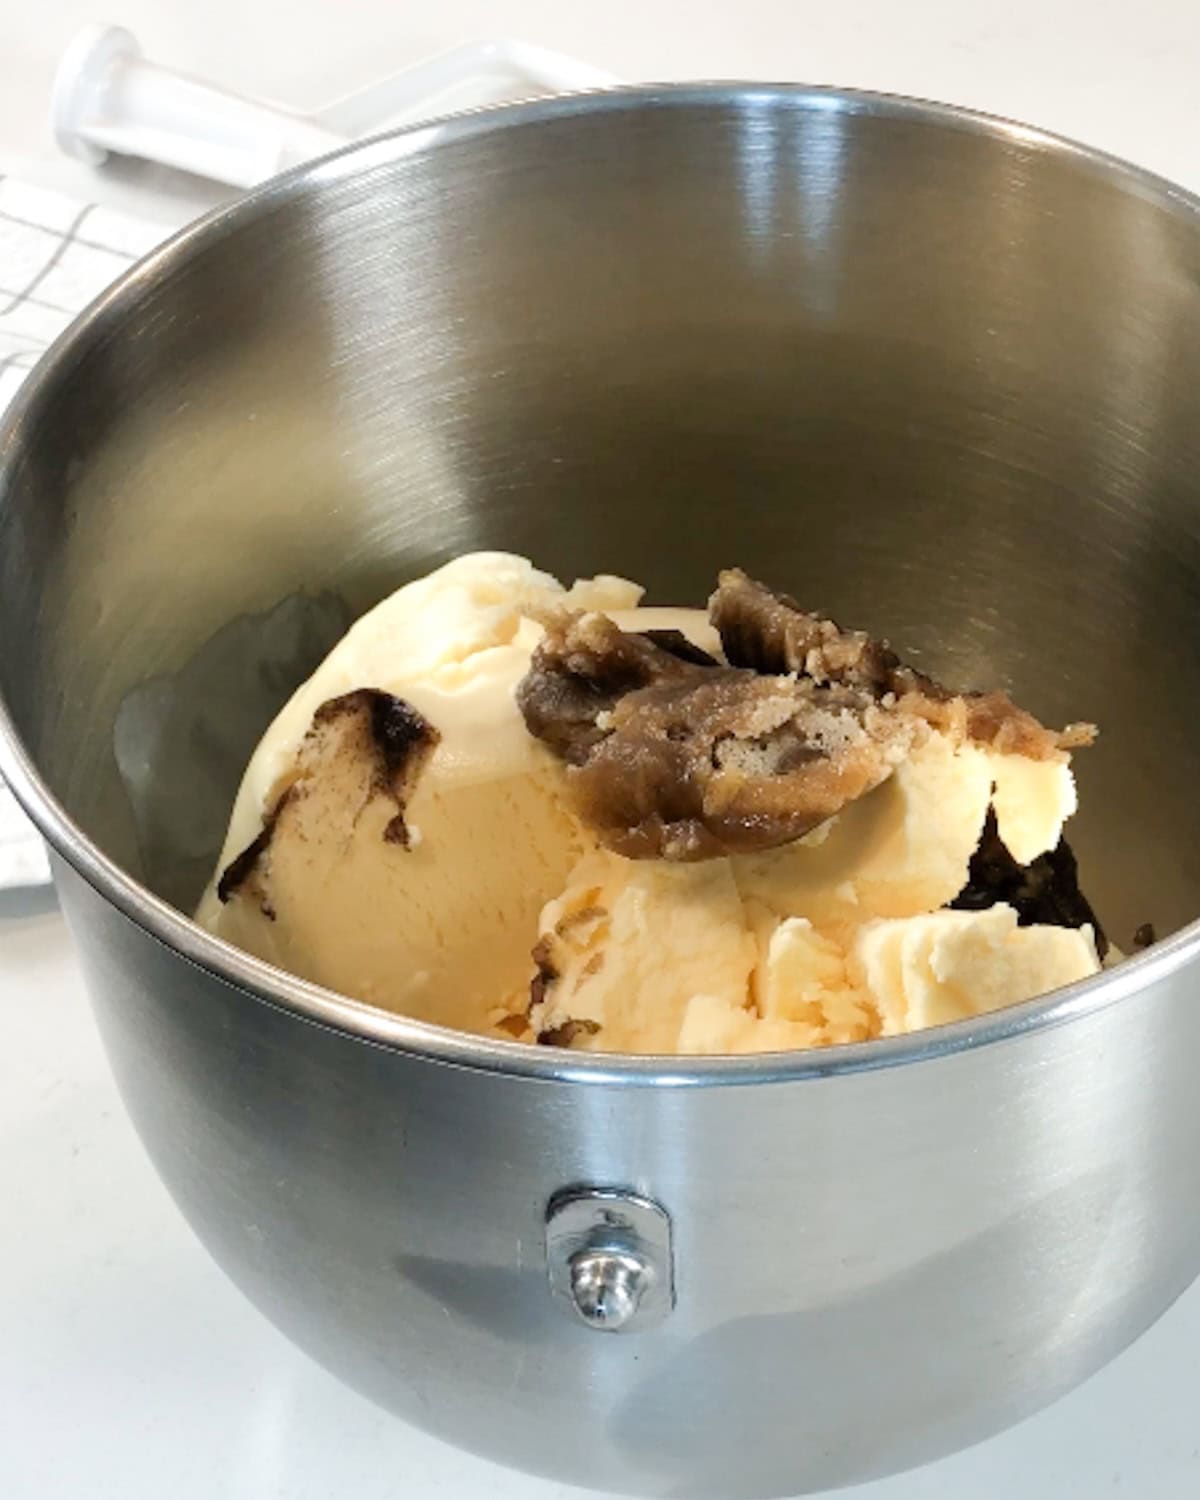
- Step 3: Work quickly to scoop your ice cream into a mixing bowl. Mix it with the browned butter until the ice cream has the texture of a thick milkshake.
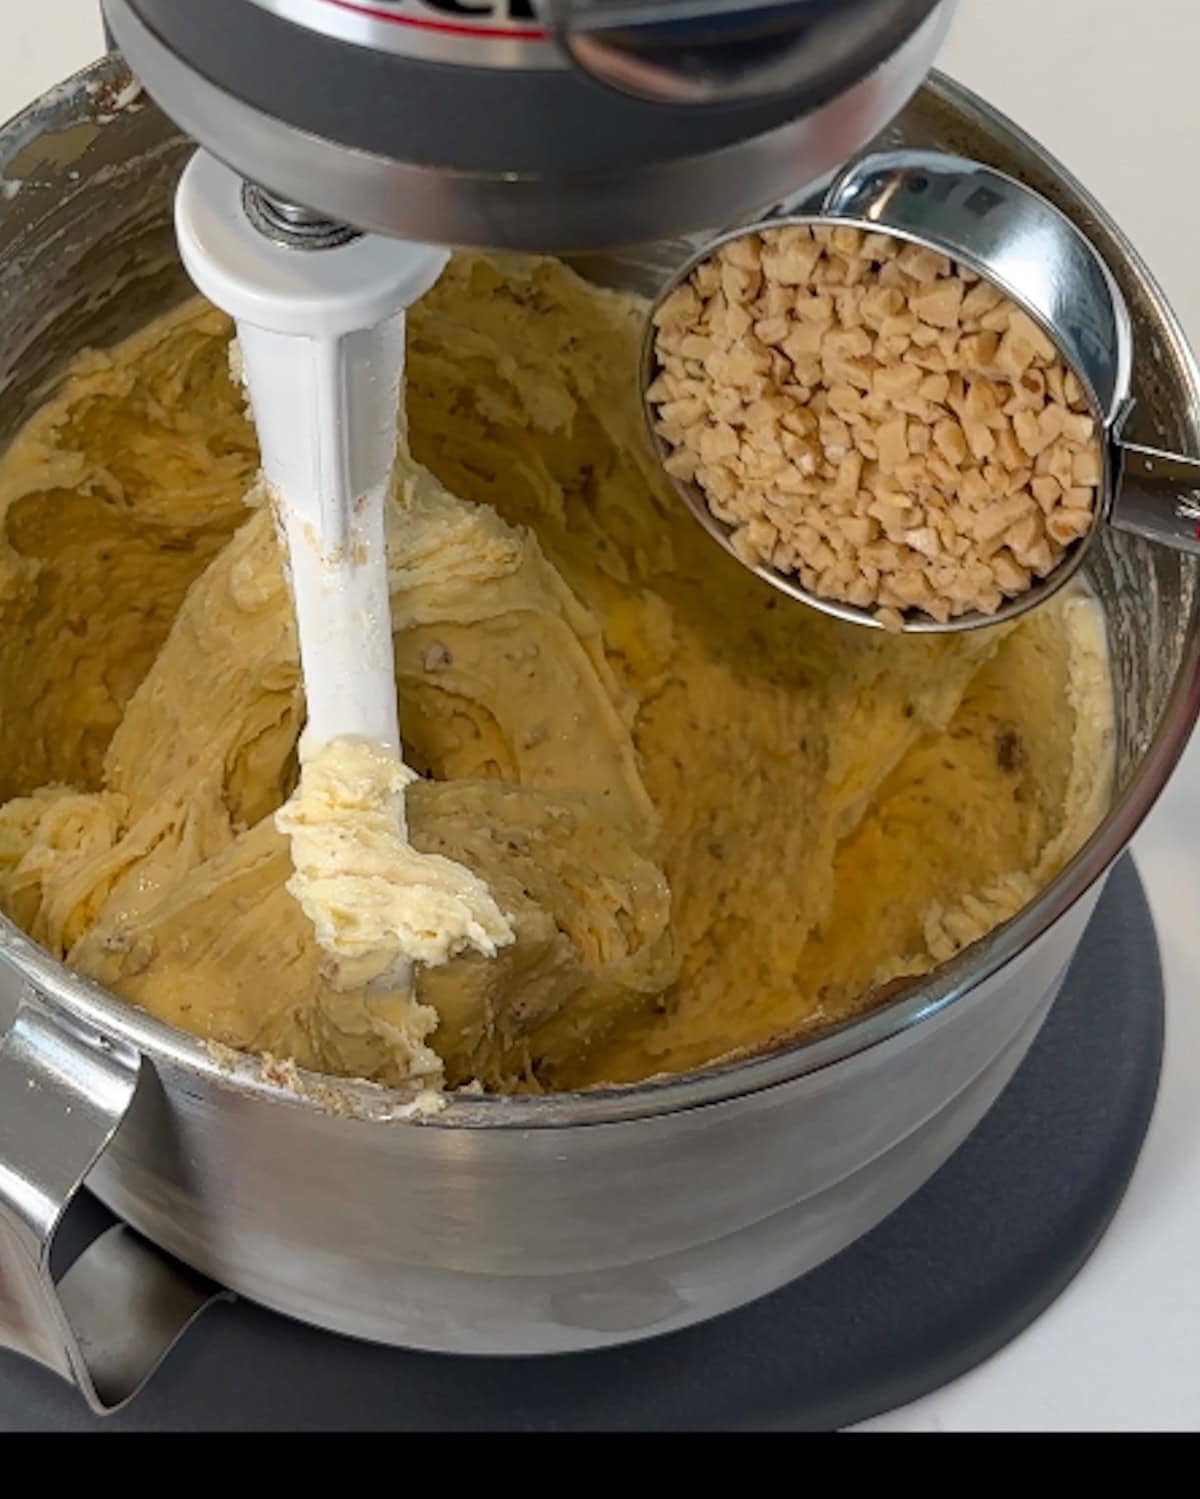
- Step 4: Stir in the toffee bits.
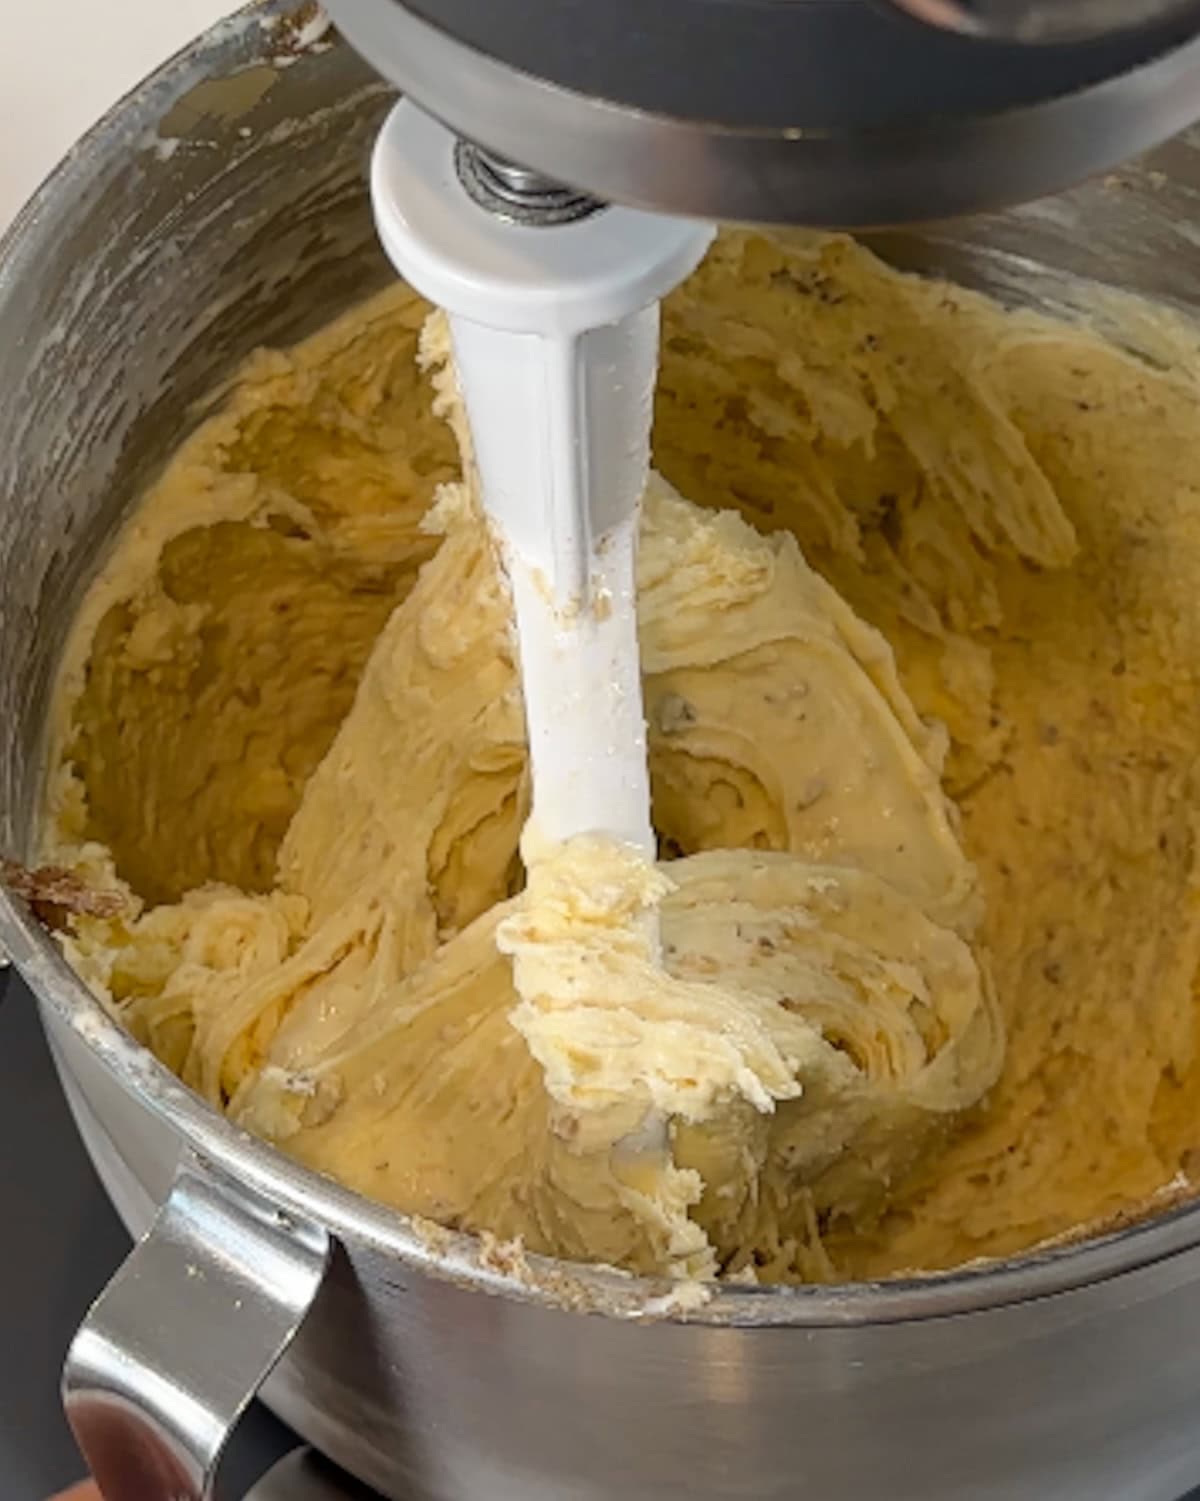
- Step 5: Mix until just combined and still thick and cold.
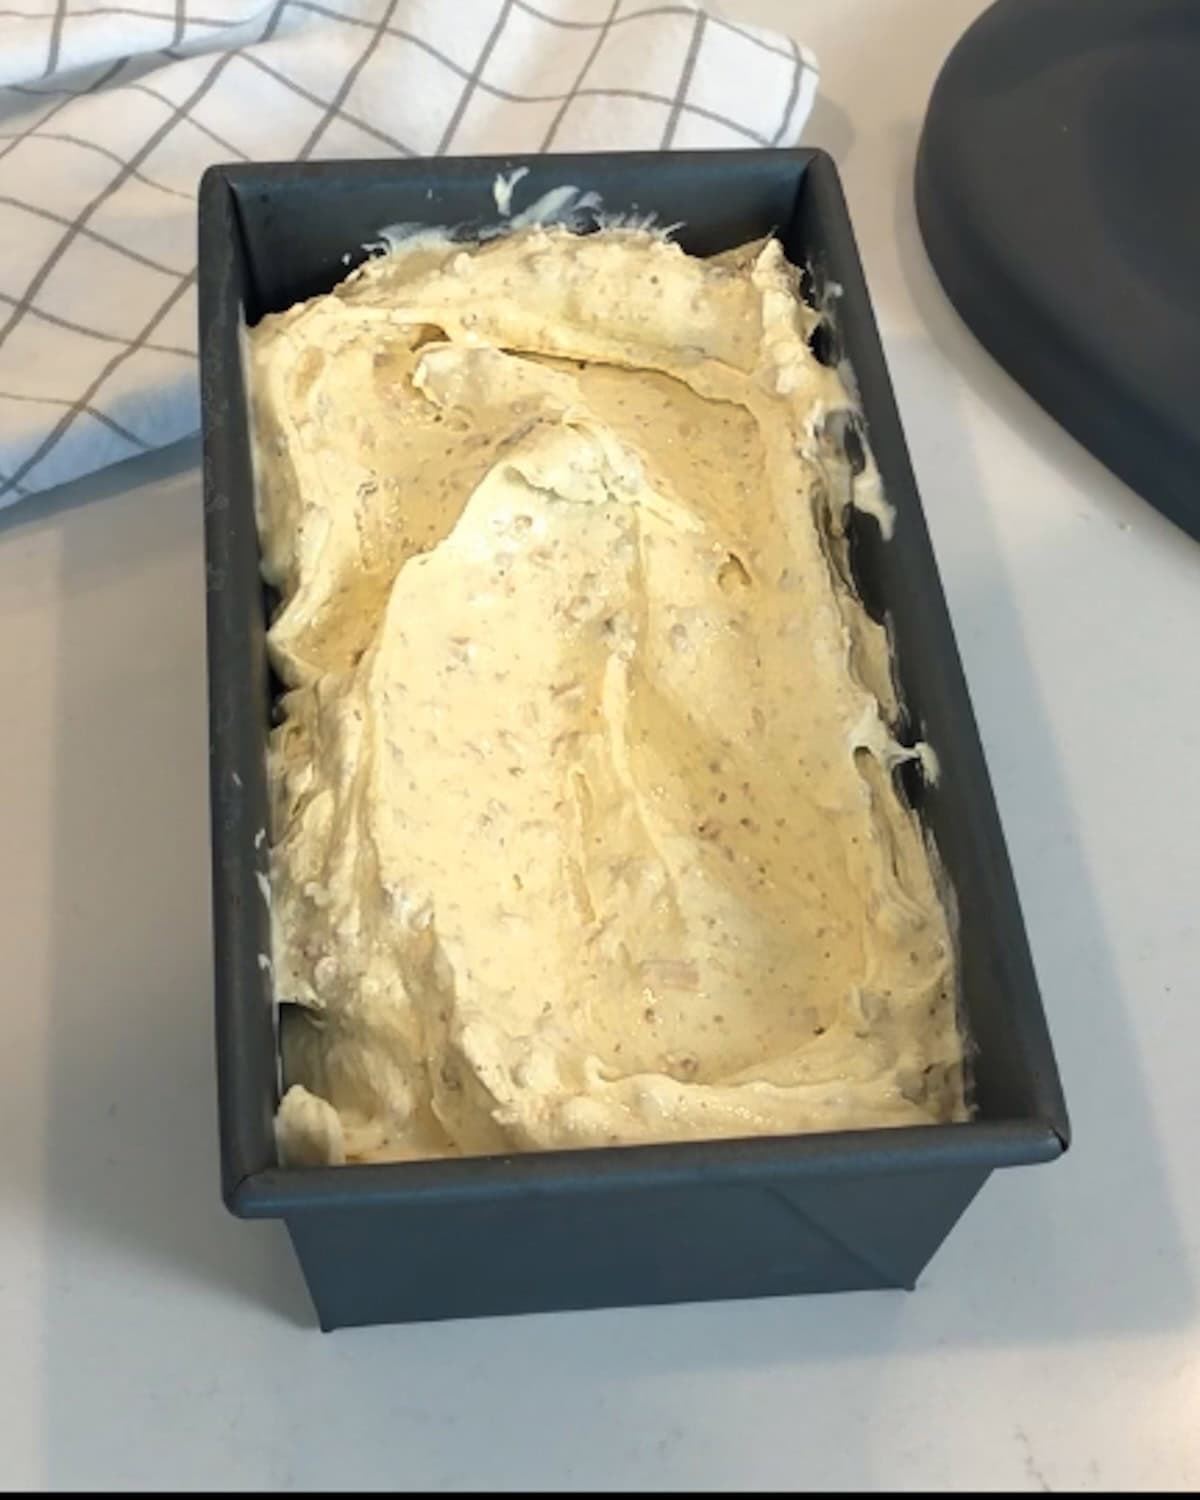
- Step 6: Work quickly to scoop the ice cream into the chilled loaf pan.
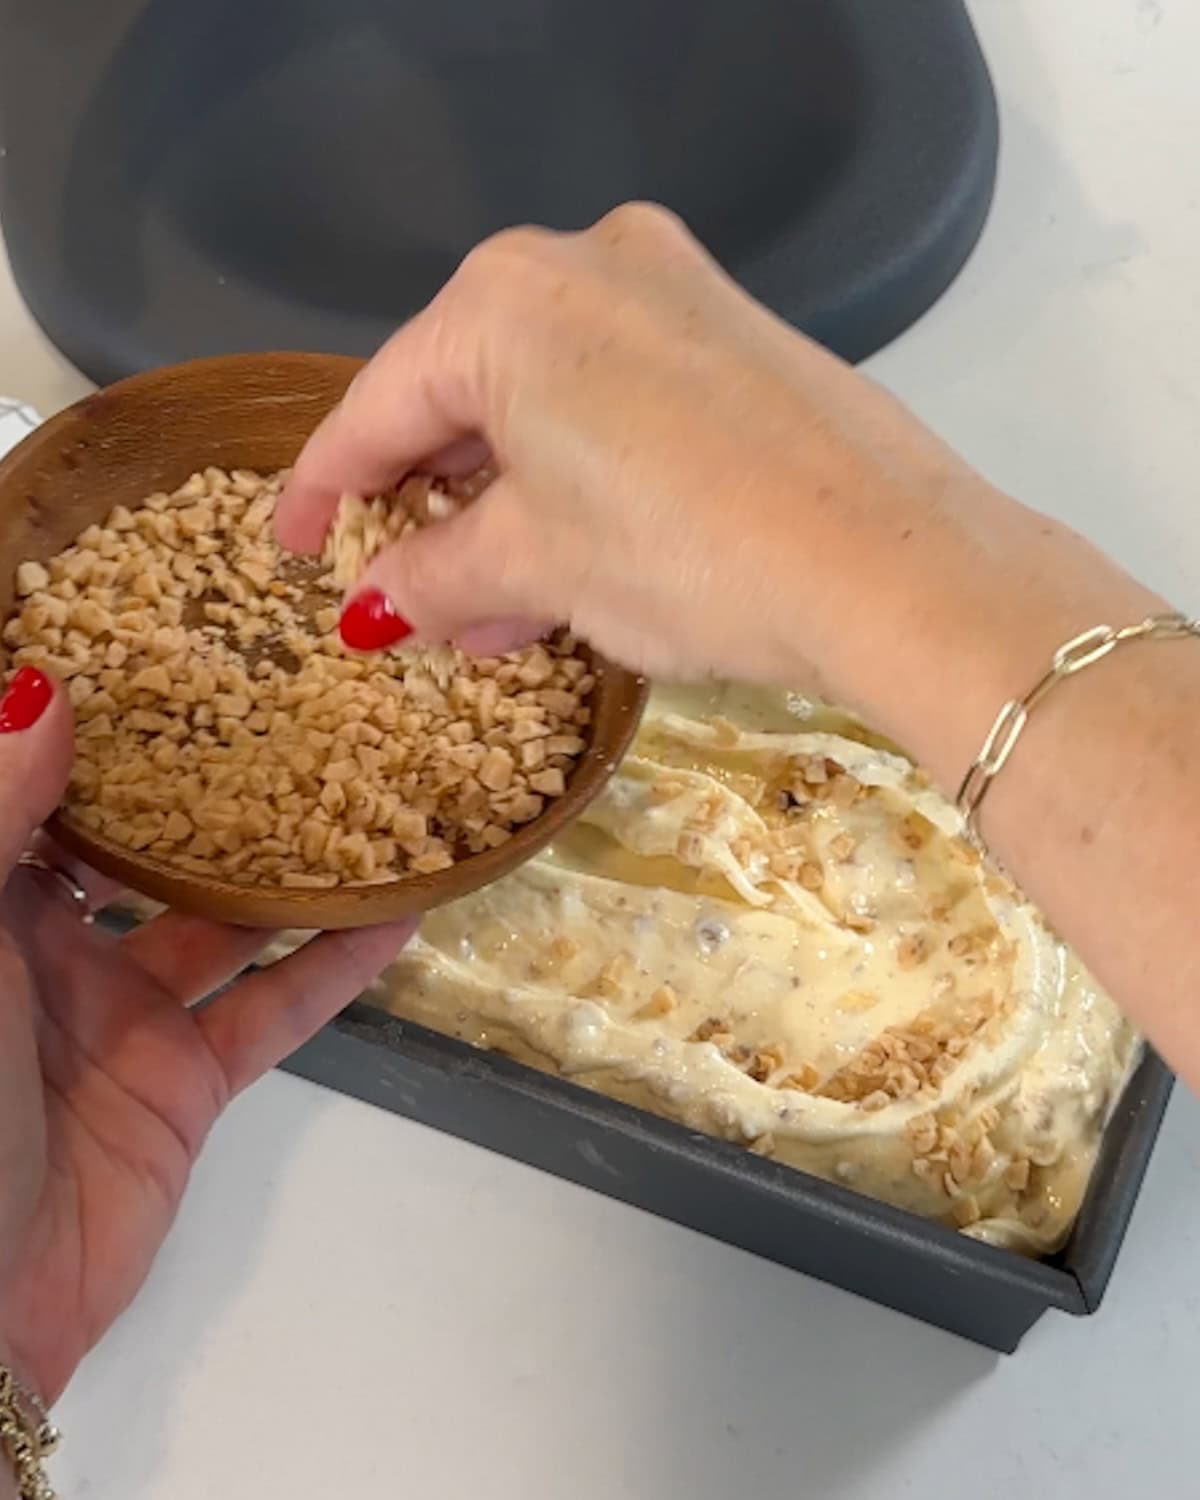
- Step 7: Sprinkle the top with toffee bits.
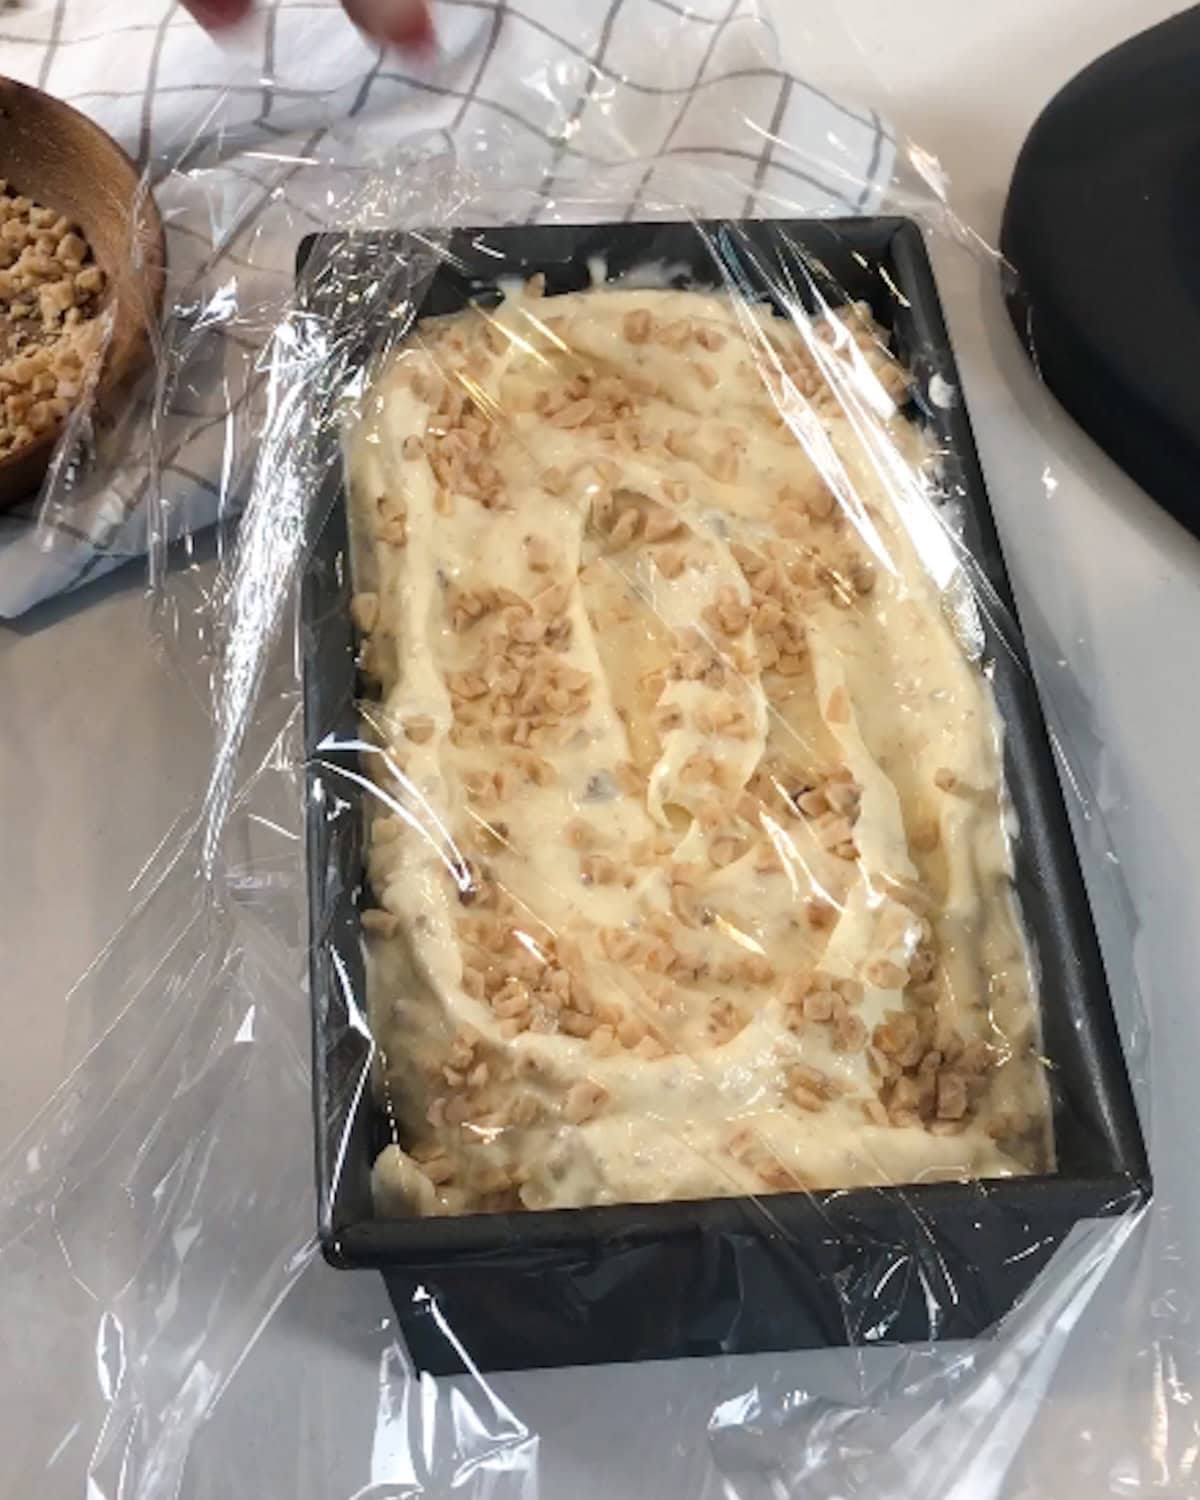
- Step 8: Press a layer of plastic wrap directly on top of the ice cream and place it in the freezer for at least 4 hours.
To make with churned homemade ice cream: Just before the ice cream finishes churning, add the cooled browned butter and toffee bits. Churn briefly to mix in the butter and toffee, then continue with steps 6 through 8 in the photo tutorial above.
Tara's top brown butter ice cream tips
Freeze your container first: It's best to place your container in the freezer about 30 minutes before you are ready to fill it. A cold container helps the ice cream set faster and more evenly; that means better texture and creamier scoops.
Don’t rush the butter browning process: Over medium heat, it typically takes 5 to 10 minutes to brown softened butter from start to finish. Watch the butter closely when it starts foaming. You'll know it is done when the liquid transitions from yellow to deep amber brown, has caramelized milk solids on the bottom of the pan, and a rich, nutty aroma fills the air.
Cool the browned butter completely: Make sure the brown butter has fully cooled before adding it to the softened ice cream. If it's still warm, the butter will melt the base and affect the final texture. To speed up the cooling process, you can put the butter in the fridge for a few minutes.
Work quickly: When making semi-homemade ice cream, the goal is to soften the vanilla base just enough to incorporate the mix-ins before refreezing it. Mix the ice cream until it softens to the texture of a thick milkshake or soft serve, then quickly stir in your mix-ins while it is still soft and cold to avoid a melted mess.
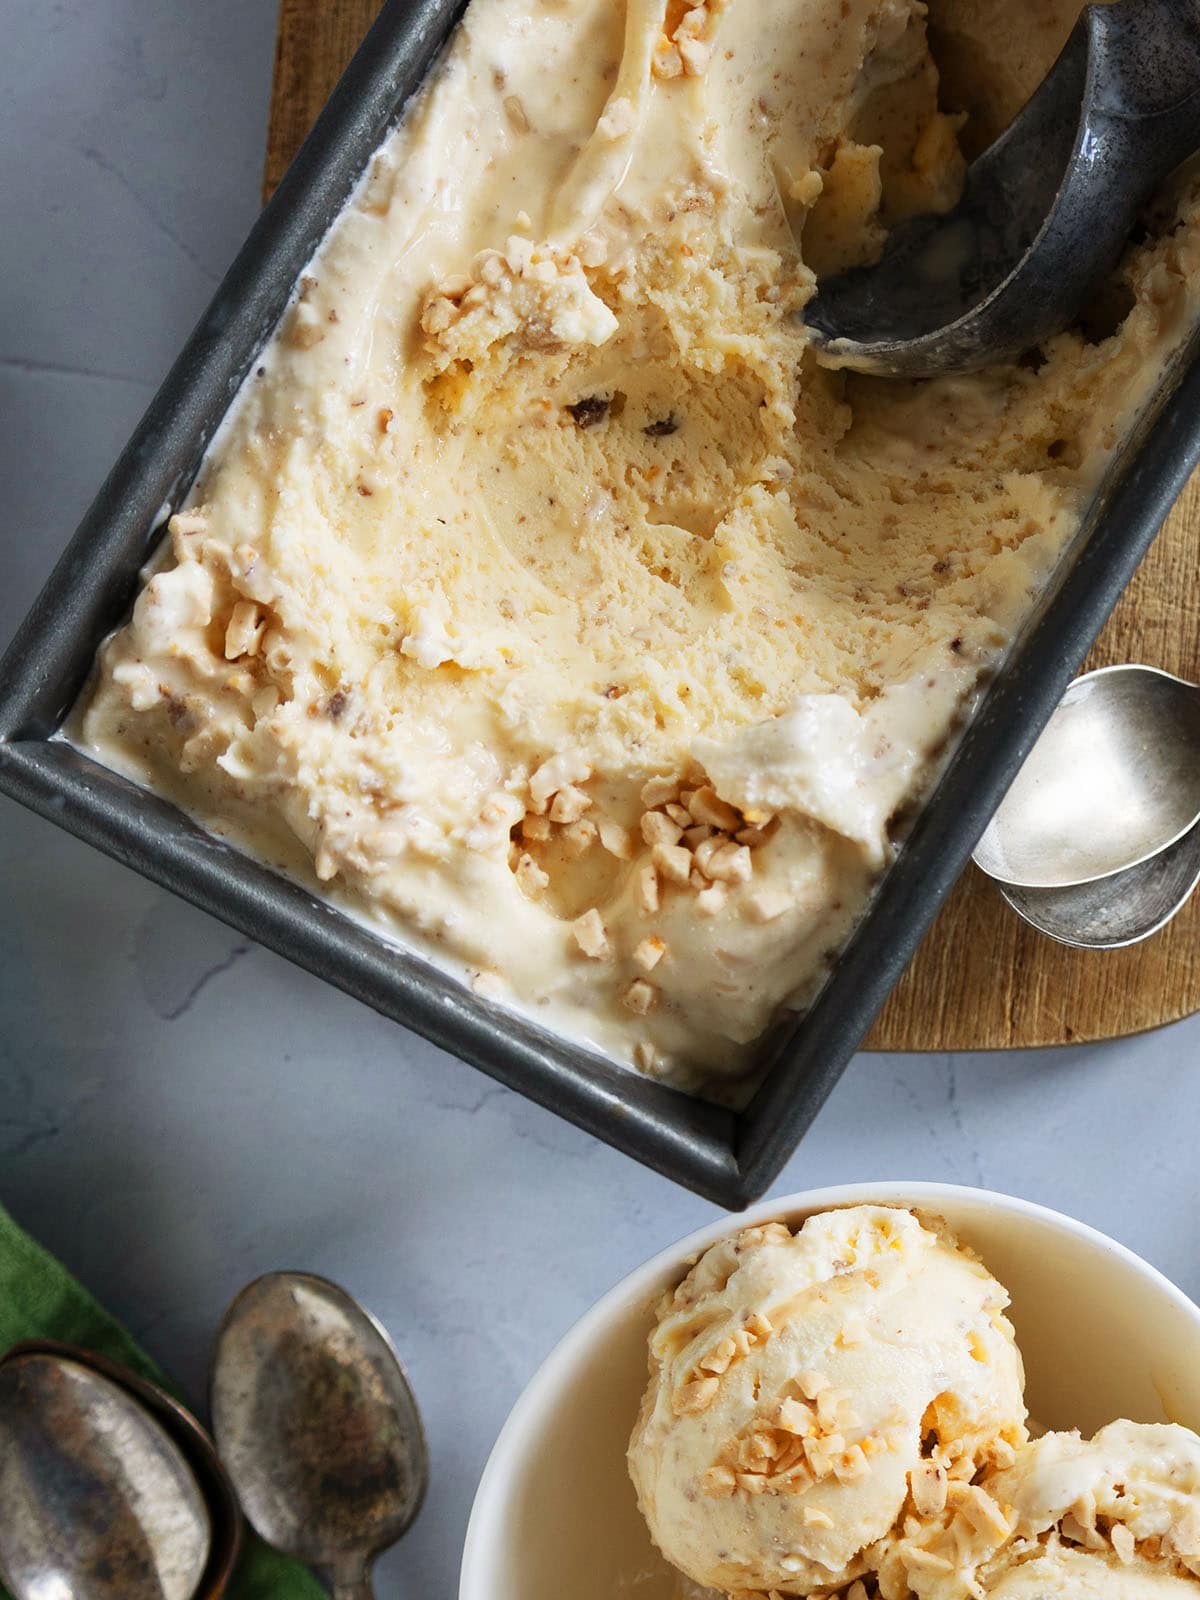
Let it soften before serving: Homemade ice cream tends to freeze more firmly than store-bought. Before digging into your homemade ice cream, give it 3 to 5 minutes to soften at room temperature for easier scooping and softer bites.
Toppings and mix-ins
This butter ice cream is satisfying straight from the carton, but a few extra toppings or mix-ins take it to the next level. Here are some of my favorite ways to dress it up:
Toppings:
- Extra toffee: A handful of toffee bits sprinkled on top adds extra crunch and makes an eye-catching scoop.
- Caramel sauce: Add an indulgent drizzle of caramel sauce for extra buttery sweetness.
- Flaky sea salt: A light sprinkle of flaky sea salt helps to bring out the caramelized notes in every bite.
Mix-ins:
- Baking chips: Fold in cinnamon chips, caramel bits, or mini chocolate chips to boost the flavor and texture.
- Sweet swirls: Layer caramel sauce, apple pie filling, or fudge sauce between scoops as you transfer the base into the chilled container.
- Crunchy nuts: Fold in crushed toasted pecans or walnuts for an extra layer of crunch that complements the toffee.
Equipment
Light-colored skillet: Use a stainless steel or light-colored-interior skillet or saucepan. Dark, non-stick pans make it almost impossible to see the milk solids changing color and increase the risk of burning the batch.
Heat-proof utensil: While stirring the butter you'll need a heat-proof silicone spatula, wooden spoon, or whisk to continuously scrape the browned milk solids off the bottom of the pan so they toast evenly instead of sticking and scorching.
Ice cream storage container: Use a chilled standard loaf pan, or paper ice cream containers to store your ice cream in the freezer.
Ice cream scoop: Make serving easy with a top-rated ice cream scoop.
Storage
Freezer: Store your browned butter ice cream in a sealed freezer-safe container. To help prevent ice crystals from forming, you can press an extra piece of plastic wrap directly onto the surface of the ice cream before sealing it. Enjoy within 2 weeks for the best flavor and texture.
FAQ
If your butter tastes burnt, it was cooked for too long. It's important to watch the butter carefully when it starts foaming because it can transition from perfectly toasted to completely ruined in seconds. If your butter looks muddy, has charred debris floating in it, or smells smoky you'll need to make a fresh batch of browned butter. Mixing burnt butter into your ice cream will make it taste bitter.
Yes, unsalted butter works in a pinch. However, salted butter is the preferred choice for this recipe because the salt concentrates as the water evaporates during browning, helping to balance the sweetness of the ice cream. If you do use unsalted butter, add a pinch of salt after browning to compensate. One advantage of unsalted butter is that it foams less during browning, making it a little easier to monitor the color of the milk solids. Just keep a close eye on it because browned butter can go from perfectly toasted to burnt very quickly.
Yes! A stand mixer makes the job faster and easier, but a hand mixer works just as well. If you don't have either, you can soften the ice cream by letting it sit at room temperature for 5 to 10 minutes. Then stir it vigorously by hand with a large spoon or spatula until it reaches the texture of a thick milkshake. The key is to work quickly so the ice cream doesn't melt completely before you fold in the browned butter and toffee bits.
More frozen treat recipes
Ice cream and frozen desserts are fun to make at home. Try one of these blog favorites next:




Rate this recipe! ⭐⭐⭐⭐⭐
Scroll to the bottom of the page to rate and comment on this recipe. Leaving comments, questions, and ratings helps other too!
📖 Full Recipe
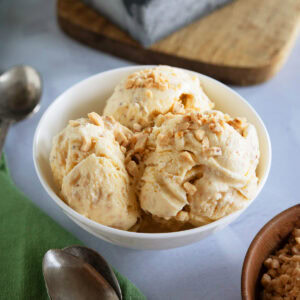
Brown Butter Ice Cream
Video
Ingredients
- 6 tablespoons salted butter
- 1½ quarts premium vanilla ice cream (or homemade vanilla ice cream, about 6 cups)
- ½ cup toffee bits (plus more for garnish, optional)
Instructions
- In a saucepan brown the 6 tablespoons butter: Melt butter over medium-high heat, then reduce heat to medium. Butter will boil and foam and then the milk solids will start to caramelize and settle to the bottom.
- Once the milk solids are dark golden brown, immediately remove from heat and pour into a heatproof bowl to cool, scraping the pan to get all the browned bits. Let the butter cool completely (you can chill it in the fridge for a few minutes to speed the process).
- When the butter is cool, quickly scoop frozen store-bought or homemade vanilla ice cream into a stand mixer, or large mixing bowl if you're using a hand mixer. Add the cooled browned butter. Using the paddle attachment, blend quickly until ice cream is just soft (like a thick milkshake or soft serve).
- While ice cream is soft, mix in toffee bits. Then quickly transfer ice cream to a container or loaf pan. Sprinkle with extra toffee bits for crunch on top. Cover and freeze until solid, about 4 hours or overnight; then scoop and serve.
Notes
Nutrition Per Serving

Tara Teaspoon
I’ve been in food publishing for over 25 years, creating recipes & food-styling for magazines, books, television, food brands, & advertising. With two cookbooks under my belt and thousands of my recipes at your fingertips, I hope you'll be inspired to spend more time in the kitchen!
Karyn Erb says
Brown Butter Ice Cream sounds amazing!! I need to try this!
Tara Teaspoon Admin says
Once you taste it, life will never be the same! I hope you enjoy it.
Jill says
I wish I'd know about brown butter years ago! It's SO easy to make and totally magical in ice cream. I definitely recommend adding the toffee bits. YUM!
Tara Teaspoon Admin says
Thanks for taking the time to rate the recipe. Glad you loved it so much!