
Learn how to make golden browned butter for perfectly rich, nutty flavor and aroma. With just one ingredient, this 10-minute professional culinary technique is the easiest way to add incredible depth of flavor to both sweet and savory recipes.
In this article you'll learn:
- The simple 10-minute method: How to transform regular unsalted butter into rich, nutty "liquid gold" using just a stove and a light-colored pan.
- Exactly when it is done: The key visual cues include watching for the first bubbles to the final foam. You get perfectly golden butter instead of a burnt mess.
- How to use browned butter in baking: There's a food science secret of adding 1 tablespoon of liquid per stick of browned butter to replace evaporated water and keep your baked goods moist.
- Easy recipe swaps: How to confidently substitute liquid browned butter 1:1 in your sweet and savory everyday recipes.
- How to store and freeze browned butter: Simple tips for keeping a batch fresh in the fridge for up to 2 weeks or freezing it in cubes for up to 3 months.
Generated with AI and experts from the Tara Teaspoon team.
Browned butter gets a lot of attention in the culinary world. Known as beurre noisette in French cooking, it’s a classic technique that has been around for centuries.
I learned about this one-ingredient wonder as a child, when mom would make Cashew Cookies with Browned Butter Frosting! Then in culinary school, we used it in so many ways to build flavor in recipes.
Mastering this simple process is truly one of the easiest ways to bring a deep, nutty flavor to your everyday cooking and baking.
What is brown butter?
This liquid gold is created by gently cooking butter for about 10 minutes until the water content evaporates, leaving behind concentrated butterfat (the liquid) and caramelized milk solids (the toasted, golden brown bits).
In culinary terms, this browning process is known as the Maillard reaction. It completely transforms ordinary butter into an incredibly rich, aromatic ingredient that can elevate almost any dish.
Why this 10-minute recipe changes everything
Adding browned butter to baked goods like cookies, cakes, and frosting gives your sweet treats an instant, bakery-level upgrade (seriously, try it in my Browned Butter Frosting!).
But don't stop at dessert; it's equally magical in savory dishes. Drizzling it over pasta, whisking it into sauces, or tossing it with vegetables, like my quick Browned Butter Green Beans with Almonds, adds an immediate restaurant-quality depth that transforms the entire meal.
Once you learn how effortless the process is, you'll want to keep a batch on hand in your kitchen at all times! Here are a few more reasons to elevate your cooking with browned butter:
- One-ingredient recipe: No fancy ingredients required here. All you need is unsalted butter.
- Quick and foolproof: If you can stir and have a pan, you can master this technique. It takes less than 10 minutes from start to finish.
- Meal-prep friendly: Because brown butter stores beautifully, you can easily make a large batch to enhance quick weeknight dinners or weekend baking projects on a whim.
Jump to:
Ingredients and equipment
Since this is such a simple ingredient to prepare at home, make sure you've got the right supplies before getting started. See recipe card for comprehensive details.
- Unsalted butter: I highly recommend using unsalted butter because it gives you total control over the flavor of your final dish. For an extra gourmet touch, consider using a European or European-style butter. It has a higher butterfat content and less water than standard American butter, which yields an even richer result. You can use salted butter in a pinch, but keep in mind that the salty flavor concentrates as the water evaporates, which can ruin the sodium balance of a recipe. It also foams more, making it harder to see when the butter has fully browned.
- Light-colored skillet: In order to clearly monitor the browning process, use a stainless steel or light-colored-interior skillet or saucepan. Dark, non-stick pans make it almost impossible to see the milk solids changing color, increasing the risk of burning the batch.
- Heat-proof utensil: You'll be stirring the butter while it's on the stove. A heat-proof silicone spatula, wooden spoon, or whisk works well to continuously scrape the browned milk solids off the bottom of the pan so they toast evenly instead of sticking and scorching.
- Silicone ice tray: If you plan to store frozen browned butter, get a silicone ice tray for easy prep and removal.
How to make browned butter
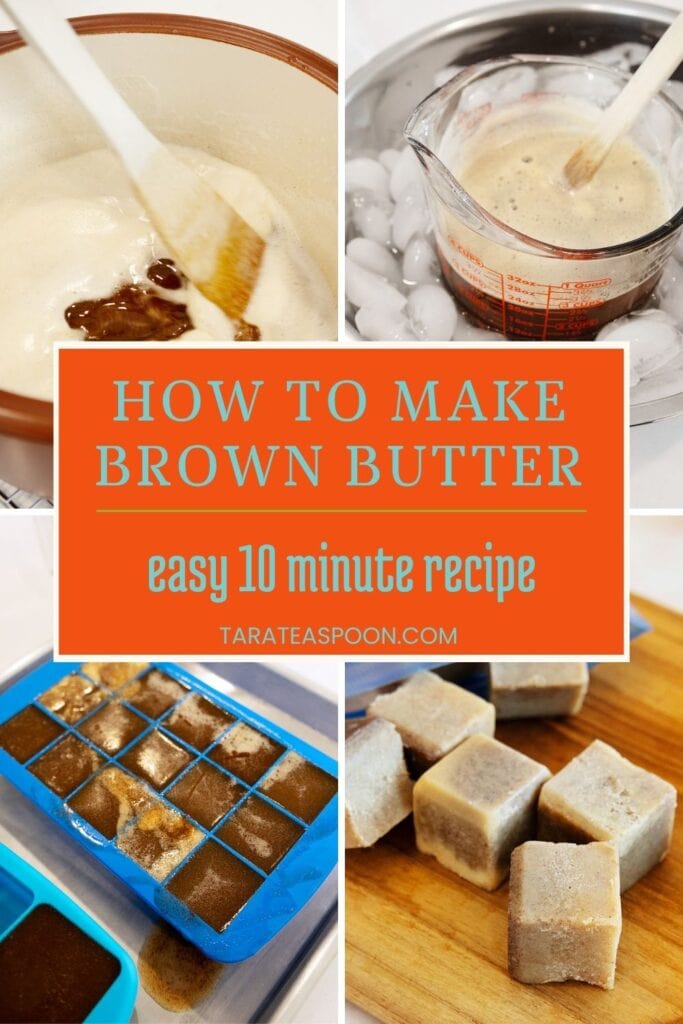
Let's get started! Use this step-by-step photo tutorial of how to brown butter to master the process. See recipe card for comprehensive directions.
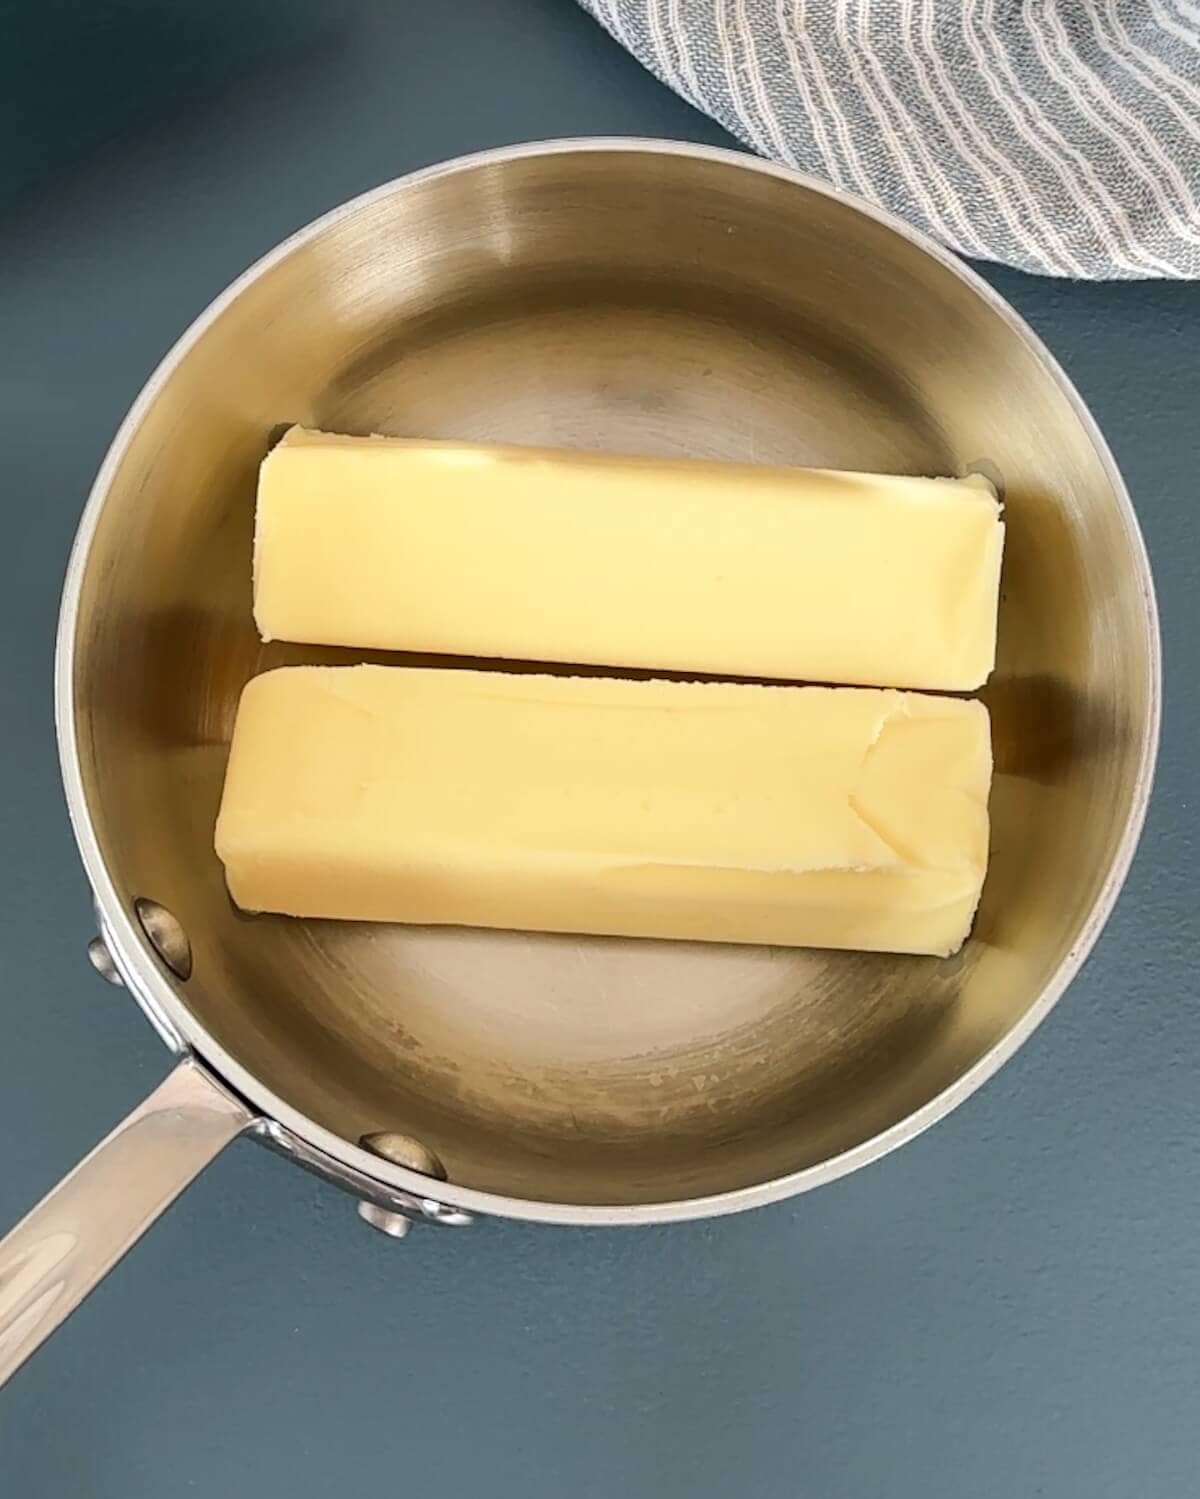
- Step 1: Place the butter in a skillet or saucepan. If you'd like, cube the butter to help it melt more evenly.
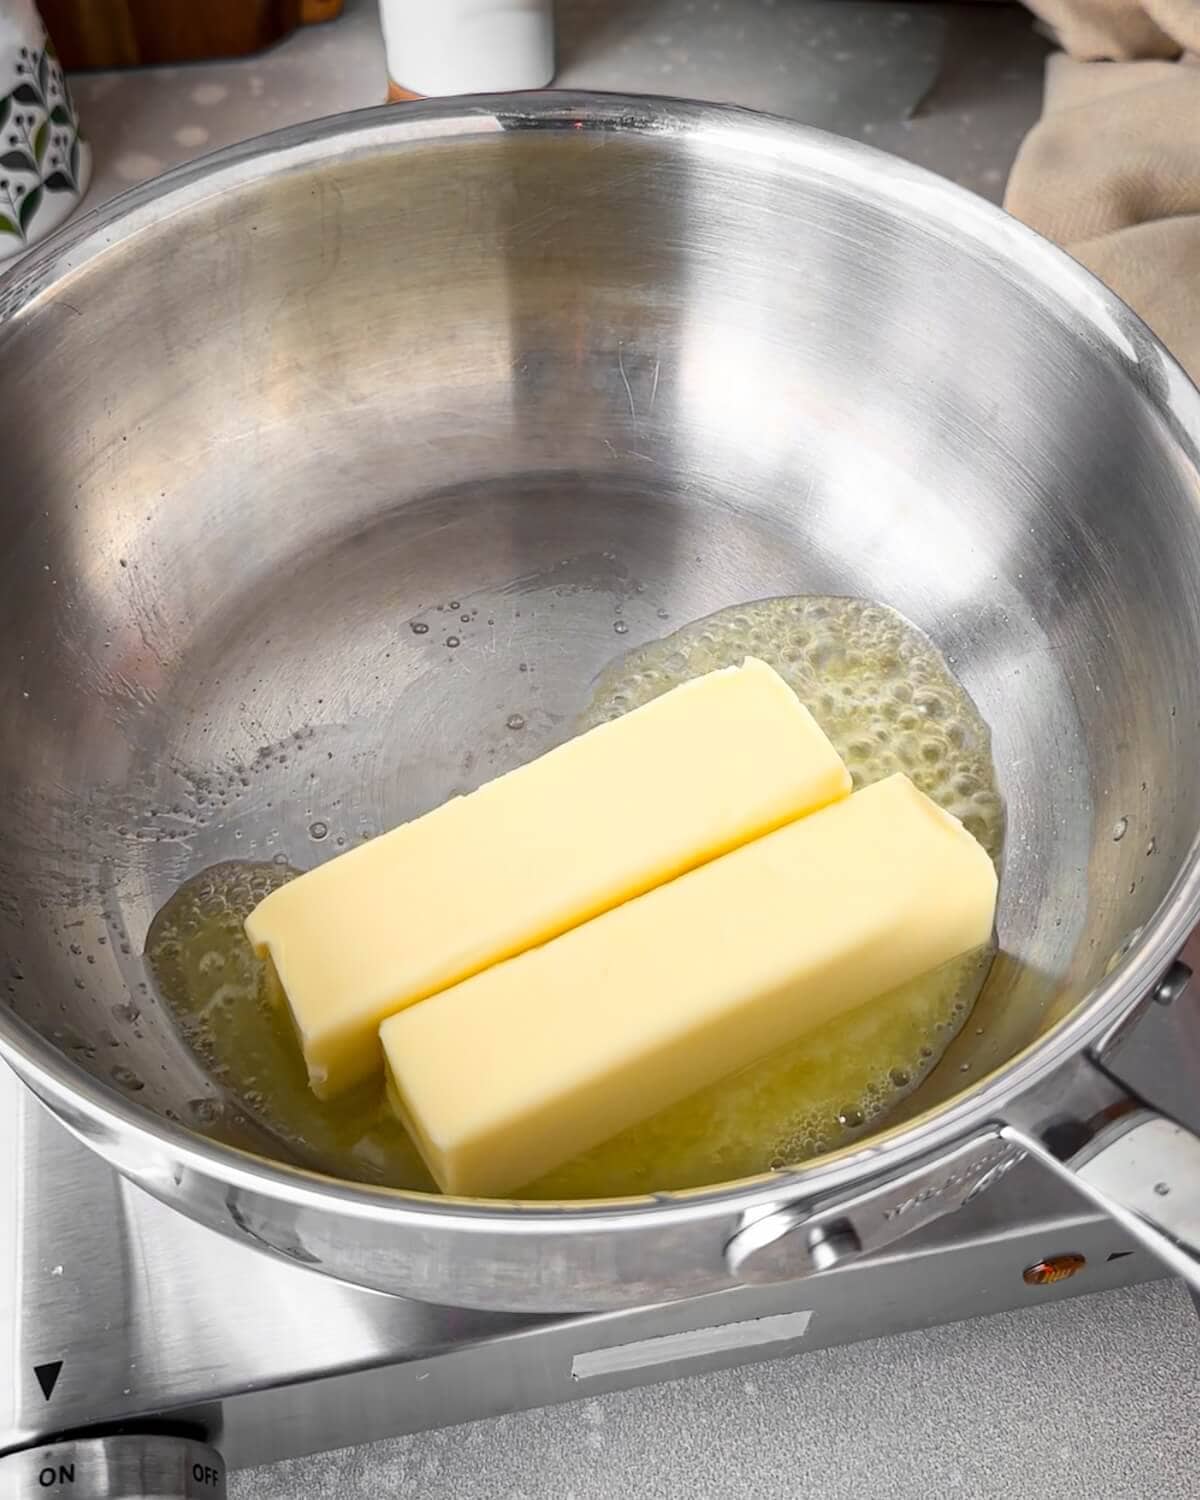
- Step 2: Stir the butter as it melts and begins to bubble.
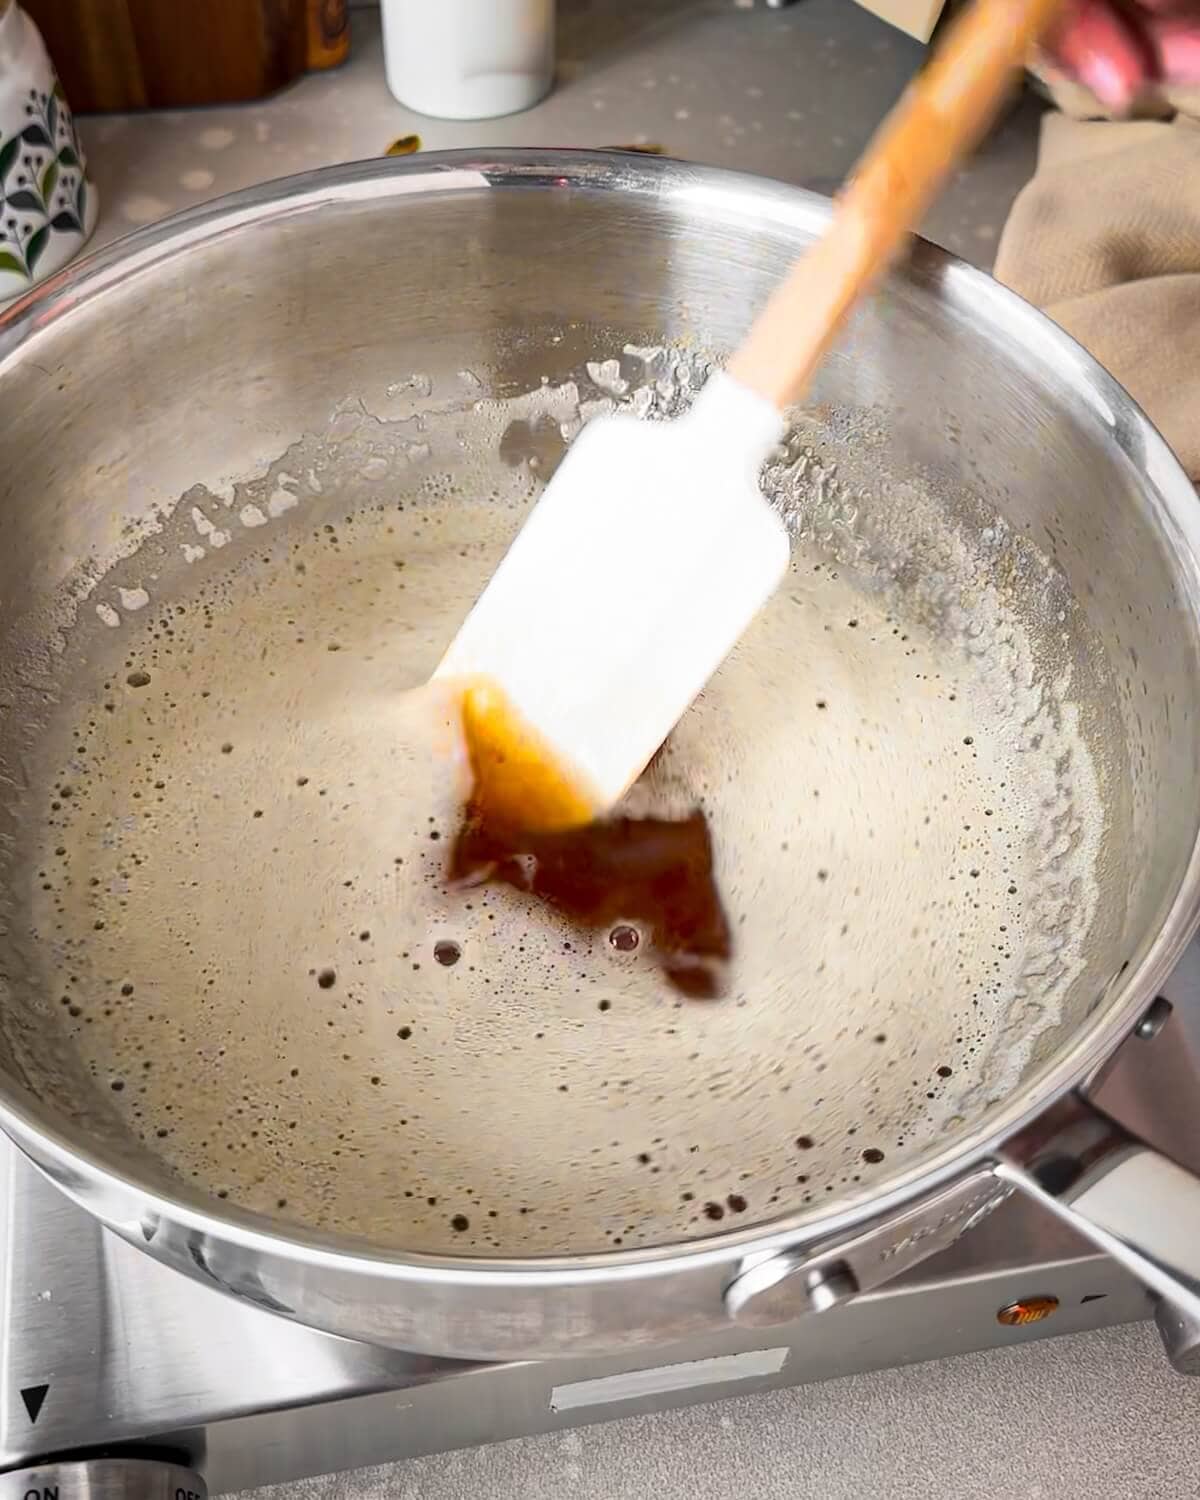
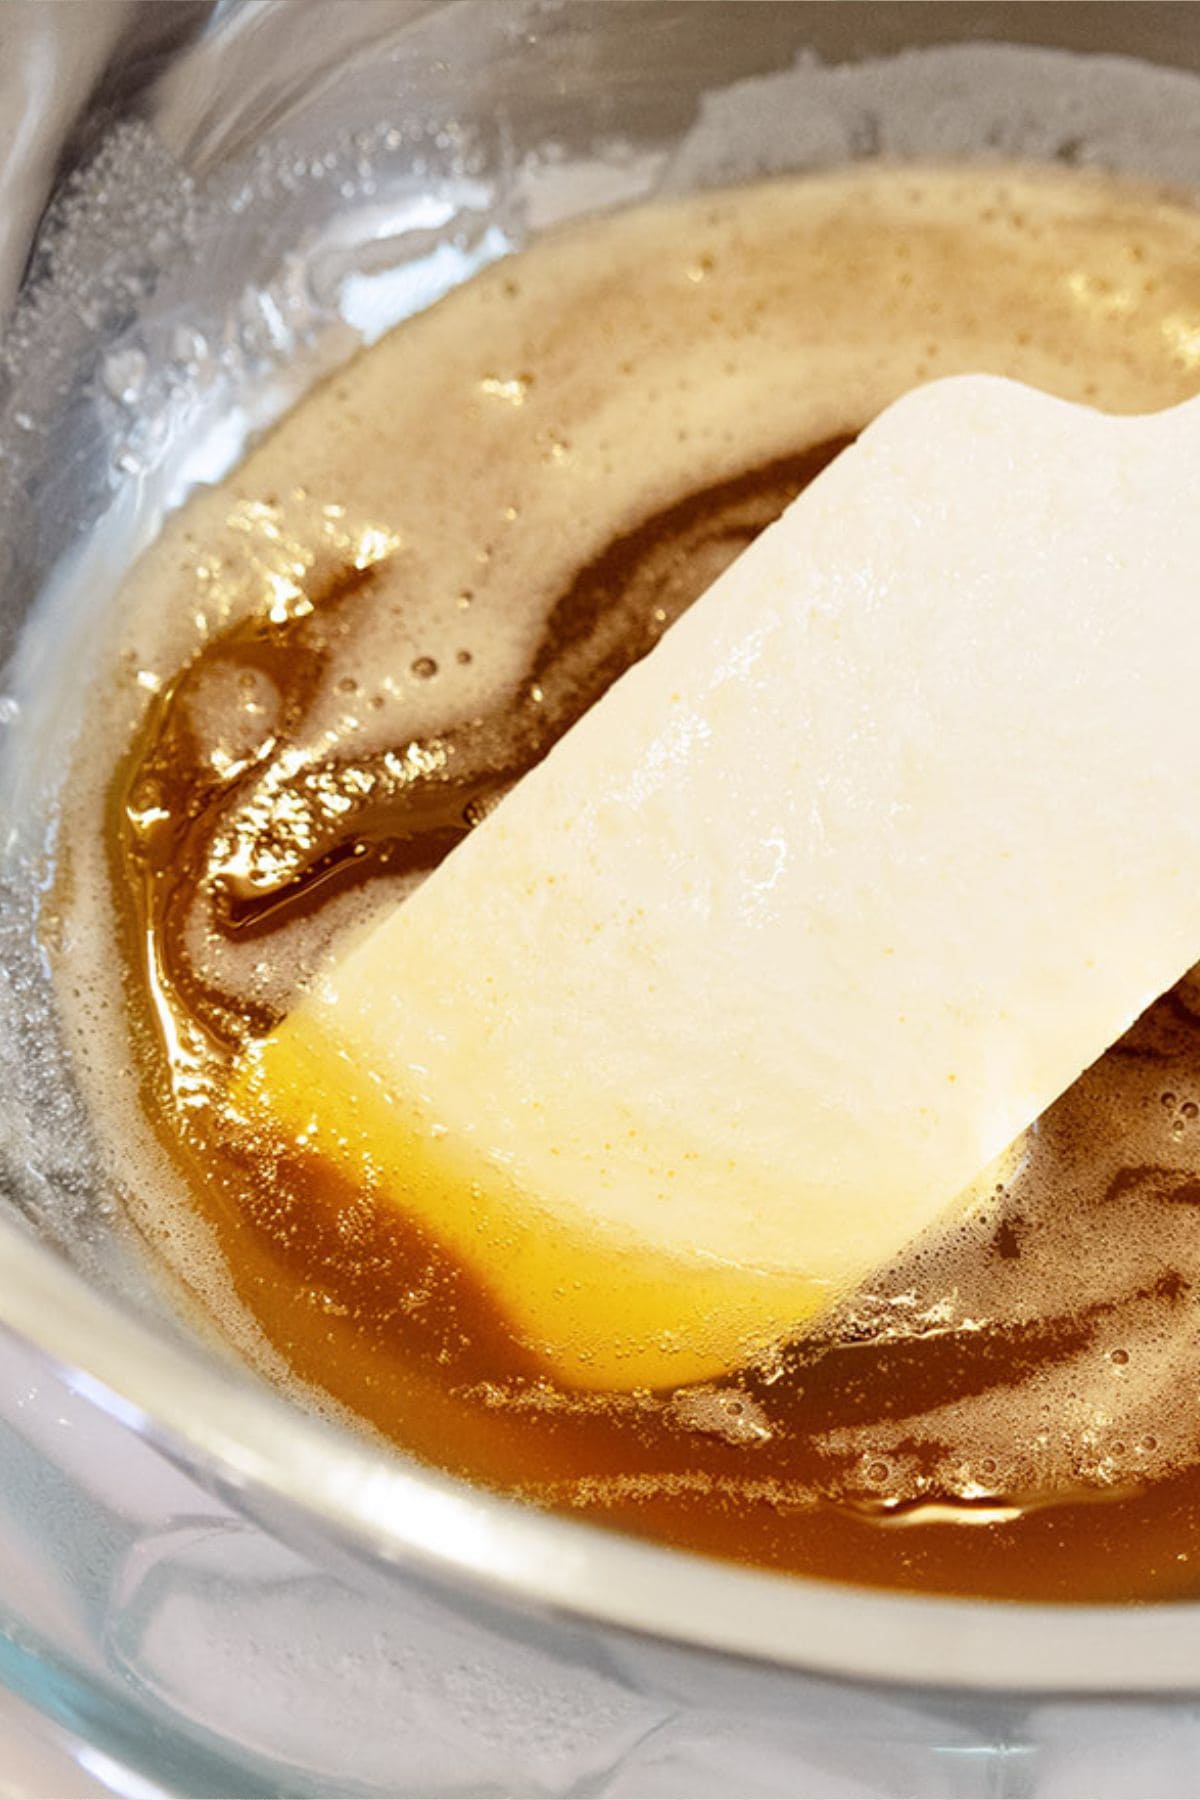
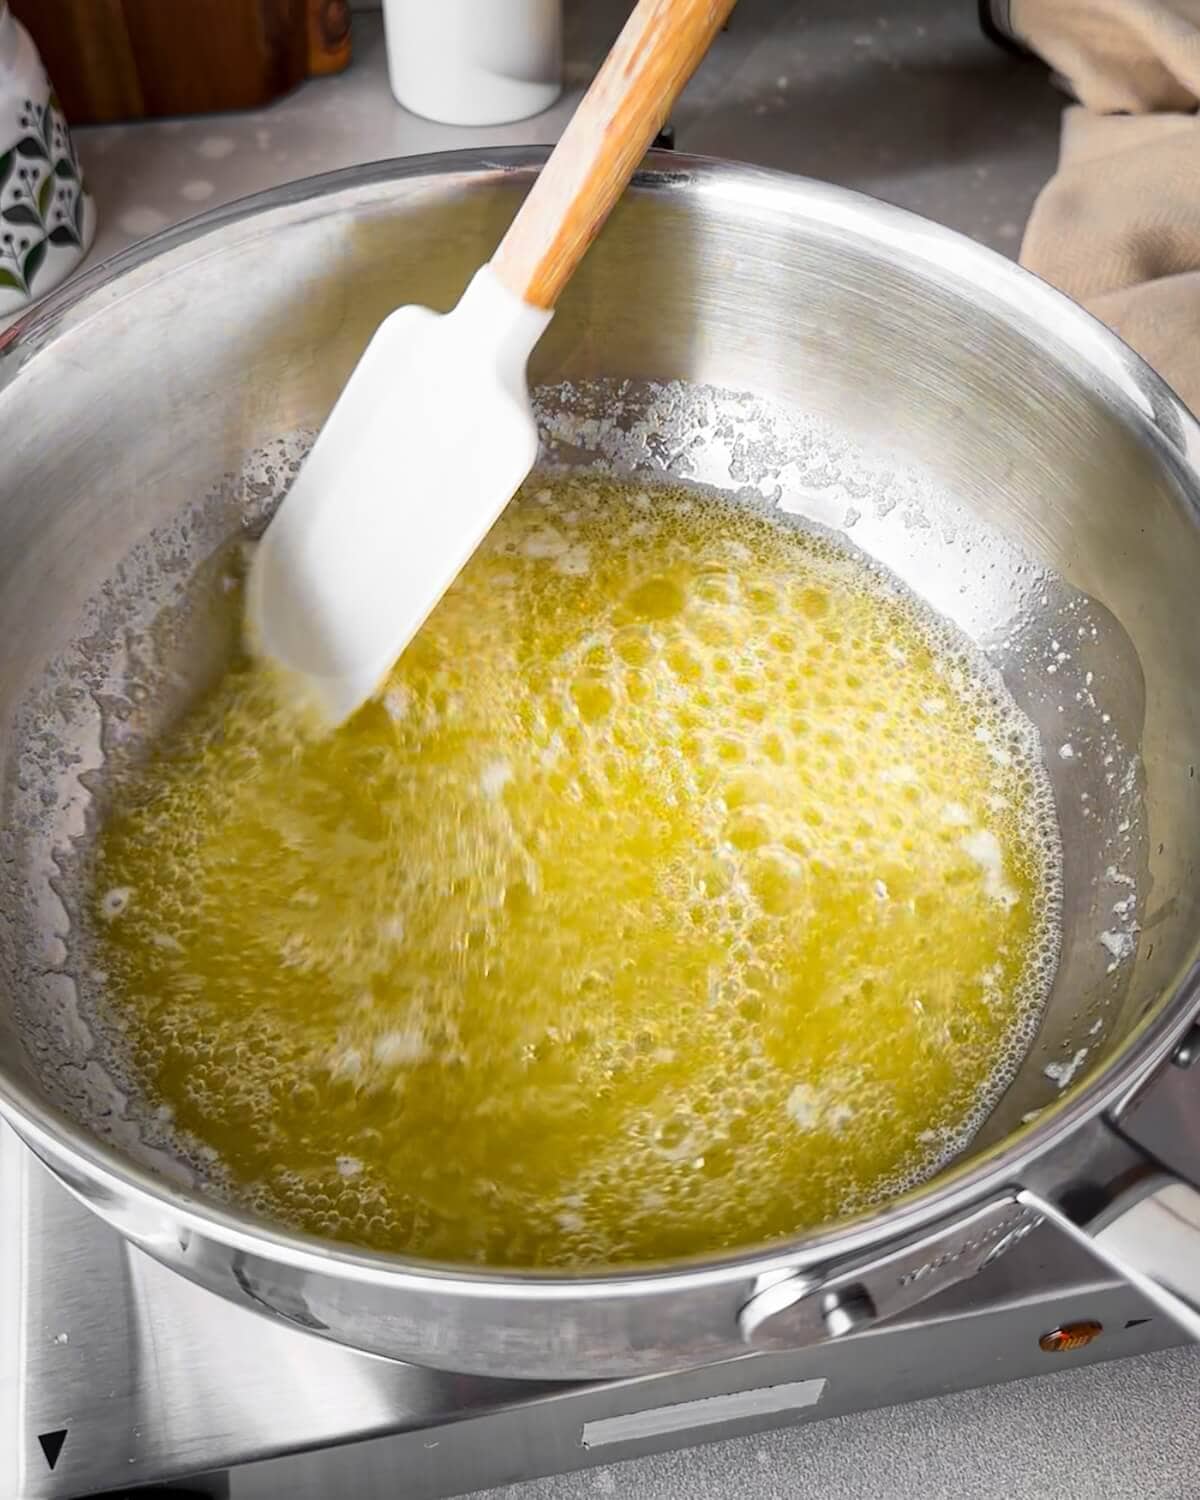
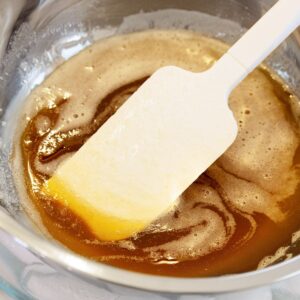
- Step 3: Once most of the liquid has evaporated, the butter will start foaming. Keep stirring and scraping the bottom of the pan so the browned bits don't stick.
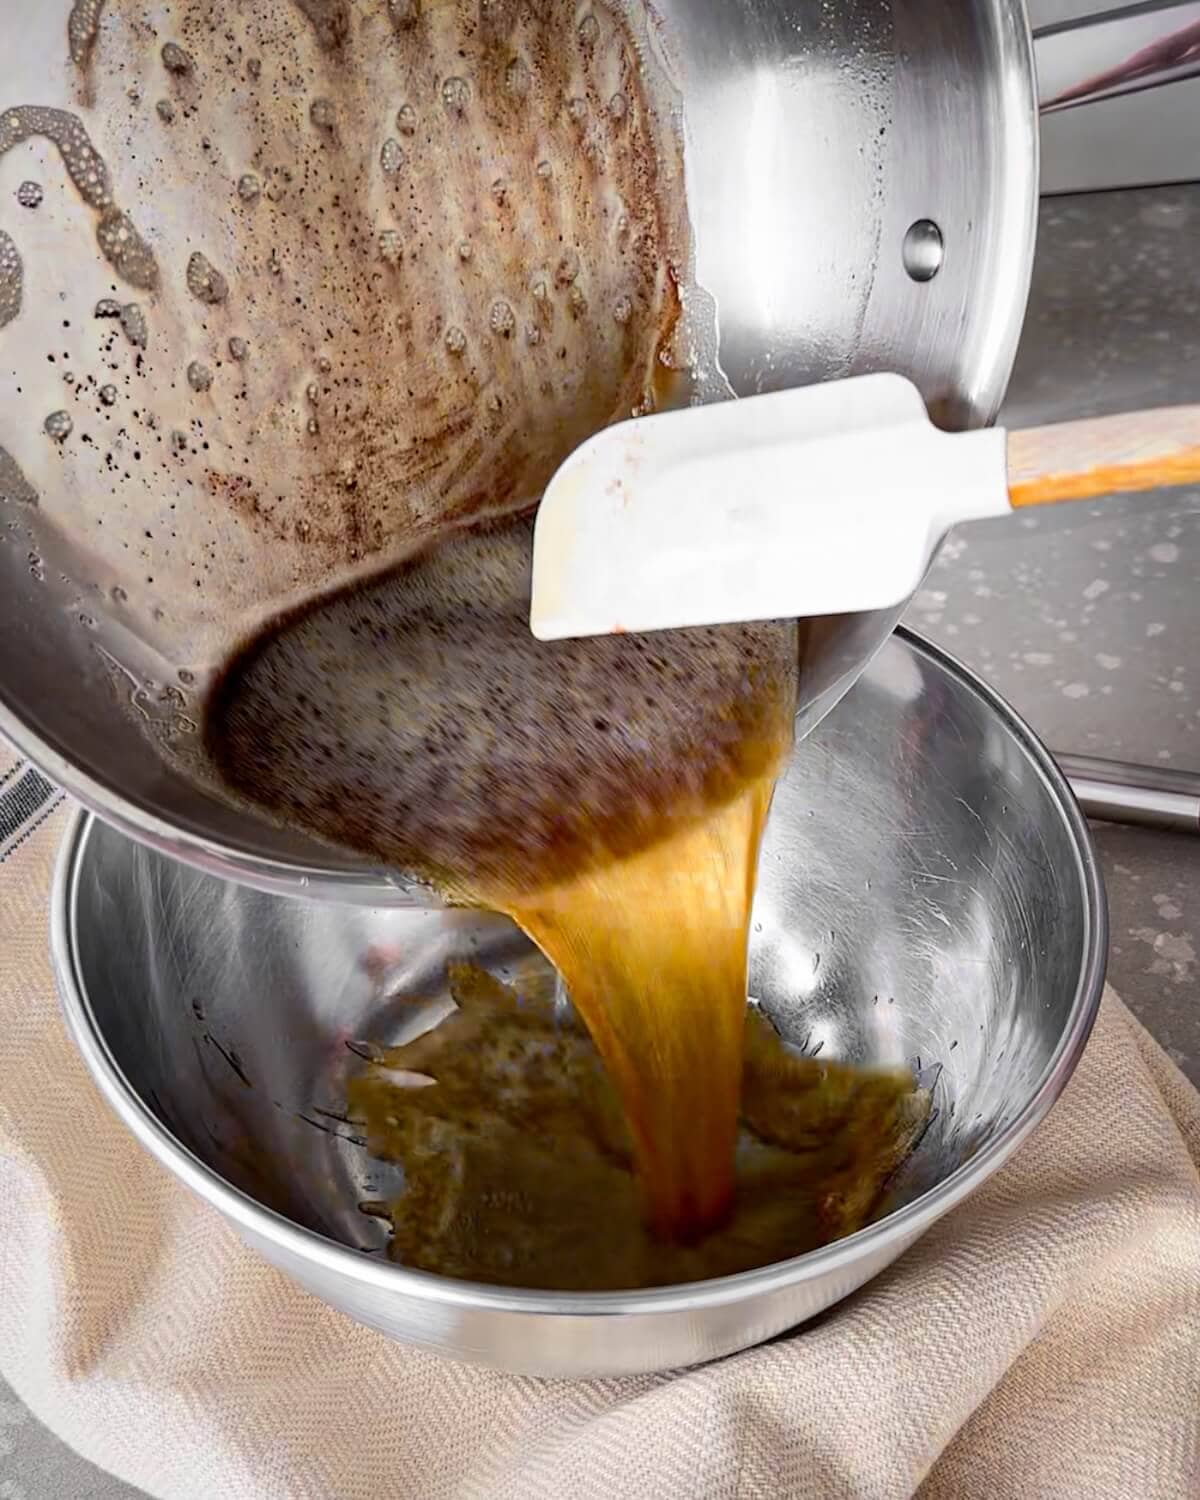
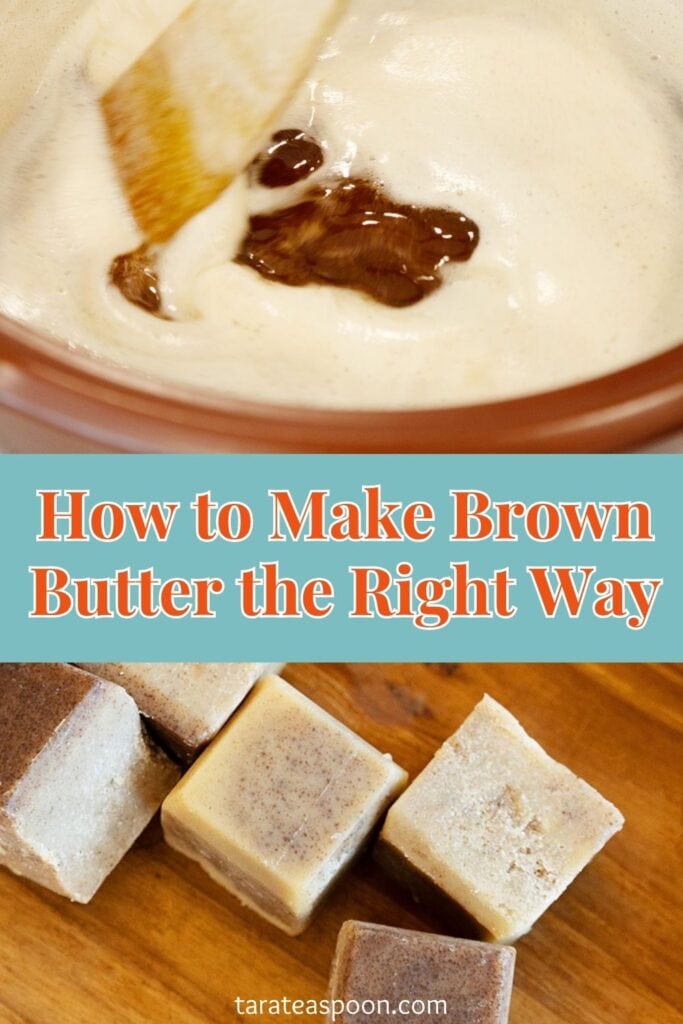
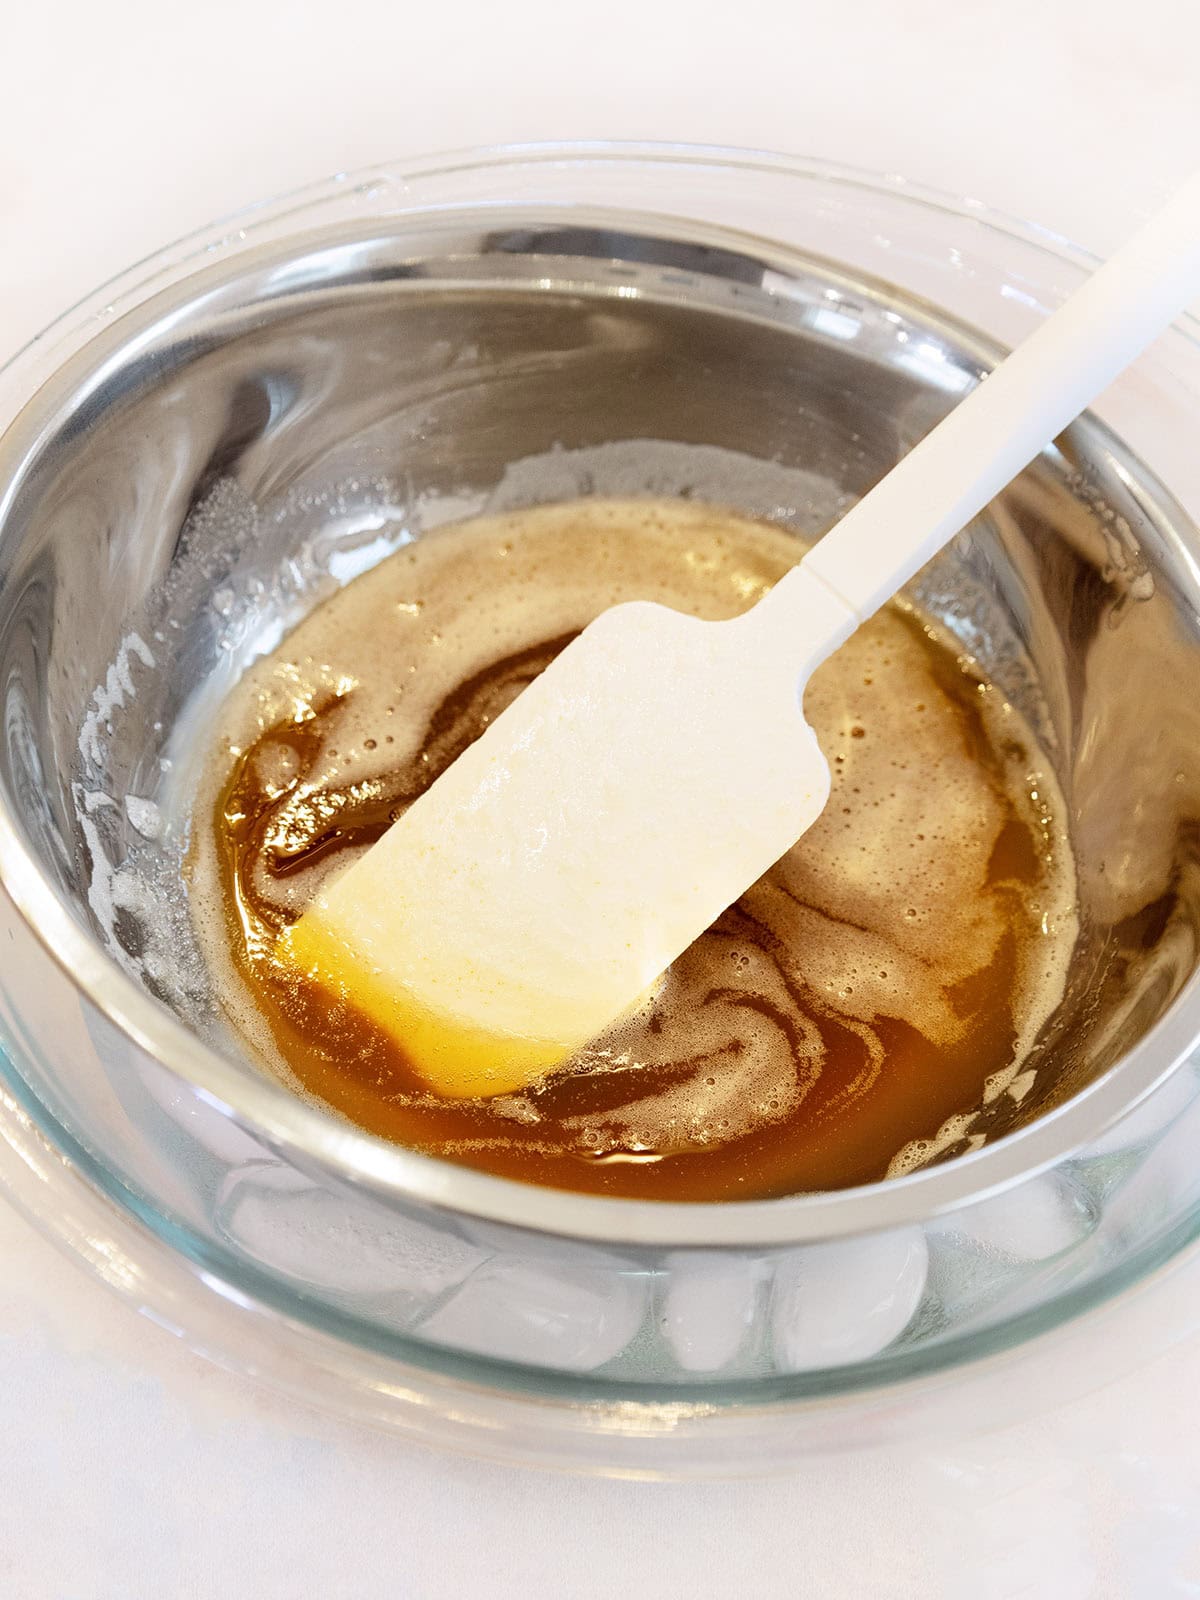
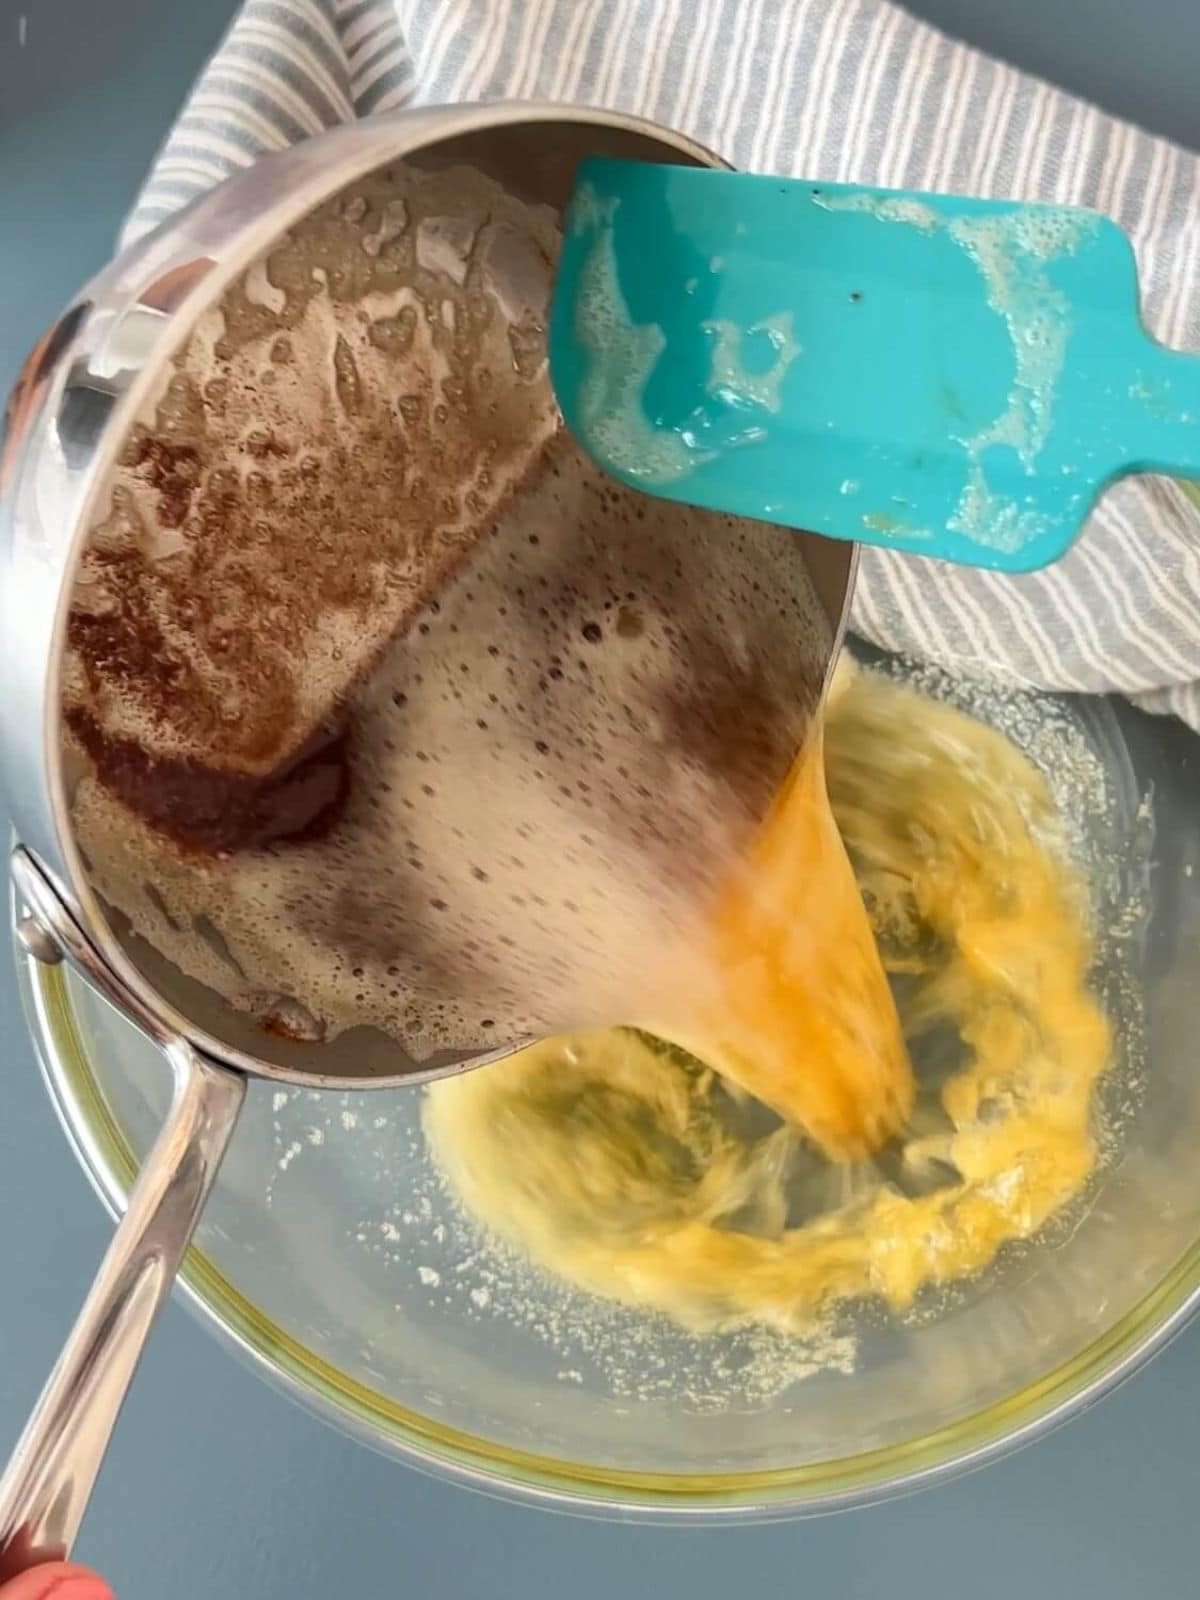
- Step 4: Watch for the foam to subside slightly. The butter will look deep golden brown and smell nutty. Pour the butter into a bowl to start cooling it down.
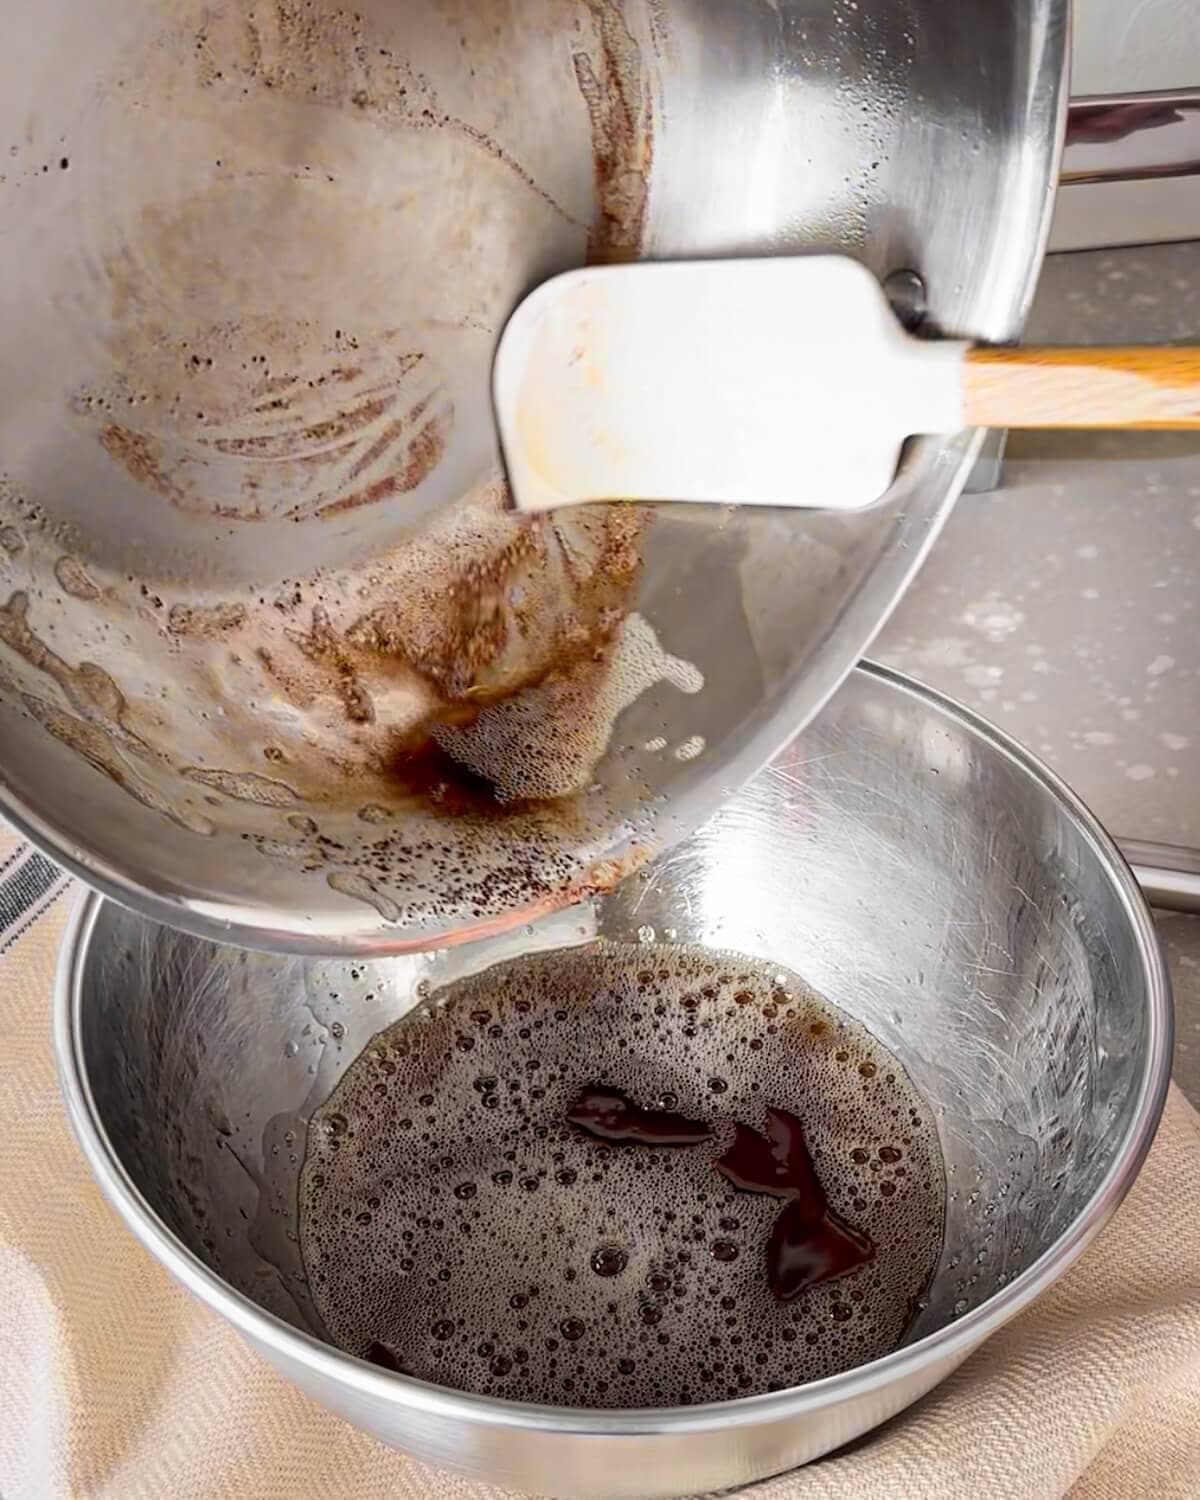
- Step 5: Use the spatula to scrape out all of the toasted milk solids.
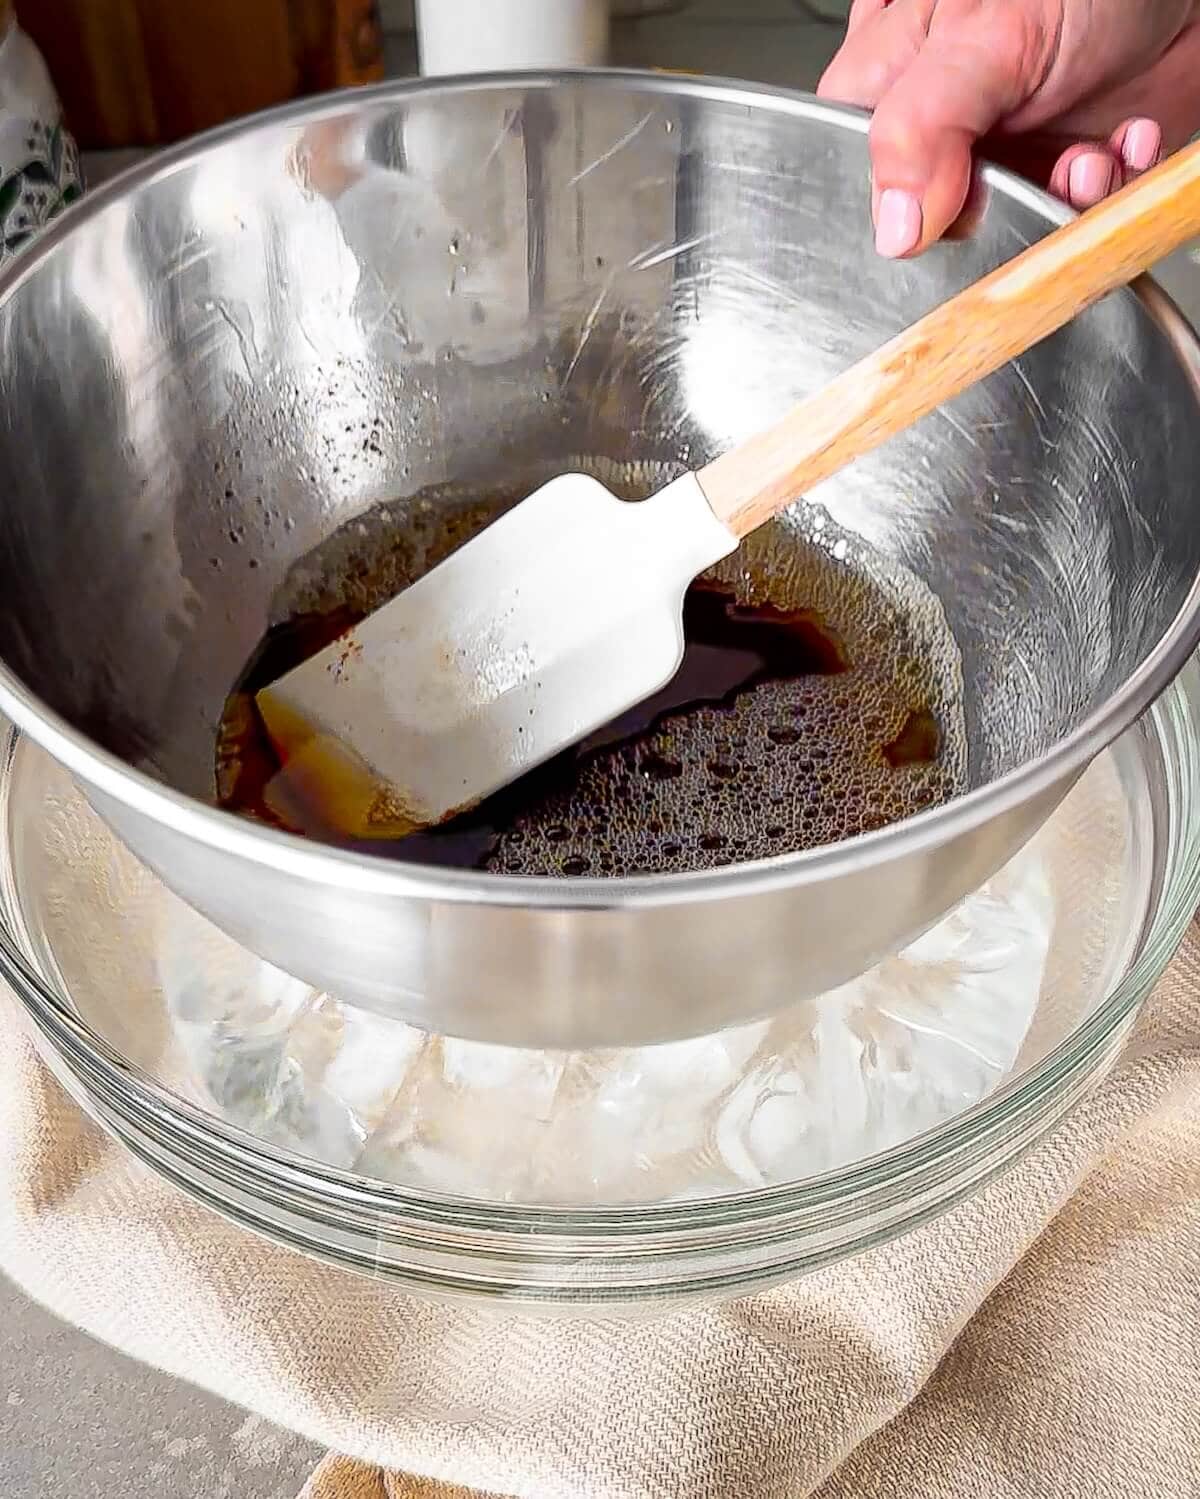
- Step 6: For quicker cooling, you can place the butter over a bowl of ice and water for a minute.
Visual cues: when is it done?
If you've ever wondered how to tell when brown butter is perfectly done, watch closely once it starts foaming; that's your sign that most of the water has evaporated and the milk solids will start toasting quickly. Pay attention to your senses of sight and smell with these cues:
- Color: The liquid transitions from yellow to a warm golden hue, and finally settles into a beautiful, deep amber brown.
- Visual: The butter will have a light, delicate layer of foam on top with specks of toasted milk solids at the bottom of the pan.
- Aroma: A rich, intensely nutty, caramel-like aroma will fill the air.
To prevent burned butter, remove it from the heat the moment the color hits the amber stage. Pour into another bowl immediately to stop the cooking process from the residual heat of the pan.
Browned butter vs. burnt
Butter transitions from perfectly toasted to completely ruined in seconds. This is what will happen if you continue cooking it past the amber stage:
- Burnt: The butter loses all of its surface foam and turns a dark, muddy brown or even completely black. The gorgeous toasted flecks turn into charred black debris, and you'll notice an acrid, smoky smell. Mixing burnt butter into your recipes will make them taste unpleasantly bitter.
Tara's pro tips
As a recipe developer, I'm sharing my extra kitchen secrets to ensure success every time:
- Use room temperature butter: Frozen or ice-cold butter tends to sputter violently and unevenly when it hits a warm pan. Starting with room-temperature butter ensures a much smoother, safer melting process.
- Cut into uniform pieces: Slice your sticks into even cubes before heating so everything melts at the same rate. This prevents early-melted milk solids from scorching while you wait for larger chunks to break down.
- Don't crowd the pan: Make sure your skillet or saucepan is large enough that the melted butter sits in a relatively shallow layer. If the butter is too deep, the water takes much longer to evaporate, making it harder to accurately track your visual color cues.
How to use and substitute browned butter
There are two main ways to use this ingredient in your kitchen: as a melted liquid or as a chilled/room temperature solid. Understanding how to make substitutions with browned butter in each state is the key to perfect results.
1. Using liquid browned butter (1:1 swap)
For recipes using melted butter, you can use browned butter immediately while it is still warm and liquid. It can be swapped as a straightforward 1:1 substitution; if a recipe calls for 3 tablespoons melted butter, use 3 tablespoons of liquid browned butter.
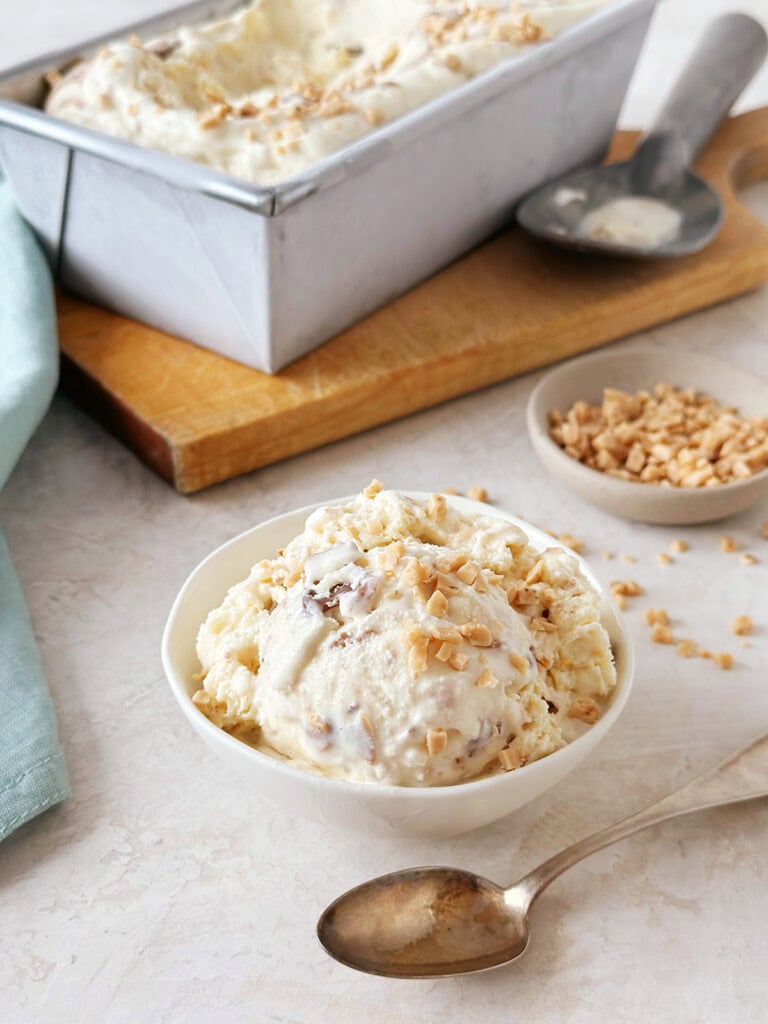
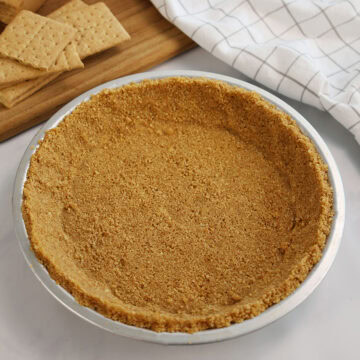
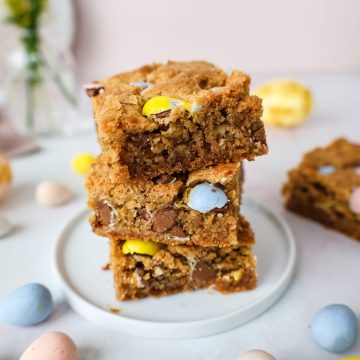
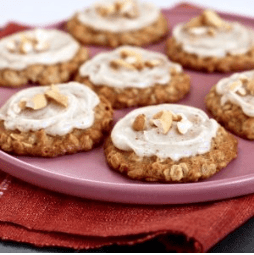
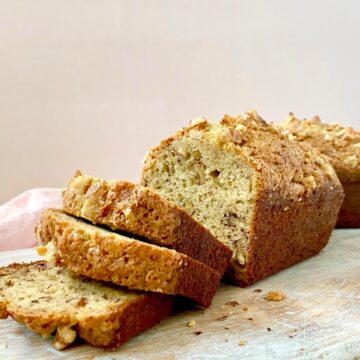
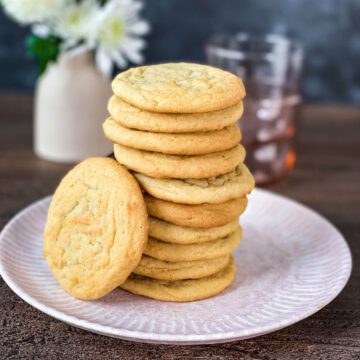
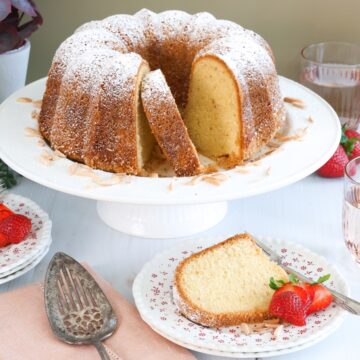
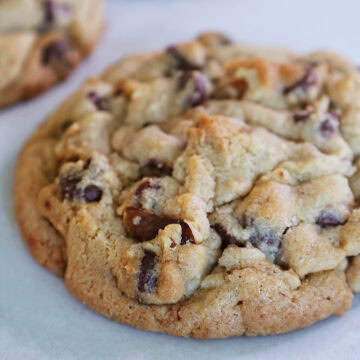
It's absolutely delicious in quick breads, cookies or blondies, and cakes. It can also be whipped into standard buttercream or stirred into softened ice cream.

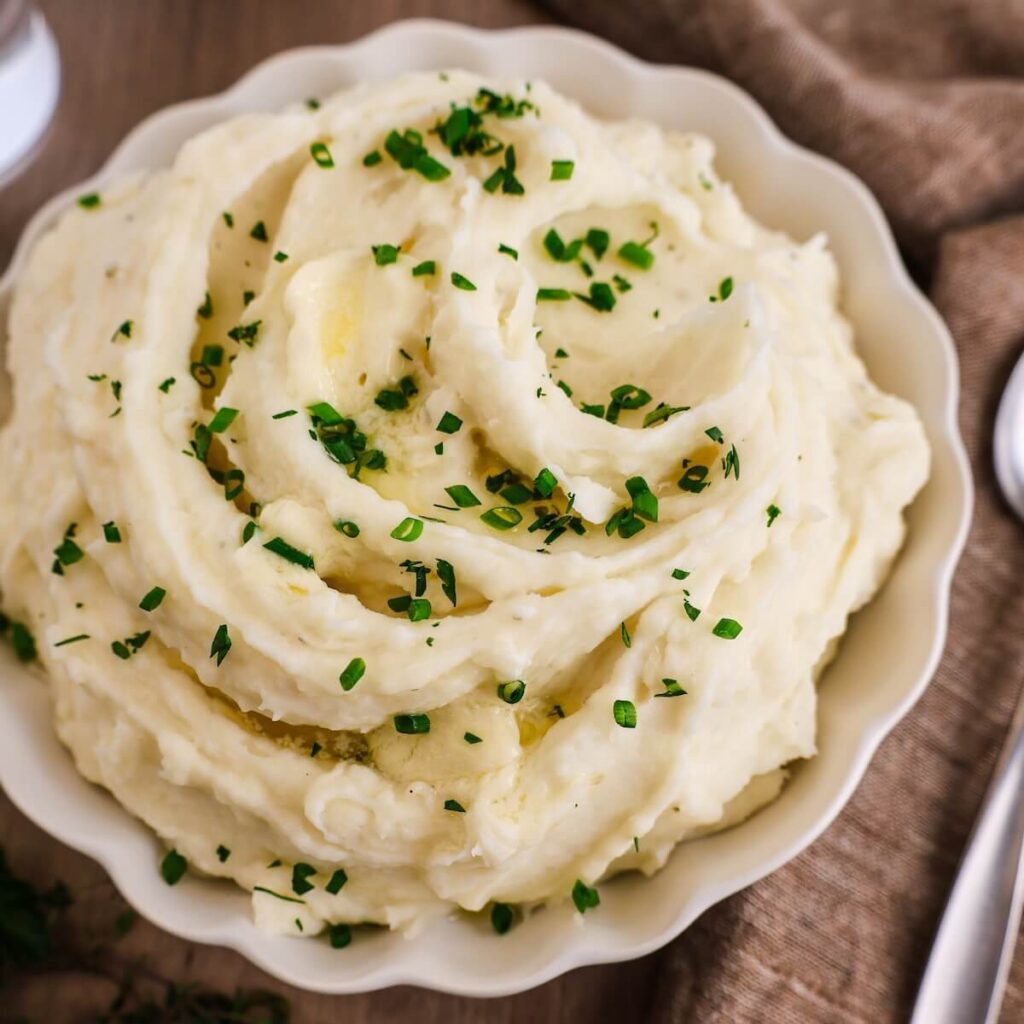
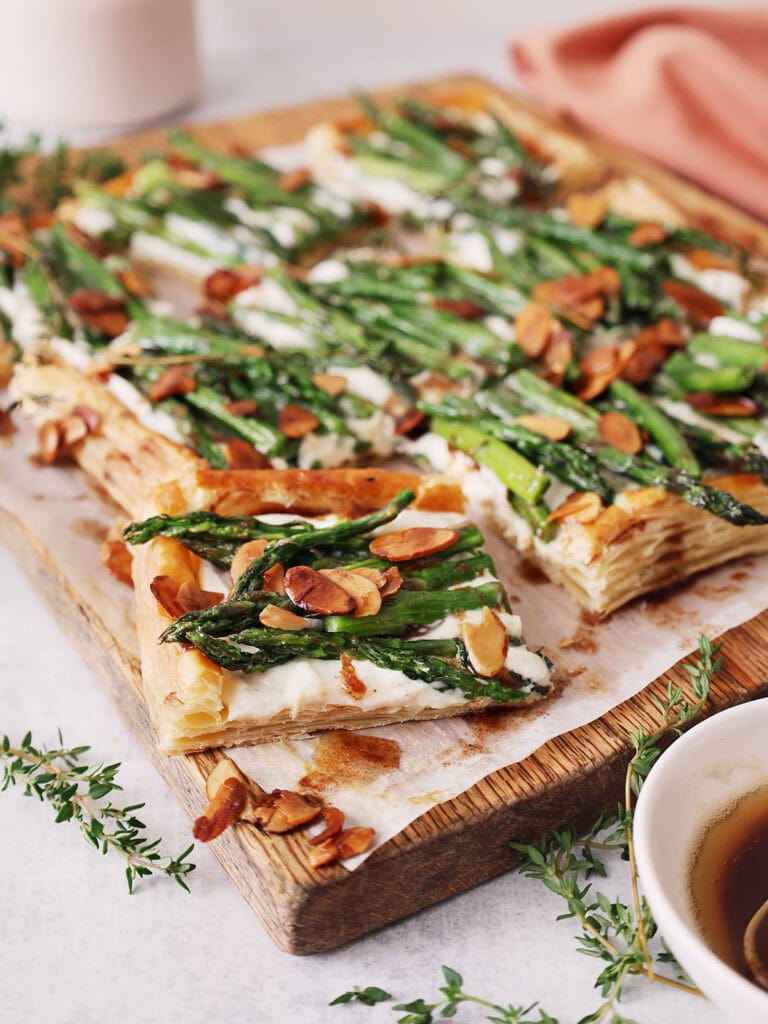
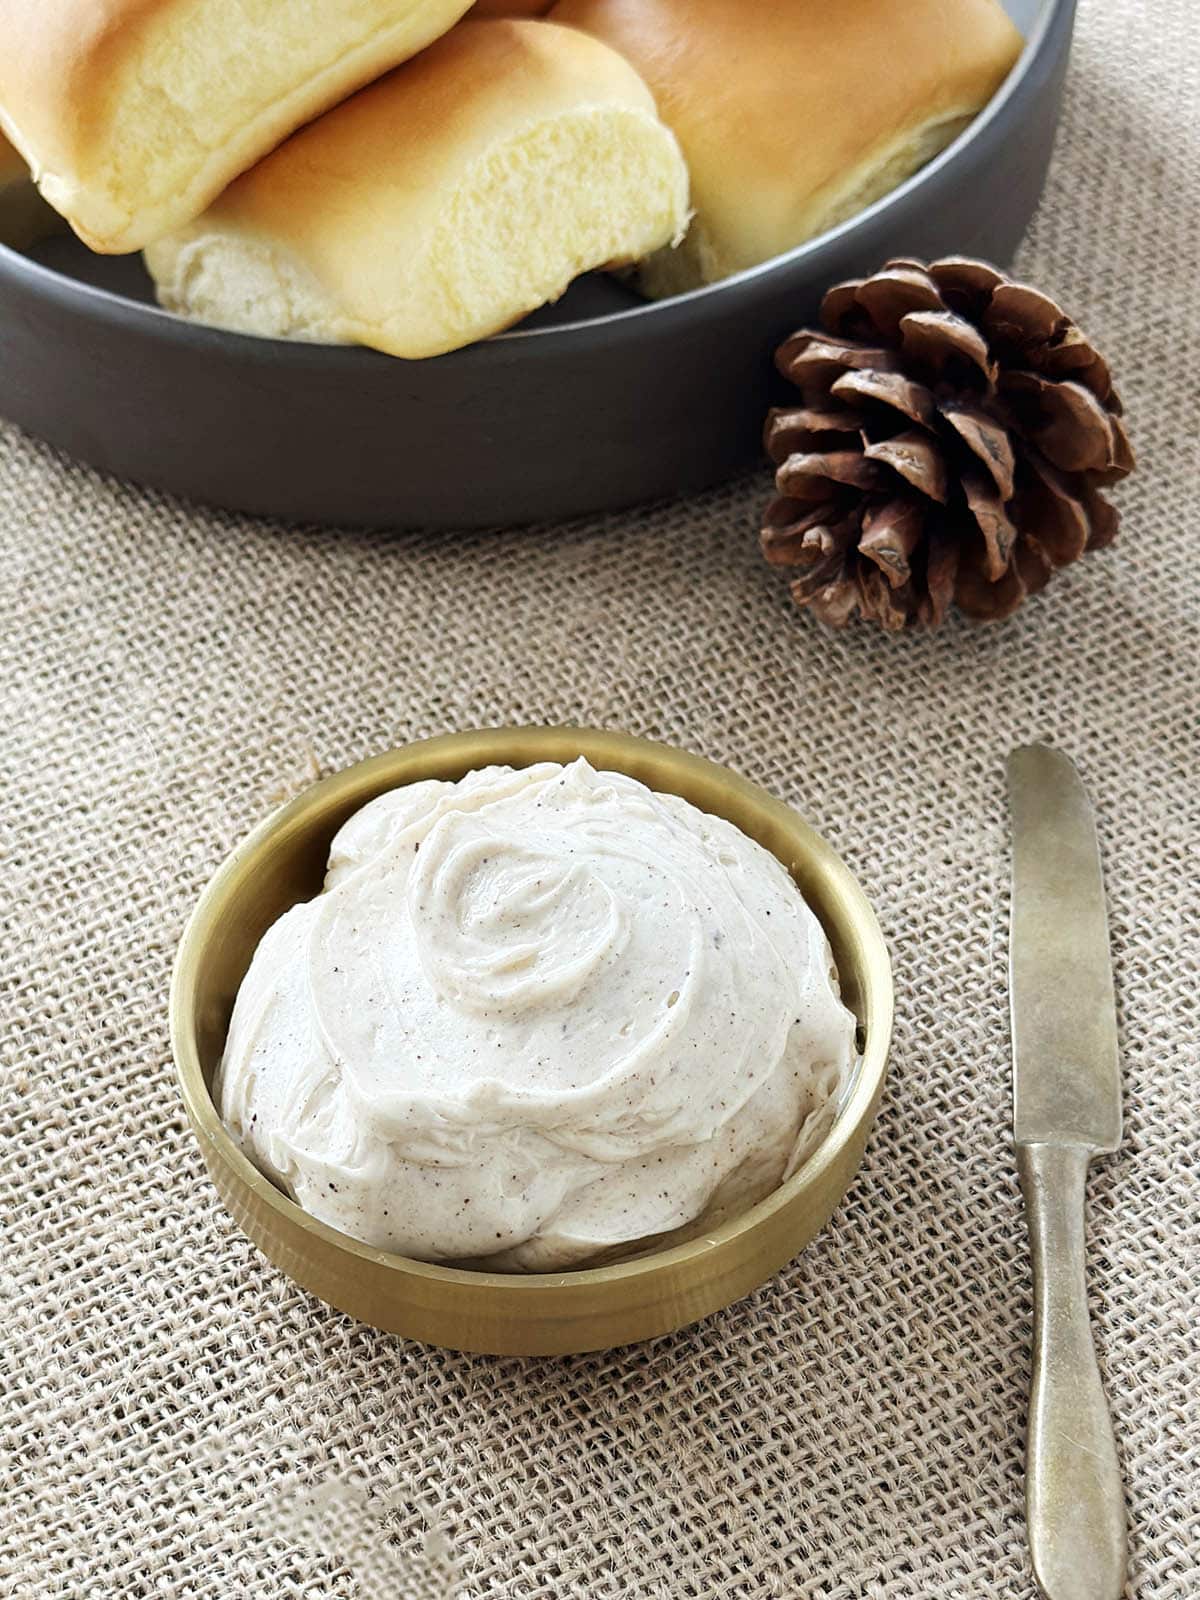
Consider mixing it into Fluffy Mashed Potatoes, drizzling it over a savory tart or roasted vegetables, tossing it with pasta, or brushing it on top of side dishes like my Super Soft Classic Dinner Rolls.
Try using a liquid batch in any of these recipes:
2. Using solid or room temperature butter in baking
If a recipe calls for chilled or room temperature solid butter, substitutions are a little trickier because you have to consider the culinary method you are using:
- Cooking: If you are cooking and simply using it to sauté vegetables or sear meat, it can be swapped 1:1. Try making this simple swap in my Brown Sugar Glazed Carrots or Pan-Seared Salmon recipes.
- Baking: However, if you are baking, substitutions requires a quick lesson in food science.
The science of baking with brown butter
Baking relies on precise fat-to-liquid ratios. Standard American butter is roughly 15% to 20% water, which completely evaporates during the browning process—leaving you with about a 25% loss in total volume.
If you make a direct 1:1 swap without compensating for that lost moisture, the texture of your baked goods will be compromised—likely turning out dense, dry, and crumbly.
How to adjust your recipes
- Measure your butter: Always brown the exact amount of butter called for in the recipe. For example, if a recipe requires a ½ cup of regular butter, that is the initial amount you will want to brown.
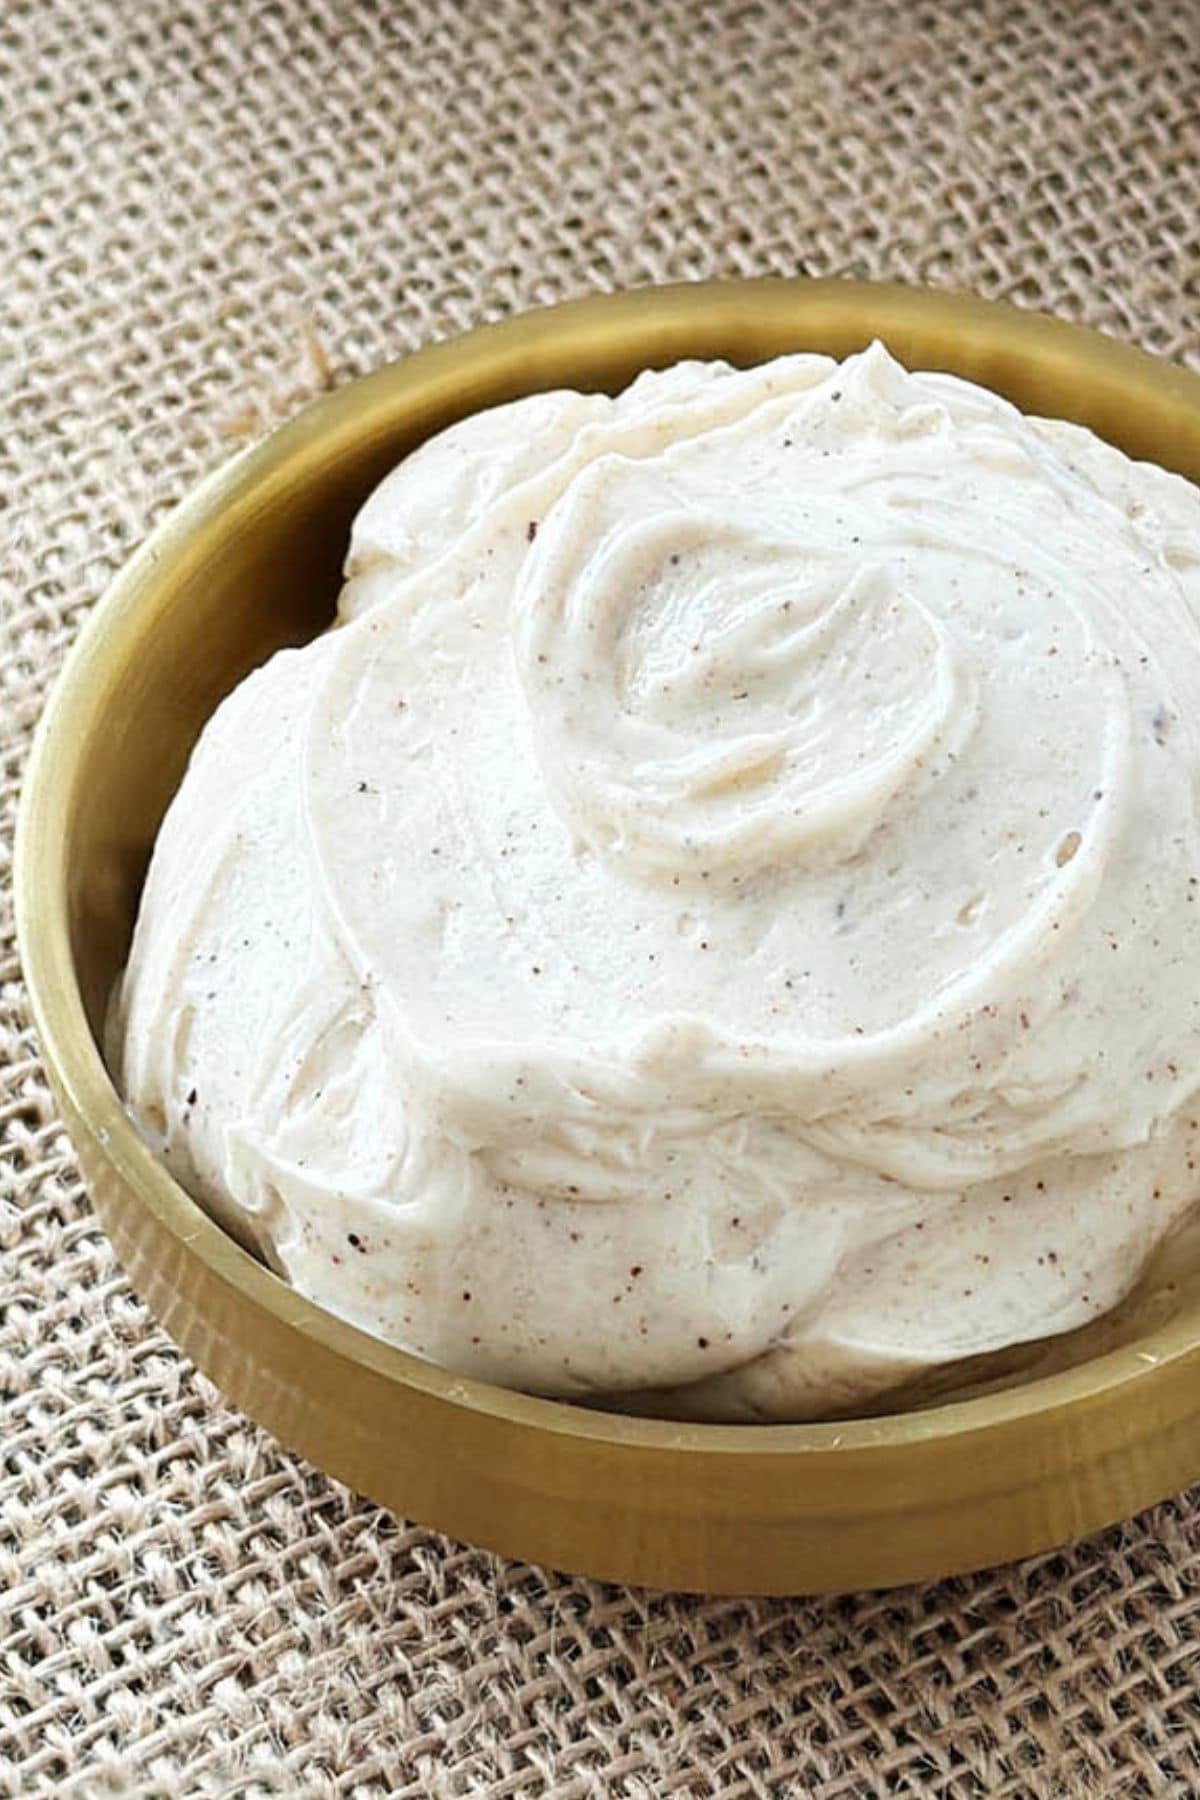
- Solidify: Once browned, pour the liquid into a bowl and place it in the refrigerator until it completely solidifies. If your recipe calls for creaming room temperature butter with sugar, let it sit on the counter until it reaches a softened, scoopable state.
- Add back the liquid: Proceed with the recipe as written, but add 1 tablespoon of liquid (like water or milk) per ½ cup (1 stick) of butter with the other wet ingredients to compensate for the evaporation.
Replacing moisture is the ultimate secret to beautifully soft, tender, and perfectly structured baked goods.
Tip: As you are getting used to baking with this ingredient, don't be afraid to look for recipes that have been specifically formulated to use brown butter. They've already done all the moisture compensation work for you!
If you'd like to put baking science into action, try substituting chilled or softened brown butter (plus the necessary replacement liquid) in one of these recipes:
Storage and freezing
Fridge: Store in an airtight container in the refrigerator for up to 2 weeks. The butter will solidify as it chills, but it can easily be softened on the counter or gently re-melted as needed.
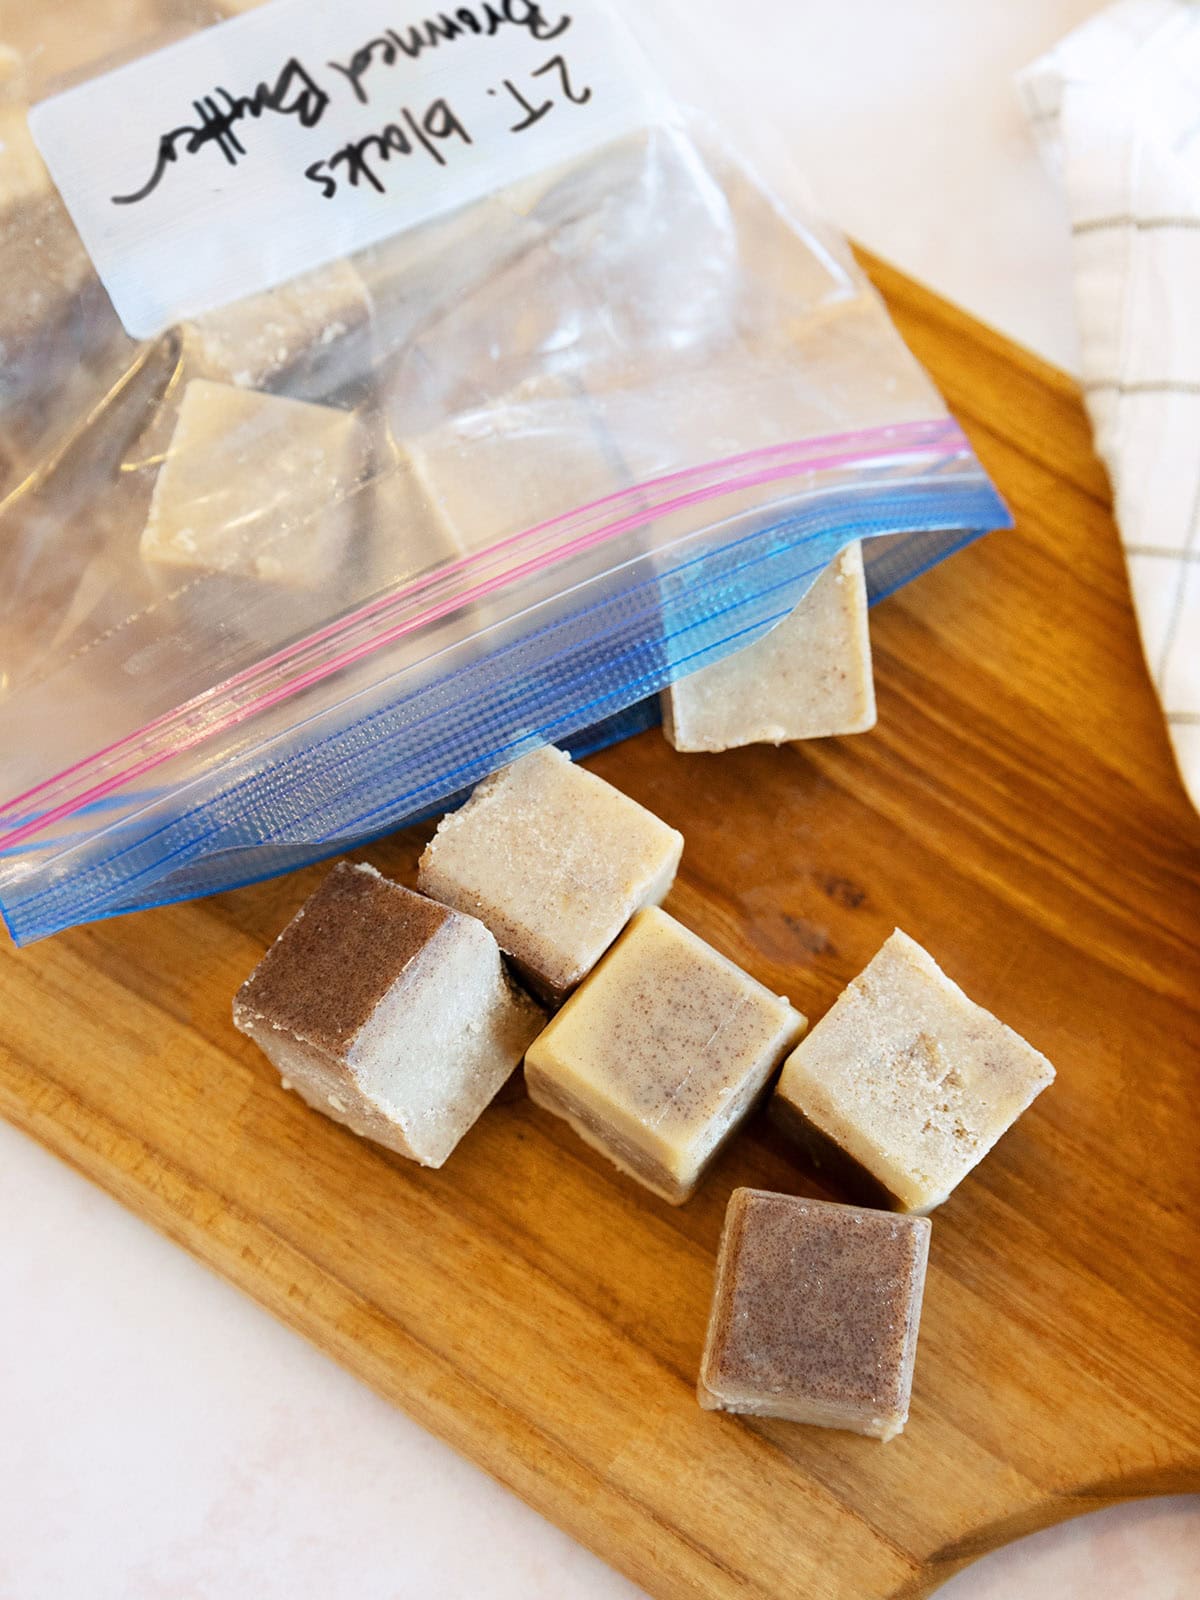
Make-ahead and freezer: Because it has a low moisture content, browned butter freezes really well for up to 3 months. This is a fantastic way to keep pre-measured portions on hand for your next baking session! Here's how to do it:
- Step 1: Pour your browned butter into a bowl to stop the cooking process.
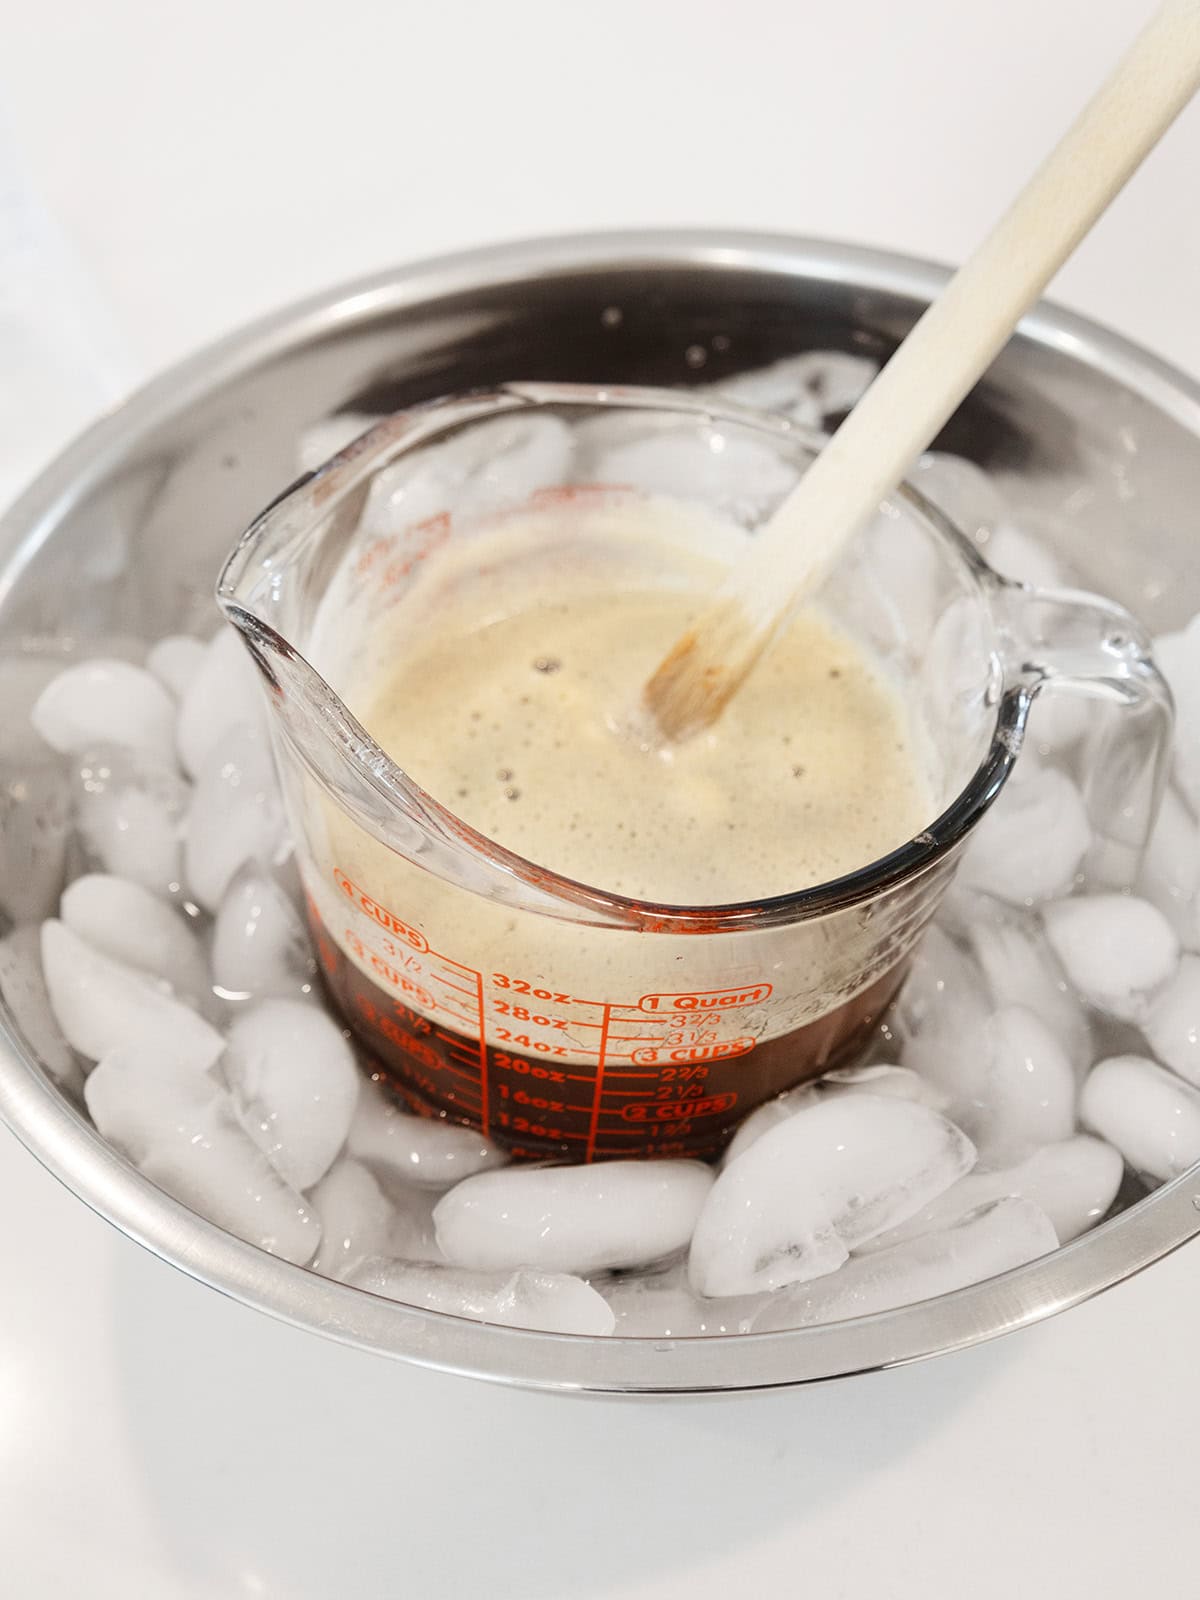
- Step 2: If you want to speed up the cooling process, you can put the browned butter into an ice bath.
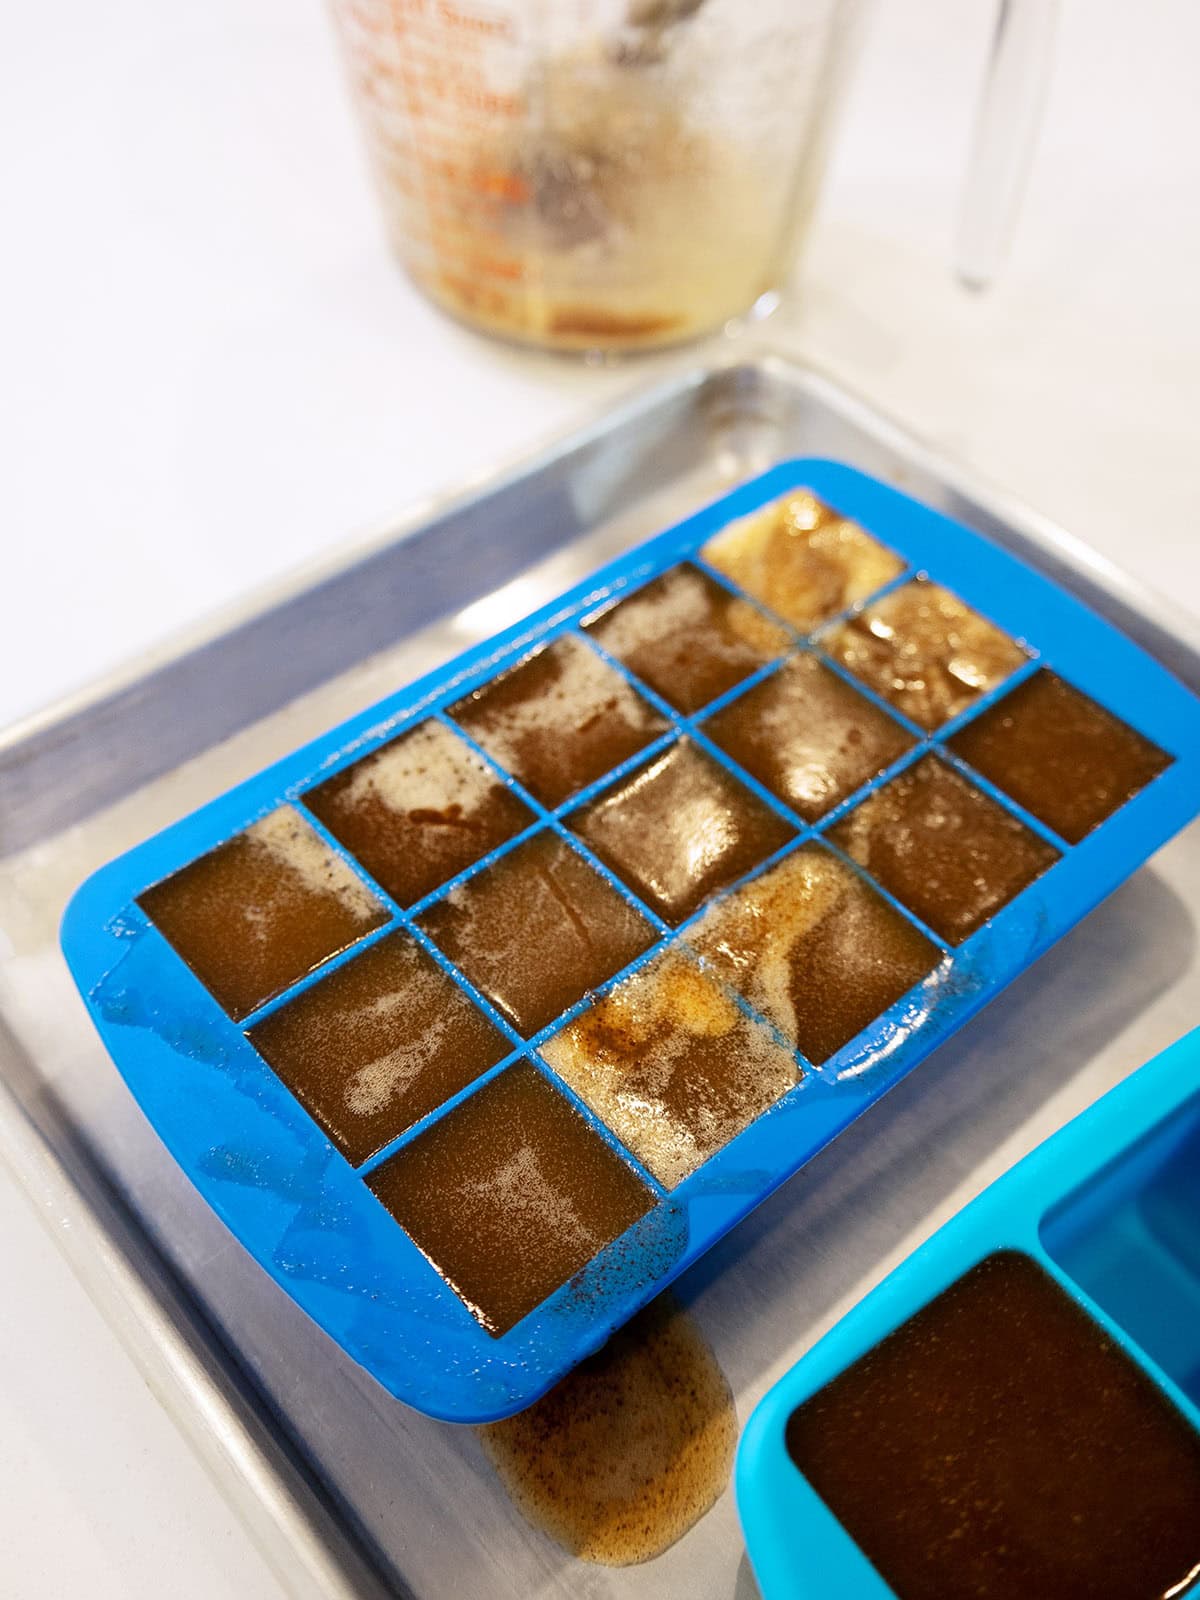
- Step 3: After the hot butter has cooled slightly, pour it into a silicone ice cube tray to freeze. I like to use a tray that can hold 2 tablespoons in each cavity.
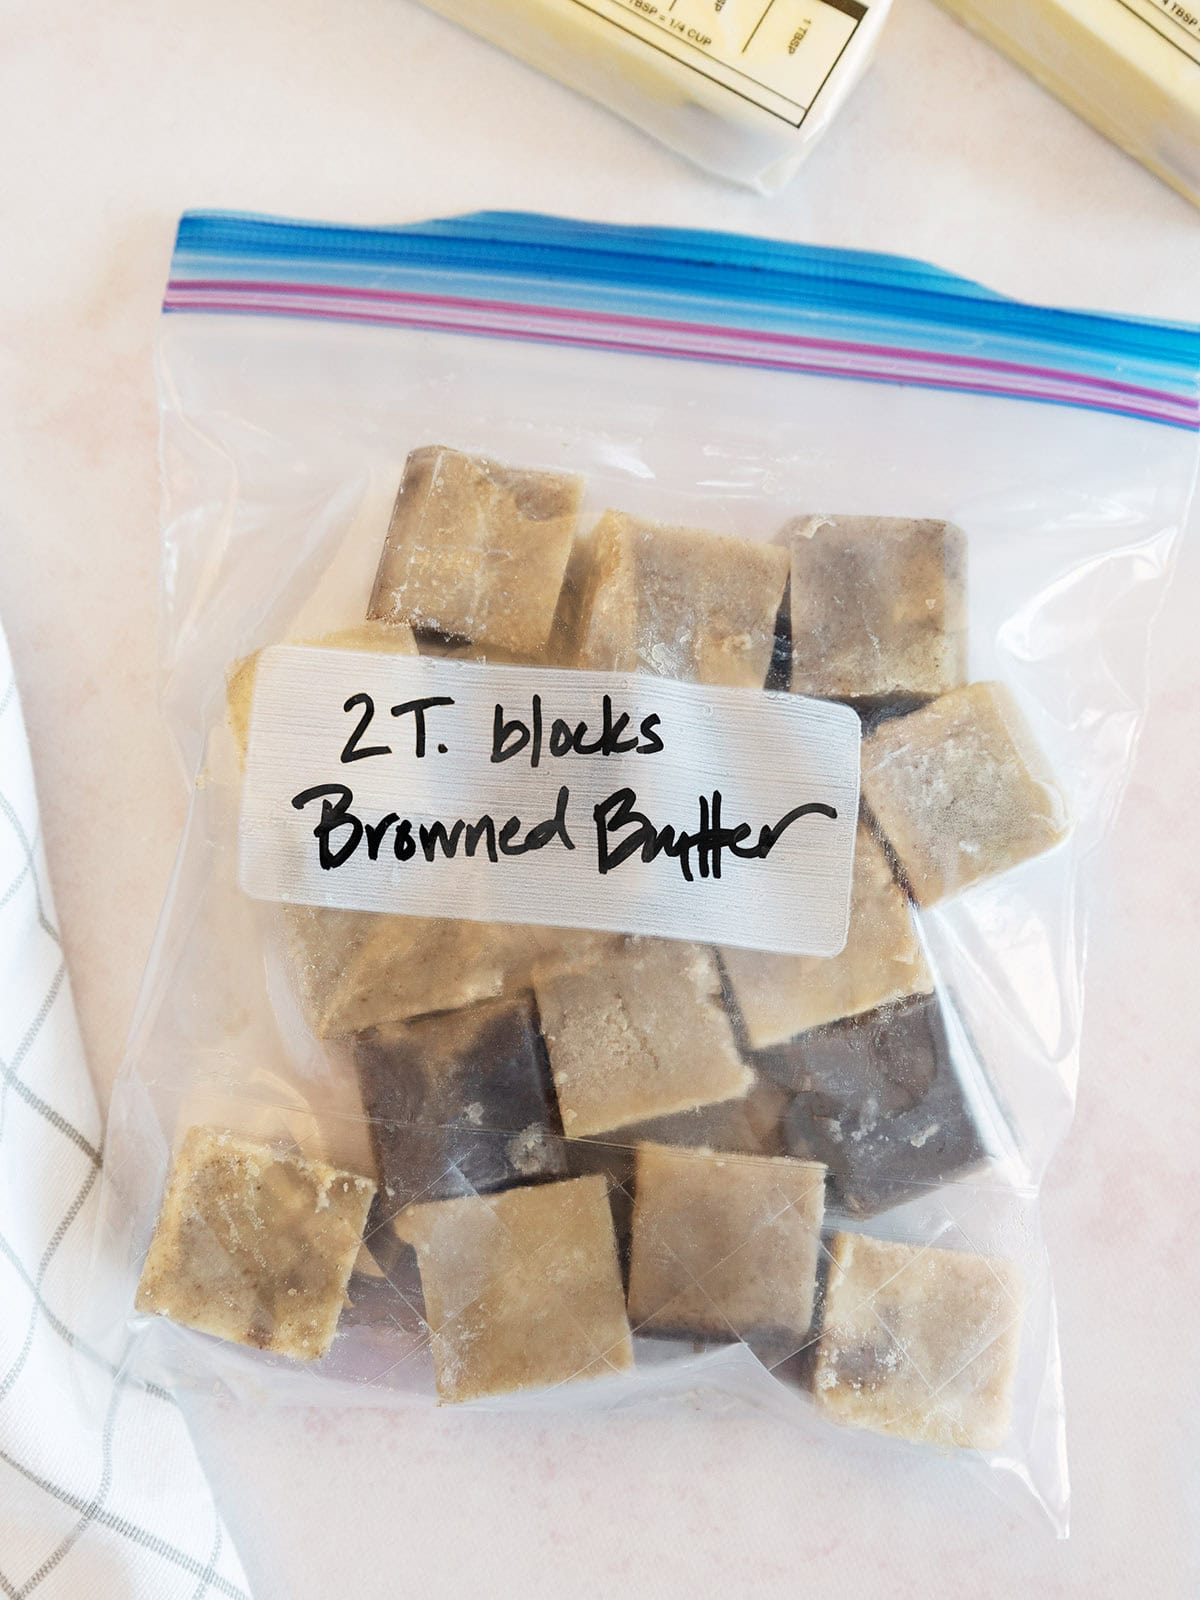
- Step 4: Once frozen, pop the cubes into a freezer-safe zip-top bag and store in the freezer until ready to use.
FAQ
Over medium heat, it typically takes 5 to 10 minutes from start to finish, depending on the volume of butter you are melting and the heat conductivity of your pan.
It has a rich, toasty, and distinctly nutty flavor with deep caramel undertones. It essentially tastes like a luxury version of standard butter!
The most likely culprit is that your heat is too low or you are using a plant-based butter alternative. True browning relies on the caramelization of actual milk solids, which means you must use real dairy butter for this technique to work.
Absolutely! Those caramelized milk solids are where all that incredible flavor lives, so a true browned butter should always include plenty of brown bits. For the best flavor, be sure to scrape the pan completely to get all of the remaining golden specks into your storage bowl.
The only time you should strain off the toasted milk solids is when making ghee, a type of clarified butter used predominantly in Indian cooking.
More homemade ingredients
If you love the satisfaction of using flavorful homemade ingredients, add these easy recipes to your repertoire:

Rate this recipe! ⭐⭐⭐⭐⭐
Scroll to the bottom of the page to rate and comment on this recipe. Leaving comments, questions, and ratings helps other too!
📖 Full Recipe
How to Make Browned Butter
Ingredients
- 1 cup (2 sticks / 226g) unsalted butter (cut into 1-inch pieces)
Instructions
- Place the cubed butter in a light-colored skillet or medium saucepan over medium heat.
- As the butter melts, it will begin to bubble and pop as the water cooks out. Stir continuously with a whisk or silicone spatula, scraping the bottom of the pan to keep the milk solids moving.
- After a few minutes, the bubbling will slow down and the butter will start to foam. Keep stirring gently. Underneath the foam, the liquid will transition from golden yellow to a deep amber brown. You will see tiny, toasted brown specks gathering at the bottom of the pan.
- The exact moment the butter reaches a rich amber color and smells like caramel and toasted nuts, immediately remove the pan from the heat. Carefully pour the butter—including all the toasted brown bits from the bottom—into a heat-proof bowl. Don't leave it in the hot pan or the butter will continue to cook and can easily burn.
- Use the melted browned butter immediately, store it in the fridge for up to 2 weeks, or pour it into silicone ice cube trays to chill into solid pieces, and store for up to 3 months.
Notes
- Measure the butter: Brown the exact amount of butter called for in the recipe you plan to bake. Example: If a recipe requires a 1 cup (2 sticks) of regular butter, that is the initial amount you will want to brown.
- Solidify: Once browned, pour the liquid into a bowl and place it in the refrigerator until it completely solidifies. Soften if directed to do so in the recipe.
- Add back the liquid: Proceed with the recipe as written, but add 1 tablespoon of liquid (like water or milk) per ½ cup (1 stick) of butter with the other wet ingredients. Example: If you started with 1 cup (2 sticks) of butter, you'll need to add 2 tablespoons of liquid to the recipe to replace the moisture.
Nutrition Per Serving
Tara Teaspoon
I’ve been in food publishing for over 25 years, creating recipes & food-styling for magazines, books, television, food brands, & advertising. With two cookbooks under my belt and thousands of my recipes at your fingertips, I hope you'll be inspired to spend more time in the kitchen!
Jill says
I have always wanted to know how to brown butter properly. Thank you so much for all the details and pics. This was so much easier to make than I thought it would be. Thanks again.
Tara Teaspoon Admin says
Hi Jill. I'm so glad the tutorial was helpful for you!
Mia says
Well, I am a fan! Browned Butter is absolutely a favorite in my kitchen. I recently made a big batch according to Tara's instructions and froze it in cubes to keep in the freezer for whenever my little heart desires to use it! Thanks, Tara! Love this!
Tara Teaspoon Admin says
So glad you found the tutorial helpful!