

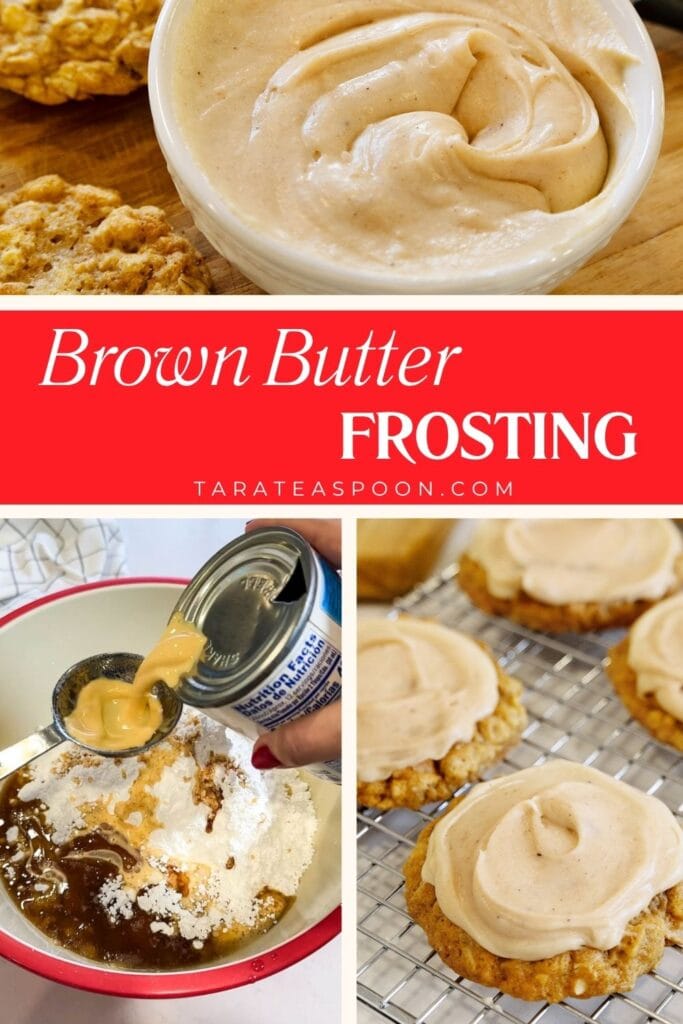
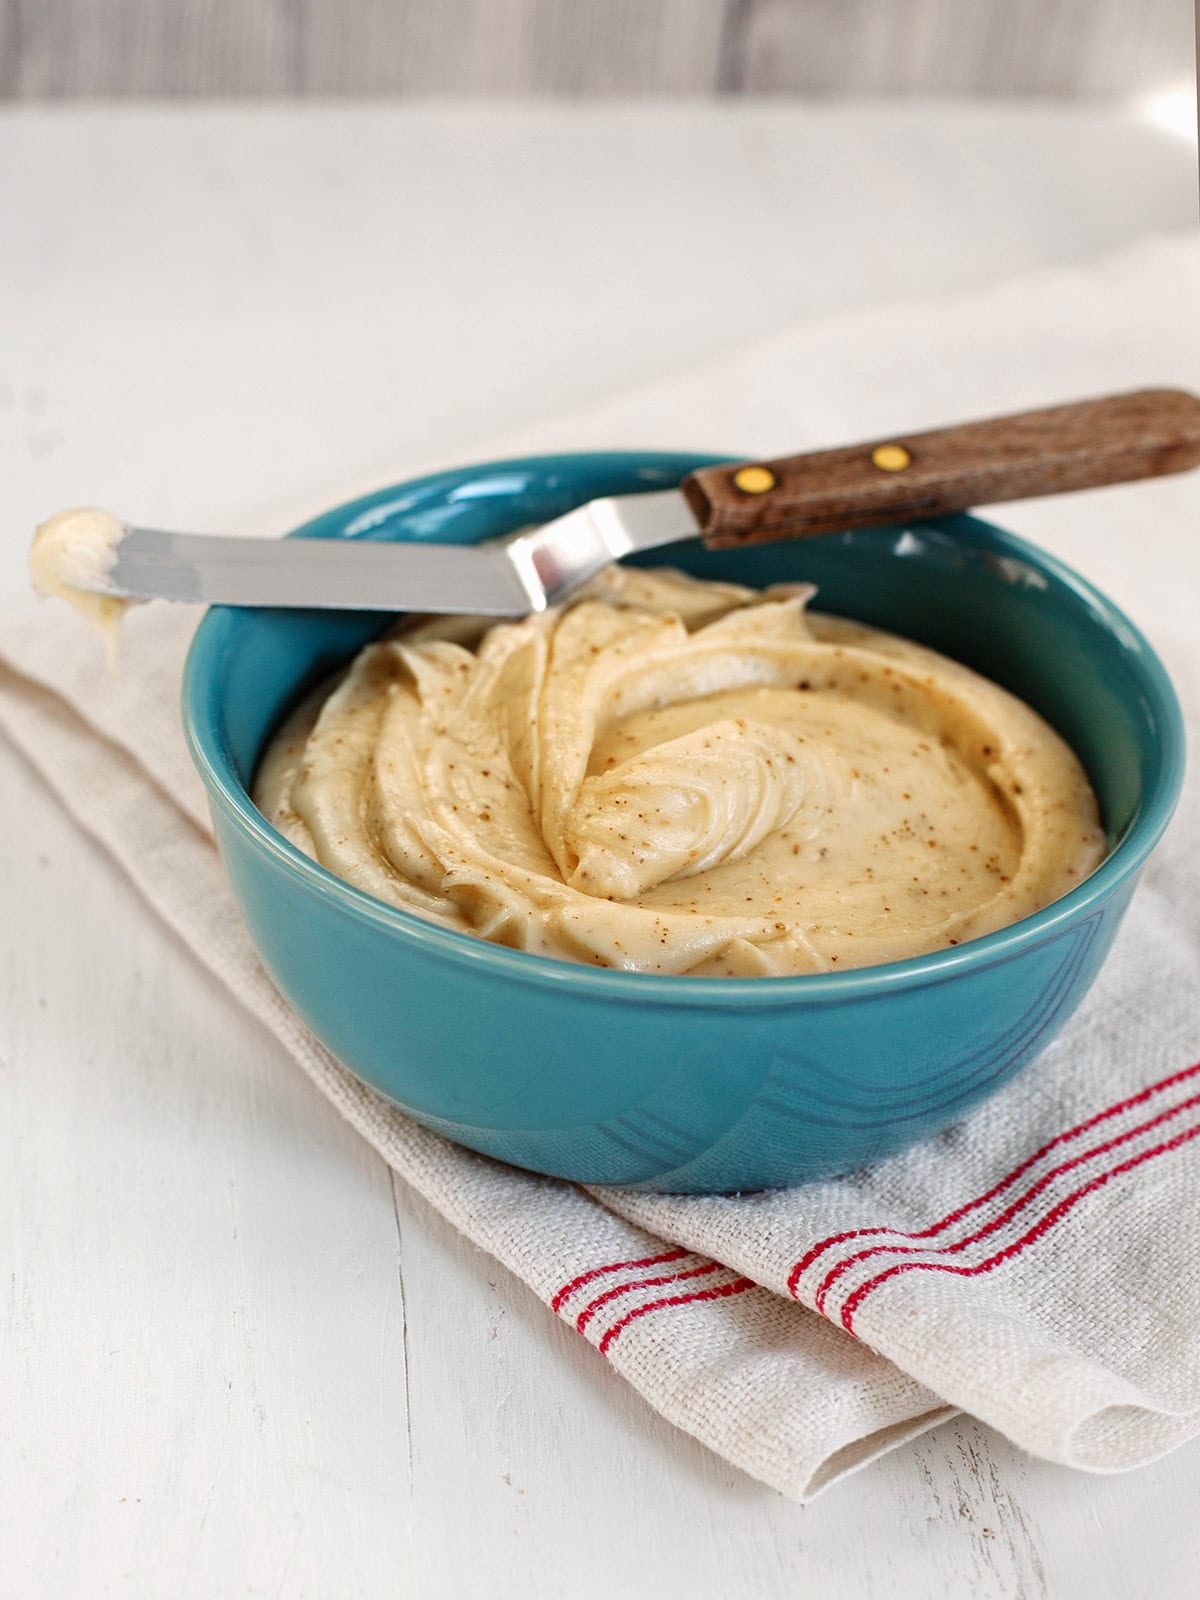
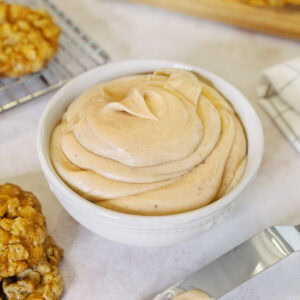
This Browned Butter Frosting recipe is smooth, rich, and nutty in flavor. It’s an elevated, bakery-quality twist on classic buttercream that adds addicting flavor to so many cakes and cookies.

In this article you'll learn:
- How to make browned butter frosting in under 10 minutes to add deep, nutty flavor to desserts.
- A simple 4-ingredient recipe for bakery-quality buttercream frosting.
- Expert tips for the perfect consistency so your frosting is always smooth, spreadable, or pipeable.
- Troubleshooting fixes for common issues like runny, grainy, or overly sweet frosting.
- Expert storage advice on how to refrigerate or freeze your frosting for later use.
- Best dessert pairings to maximize the gourmet flavor of brown butter icing.
Generated with AI and experts from the Tara Teaspoon team.
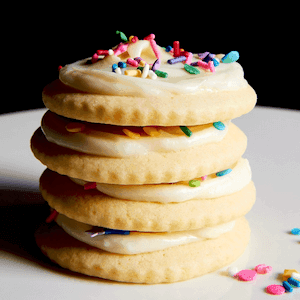
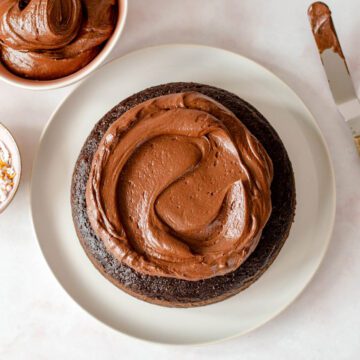
I love desserts! The best way to make a good dessert great, is to top it with delicious frosting! A lovely swirl of Cream Cheese Frosting, or my rich Chocolate Cream Cheese Frosting, is pure magic on cookies, cupcakes, and more.
Another way to bring gourmet flavor to your favorite baked goods is with this smooth, creamy browned butter frosting.
What is browned butter?
If you've never made browned butter before, you're in for a treat. Brown butter is simply butter that's cooked until the milk solids turn golden brown, creating a deep, nutty flavor and irresistible toasted aroma.
Sometimes I call browned butter liquid gold, and it's one of my favorite ways to add richness and complexity to both sweet and savory recipes. (Check out my post about How to Brown Butter for more in-depth information.)
The secret to elevating classic buttercream
By taking just a few extra minutes to brown the butter, you can transform an ordinary buttercream into something truly special.
The caramelized notes of the browned butter cut through the sweetness of traditional buttercream, creating a frosting that's balanced, sophisticated, and just a little indulgent. One taste, and it's sure to become your new favorite.
Here are a few more reasons to whip up a batch for your next baking project:
- Gourmet flavor: Browning the butter adds a nutty depth that enhances the overall flavor profile without making the frosting overly sweet.
- Easy upgrade: Made with just four simple pantry staples, it's an effortless way to elevate a classic buttercream recipe.
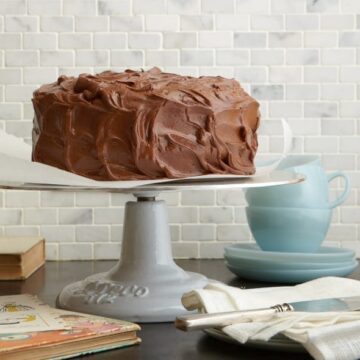
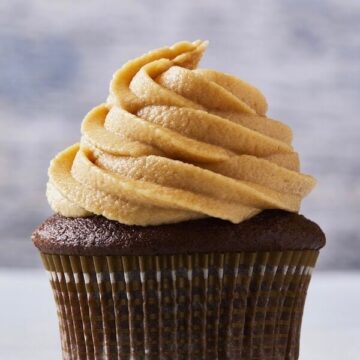
- Incredibly versatile: It pairs beautifully with everything from classic chocolate cakes and cupcakes to spiced fall desserts, cookies, and bars.
Jump to:
- In this article you'll learn:
- The secret to elevating classic buttercream
- Ingredients and variations
- Try European butter
- How to make browned butter frosting
- Tara's top tips
- Ways to use browned butter frosting
- Variations and mix-ins
- Equipment
- Storage
- FAQ
- More delicious frosting recipes
- 📖 Full Recipe
- 💬 Comments & Reviews

Ingredients and variations
The ingredient list for this recipe is short, sweet, and simple. Check out these tips to gather everything you'll need. See recipe card for full list of ingredients and quantities.
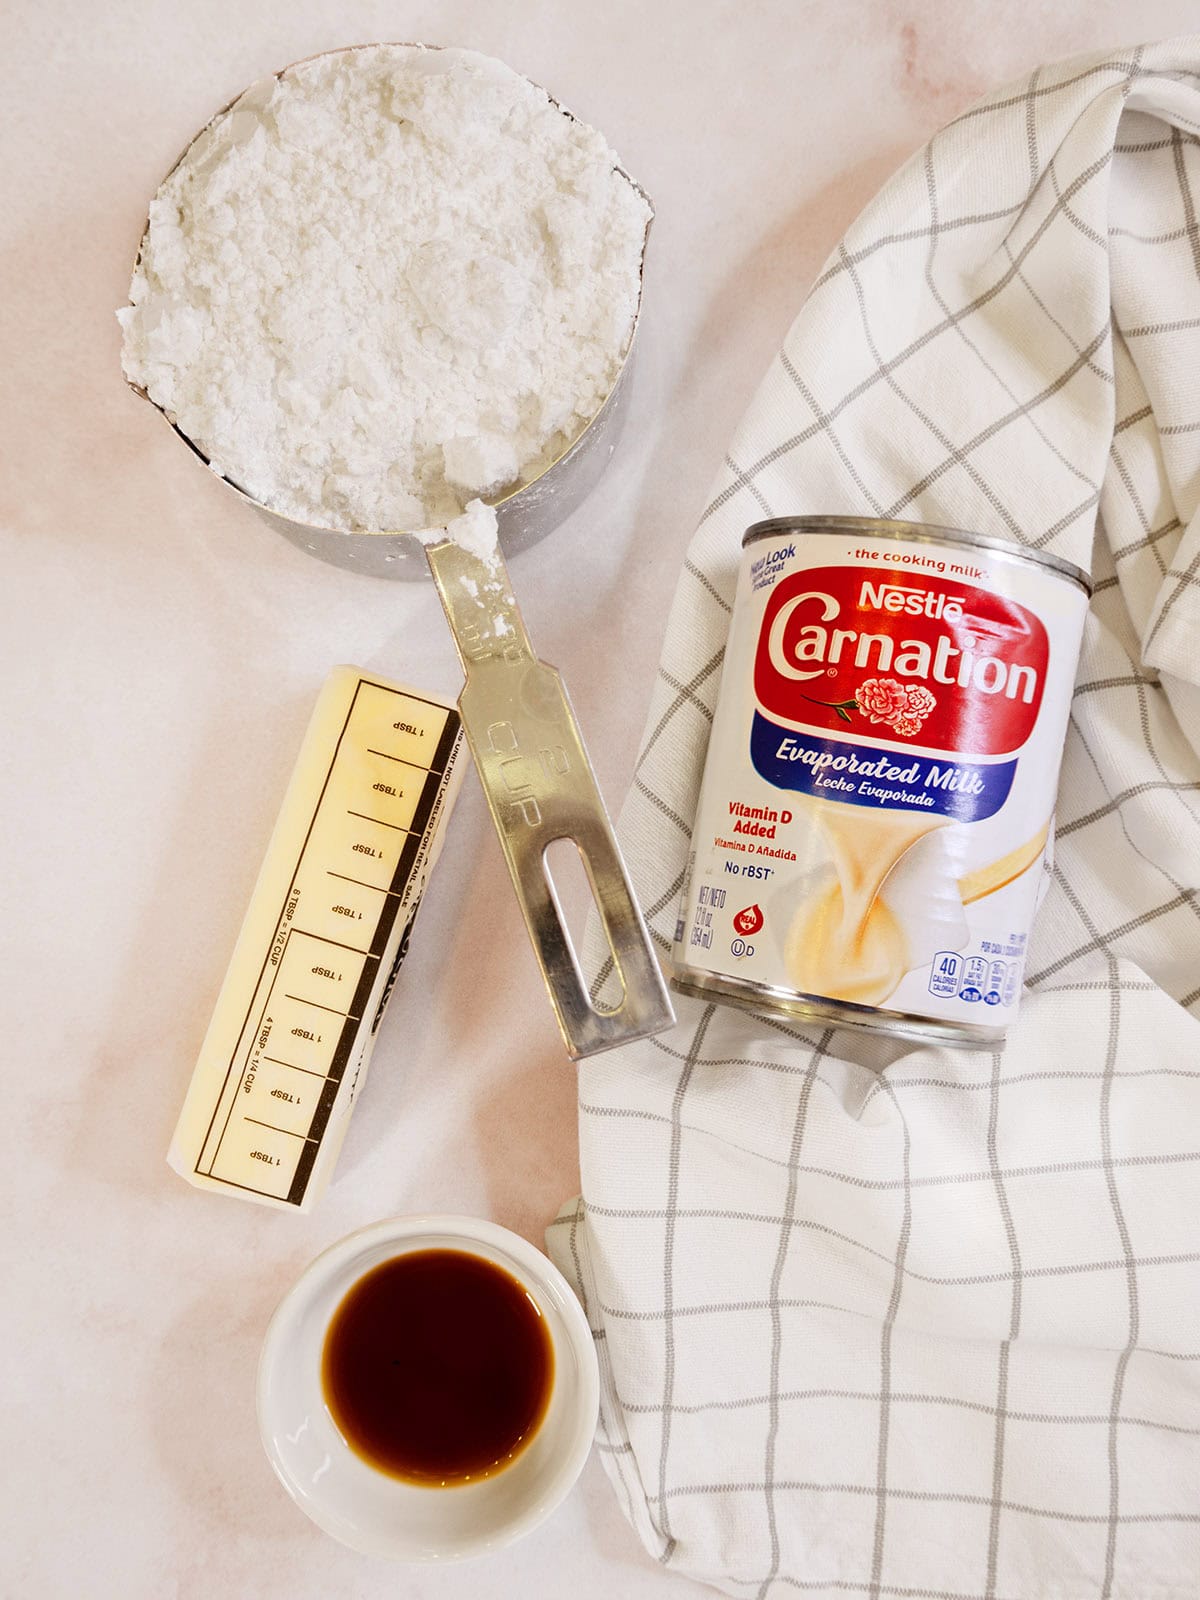
- Unsalted butter: It's best to use unsalted butter for complete control over the frosting's flavor. You can use salted butter in a pinch, but the salty flavor will concentrate as the water evaporates, throwing off the sodium balance of the recipe. It also foams more, making it difficult to see when the butter has fully browned.
- Confectioners' sugar
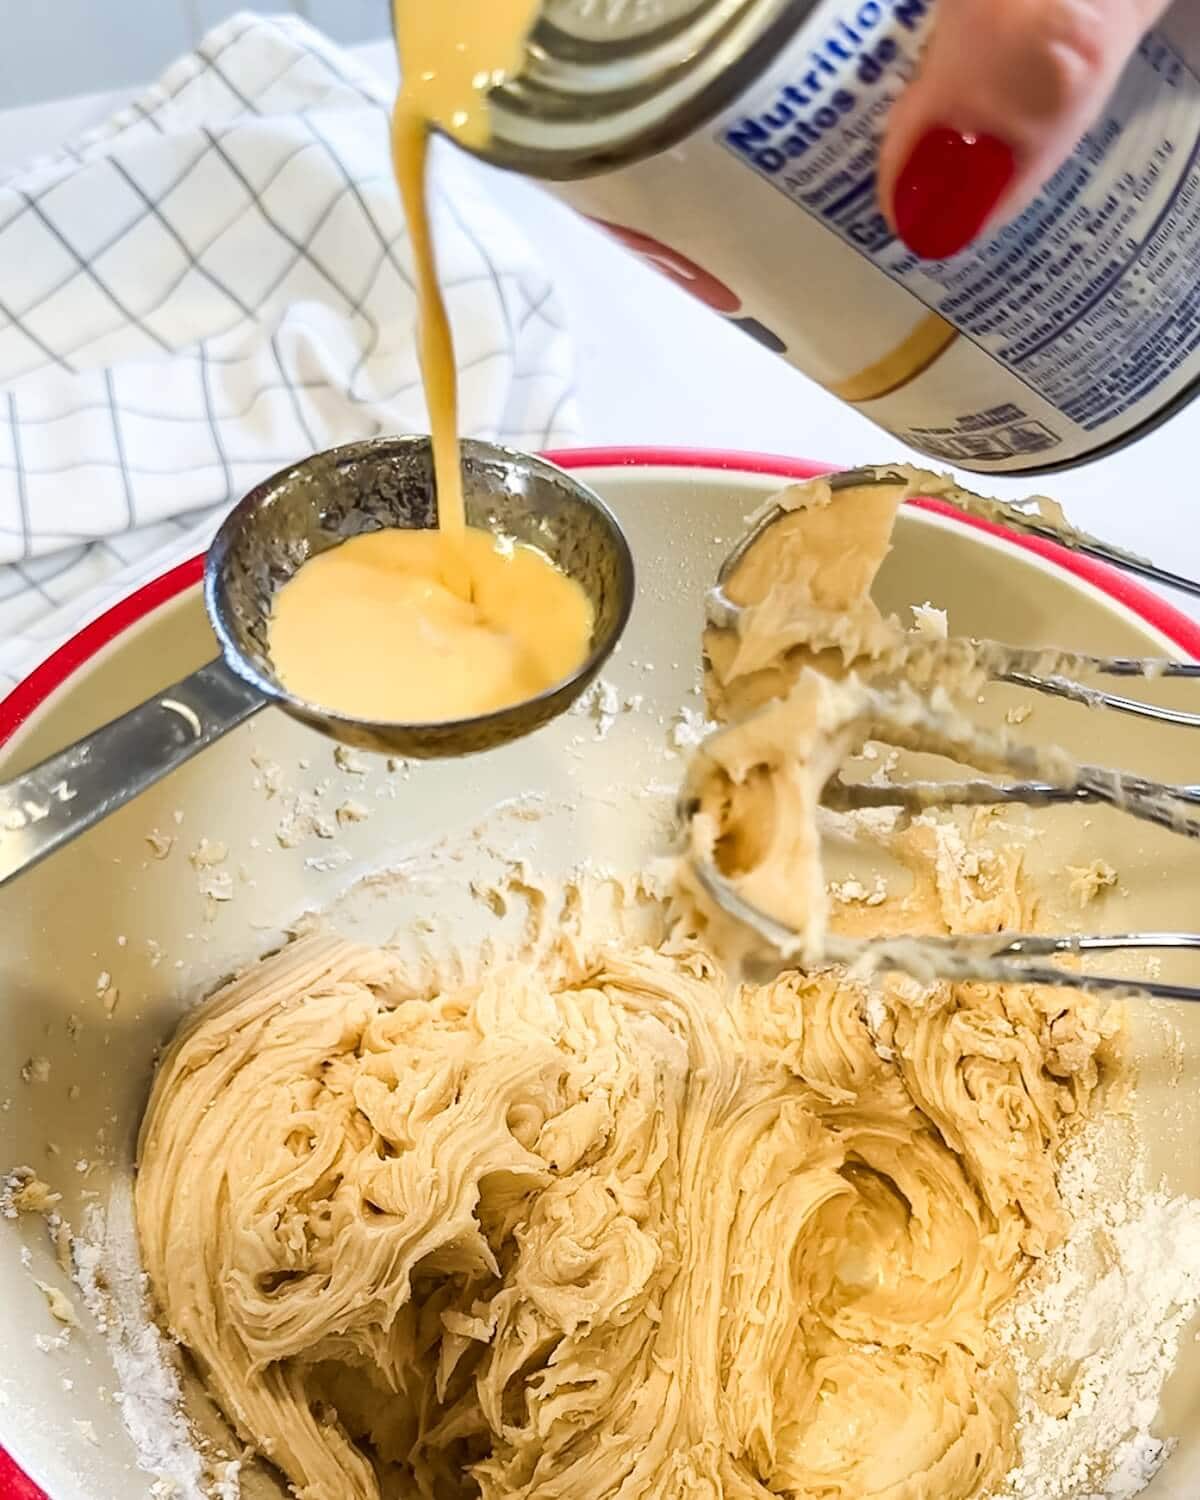
- Evaporated milk: Evaporated milk is my preferred choice because its concentrated, slightly caramelized flavor complements the nuttiness of the browned butter beautifully. If needed, you can substitute heavy cream, half-and-half, or whole milk, but avoid sweetened condensed milk, which will make the frosting overly sweet and alter the consistency.
- Vanilla extract
- Fine sea salt: I typically don't add extra salt, but feel free to add a pinch or two to taste if needed.
Try European butter
For an even more luxurious frosting, use a European or European-style butter. With a higher butterfat content and less water than standard American butter, it produces an especially rich frosting with deeper flavor.
How to make browned butter frosting
Let's make frosting together with this step-by-step photo tutorial. See recipe card for comprehensive directions.
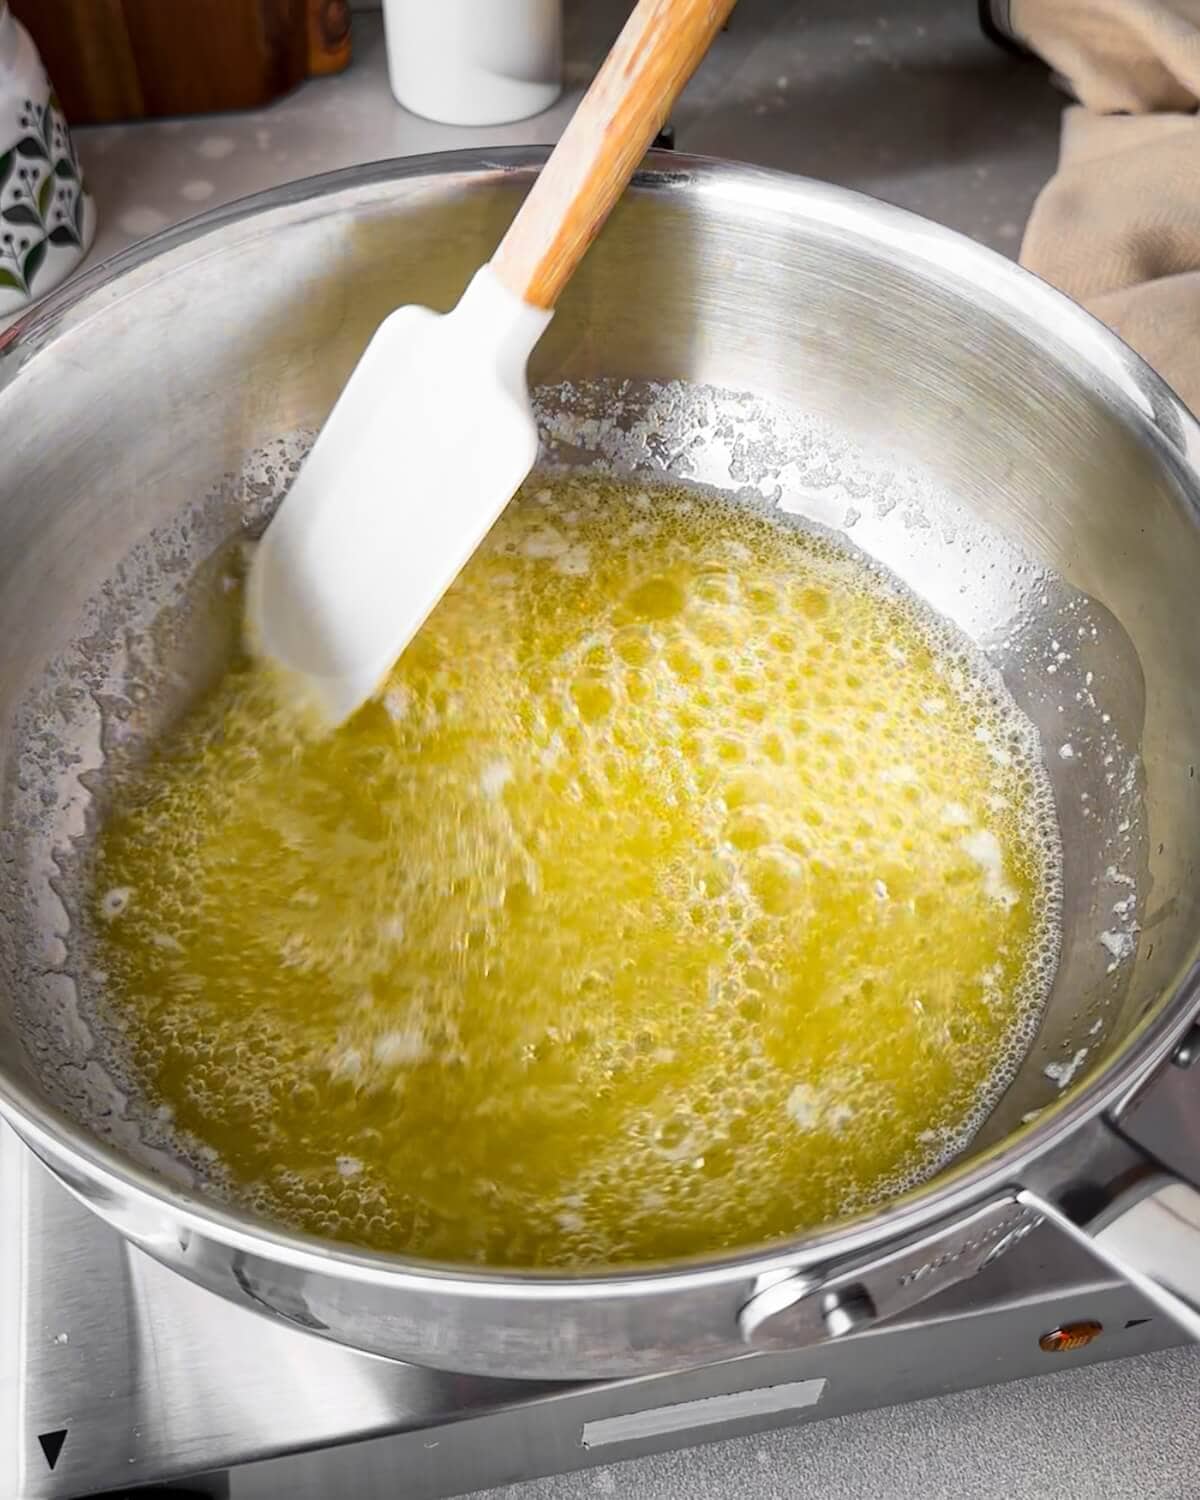
- Step 1: Melt the butter, stirring and swirling to prevent the milk solids from sticking to the bottom of the pan.
- Step 2: Once the butter begins foaming it is almost ready. Watch closely for it turn a golden brown and smell nutty.
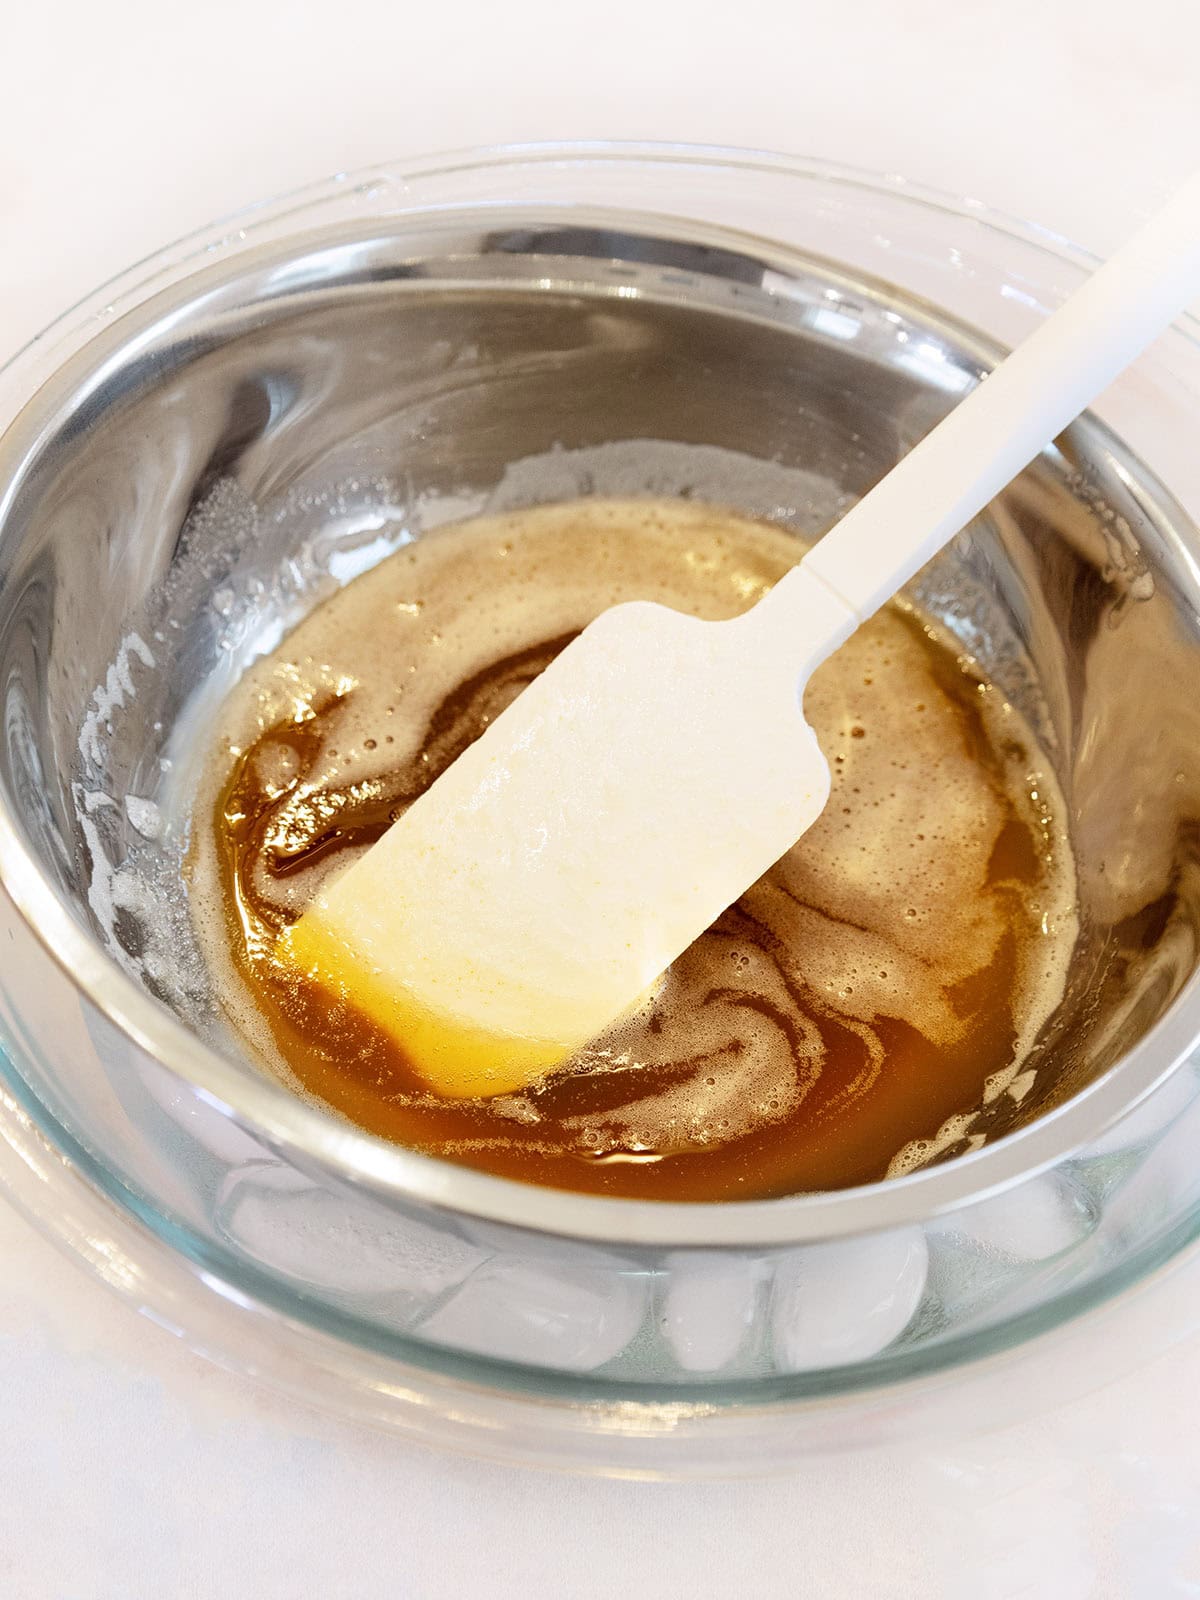
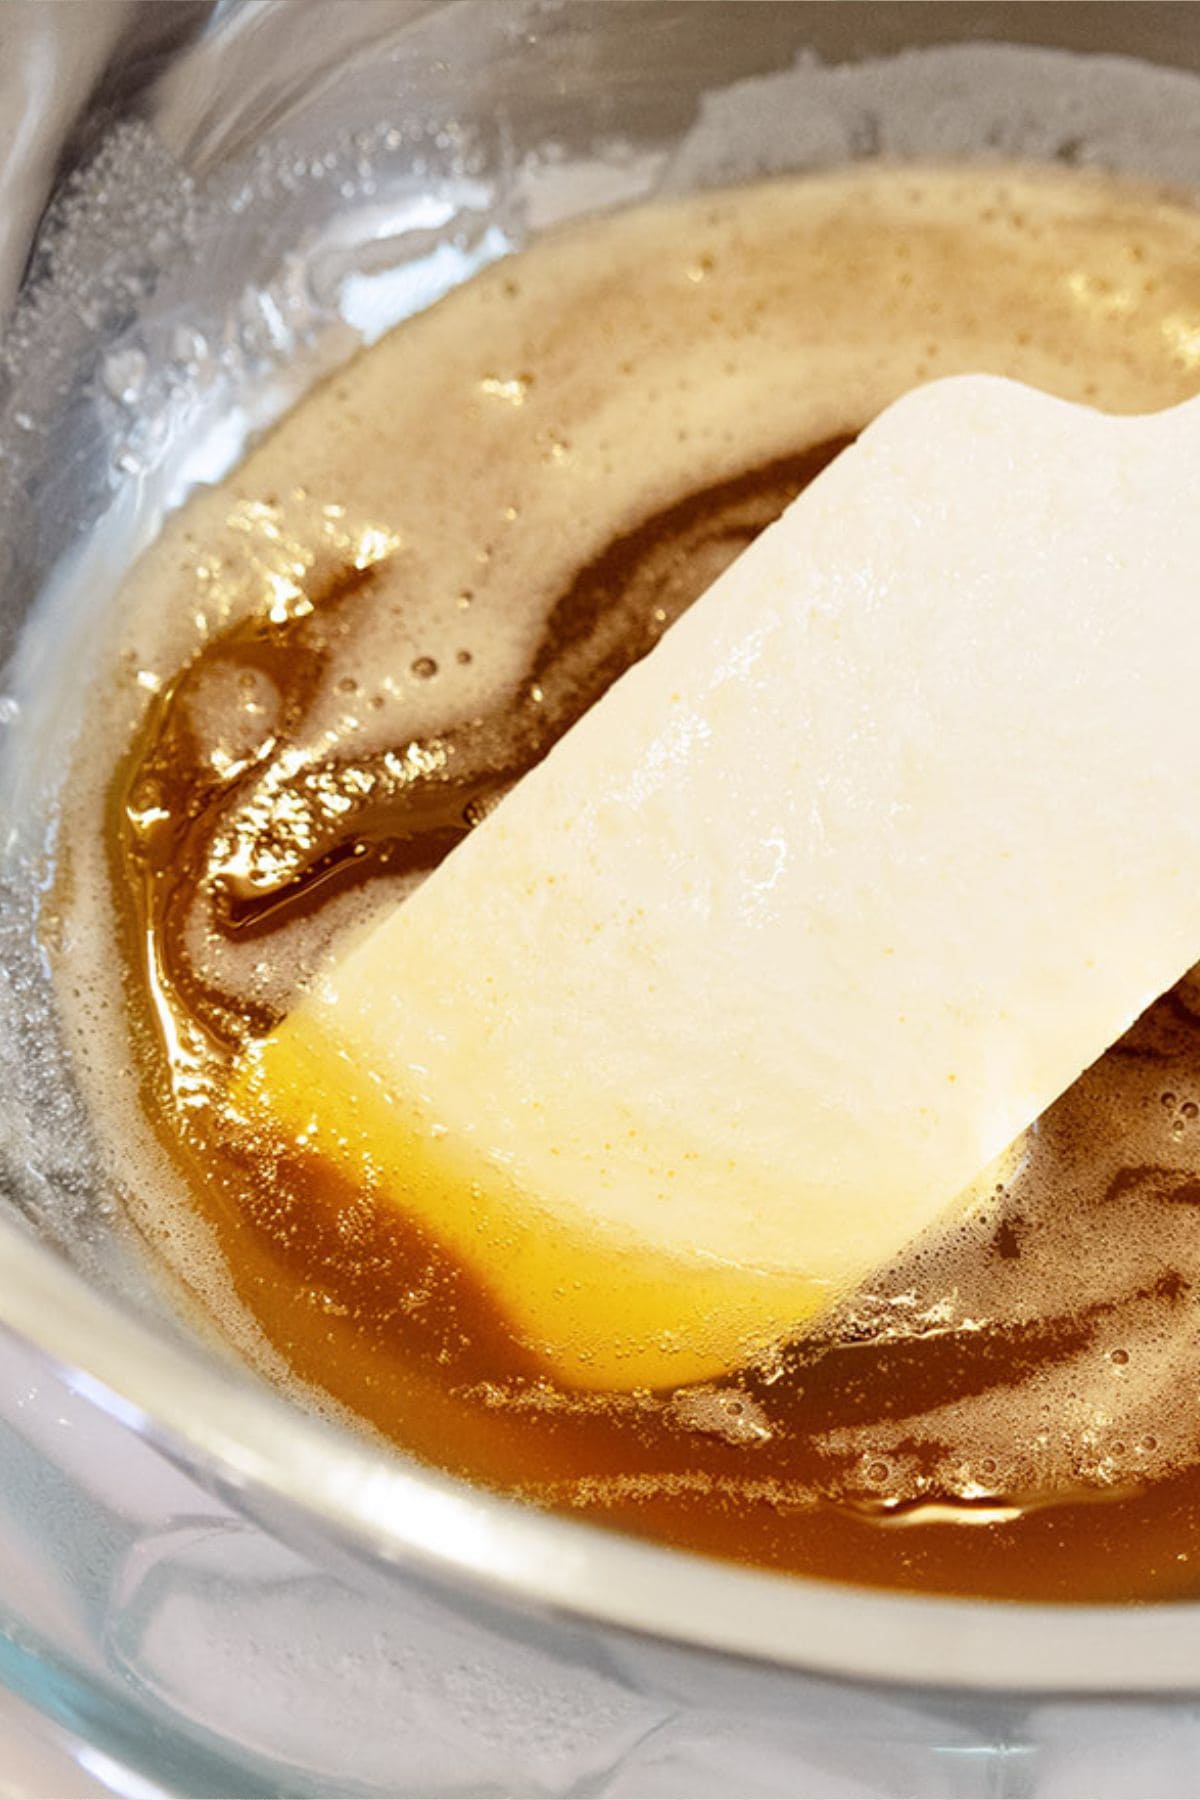
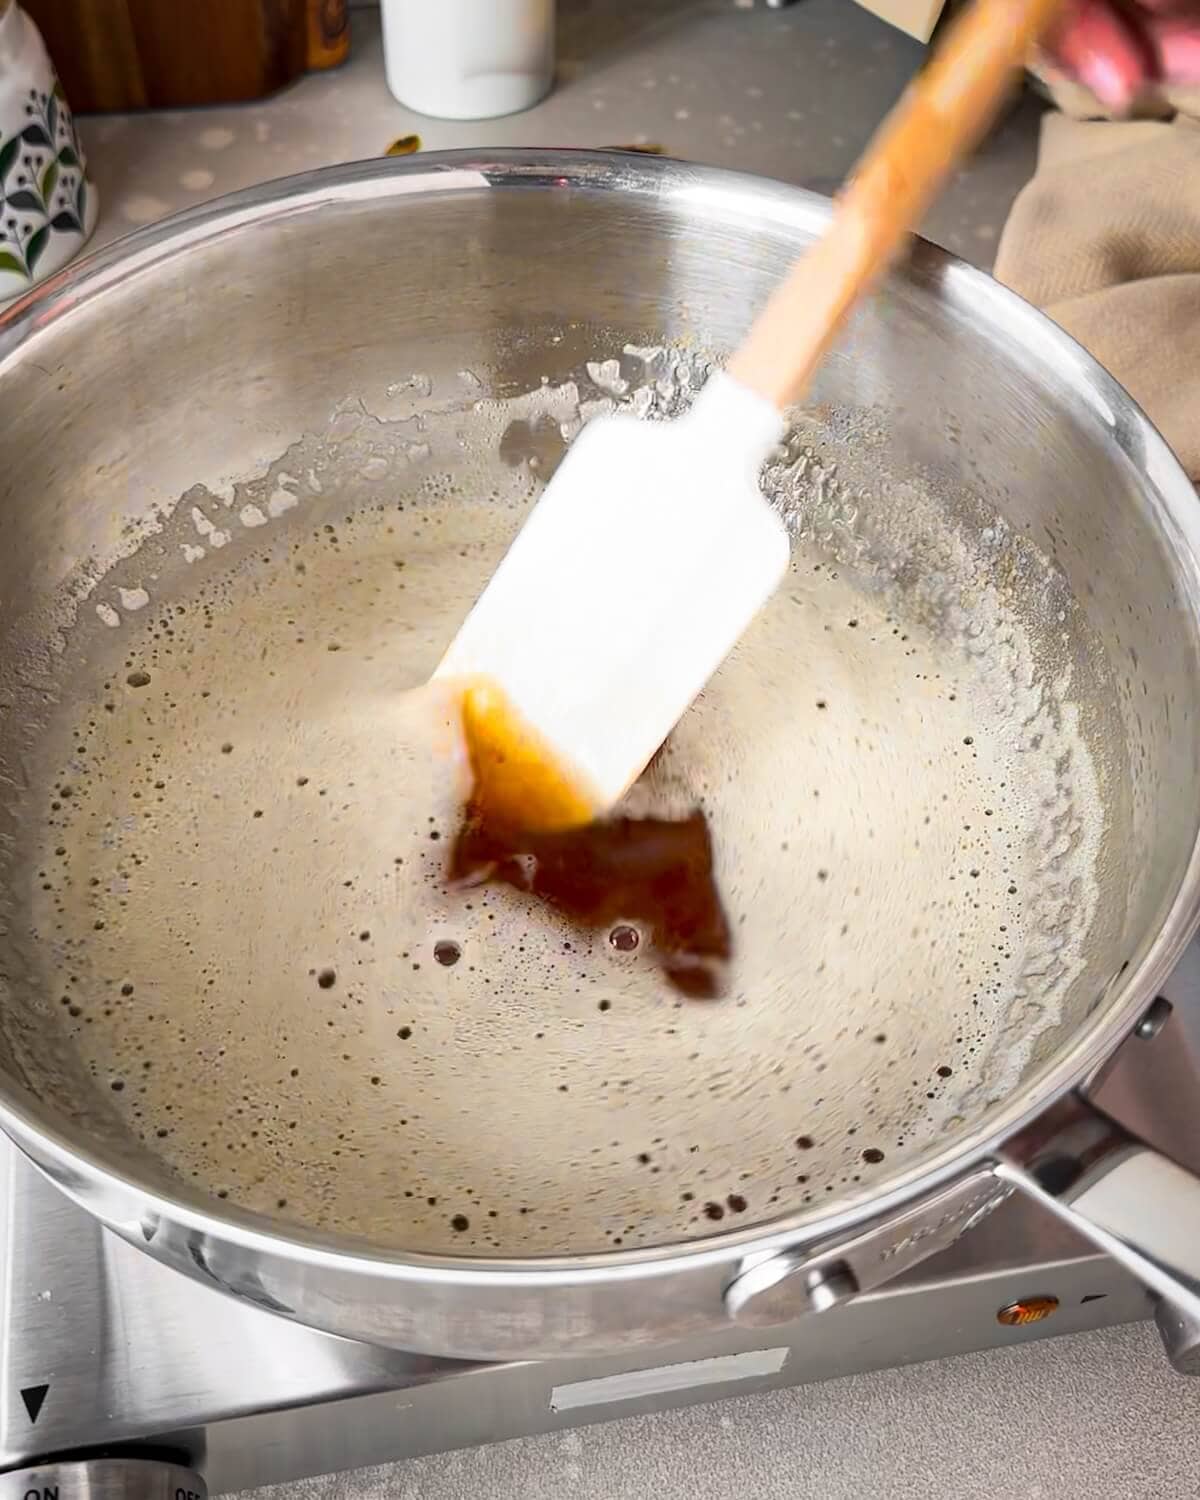
- Step 3: As soon as the butter is browned, pour it into a mixing bowl to stop the cooking process. To speed cooling, place the bowl in an ice bath.
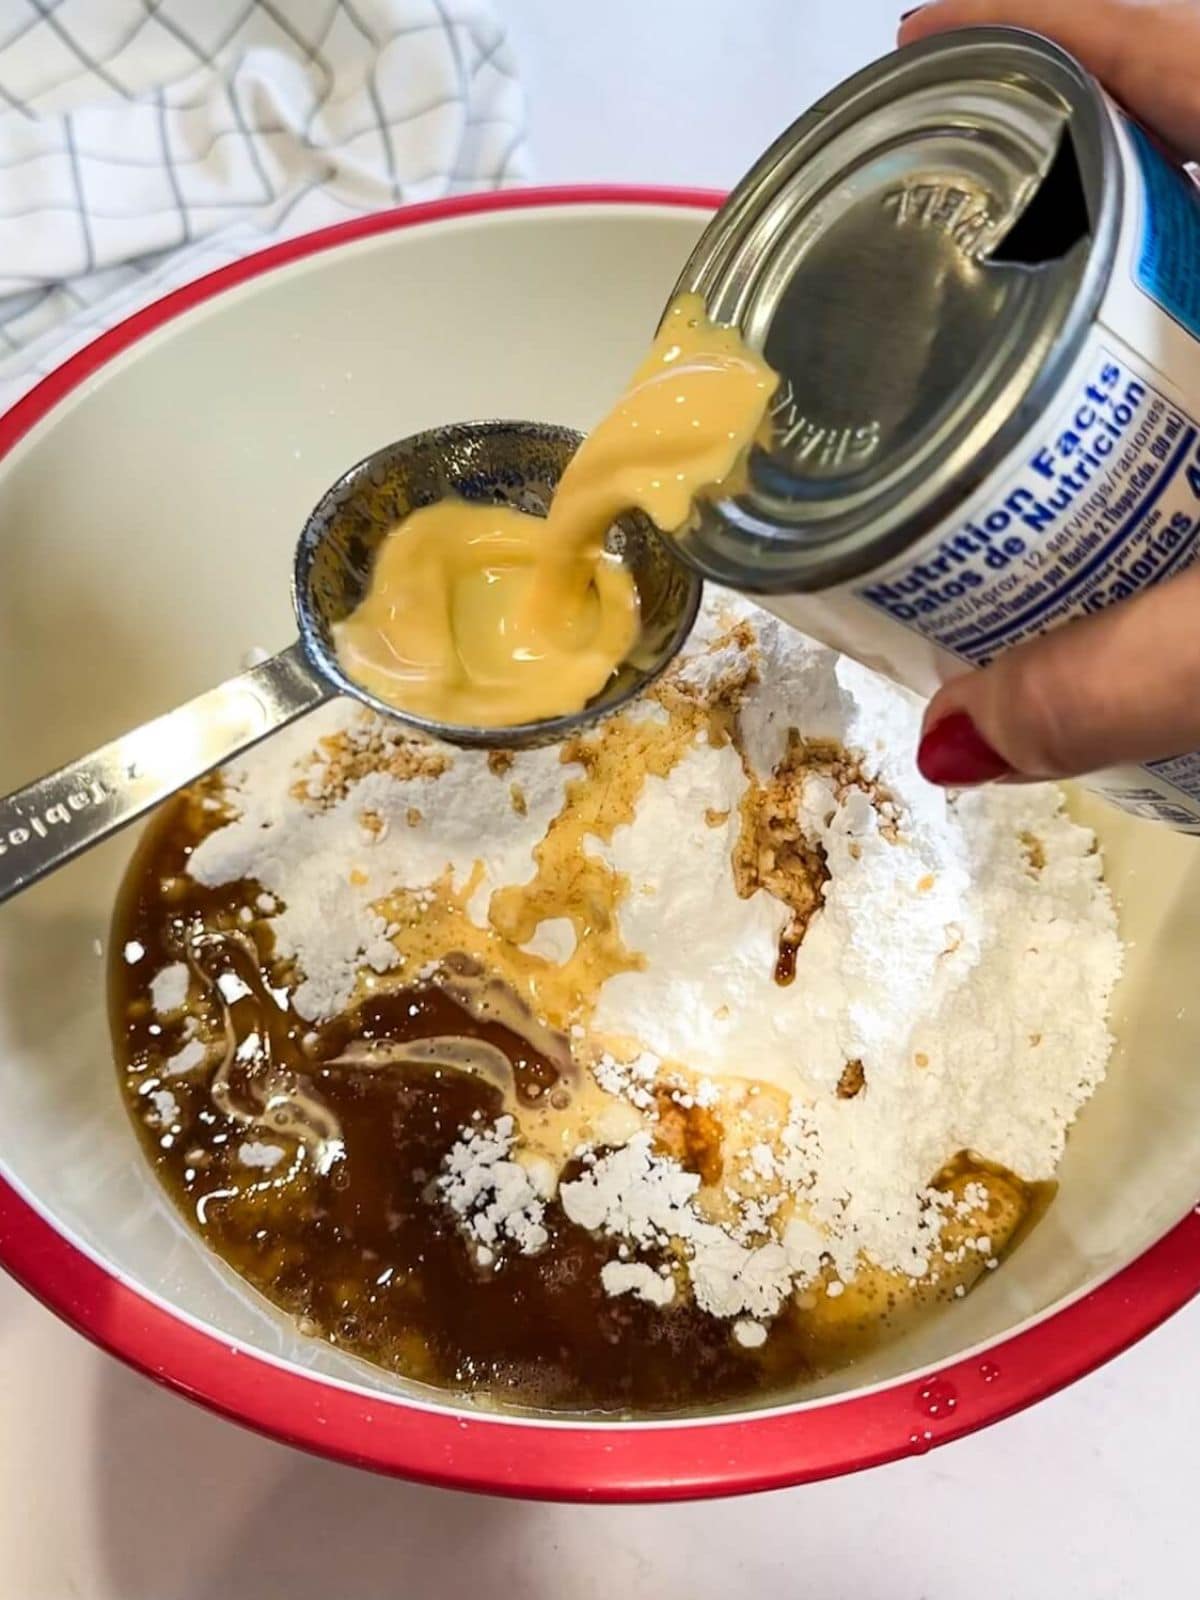
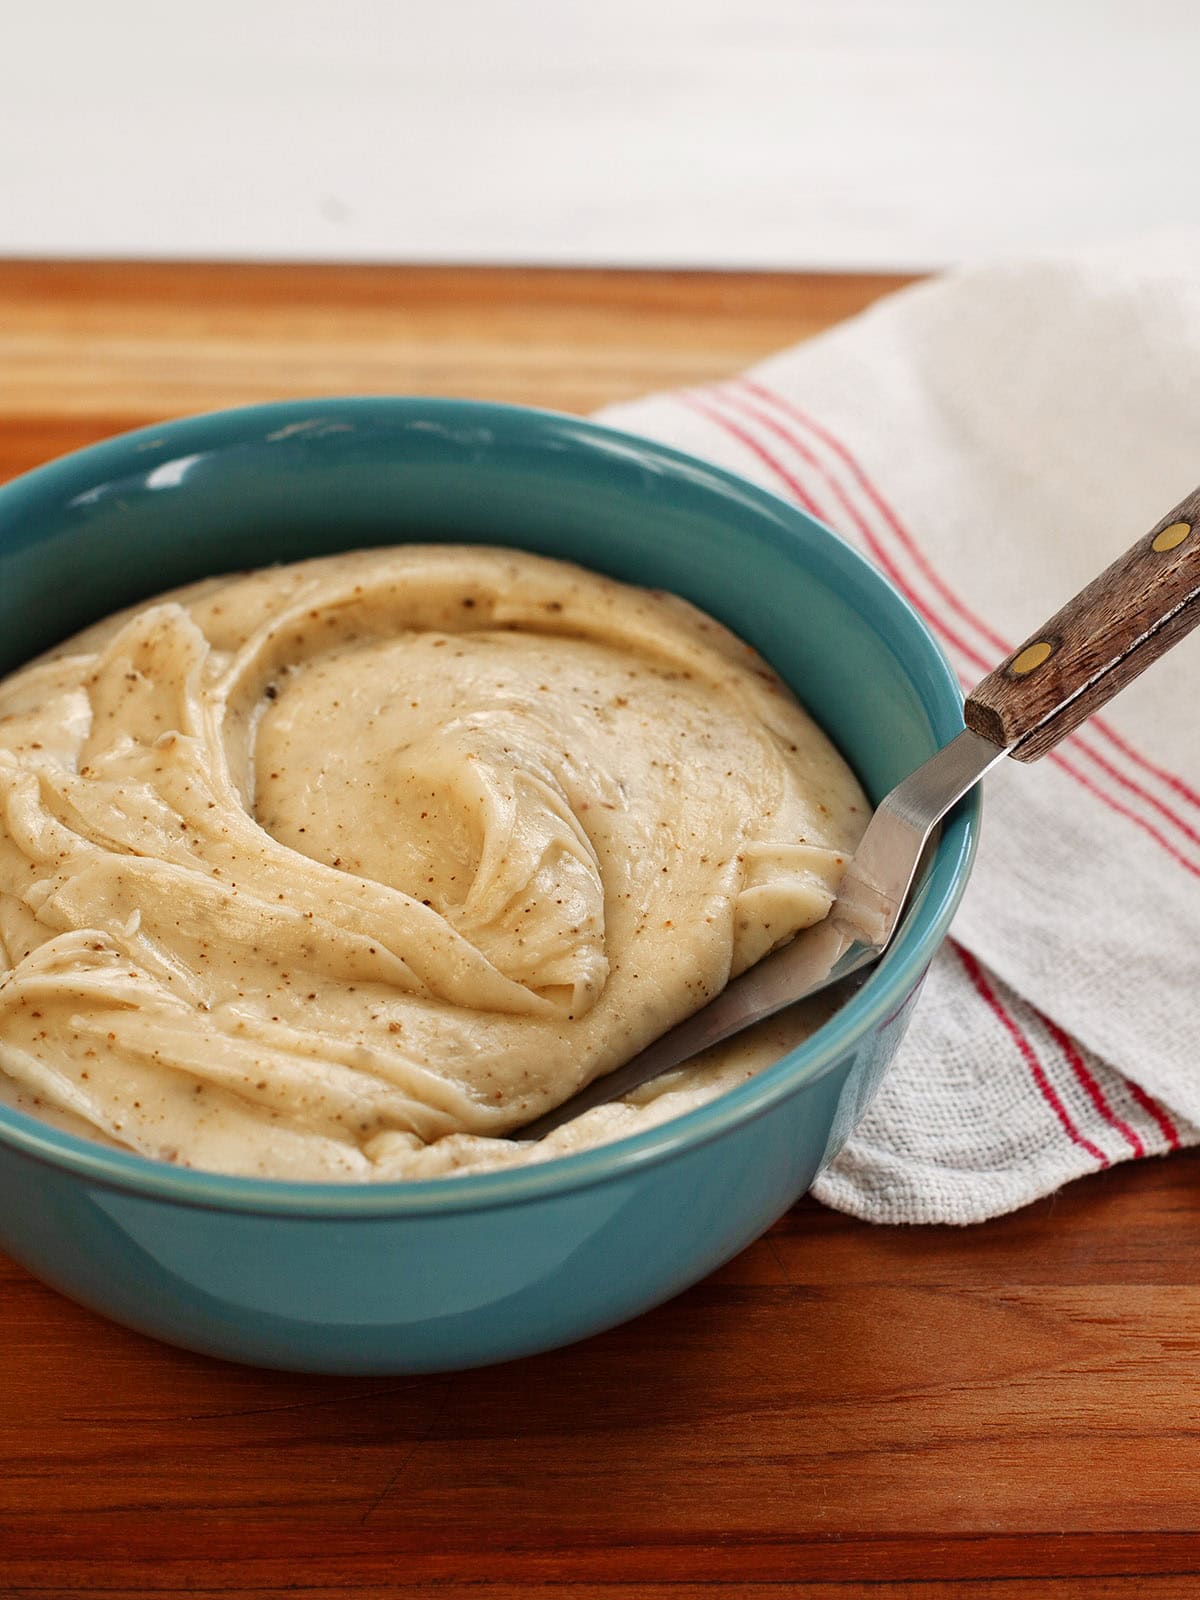
- Step 4: Add the powdered sugar, vanilla, and evaporated milk.
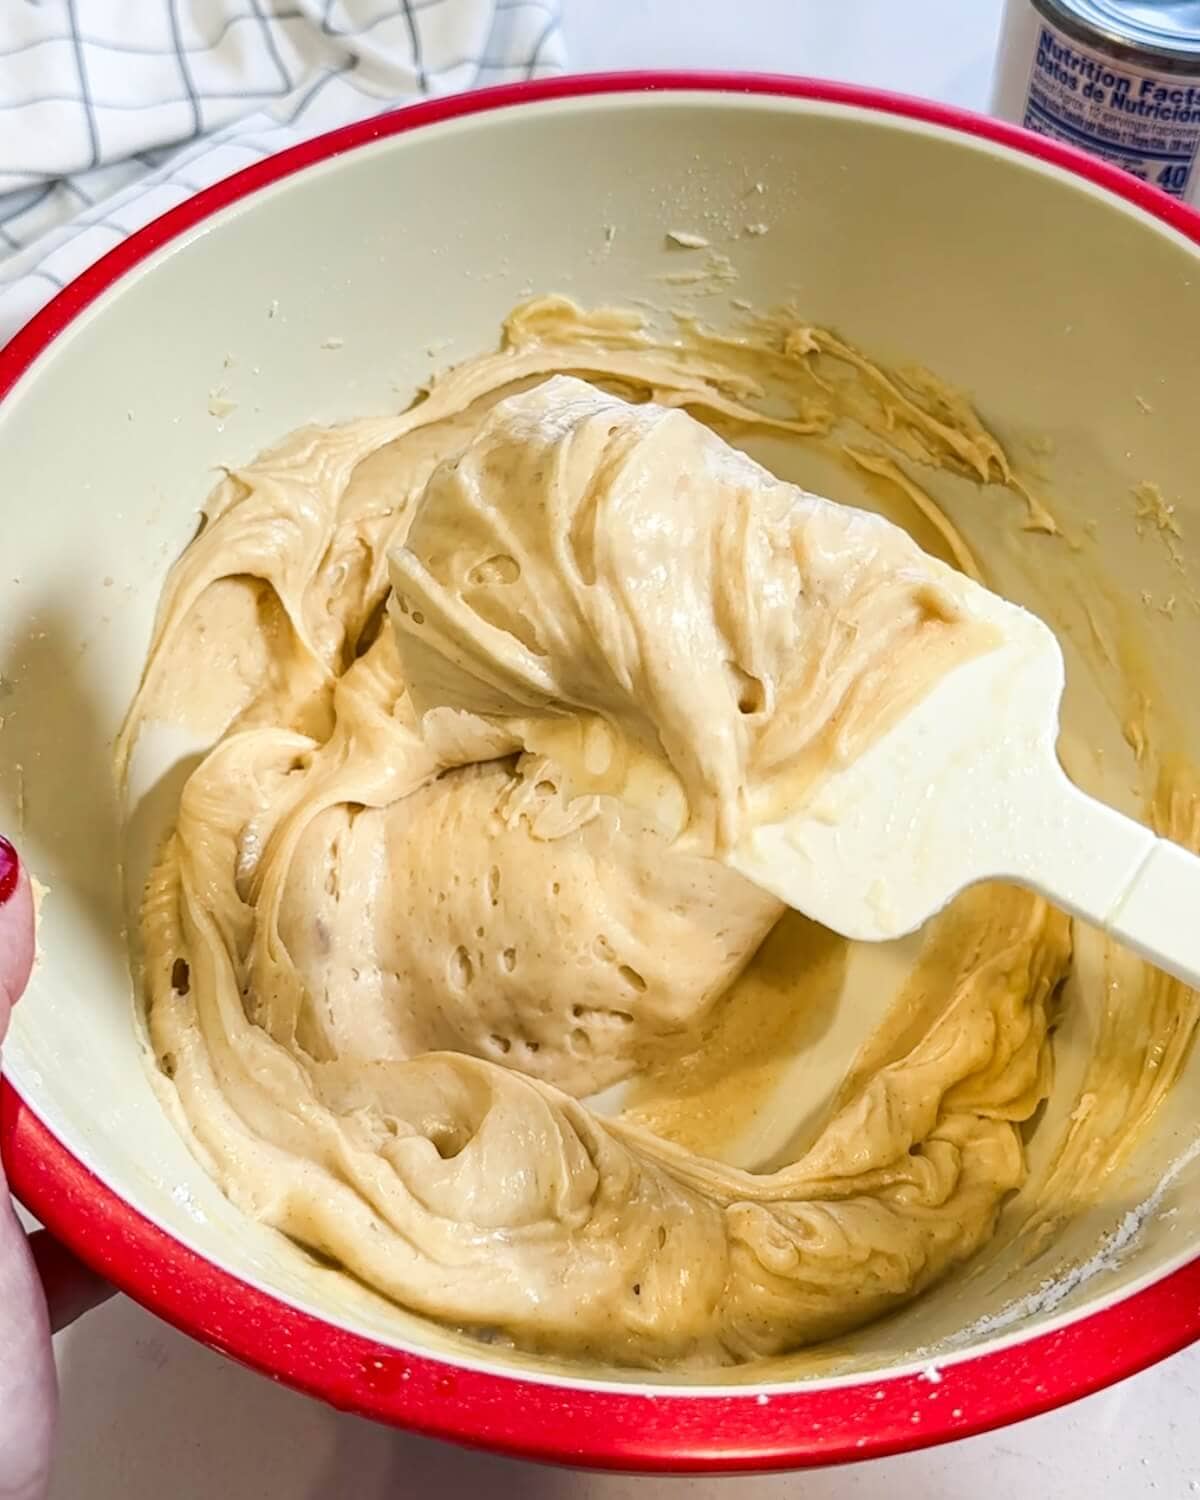
- Step 5: Mix until thick and creamy for swirling over baked goods. Adjust the consistency with additional milk for a thinner glaze or additional confectioners' sugar for piping.
- Step 6: Taste the frosting and adjust the flavor with a pinch or two of salt if you think the frosting needs it.
Tara's top tips
Cut the butter into even pieces: Slice the butter into uniform cubes so it melts at the same rate. This helps the milk solids toast evenly instead of scorching while larger pieces finish melting.
Use the right-size pan: The butter should sit in a relatively shallow layer in your saucepan or skillet. An overcrowded pan slows evaporation and makes it harder to monitor the butter as it browns.
Stir constantly: Use a silicone spatula to stir and scrape the bottom of the pan continuously. This keeps the milk solids moving so they toast evenly rather than sticking and burning.
Trust your senses: Browned butter can go from perfect to burned very quickly. Once it begins to foam, watch closely for signs that it's ready:
- Color: The liquid transitions from yellow to warm gold, and settles into a deep amber brown.
- Visual: Look for a light, delicate layer of foam on top with flecks of toasted milk solids (the browned bits) at the bottom of the pan.
- Aroma: You'll notice an intensely nutty, caramel-like fragrance.
Cool the butter right away: Transfer the browned butter to a heatproof bowl as soon as it reaches the perfect amber color. Otherwise, the residual heat from the pan can continue cooking the milk solids and burn.
Beat until light and fluffy: After the browned butter has cooled to room temperature, beat it with the remaining ingredients until the frosting is smooth, airy, and fluffy.
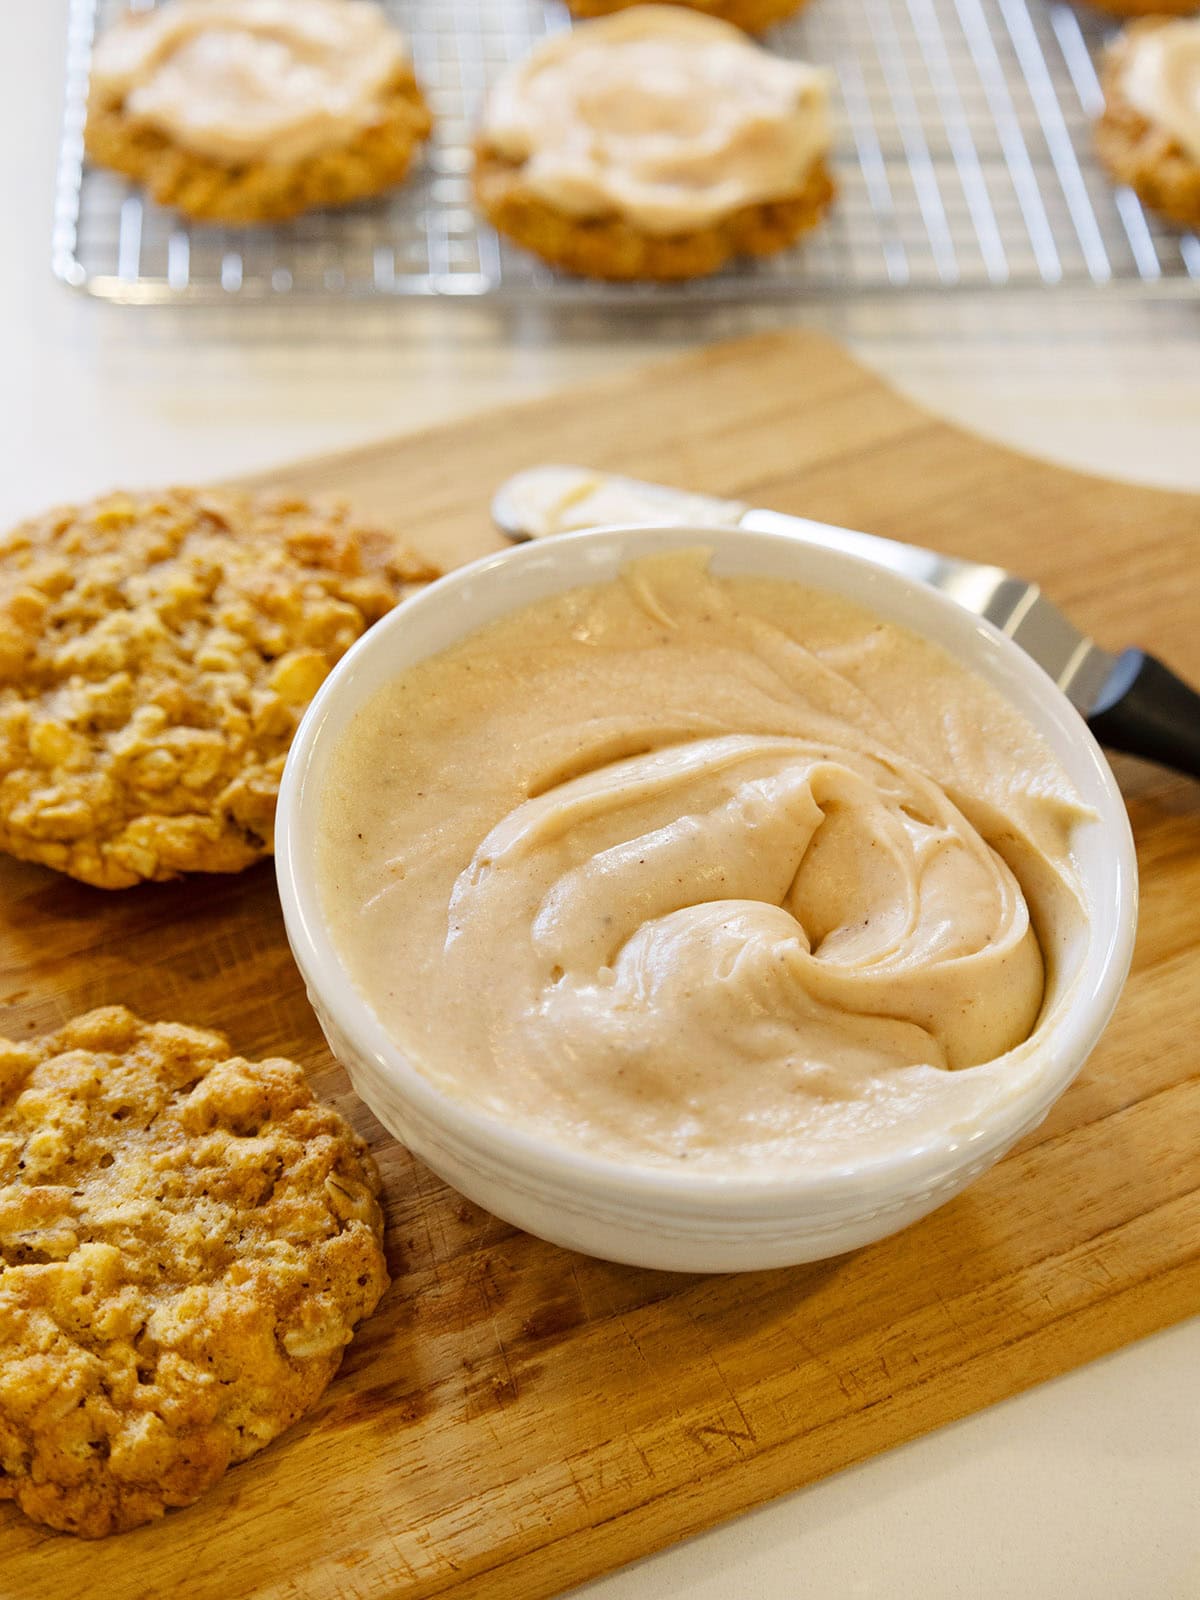
Ways to use browned butter frosting
Brown butter tastes delicious on baked goods like my Cashew Cookies, and it's especially good with fall treats like Banana Cake, Walnut Pumpkin Bread, Homemade Spice Cake, and Banana Bread.
Get creative and pair it with anything YOU think sounds good! You could also try using it to frost any of the following dessert recipes:
Variations and mix-ins
- Brown butter cream cheese frosting: Swap chilled browned butter for the regular butter in my Cream Cheese Frosting recipe.
- Maple brown butter frosting: Swap the vanilla extract for maple extract or better yet Mapeline.
- Cinnamon or pumpkin spice: Add ¾ teaspoon ground cinnamon or pumpkin spice to the frosting recipe.
Equipment
Saucepan or skillet: I like to use a stainless steel saucepan rather than one with nonstick coating. A dark nonstick coating will make it difficult to tell when the milk solids begin browning! With a stainless steel pan you'll be able to see the color change and can pull the melted, browned butter off the heat before it burns.
Heat-proof utensil: The butter will need to be stirred and scraped while it's on the stove. A heat-proof silicone spatula, wooden spoon, or whisk are all great options.
Mixer: Use a stand mixer or a hand mixer for the cookies and frosting.
Storage
Refrigerate: This buttercream will stay fresh at room temperature for up to 24 hours. Otherwise, store it in the fridge in an airtight container for up 1 week. Refrigerated frosting will firm up significantly, so it needs to be brought completely to room temperature before using it.
Freeze: Place the frosting in a freezer-safe container or heavy-duty freezer bag for up to 3 months. Let it thaw completely in the fridge overnight, then bring it to room temperature on the counter.
Make-ahead and re-whip: Once the refrigerated or frozen frosting has reached room temperature, transfer it to a mixing bowl and whip it for a couple of minutes until the texture is light, smooth, and fluffy again. If it seems a little stiff after reviving, you can beat in an additional teaspoon or two of evaporated milk or milk to restore that perfect silky consistency.
FAQ
No. Margarine and vegan butters have a high water content and lack the milk solids needed to actually brown.
Yes! For a thicker frosting that can be piped, follow the recipe as written, adding extra powdered sugar a tablespoon at a time until you reach a thickened consistency that holds its shape.
Yes! For a thinner icing that can be used as a glaze, follow the recipe as written, adding extra evaporated milk a teaspoon at a time until you reach a thin consistency that slides slowly off a spoon.
Make sure to start with sifted confectioners' sugar to prevent lumps in your frosting. You'll also want to purchase high quality confectioners' sugar that has been ground "10x", meaning it's ten times smaller than its original size! Sugar that fine is what makes nice, smooth frostings. Domino or C&H are great options.
Most likely, you mixed the frosting with very hot butter, and it hasn't had enough time to cool and solidify yet. A hot kitchen or an accidental ingredient measurement error can also throw off the consistency. You can easily thicken up the frosting by slowly mixing in additional powdered sugar a teaspoon at a time, or simply placing it in the fridge for a few minutes.
If you continue cooking butter after it has turned a rich amber brown it will begin to burn. The butter will lose all of its surface foam, turn dark brown or even black, and smell smoky. The gorgeous toasted flecks will turn into charred black debris. Mixing burnt butter into your frosting will make it taste bitter.
While there is no single universal amount, try these estimates:
A 9-by-13-inch sheet cake, typically needs 2 to 3 cups of frosting.
For 24 cupcakes, plan for 3 to 4 cups, though this will vary depending on how much frosting you like on a cupcake!
A standard 2-layer cake (8-inch or 9-inch) also needs approximately 3 to 4 cups of frosting to cover the middle and exterior.
For 2 dozen cookies, 2 to 3 cups of frosting is usually great.
It is always wise to make a little extra to ensure you don't run out while decorating.
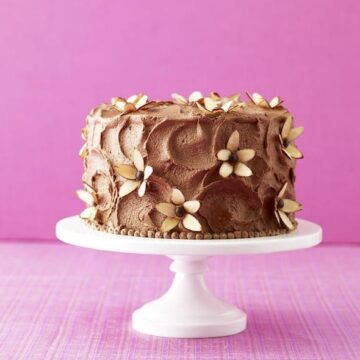
More delicious frosting recipes
Dress up your next bake with a sweet swirl:

Rate this recipe! ⭐⭐⭐⭐⭐
Scroll to the bottom of the page to rate and comment on this recipe. Leaving comments, questions, and ratings helps other too!
📖 Full Recipe
Browned Butter Frosting
Ingredients
- 10 tablespoons unsalted butter (cut into cubes)
- 4 cups confectioners' sugar
- 5 tablespoons evaporated milk (or milk*)
- 1 teaspoon vanilla extract
- Fine sea salt (to taste, optional)
Instructions
- In a small saucepan, slowly melt butter over medium heat. Cook, swirling pan occasionally, until butter is golden brown and bits are caramelized, about 5 to 8 minutes. Remove from heat. (Optional: For stiff frosting, place butter in a bowl over an ice bath to cool it to room temperature. It should only take a minute or two.)
- Scrape the butter and browned bits into the confectioners' sugar in a large bowl. Add evaporated milk, and vanilla and mix with a hand mixer to combine. Scrape sides and add more evaporated milk a few teaspoons at a time to create the desired consistency.
- Use immediately or store in an airtight container at room temperature for a day, or in the fridge up to a week. To soften, bring to room temperature and add more milk if it is too stiff.
Notes
Nutrition Per Serving
Tara Teaspoon
I’ve been in food publishing for over 25 years, creating recipes & food-styling for magazines, books, television, food brands, & advertising. With two cookbooks under my belt and thousands of my recipes at your fingertips, I hope you'll be inspired to spend more time in the kitchen!
Jill says
SO YUMMY! Thank you for sharing this recipe. The flavor of the frosting is incredible!
Tara Teaspoon Admin says
Thanks for leaving a comment and recipe review!
Mia says
There are only five stars - this recipe deserves 10!!! Coupled with my all-time favorite Cashew Cookies, this frosting is to die for! Oh my!
Tara Teaspoon Admin says
I could eat the frosting with a spoon! So glad you are enjoying it too!