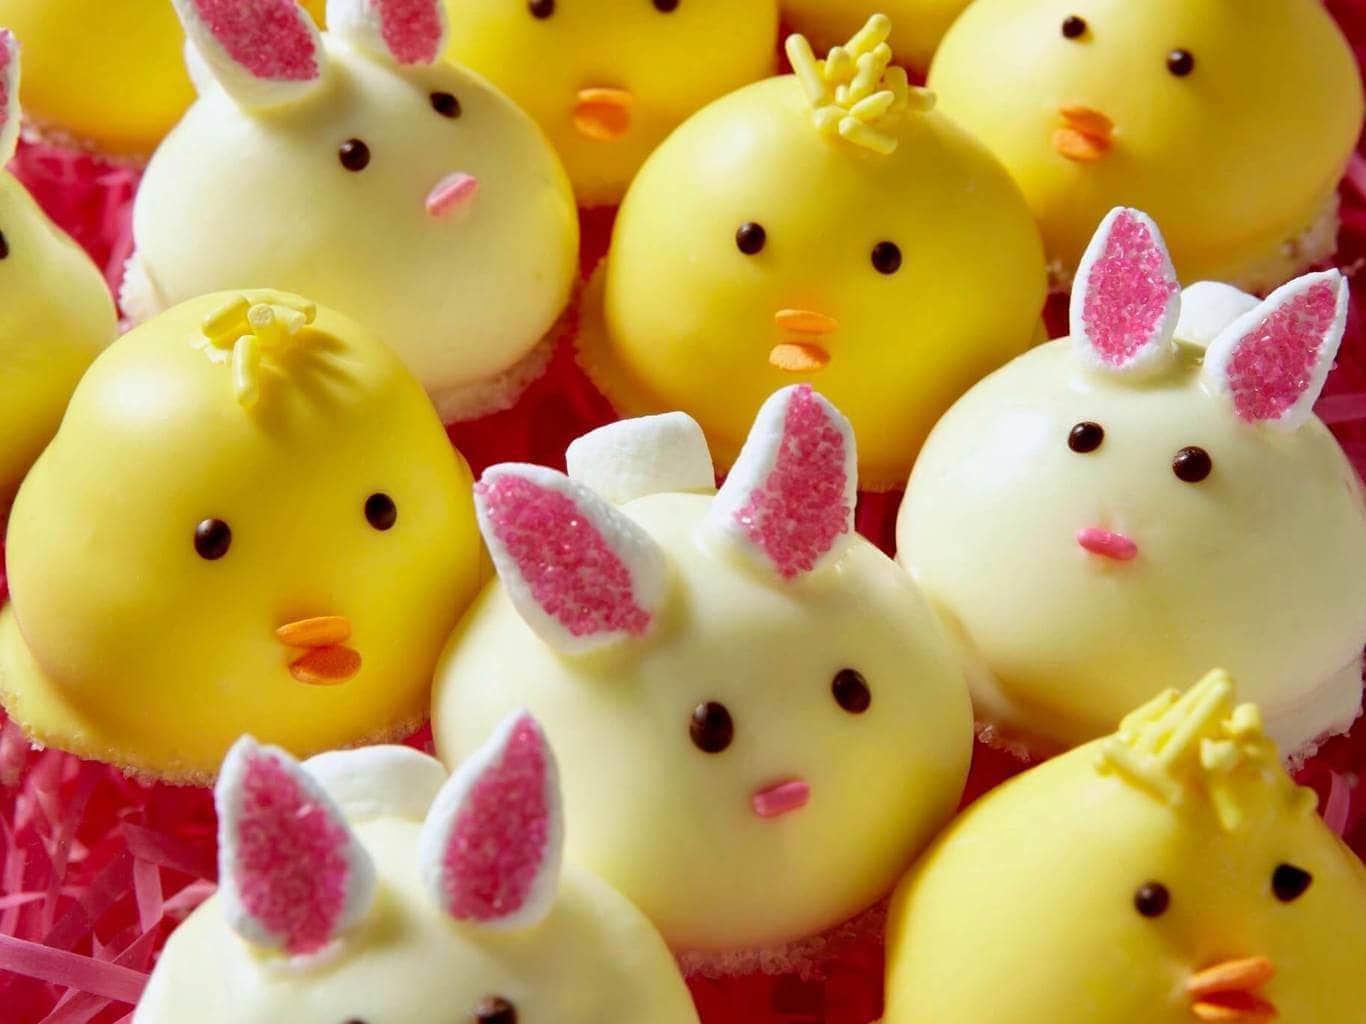
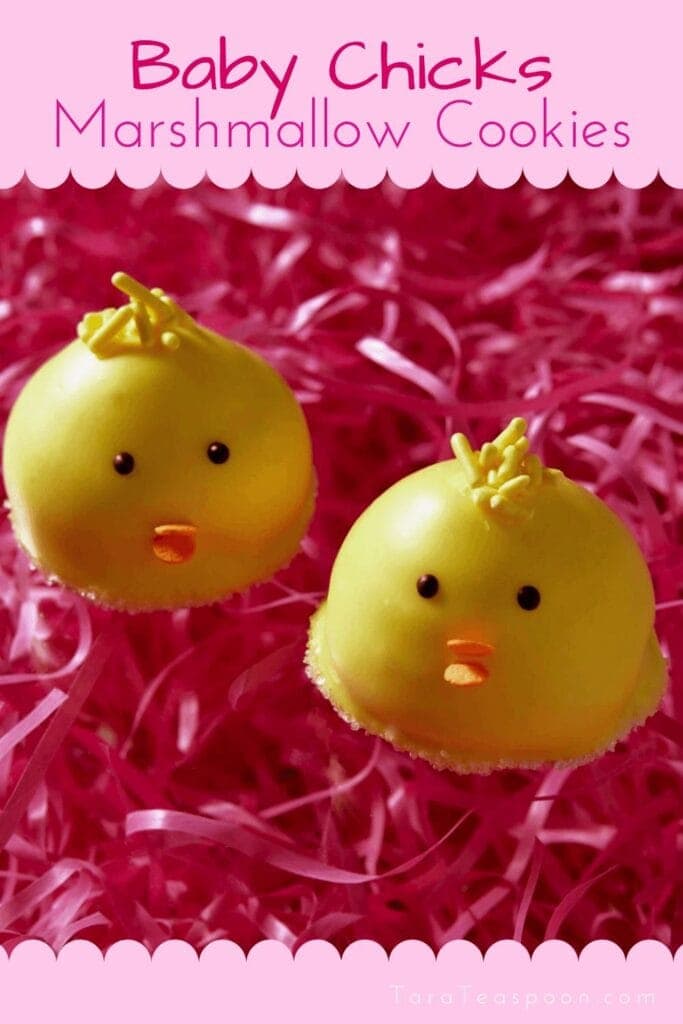
Easy homemade marshmallow and cookies make darling chick and bunny cookies.
They are the perfect bite with a store-bought cookie, fluffy marshmallow and a sweet white chocolate coating. Plus, the cuteness is irresistible.
Jump to:
Are you ready for the most adorable dessert you’ll possibly ever see? If so, I present my marshmallow-filled Chick and Bunny Cookies.
Seasonal desserts are my jam. They get me in the spirit of whatever holiday I am celebrating, and they allow me to release my creativity in a delicious way.
They are always a crowd favorite. These baby chick and Easter bunny cookies are no exception.
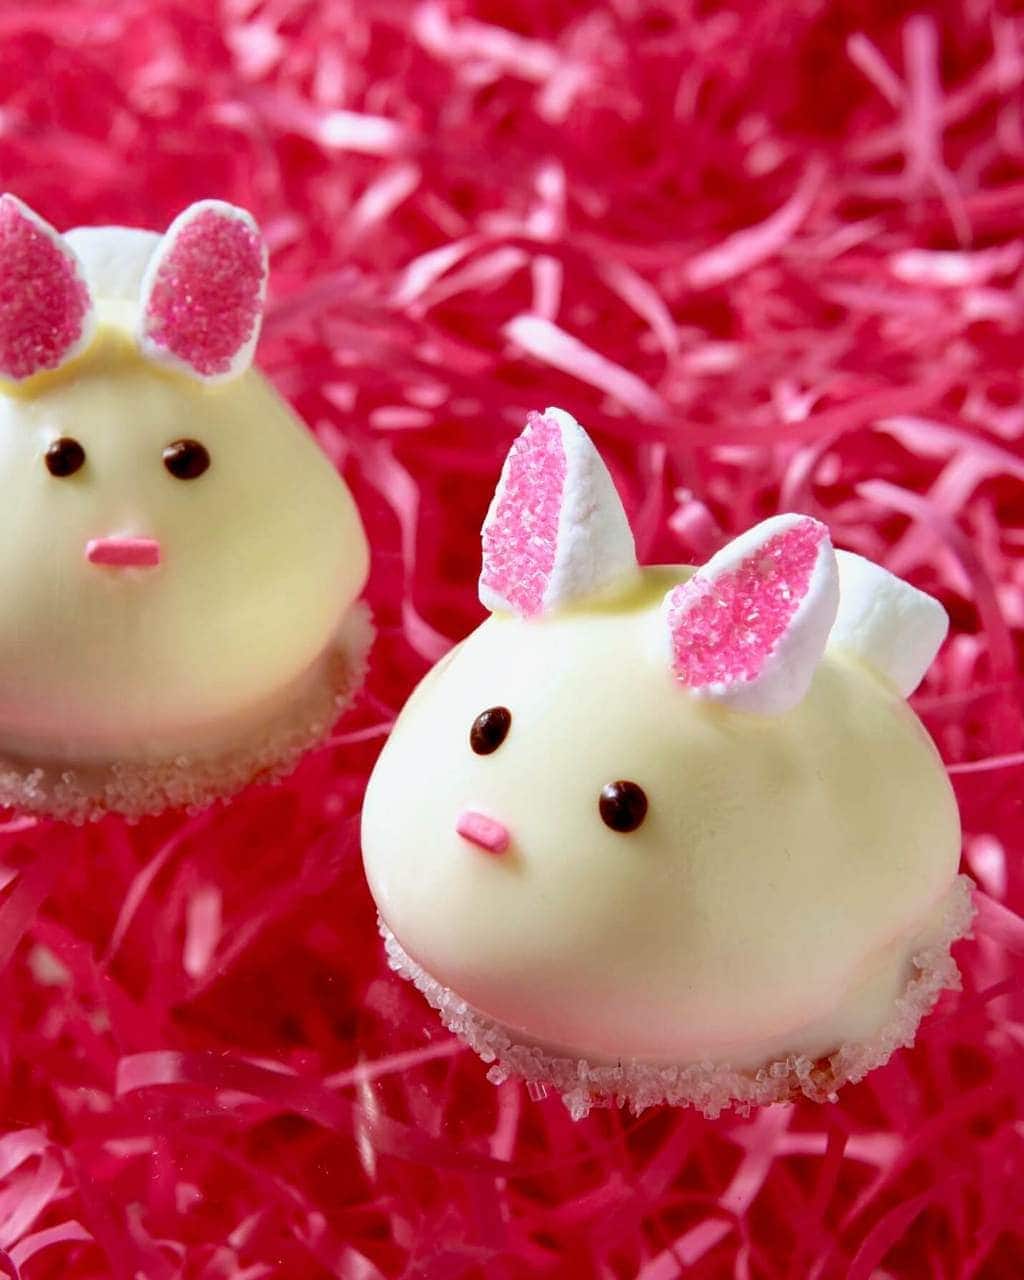
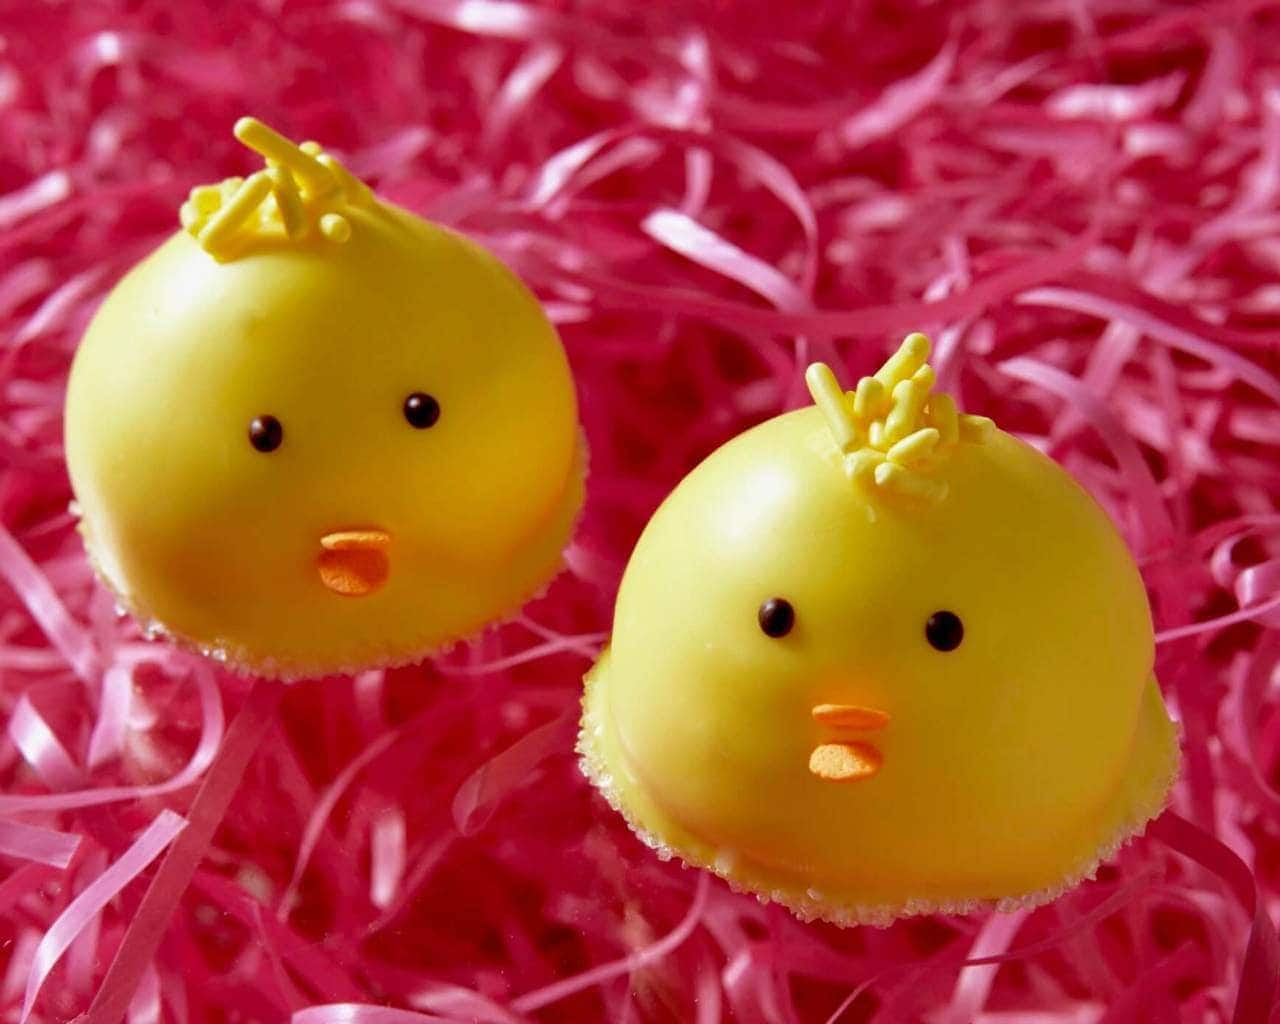
With a vanilla wafer base, these no-bake cookies have a piped marshmallow top, fluffy marshmallow tail and cute candy coating, chocolate face.
Easter cookie recipes
I do like marshmallow stuffed cookies, and you can tell because the Easter cookies recipe below is chock full of homemade marshmallow.
Also try my Marshmallow Filled Sandwich Cookies. For spring, you can tint the marshmallow pastel, and leave out the mint.
See below on the best way to make homemade marshmallow filling. I use it as a cupcake topping too.
You can make decorated Easter cookies using my buttery sugar cookies recipe and Royal Icing. These buttery cookies are roll-and-cut cookies, and hold their shape well. Perfect for bunny shapes or Easter egg cutouts with pastel icing designs.
For soft and fluffy sugar cookies, use my Soft Sugar Cookie recipe topped with Fluffy Vanilla Frosting. These are classics and can be cut into cute Easter shapes too.
How-To tips
These no-bake cookies do take a little cooking. Just on the stove-top!
Your first step should be to prepare all of your ingredients and set your work stations up. In fancy cooking terms this is called "mis en place." It means to have everything in place.
The piping marshmallow will be made at the last minute before assembling the cookies. So everything else needs to be ready.
I like to make these cookies with vanilla wafers. Having the cookie already made, I am ready to focus my attention on the fun decoration.
Next you'll make sure your candy melts are melted and ready. You can always pop the bowls of candy melts back in the microwave if they solidify at all.
Add the chick and bunny cookies to the top of cupcakes. They make darling cupcake toppers.
Check out my Easy Easter Bunny Cupcakes and Chick Cupcakes recipe to see something similar on a cupcake!
Homemade marshmallow for piping
(see recipe card for more detailed instructions):
- Sprinkle gelatin over cold water and let stand until softened, about 5 minutes.
- Combine sugar and water in a saucepan.
- Stir over medium until sugar dissolves.
- Using a pastry brush, brush down sugar crystals on inside of pan.
- Boil until syrup registers 238ºF on a candy thermometer.
- Pour hot syrup into mixer bowl with gelatin.
- Whip mixture on medium low until slightly cooled.
- Increase speed to medium high and whip to soft peaks, about 12 minutes.
- Transfer to large piping bag and use immediately.
Candy decorations
(see recipe card for more detailed instructions):
The candy decorations are little sprinkles and sugar. I use tweezers or my fingers to separate the orange round candy sprinkles from the variety mix. You don't need too many.
You can easily purchase plain yellow or pink jimmy sprinkles so you don't need to separate them.
- Pipe 1 inch mounds of piping marshmallow to each cookie, let sit until firm (30 to 60 minutes).
- Make bunny ears and tail out of cut mini marshmallows and sprinkles.
- Dip cookies into melted white and yellow chocolate coating.
- Add ears, tails and sprinkles for chick beak and feathers before chocolate hardens.
- Chill 15 minutes.
- Use toothpick dipped in melted dark chocolate to paint eyes.

Storing
Amaze your friends by bringing these to your Easter party, or enjoy with family, storing for up to three days.
The cookies are chilled to set, for just a few minutes after dipping. Then the cookies can be stored at cool room temperature. Not near heat.
You'll want to keep them in a covered container. I like to use my cupcake carrier, or large and flat plastic containers.
More of the best cookies in the world
- Honey Cut Out Cookies
- Blossom Cookies with Cashew Butter and Chai Spice
- Black Sesame Chocolate Chip Cookies
- Crunchy Pecan Cookies
- Pistachio Lace Cookies
- Chocolate Marshmallow Cookies
Easter dinner favorites:
• Roast Leg of Lamb with Apple Mint Chutney
• Brown Sugar and Pomegranate Glazed Ham
• Shredded Brussels Sprouts with Orange and Almonds
Marshmallow Chick and Bunny Cookies
Ingredients
- 50 vanilla wafer cookies
- 1 recipe Piping Marshmallow, see below
- Mini Marshmallows
- Pink sanding sugar
- ½ cup White sanding sugar
- 6 oz each yellow and white chocolate coating disks
- Pink and yellow jimmy sprinkles
- Round pastel sprinkles, orange color separated for use
- 1 oz dark chocolate, melted
*Piping Marshmallow*
- 1 pkg unflavored gelatin
- 1 cup granulated sugar
Instructions
- Arrange cookies in a single layer on a baking sheet. Transfer the prepared Piping Marshmallow to an extra-large piping bag fitted with a ½-inch plain tip or coupler. Working quickly, pipe a mound, about 1 inch high, on each cookie. Use a damp finger to tap down the pointed tip. Let stand until firm and set, at least 30 min or up to 1 hr.
- Make bunny ears and tails: Cut mini marshmallows in half crosswise for tails. Cut more mini marshmallows in half diagonally lengthwise, then dip cut sides in pink sugar for ears.
- Spread white sanding sugar in a shallow dish and set aside. Melt yellow and white chocolate coatings separately in small bowls. Working with one cookie at a time, hold cookie and dip marshmallow tip inthe coating. Place cookie-side down on the sanding sugar. Before coating sets, add marshmallow tail and ears, and a sprinkle nose to the bunnies. Add yellow sprinkle feathers and orange sprinkle beaks to the chicks. (If coating gets too thick, remelt it.) Transfer cookies to a tray.
- Chill until coating is set, 15 min. Use a toothpick dipped in the melted dark chocolate to dab eyes on cookies (or transfer the chocolate to a piping bag with a #2 plain tip). Store cookies for up to 3 days.
For Piping Marshmallow
- In a large mixer bowl sprinkle gelatin over ⅓ cup cold water and let stand until softened, about 5 min. Meanwhile in a small saucepan combine sugar and ¼ water. Stir over medium-high heat until sugar dissolves. Using a pastry brush dipped in water, brush down sugar crystals on inside of pan. Place a candy thermometer into mixtre. Boil (do not stir) until syrup registers 238°F (soft-ball stage).
- Pour hot syrup into mixer bowl with gelatin. Whip mixture on medium low with the whisk attachment until slightly cooled, about 5 min. Increase speed to medium high and whip to soft peaks, about 12 min. Transfer to a large piping bag and use immediately. Makes 3½ cups
Notes
Nutrition
Products you need for these decorated Easter cookies:


Find more Easter recipes from Tara Teaspoon here:
Spring and Easter Recipes

About Tara Teaspoon
I’ve been in the food publishing business for over 20 years, creating recipes & food-styling for magazines, books, television & advertising. Order my new cookbook & stick around for amazing things to eat.
Recipe Tara Teaspoon. Also Written by Ruby Neff. Photography Peter Ardito. LHJ Apr2013









Linda says
These are absolutely adorable! I mean, what child wouldn't want to snack on these around Easter time. Love the way you decorated them!
Tara says
Ah thanks! I agree, so much fun for kids!
Mary Bench says
These are adorable!
Julie says
So cute! These are so adorable and I'm dreaming of other animals I can make for different holidays and themed parties!
Mia says
Really???? These are the cutest things EVER! Absolutely going to make these this Easter!